
The moment the savory scent of homemade teriyaki sauce wafts through the kitchen, I know dinner will be something special. Enter the Teriyaki Chicken Casserole—a delightful one-dish wonder that combines tender chicken, fluffy rice, and a colorful mix of vegetables, all enveloped in a glossy sauce that celebrates sweet and tangy notes.
Perfect for busy weeknights or casual gatherings, this casserole dazzles with ease and flavor, proving that wholesome meals don’t have to be complicated. Whether you need to whip something up for a potluck or prepare a comforting dinner for your family, this dish allows for endless variations. You can use chicken or turkey and load it up with your favorite veggies, making it a versatile option that pleases everyone at the table.
Join me as we dive into this quick and easy recipe that transforms simple ingredients into a delicious meal reminiscent of your favorite takeout, but made right in your kitchen!
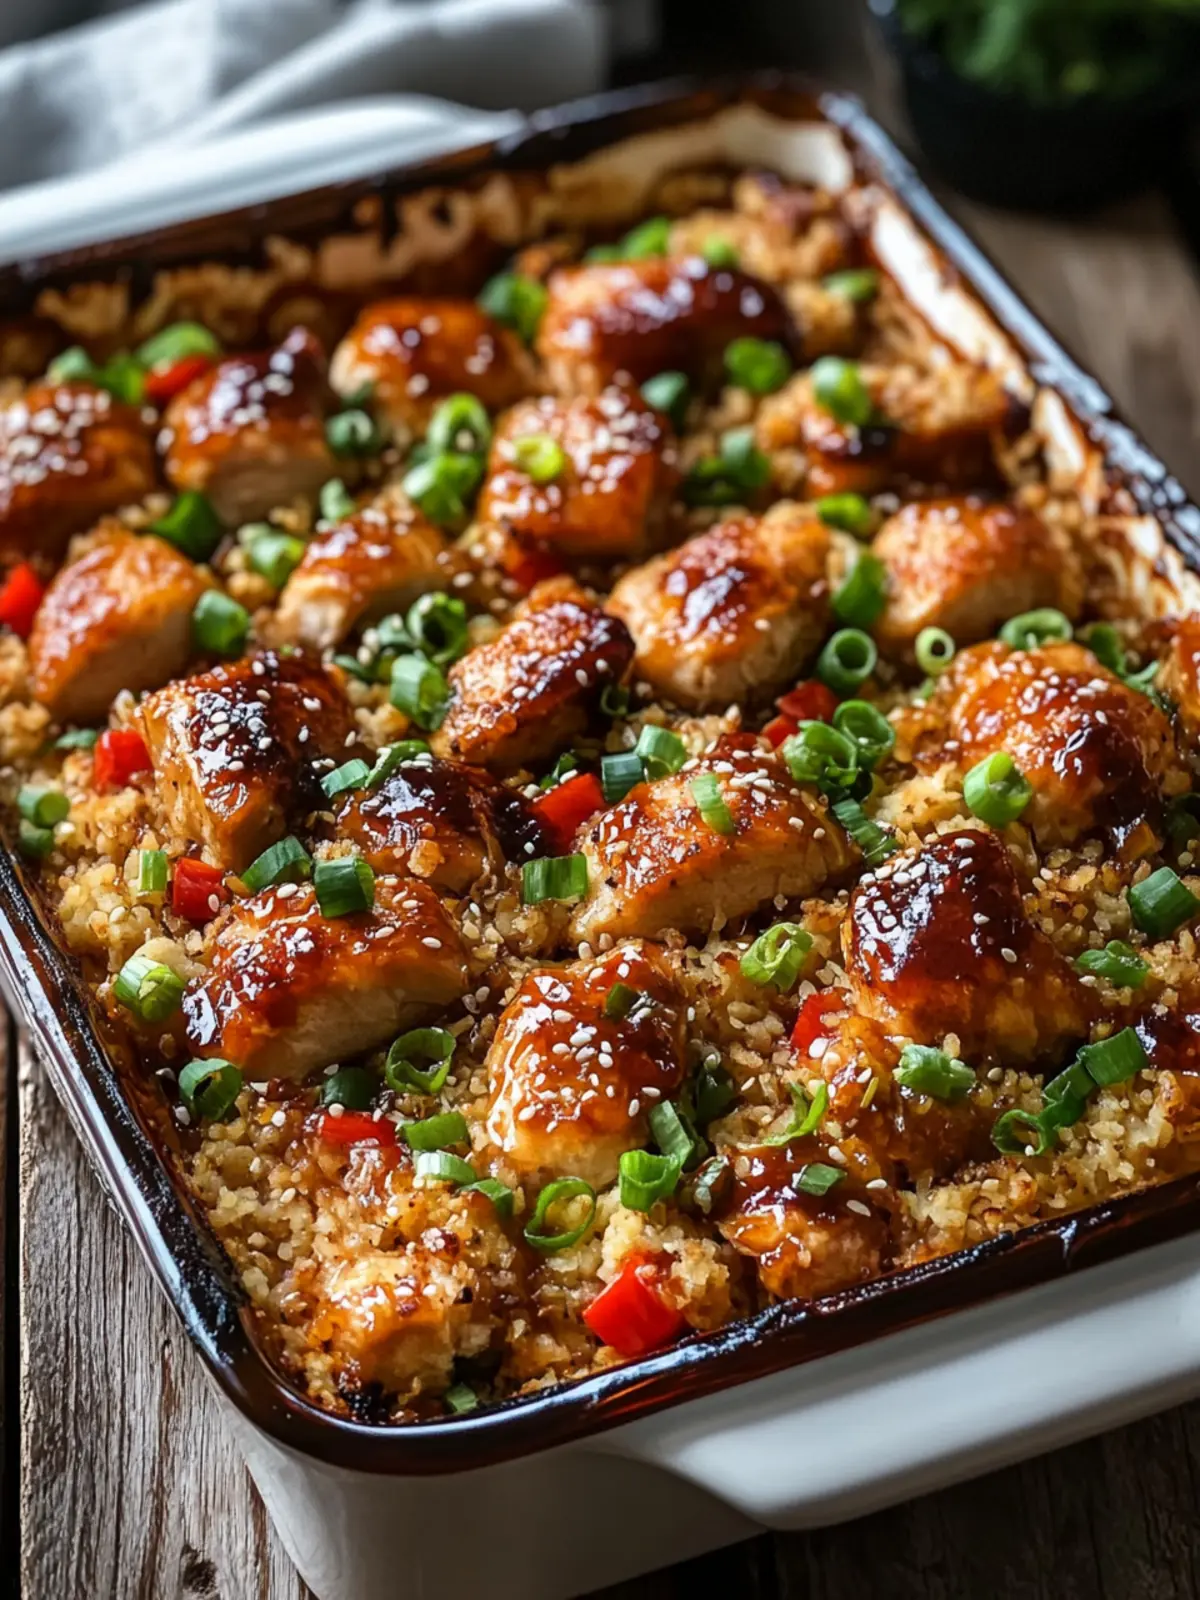
Why is Teriyaki Chicken Casserole a Must-Try?
Quick, hearty meal: This Teriyaki Chicken Casserole offers a satisfying blend of flavors without the stress of lengthy prep.
Flavorful homemade sauce: The glossy teriyaki sauce enhances every bite, bringing sweet and savory notes.
Adaptable ingredients: Customize with your choice of protein or veggies to suit your family’s tastes.
Make-ahead convenience: Prepare it in advance for a hassle-free weeknight dinner or an impressive potluck dish.
Crowd-pleaser: Its vibrant colors and comforting textures make it irresistible to all ages—perfect for family gatherings!
Easy cleanup: With everything in one dish, you’ll spend less time cooking and more time enjoying!
Teriyaki Chicken Casserole Ingredients
• For the Casserole
- Cooked Chicken Breast – Provides protein and a hearty base; you can substitute with shredded rotisserie chicken for a quick option.
- Cooked White Rice – Acts as the casserole’s foundation, soaking up flavor; consider using jasmine or long-grain rice for the best texture.
- Broccoli Florets – Adds a delightful crunch and classic teriyaki flair; frozen broccoli works well if thawed and patted dry.
- Red Bell Pepper – Brings sweetness and vibrant color; be sure to dice into bite-sized pieces for even cooking.
- Shredded Carrots – Contributes natural sweetness and texture; pre-shredded carrots can save time and effort.
- Green Onions – Offers a fresh, mild onion flavor; slice finely for even distribution throughout the casserole.
• For the Teriyaki Sauce
- Low-Sodium Soy Sauce – The backbone of the teriyaki flavor; tamari is a great gluten-free substitute.
- Honey or Brown Sugar – Adds a touch of sweetness to balance the sauce; feel free to adjust to taste.
- Rice Vinegar – Provides a tangy note that balances the richness of the sauce.
- Sesame Oil – Gives the sauce a wonderful nutty finish.
- Garlic – Infuses the sauce with aromatic depth; fresh garlic yields the best flavor.
- Fresh Grated Ginger – Brightens the sauce with its invigorating zest, enhancing the overall taste.
- Cornstarch – Thickens the sauce for even coating, ensuring every bite is deliciously flavorful.
- Water (for cornstarch slurry) – Essential for mixing with cornstarch to achieve the right consistency.
This delicious Teriyaki Chicken Casserole is sure to impress with its vibrant flavors and comforting textures, perfect for any busy weeknight!
How to Make Teriyaki Chicken Casserole
-
Preheat the oven to 350°F (175°C). This is the perfect temperature for a nice, even bake throughout your casserole.
-
Prepare the teriyaki sauce by simmering low-sodium soy sauce, honey (or brown sugar), rice vinegar, sesame oil, minced garlic, grated ginger, and a cornstarch slurry. Stir until thickened and glossy.
-
Combine ingredients in a large mixing bowl. Add the cooked chicken, rice, broccoli, red bell pepper, shredded carrots, green onions, and half of the jarred teriyaki sauce. Mix until everything is beautifully coated.
-
Transfer the mixture to a greased baking dish, spreading it evenly for consistent cooking.
-
Cover and bake with foil for 20 minutes. This steaming process helps reheat the dish and meld the flavors.
-
Uncover and drizzle the remaining teriyaki sauce over the top, then bake for an additional 10 minutes until the top is golden and bubbly.
-
Let it cool slightly before serving to allow the flavors to settle. Enjoy the delightful aroma!
Optional: Garnish with sesame seeds or chopped fresh cilantro for an extra pop of flavor.
Exact quantities are listed in the recipe card below.
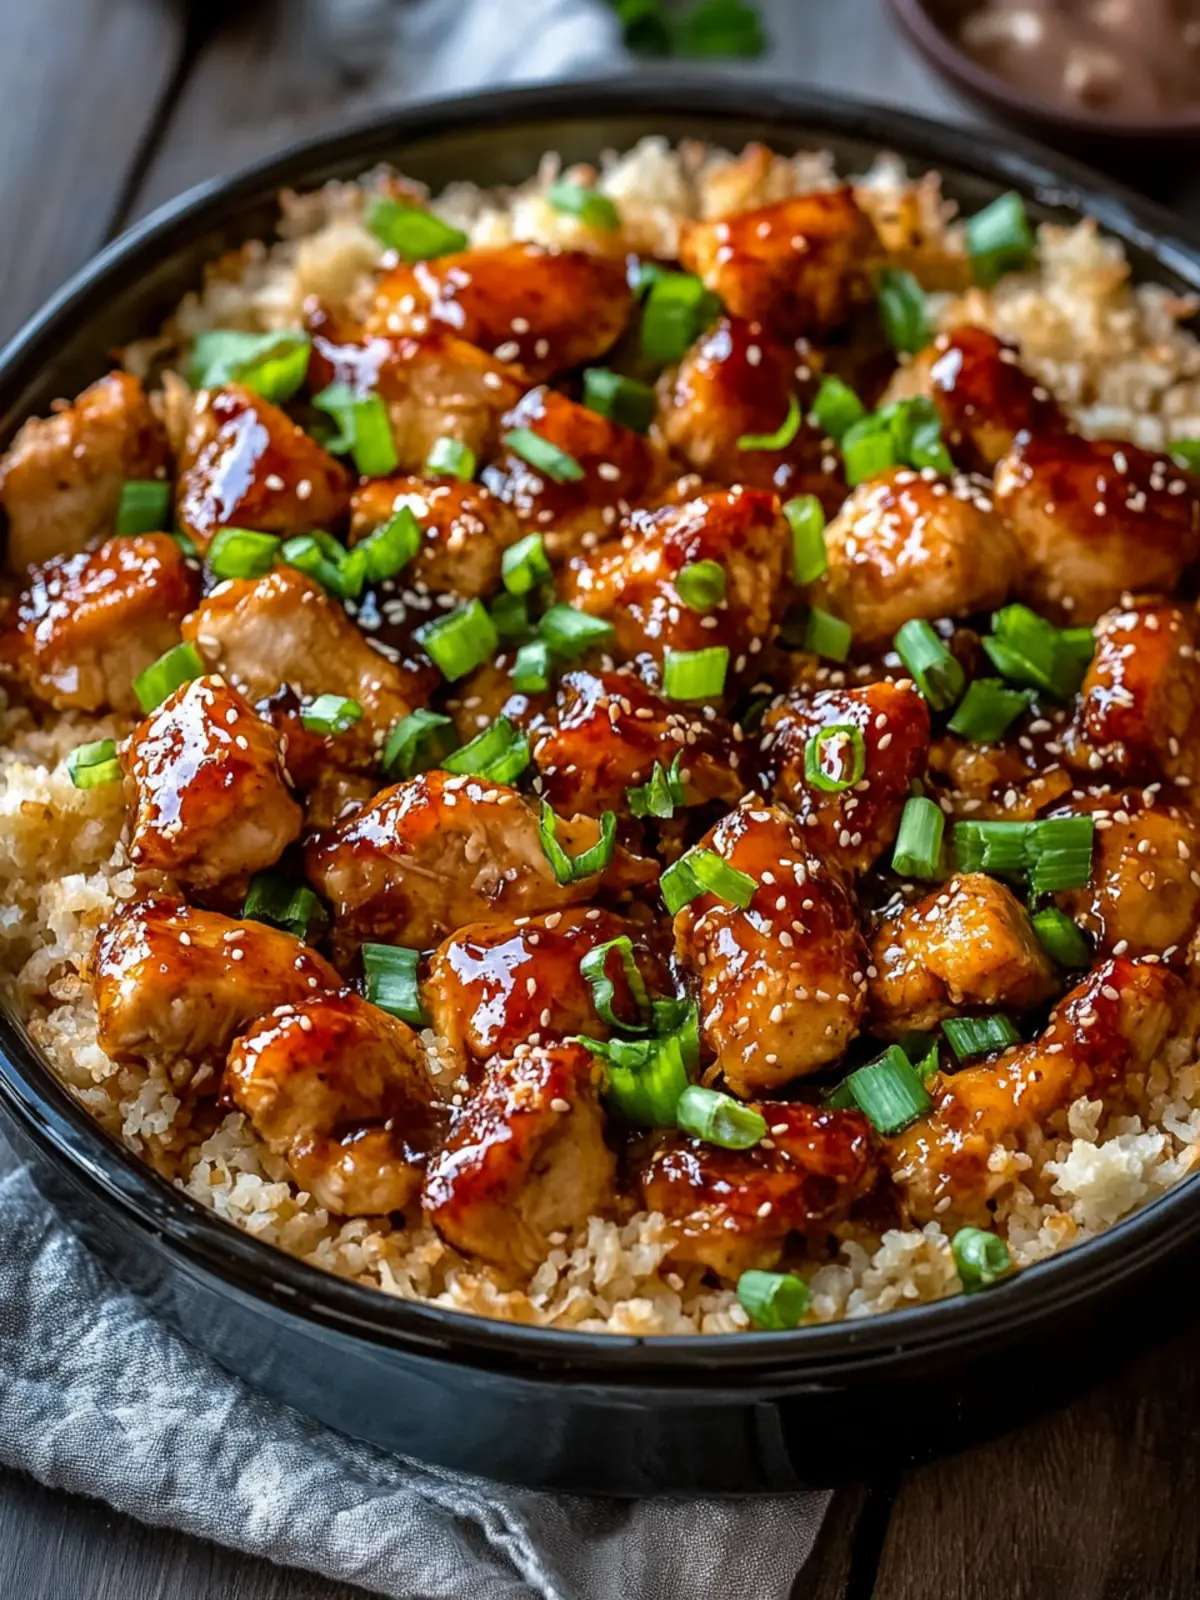
What to Serve with Teriyaki Chicken Casserole?
Indulge in the delightful experience of a complete meal that perfectly complements the flavors of your casserole.
-
Steamed Edamame: These tender soybeans add a fresh crunch and are a healthy side option, rich in protein and fiber.
-
Garlic Green Beans: Sauteed with a touch of garlic, green beans offer a satisfying contrast to the creamy casserole, enhancing your meal’s aroma and taste.
-
Asian Slaw: A crisp mix of cabbage, carrots, and sesame dressing brings brightness and acidity, which balances the sweetness of the teriyaki sauce wonderfully.
-
Sesame-Crusted Cucumbers: Refreshing and light, these crunchy cucumbers dressed in a tangy sauce provide a perfect palate cleanse between bites.
-
Miso Soup: This traditional Japanese soup warms the soul and is a comforting pairing that echoes the teriyaki flavor profile beautifully.
-
Jasmine Rice: For those who adore extra rice, a side of fluffy jasmine rice can soak up any remaining sauce, ensuring every bite is flavorful.
-
Fruit Salad: Combine seasonal fruits like pineapple, mango, and kiwi for a sweet, refreshing contrast to the savory dish, offering a delightful end to your meal.
-
Sparkling Water with Lemon: A refreshing drink that cleanses the palate, balancing the meal’s richness without overpowering its delicate flavors.
With these delightful additions, your Teriyaki Chicken Casserole becomes part of a vibrant dining experience that pleases every taste bud!
Expert Tips for Teriyaki Chicken Casserole
-
Thicken Your Sauce: Ensure you don’t skip the thickening step for the teriyaki sauce. This helps it coat your casserole evenly.
-
Use Pre-Cooked Ingredients: Opt for cooked rice and rotisserie chicken to save time and maintain great texture while baking.
-
Rest Before Baking: If your casserole has been refrigerated, let it sit at room temperature before baking for better results.
-
Avoid Overbaking: Keep an eye on your casserole; overbaking can lead to dry chicken. Heat it just until warmed through.
-
Experiment with Fresh Veggies: Enhance the flavor and nutrition of your Teriyaki Chicken Casserole by adding your favorite fresh ingredients or leftovers.
How to Store and Freeze Teriyaki Chicken Casserole
Fridge: Store leftover Teriyaki Chicken Casserole in an airtight container for up to 3 days. Ensure it’s cooled completely before sealing to maintain freshness.
Freezer: For long-term storage, wrap the casserole tightly in plastic wrap and then foil, or use a freezer-safe container. It can last up to 3 months in the freezer.
Reheating: Thaw overnight in the fridge before reheating. Heat in the oven at 350°F (175°C) until it’s heated through, about 20-25 minutes, or until the internal temperature reaches 165°F (74°C).
Make-Ahead Tip: Assemble the casserole ahead of time, cover tightly, and refrigerate overnight. This makes for an easy, hassle-free dinner when you’re pressed for time!
Teriyaki Chicken Casserole Variations
Feel free to get creative and make this dish your own with these delightful suggestions!
-
Turkey Swap: Use ground turkey instead of chicken for a leaner, equally delicious protein option.
This twist still delivers the same comforting flavor while catering to different tastes! -
Veggie Medley: Add snap peas, zucchini, or mushrooms for a colorful veggie boost.
The more, the merrier—mixing up vegetables not only enhances nutrition but also adds vibrant textures! -
Sweet Pineapple: For an unexpected flavor pop, toss in pineapple tidbits for a sweet-tangy surprise.
This delightful addition will infuse each bite with a tropical twist that your family will love! -
Cauliflower Rice: Swap in cauliflower rice for a lighter, low-carb alternative.
Just sauté or drain the cauliflower before adding it; this way, you avoid excess moisture while keeping the dish flavorful. -
Spicy Kick: If you crave a little heat, incorporate red pepper flakes or hot sauce into the teriyaki mix.
This fiery twist adds an exciting layer of flavor that spice enthusiasts will adore! -
Soy-Free Option: Use coconut aminos or a homemade soy sauce substitute for a soy-free teriyaki experience.
This fantastic alternative keeps the taste delightful while accommodating dietary needs. -
Whole Grains: Substitute white rice with brown or wild rice for added texture and nutrition.
Whole grains will provide a heartier base that enhances the overall healthiness of the meal. -
Herb Infusion: Stir in fresh herbs like cilantro or basil before serving for an aromatic finish.
This simple touch elevates the dish and introduces a burst of freshness to every bite.
Make Ahead Options
These Teriyaki Chicken Casserole components are perfect for busy home cooks looking to save time during hectic weekdays! You can assemble the entire casserole and store it in the refrigerator for up to 24 hours before baking. To maintain the casserole’s delightful texture, tightly cover it with foil to prevent drying out. Additionally, you can prepare the teriyaki sauce in advance—just refrigerate it separately for up to 3 days. When you’re ready to enjoy this comforting dish, simply remove the casserole from the fridge, let it sit at room temperature for about 30 minutes, and then bake as instructed for a delicious, homemade meal with minimal effort.

Teriyaki Chicken Casserole Recipe FAQs
How do I choose ripe vegetables for the Teriyaki Chicken Casserole?
Absolutely! When selecting vegetables, look for fresh broccoli florets that are bright green without any dark spots. For bell peppers, choose ones with smooth skin that feel firm to the touch. Carrots should be crisp and free from soft spots. If using frozen broccoli, ensure it’s properly thawed and patted dry to avoid excess moisture.
How should I store leftovers of my Teriyaki Chicken Casserole?
Very! Leftover Teriyaki Chicken Casserole can be stored in an airtight container in the refrigerator for up to 3 days. Make sure it has cooled completely before sealing to lock in freshness and flavor.
Can I freeze the Teriyaki Chicken Casserole?
You can certainly! To freeze, wrap the casserole tightly in plastic wrap and then in aluminum foil or transfer it to a freezer-safe container. It will keep well for up to 3 months. When ready to enjoy, thaw it overnight in the fridge, then reheat it in an oven at 350°F (175°C) until heated through (about 20-25 minutes).
What can I do if my casserole seems dry after baking?
Oh no! If your casserole turns out dry, it may be due to overbaking or using chicken that was too lean. To remedy this, try adding a splash of broth or additional homemade teriyaki sauce to the dish before serving. You can also cover it with foil for the last few minutes of baking to retain moisture.
Are there any dietary considerations I should be aware of when making this casserole?
Definitely! This Teriyaki Chicken Casserole can be easily adapted for dietary needs. For a gluten-free option, use tamari in place of soy sauce. Additionally, if anyone attending the meal has allergies, always check for common allergens in your ingredients like soy, sesame, or specific vegetables. It’s a great idea to communicate and make substitutions as needed!
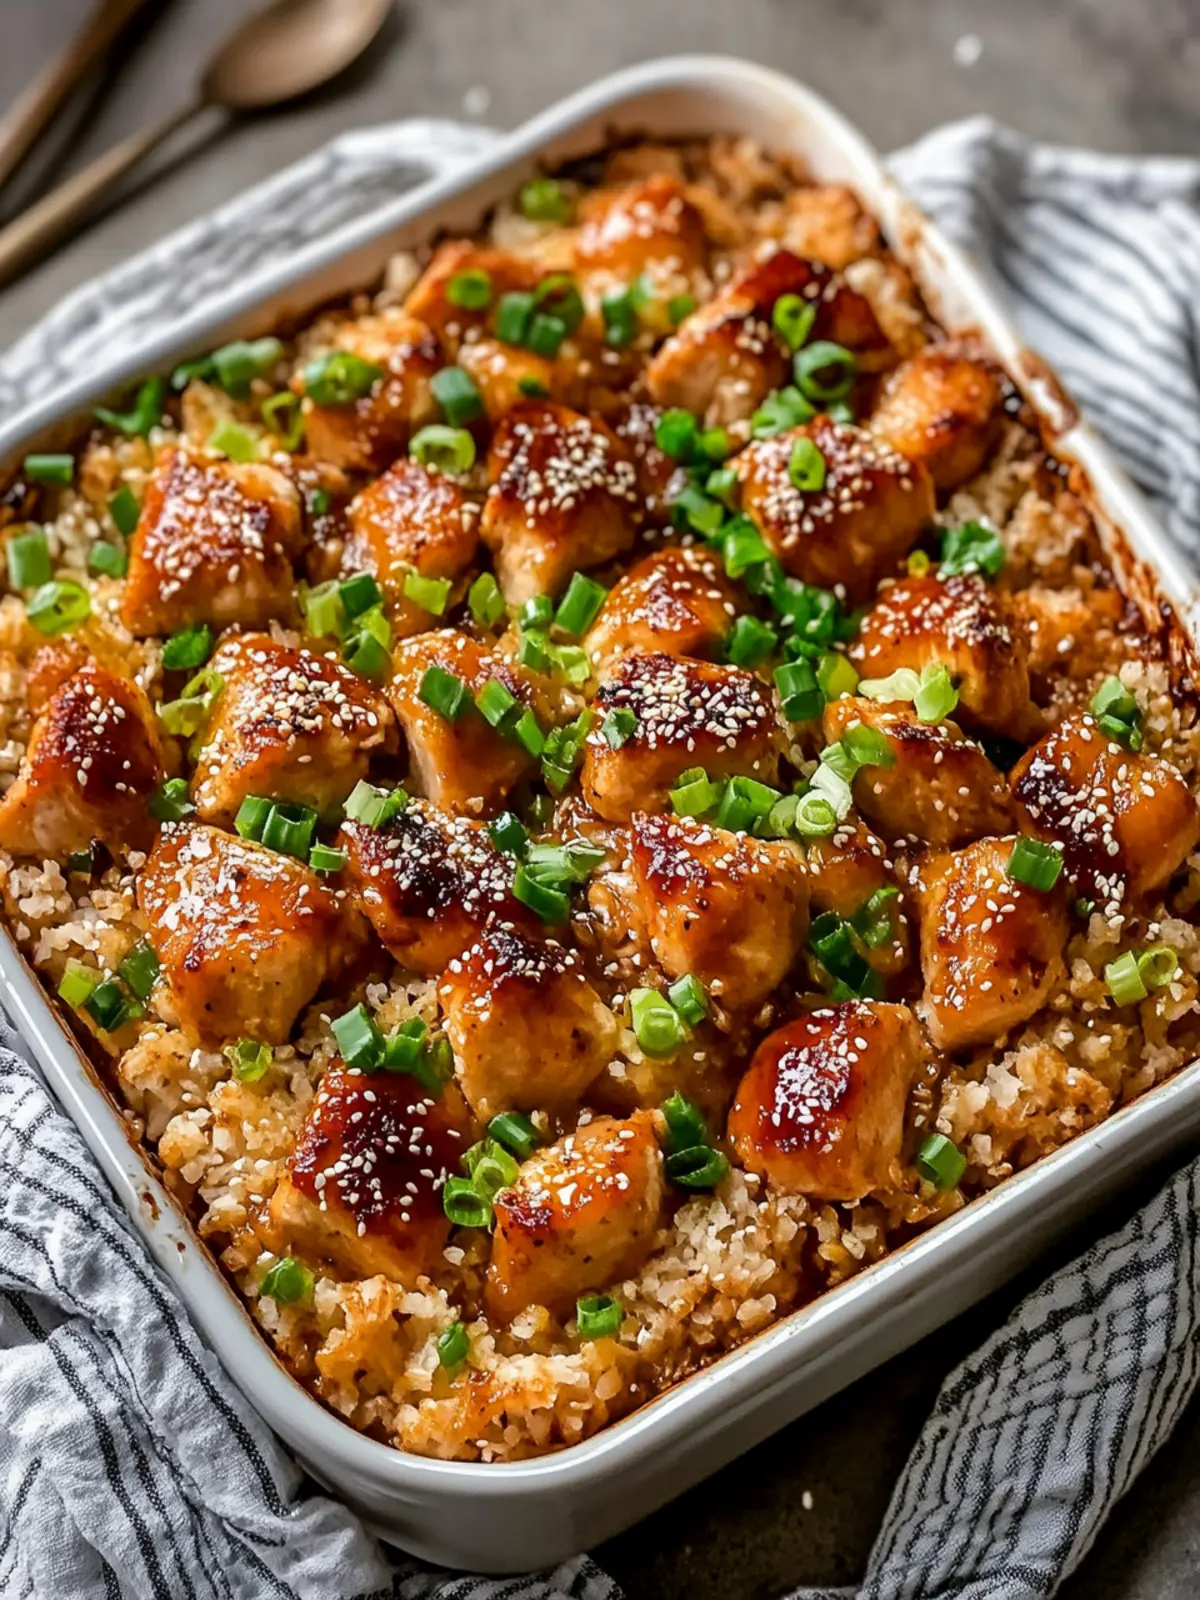
Easy Teriyaki Chicken Casserole for Busy Weeknights
Ingredients
Equipment
Method
- Preheat the oven to 350°F (175°C).
- Prepare the teriyaki sauce by simmering soy sauce, honey (or brown sugar), rice vinegar, sesame oil, garlic, ginger, and cornstarch slurry until thickened.
- Combine the cooked chicken, rice, broccoli, red bell pepper, shredded carrots, green onions, and half of the teriyaki sauce in a mixing bowl. Mix until well coated.
- Transfer the mixture to a greased baking dish.
- Cover and bake with foil for 20 minutes.
- Uncover, drizzle the remaining teriyaki sauce, and bake for another 10 minutes.
- Let it cool slightly before serving.