
There’s something truly comforting about the smell of boiling pumpkin and the sizzle of masa in the kitchen. When I first tried Chilean Sopaipillas, I was instantly transported to a cozy, sunlit market in Santiago, with the tantalizing aroma wrapping around me like a warm hug. These delightful little pastries, golden and slightly crispy on the outside, hide a soft, pillowy center that beckons for a dip into a favorite sauce or a sprinkle of sugar.
The beauty of sopaipillas lies in their simplicity. With just a handful of pantry staples, you can whip up a batch that doubles as a sweet treat or a savory side. Whether it’s a chilly evening or a festive gathering, these irresistible bites are sure to become a beloved addition to your homemade meals. Join me as we explore how to make these delightful Chilean pastries that promise to delight your taste buds and warm your heart in under 30 minutes!
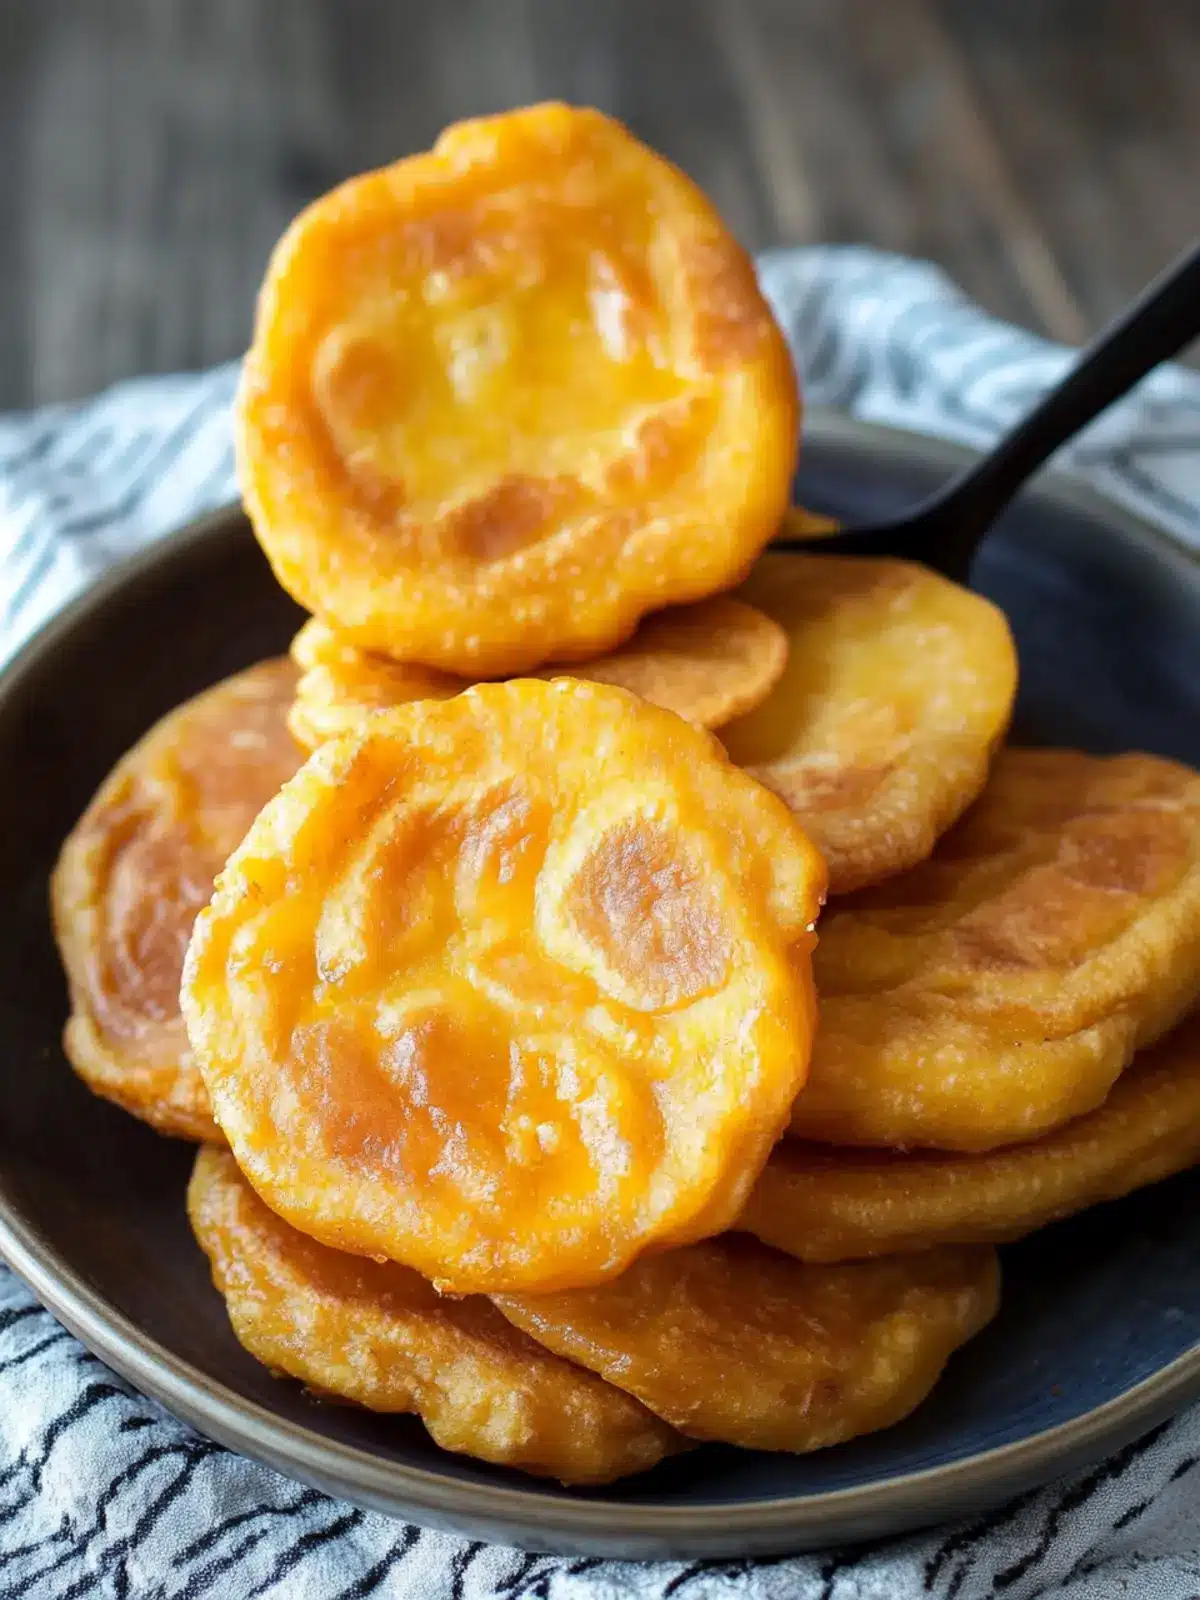
Why will you love Chilean Pumpkin Sopaipillas?
Comforting Aroma: The warm, inviting scent of pumpkin boiling transports you to cozy kitchens, creating a nostalgic atmosphere.
Quick and Simple: This recipe requires only a few pantry staples, making it easy to whip up in under 30 minutes.
Versatile Treat: Enjoy them as a sweet dessert with a sprinkle of sugar or as a savory side alongside your favorite dish.
Crowd-Pleasing Delight: These golden pastries are perfect for gatherings, sure to impress family and friends with their delicious taste.
Soften and Crisp: Experience a delightful contrast of slightly crispy edges and a soft, pillowy center that makes every bite irresistible!
Ingredients for Chilean Pumpkin Sopaipillas
For the Dough
• Pumpkin – Use fresh cooked pumpkin for a vibrant flavor; canned pumpkin can be a quick alternative.
• Masa Harina – This corn flour gives a unique texture; consider gluten-free options for similar effects.
• Warm Water – Helps to bind the dough; adjust as needed for your desired consistency.
• Salt – Just a pinch enhances all the flavors in these delightful pastries.
For Frying
• Vegetable Oil – A neutral oil like canola or sunflower is ideal for frying; choose one with a high smoke point.
Optional Topping
• Sugar – Sprinkle on top for a classic sweet touch; cinnamon sugar makes a delightful alternative.
• Salsa or Sauce – Serve with your favorite salsa for a savory twist, blending the flavors of Chilean dishes.
Enjoy making these Chilean Pumpkin Sopaipillas that promise to wrap your senses in warmth and flavor!
How to Make Chilean Pumpkin Sopaipillas
-
Prepare the Pumpkin: Start by cooking your pumpkin until tender, then mash it until smooth. Fresh or canned both work great, but fresh will bring vibrant flavor to your sopaipillas.
-
Mix the Dough: In a large bowl, combine the mashed pumpkin, masa harina, warm water, and a pinch of salt. Mix until the dough forms a soft and slightly sticky consistency—if needed, add a little more water!
-
Shape the Pastries: Divide the dough into small balls, then flatten each ball into a disc about 1/4 inch thick. Make sure to create a slight thickness to achieve that perfect soft center while frying.
-
Heat the Oil: In a deep skillet or frying pan, heat vegetable oil over medium-high heat. Aim for a temperature of about 350°F (175°C) to ensure those edges become perfectly crispy.
-
Fry the Sopaipillas: Carefully place the flattened discs into the hot oil. Fry for about 2-3 minutes on each side until they turn golden brown. Keep an eye on them to avoid burning!
-
Drain and Cool: Once fried, transfer the sopaipillas to a plate lined with paper towels to drain excess oil. Let them cool slightly, allowing those crispy edges to shine!
-
Serve and Enjoy: Dust with sugar for a sweet treat or serve with salsa for a savory bite. These little delights are best enjoyed fresh and warm!
Optional: For a twist, sprinkle cinnamon sugar on top for a delightful flavor combination.
Exact quantities are listed in the recipe card below.

How to Store and Freeze Chilean Pumpkin Sopaipillas
Room Temperature: Store leftover sopaipillas in an airtight container for up to 2 days to maintain their softness and flavor.
Fridge: For longer freshness, keep them in the refrigerator in a sealed container for up to 5 days, but be aware they may lose some crispness.
Freezer: Freeze the sopaipillas in a single layer on a baking sheet, then transfer to a zip-top bag for up to 3 months. Thaw before re-crisping in a hot skillet or oven.
Reheating: To enjoy leftovers, reheat in a toaster oven or skillet over medium heat until heated through and crispy, ensuring those delightful textures return!
Variations & Substitutions for Chilean Pumpkin Sopaipillas
Feel free to get creative with your sopaipillas; the beauty of this recipe lies in its flexibility!
-
Sweet Potato: Swap pumpkin with mashed sweet potato for a different, yet equally delicious flavor.
-
Gluten-Free Masa: Use a gluten-free masa harina blend if you’re avoiding gluten but still want that authentic taste.
-
Spices Galore: Add ground cumin or paprika to the dough for a savory twist that adds warmth and depth to every bite.
-
Cheesy Delight: Incorporate shredded cheese into the dough for cheesy sopaipillas, perfect as a savory side with your favorite dish.
-
Herb Infusion: Mix in fresh herbs like cilantro or parsley for a fresh, flavorful lift that complements the soft texture beautifully.
-
Chili Kick: For a spicy kick, add some finely chopped jalapeños to the dough to bring some heat to the delightful pillows of goodness.
-
Apple Cinnamon: Make a sweet treat by adding grated apples and a touch of cinnamon to the mixture, dusting with powdered sugar before serving.
-
Baked Option: For a healthier take, brush with oil and bake at 375°F (190°C) until golden for a guilt-free version that maintains a wonderful taste!
What to Serve with Chilean Pumpkin Sopaipillas?
There’s something magical about pairing these delightful pastries with the right accompaniments.
-
Spicy Salsa: The tangy zing of a fresh salsa elevates the sopaipillas, offering a burst of flavor that dances on your palate.
-
Creamy Avocado Sauce: This rich, velvety dip provides a luscious contrast, balancing the crispy exterior of the sopaipillas beautifully.
-
Cinnamon Sugar: Sprinkle these golden bites with a sweet blend for a nostalgic dessert experience that brings sweetness to every bite.
-
Chilean Pebre: A traditional herb-based condiment that adds a fresh, zesty kick, perfect for enhancing the savory charm of your sopaipillas.
-
Hot Chocolate: A warm, comforting beverage pairing that wraps you in coziness, making every bite of the pumpkin pastries even more delightful.
-
Roasted Veggies: Serve with a side of vibrant, roasted seasonal vegetables to add heartiness and complement the sweet notes of the sopaipillas.
These pairings will elevate your meal, transforming simple ingredients into an unforgettable feast!
Helpful Tricks for Chilean Pumpkin Sopaipillas
-
Perfect Pumpkin: Always use fresh, cooked pumpkin for the best flavor. If using canned, make sure it’s pure pumpkin and not pie filling.
-
Dough Consistency: Achieve the right dough by adding warm water slowly. Too much will make it too sticky, while too little leads to dryness.
-
Oil Temperature: Use a thermometer to check the oil temperature is around 350°F (175°C) for perfect frying. Too hot will burn the outside, leaving the inside raw.
-
Fry in Batches: Avoid crowding the pan; fry in small batches to ensure even cooking and crispy edges.
-
Cooling Method: Let sopaipillas drain on paper towels but allow air circulation to maintain their crispness. Stacking them too soon can make them soggy.
Make Ahead Options
These Chilean Pumpkin Sopaipillas are perfect for meal prep, allowing you to enjoy delicious homemade pastries without the last-minute rush! You can prepare the dough up to 24 hours in advance—just mix your mashed pumpkin with masa harina, warm water, and salt, then wrap it tightly in plastic wrap or store it in an airtight container in the refrigerator. When you’re ready to cook, simply take the dough out, shape the discs, and fry them for that golden, crispy perfection. To maintain quality, be sure to fry them fresh for the best texture, ensuring they’re just as delightful as when first made!
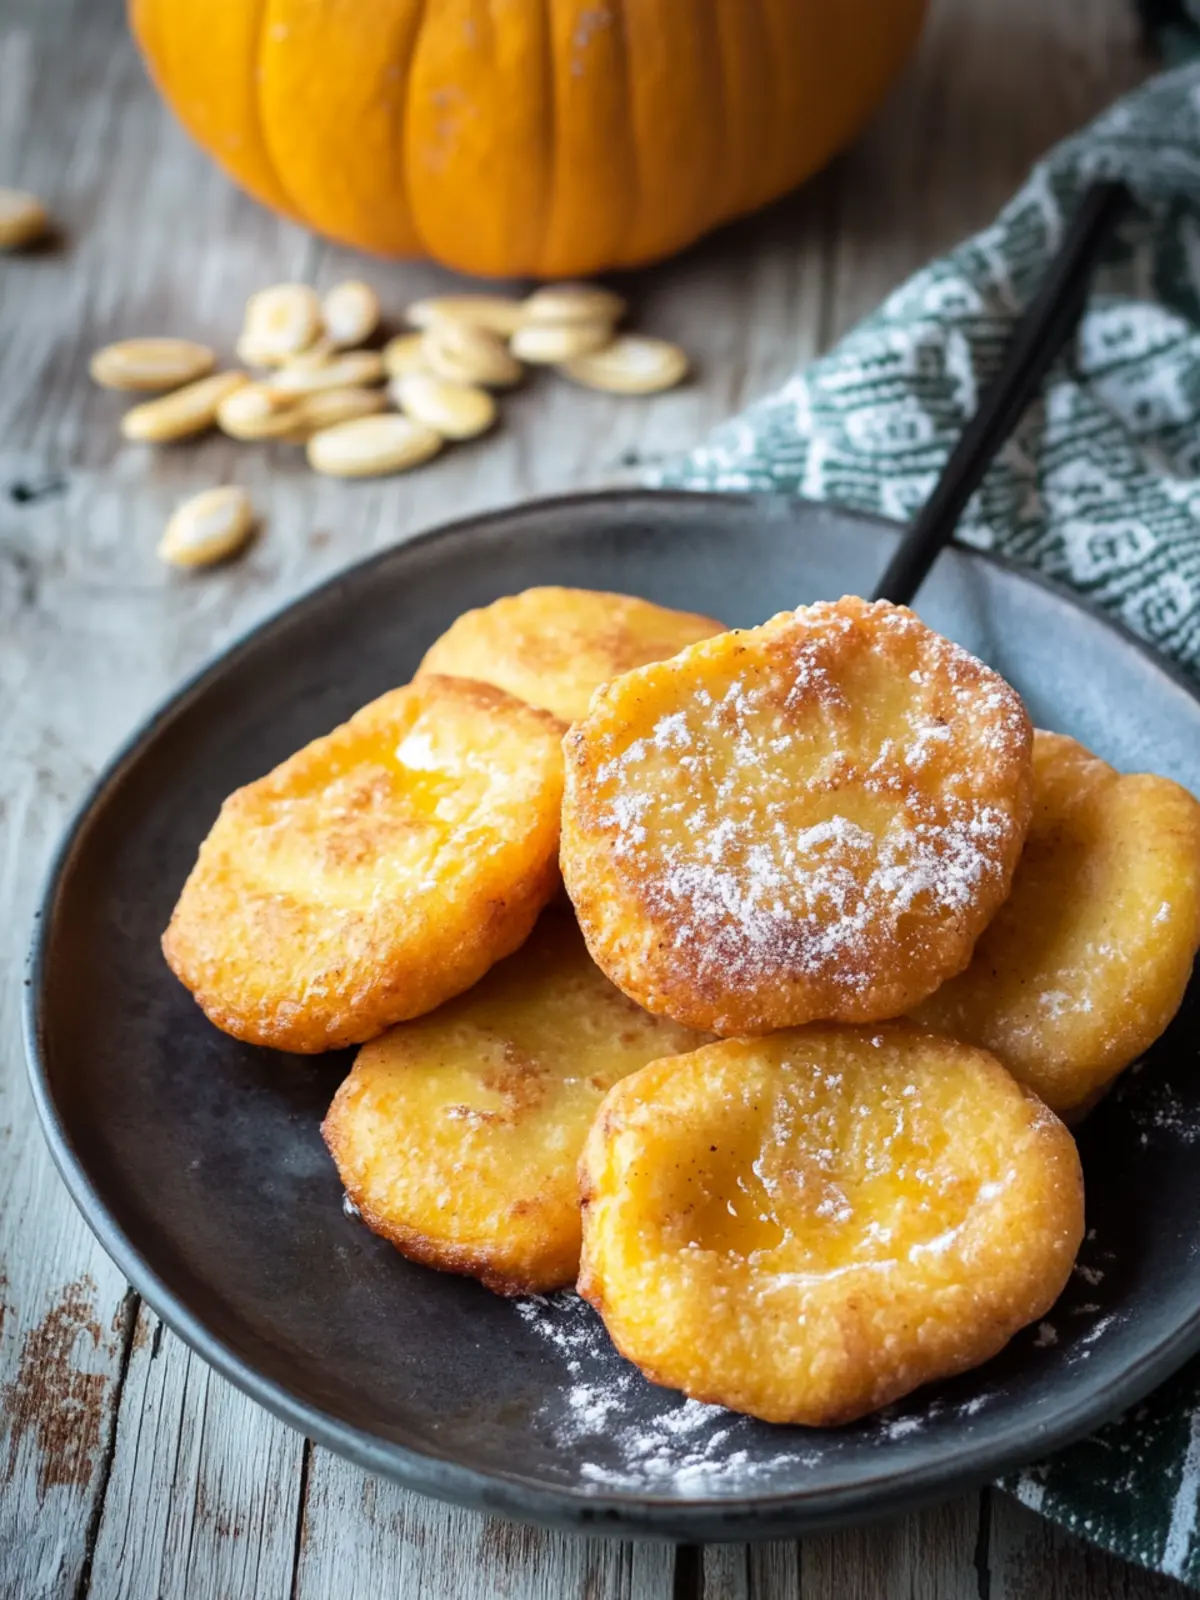
Chilean Pumpkin Sopaipillas Recipe FAQs
What type of pumpkin should I use?
Absolutely! Fresh, cooked pumpkin will provide the best flavor and vibrant color for your sopaipillas. However, if you’re short on time, canned pumpkin (just pure pumpkin, not pie filling) can be a handy alternative. The texture will be slightly different, so just keep this in mind!
How should I store leftover sopaipillas?
To store your delicious Chilean pumpkin sopaipillas, keep them in an airtight container at room temperature for up to 2 days. This will help maintain their softness and flavor. If you want them to last longer, refrigerate them in a sealed container for up to 5 days, though they might lose some crispiness.
Can I freeze sopaipillas? What’s the best way to do that?
Yes, you can freeze sopaipillas! First, lay them out in a single layer on a baking sheet without touching. Freeze for about 1-2 hours until they are solid, then transfer to a zip-top bag for up to 3 months. When you’re ready to enjoy them, just thaw and re-crisp in a hot skillet or oven.
What should I do if my dough is too sticky?
If your dough feels too sticky during preparation, simply sprinkle a little more masa harina on top and knead gently. If it’s too dry, add a bit of warm water, one tablespoon at a time, until you reach a soft and manageable consistency. The right mix makes all the difference for those delightful textures!
Are these sopaipillas suitable for people with dietary restrictions?
Yes! For gluten-free options, just ensure you use masa harina, which is naturally gluten-free. Additionally, you can leave off the sugary topping or opt for a sugar substitute, while enjoying your sopaipillas with a savory salsa to cater to various dietary needs. Enjoy guilt-free indulgence!
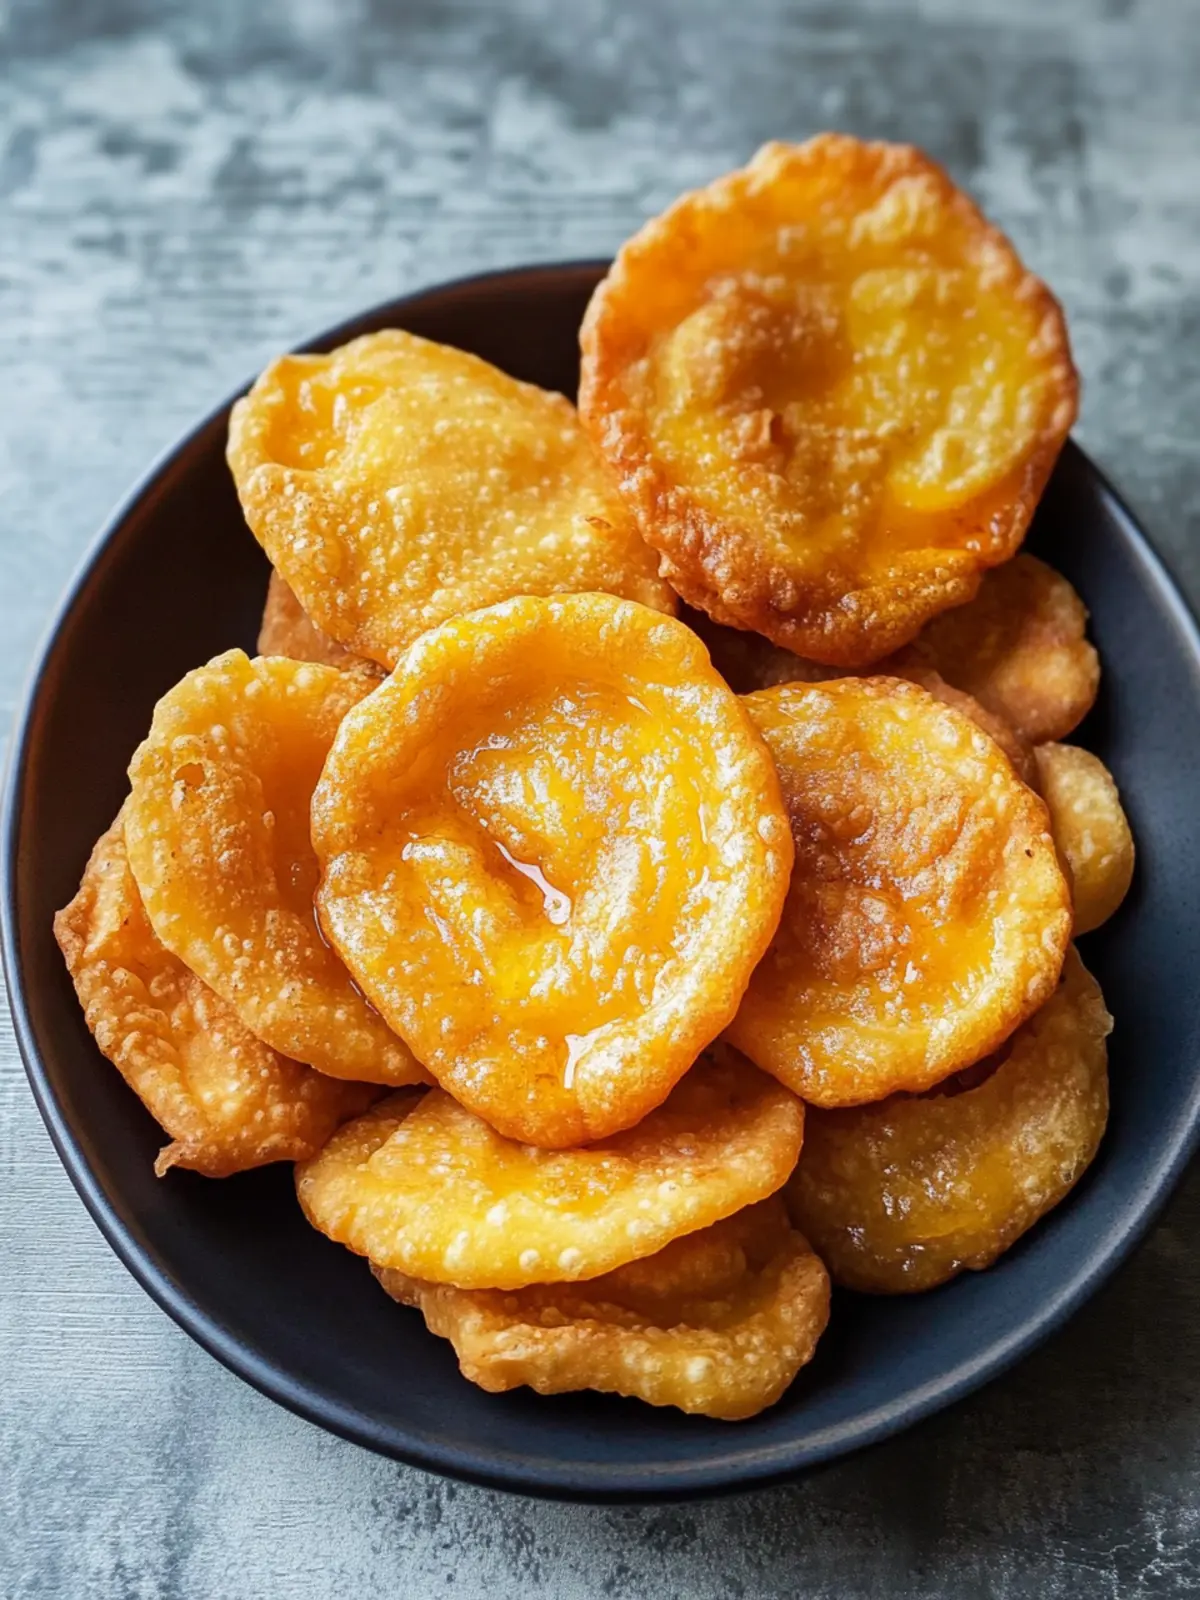
Delicious Chilean Pumpkin Sopaipillas for Your Cozy Nights
Ingredients
Equipment
Method
- Start by cooking your pumpkin until tender, then mash it until smooth.
- In a large bowl, combine the mashed pumpkin, masa harina, warm water, and a pinch of salt. Mix until the dough forms a soft and slightly sticky consistency.
- Divide the dough into small balls, then flatten each ball into a disc about 1/4 inch thick.
- In a deep skillet or frying pan, heat vegetable oil over medium-high heat.
- Carefully place the flattened discs into the hot oil. Fry for about 2-3 minutes on each side until they turn golden brown.
- Once fried, transfer the sopaipillas to a plate lined with paper towels to drain excess oil.
- Dust with sugar for a sweet treat or serve with salsa for a savory bite.