
There’s an undeniable comfort in the scent of freshly baked bread wafting through the kitchen, isn’t there? It’s like a comforting hug on a busy day. When I first attempted to make pita bread from scratch, I had no idea how simple and rewarding it would be. This recipe has quickly become a staple in my home, turning every meal into something extraordinary. Picture this: warm, fluffy pockets just waiting to be filled with your favorite ingredients—whether it’s a vibrant salad, a savory dip, or a load of grilled veggies.
After a long week of fast food takeout and rushed meals, this delightful recipe changed everything for me. With just a few basic ingredients, you can create soft, pillowy pitas that are perfect for family dinners or gatherings with friends. And the best part? It’s so easy that even novice bakers can impress anyone with delicious homemade pita bread. Get ready to roll up your sleeves and dive into this culinary adventure—you’ll never look back!
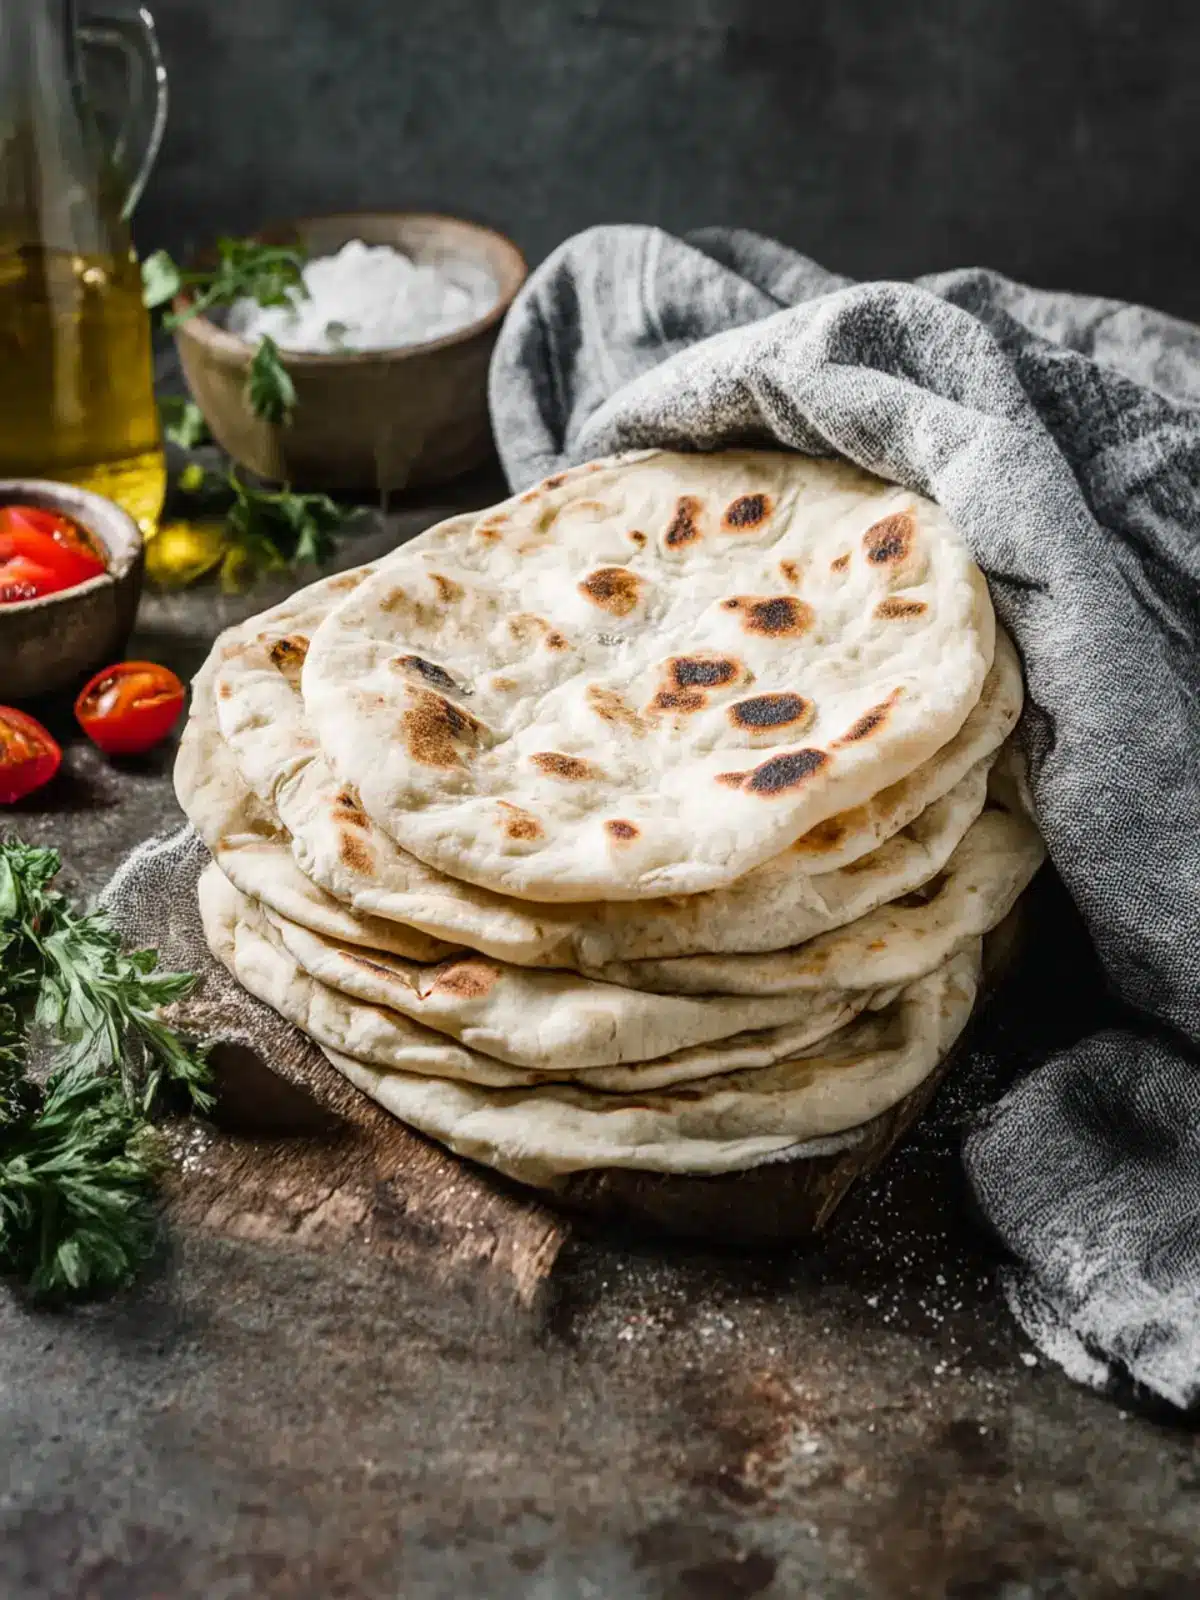
Why will you love Pita Bread?
Homemade Pita Bread is a game-changer! Freshly baked pita transforms any meal into an experience, inviting you to savor every bite. Simple ingredients make this recipe accessible for everyone, from novice cooks to seasoned chefs. Fluffy texture and warm pockets are perfect for stuffing with your favorite fillings. Plus, it’ll elevate family dinners or friendly get-togethers. Perfect for dipping, or as a side with your favorite dishes, this pita bread recipe is sure to become a cherished staple in your kitchen. Dive into this culinary journey and discover the joy of fresh, homemade pita today!
Pita Bread Ingredients
• Let’s gather what we need for that irresistible Pita Bread!
For the Dough
- Warm water – 1 cup (237g) – This helps activate the yeast for the perfect rise.
- Instant yeast – 2 1/4 teaspoons (1 packet) – Gives the dough the lift it needs for fluffy pockets.
- Granulated sugar – 1 teaspoon – Feeds the yeast, ensuring a successful fermentation.
- Fine sea salt – 1 teaspoon – Enhances the flavor of the bread.
- Olive oil – 1 tablespoon – Adds moisture and richness to the dough.
- All-purpose flour – 2 ¼ cups (281g) – Forms the structure of your pita; feel free to experiment with whole wheat for a hearty twist!
For Serving (optional)
- Favorite fillings – Such as hummus, grilled veggies, or salad – To create a delicious meal packed in your warm pita!
- Herbs and spices – Like parsley or cumin – To add extra flavor to your pitas if desired.
How to Make Pita Bread
-
Combine ingredients – In a bowl, mix the warm water, instant yeast, and sugar, allowing it to sit for about 5 minutes until it forms a foamy layer on top. This shows the yeast is alive and ready to work its magic!
-
Add flavor – Gently stir in the fine sea salt and olive oil into the yeast mixture, blending until well incorporated for added depth of flavor.
-
Incorporate flour – Gradually add the all-purpose flour, mixing with a wooden spoon or your hands until a soft dough begins to form. We’re aiming for a slightly sticky texture that holds together well!
-
Knead the dough – On a floured surface, knead the dough for about 8-10 minutes until it’s smooth and elastic. This step helps develop those lovely gluten strands essential for fluffy pitas.
-
Let it rise – Place the kneaded dough into a greased bowl, cover it with a cloth, and let it rise until it doubles in size, which usually takes about 1 hour. Look for a fluffy texture to know it’s ready!
-
Shape the pitas – Gently punch down the dough to remove air bubbles and divide it into equal portions. Shape each piece into a ball and then flatten them slightly.
-
Second rise – Place the flattened dough rounds on a floured surface or parchment paper, cover them, and let them rise for another 30 minutes. This allows the pockets to form when baked!
-
Bake to perfection – Preheat your oven to 475°F (245°C), then bake the pitas on a hot baking stone or tray for about 3-5 minutes until they puff up and are lightly golden. Keep an eye on them—those beautiful pockets don’t take long!
Optional: Serve with fresh herbs and your favorite fillings for a delightful experience!
Exact quantities are listed in the recipe card below.
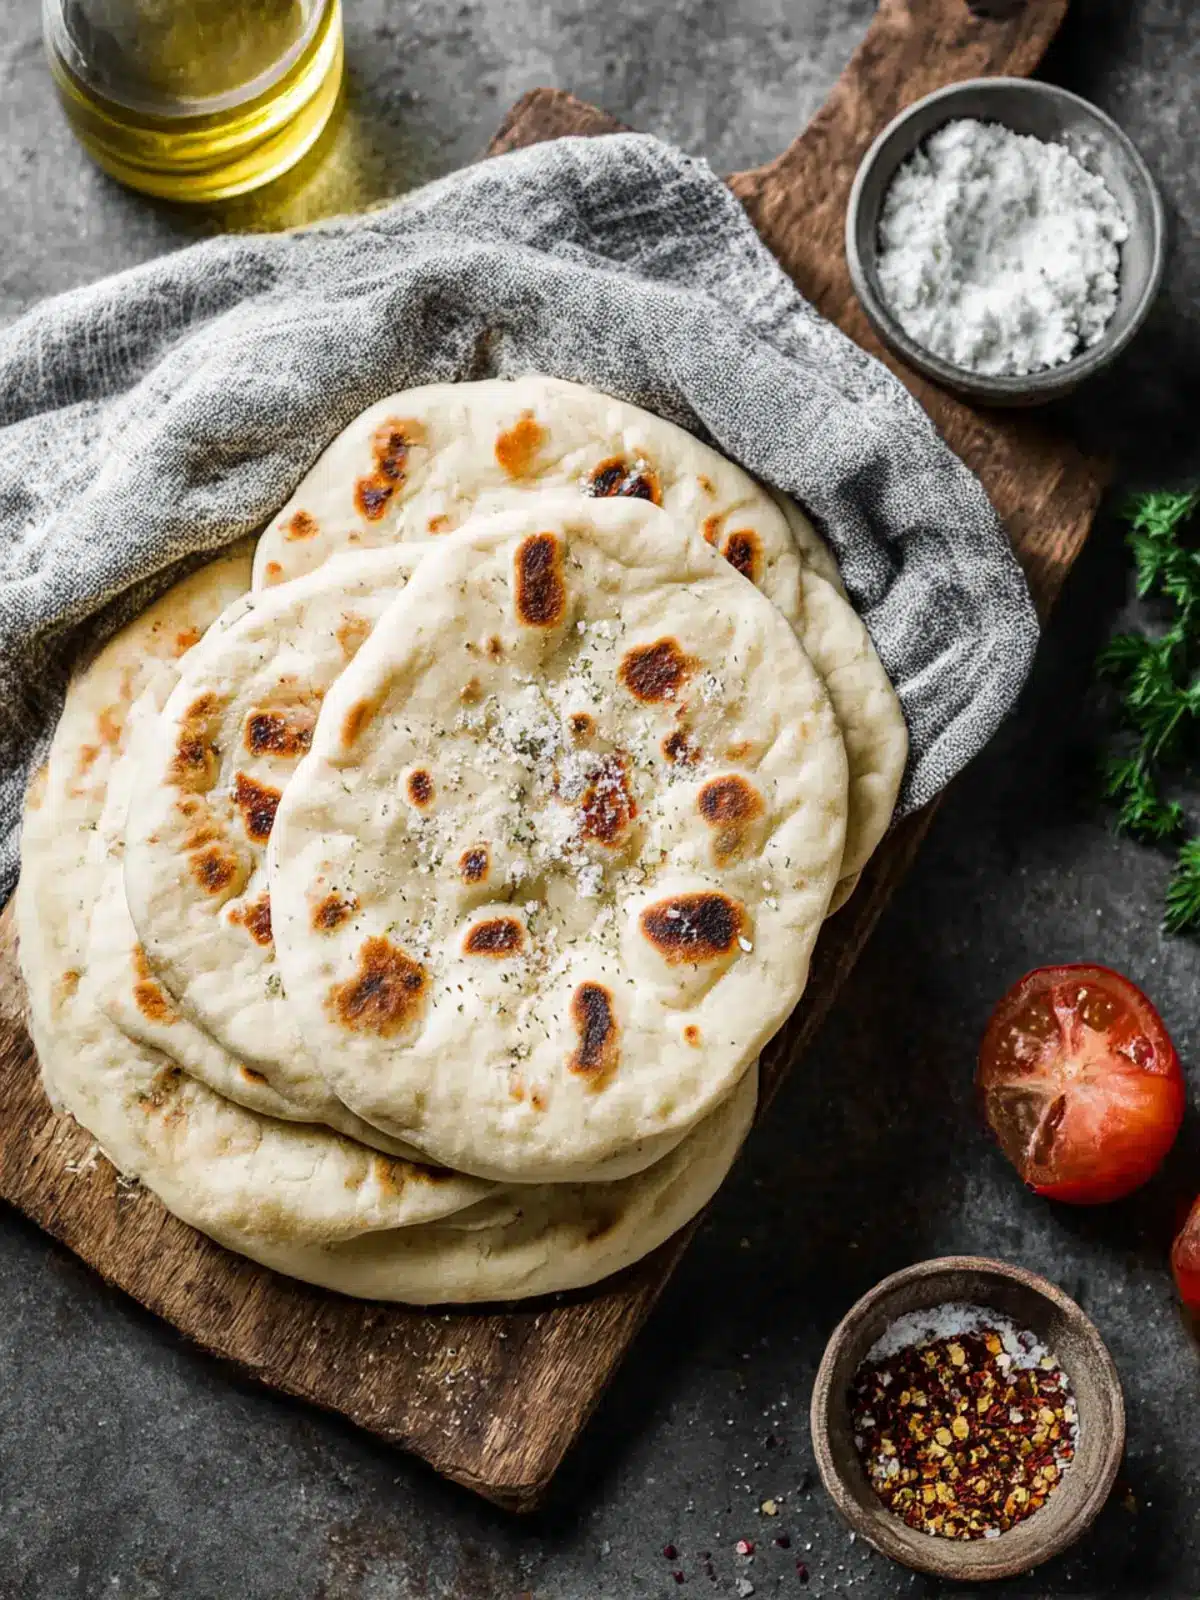
Make Ahead Options
These delightful Pita Bread are perfect for meal prep enthusiasts! You can prepare the dough up to 24 hours in advance, simply mixing it and allowing it to rise as directed. Once the dough has doubled in size, punch it down, shape it into rounds, and place them on a floured surface or parchment paper. Cover and refrigerate to maintain quality, as this will let the flavors deepen without compromising texture. When you’re ready to enjoy, simply allow the dough to come to room temperature and rise for about 30 minutes before baking for those perfect fluffy pockets. It’s a fantastic way to save time on busy weeknights while still serving up fresh, homemade Pita Bread!
How to Store and Freeze Pita Bread
Room Temperature: Store leftover pita bread in a bread bag or wrap in a clean kitchen towel for up to 3 days. This keeps them soft and fresh.
Fridge: For longer storage, place pita bread in an airtight container or resealable bag in the refrigerator. It can last up to 1 week, but may become slightly drier.
Freezer: Freeze pita bread by placing it in a freezer-safe bag, separating each piece with parchment paper. It stays fresh for up to 3 months; just thaw at room temperature when ready to use.
Reheating: To enjoy warm pita breads, reheat in a toaster, microwave, or oven at 350°F (175°C) for about 5 minutes, bringing back that delightful softness perfect for any meal!
What to Serve with Pita Bread?
Dive into the delightful realm of meal possibilities that pair perfectly with your homemade pita bread!
-
Creamy Hummus: This smooth, rich dip not only complements the warm, fluffy pitas but also provides a burst of flavor and nutrition.
-
Grilled Veggies: Marinated seasonal vegetables bring smoky depth and a colorful splash, perfect for stuffing into your pita pockets.
-
Fresh Tabbouleh Salad: Zesty and herbaceous, this refreshing salad adds brightness that contrasts beautifully with the soft texture of the pita.
-
Savory Shawarma: Whether using chicken or beef, this spiced meat filling offers a hearty twist that makes every bite a delicious experience.
-
Mediterranean Yogurt Sauce: A cool, tangy yogurt drizzle enhances the flavor profile and adds moisture, taking your pita creations to new heights.
-
Roasted Chickpeas: Crunchy and flavorful, they provide a satisfying texture to elevate your pita palate while packing a protein punch.
Indulge in a variety of serving options that will turn a simple meal into a memorable feast – your taste buds will thank you!
Pita Bread Variations
Feel free to put your own spin on this delightful Pita Bread recipe and enjoy the full creative possibilities of flavors and textures!
-
Whole Wheat: Substitute all-purpose flour with whole wheat flour for a heartier, nutty flavor and extra fiber. The added density makes for a more rustic bread.
-
Herbed Pita: Mix in dried herbs like oregano or thyme directly into the dough for an aromatic twist. It’s a simple way to elevate your pitas and complement savory fillings beautifully!
-
Spiced Pita: Add a teaspoon of cumin or smoked paprika to the dough for a warm, spice-forward flavor. This subtle addition truly enhances the whole pita experience.
-
Stuffed Pita: Before baking, create small pockets and fill them with your choice of cheese or cooked spinach. These little surprises add a burst of flavor bite after bite!
-
Olive Oil Bath: Brush the pitas with olive oil before baking and sprinkle with sea salt for a Mediterranean flair. This results in a deliciously rich crust that’s hard to resist!
-
Flatbreads: Roll your dough thinner and bake longer for crispy flatbreads. Perfect for dipping into your favorite spreads or accompanying soups and salads.
-
Sweet Pita: Mix in a tablespoon of honey or a pinch of cinnamon for a subtly sweet flavor that pairs wonderfully with jams or dessert fillings. It’s a delightful twist for breakfast or snack time!
-
Gluten-Free: Use a gluten-free flour blend to create a vegan option for those with dietary restrictions. Adjust the liquid slightly, as gluten-free flours absorb moisture differently!
Tips for the Best Pita Bread
-
Perfect Water Temperature: Use warm water around 110°F (43°C) to activate the yeast effectively. Too hot, and it may kill the yeast; too cold, and it won’t rise properly.
-
Watch the Dough: Knead until smooth and elastic; under-kneading can result in flat pitas. The dough should be slightly tacky but not overly sticky.
-
Double the Rise: Allow the dough to rise until it doubles in size. This integral step ensures that the pita bread achieves its characteristic fluffiness when baked.
-
Hot Baking Surface: Preheat your baking stone or tray for at least 30 minutes before baking. A hot surface helps the pitas puff up beautifully, creating those perfect pockets.
-
Stay Vigilant: Pita bread bakes quickly! Keep a close eye for those 3-5 minute baking times, as they can go from puffed to overdone in seconds.
-
Experiment with Flours: Feel free to use whole wheat or other flour blends for added nutrition. Just adjust the water content slightly for the best pita bread.
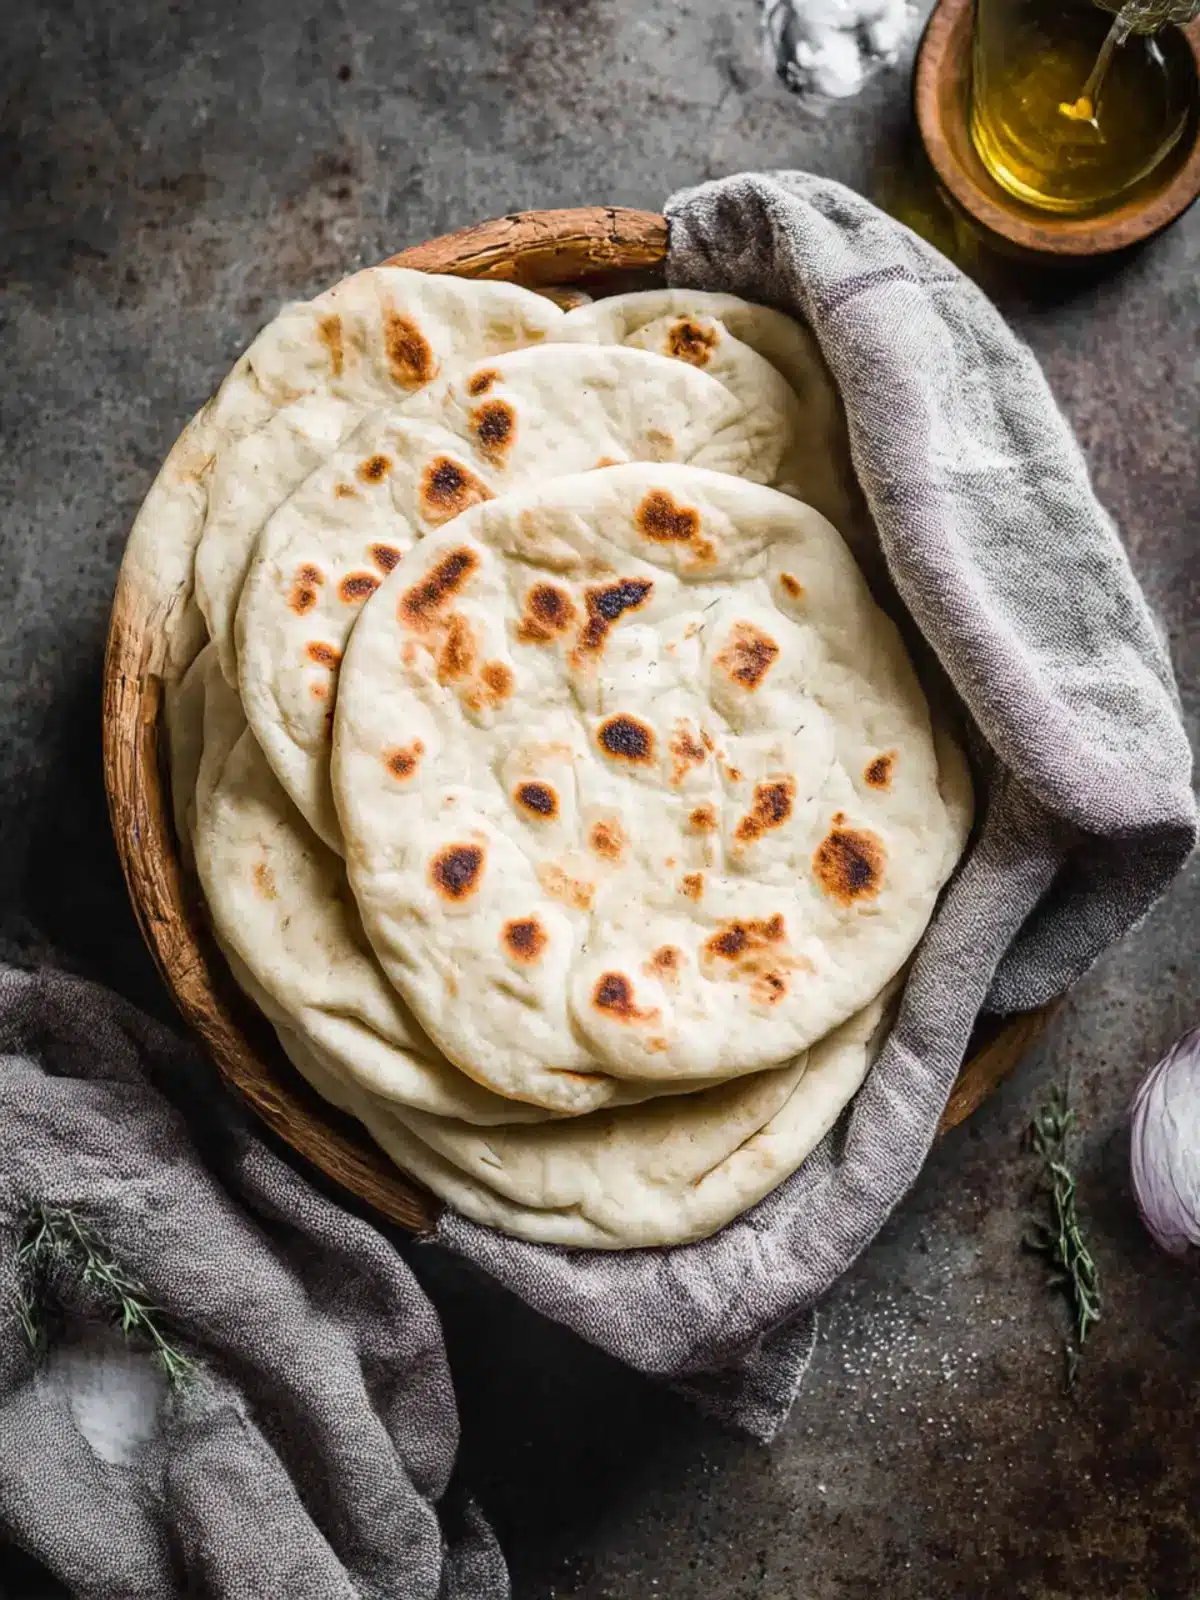
Pita Bread Recipe FAQs
How do I select ripe ingredients for my pita bread?
Absolutely! For the best pita bread, use fresh instant yeast that hasn’t expired—look for it to be springy and slightly moist. The warm water should feel comfortably warm to your touch, around 110°F (43°C)—too hot can kill the yeast, while too cold might prevent it from activating.
How should I store leftover pita bread?
After enjoying your homemade pita bread, store any leftovers at room temperature in a bread bag or wrapped in a clean kitchen towel for up to 3 days. This helps retain moisture and keep them soft. You can also refrigerate them in an airtight container, where they’ll last up to a week, though they may dry out slightly.
Can I freeze pita bread? How do I do it?
Absolutely! To freeze your pita bread, first allow it to cool completely. Then, stack them with pieces of parchment paper in between each one to prevent sticking. Place them in a freezer-safe bag or container, and they will stay fresh for up to 3 months. When ready to use, simply thaw them at room temperature.
What should I do if my pita bread doesn’t puff up while baking?
Very! If your pitas don’t puff, it might be due to either insufficient kneading or rising time. Ensure you’ve kneaded the dough until it’s smooth and elastic. Also, check that the dough has doubled in size during rising. Lastly, ensure your oven is adequately preheated (475°F/245°C) and that you’ve baked them on a hot surface for that perfect puff!
Are there any dietary considerations with pita bread?
Yes! If you’re catering to specific dietary needs, you can experiment with gluten-free or whole wheat flour alternatives. If you’re allergic to certain grains or gluten, look for certified gluten-free products. Additionally, always ensure that any fillings you plan to use do not contain allergens to cater to all guests!
Why are my pitas too dense?
If your pita bread turns out dense, a few factors might be at play. An incorrect dough temperature could be the culprit; ensure your warm water is just right. Sometimes, adding too much flour can also lead to a dense texture. Except for slight stickiness, the dough should remain manageable. Make sure to knead it enough—this helps develop the gluten, which is crucial for a light and fluffy pita!
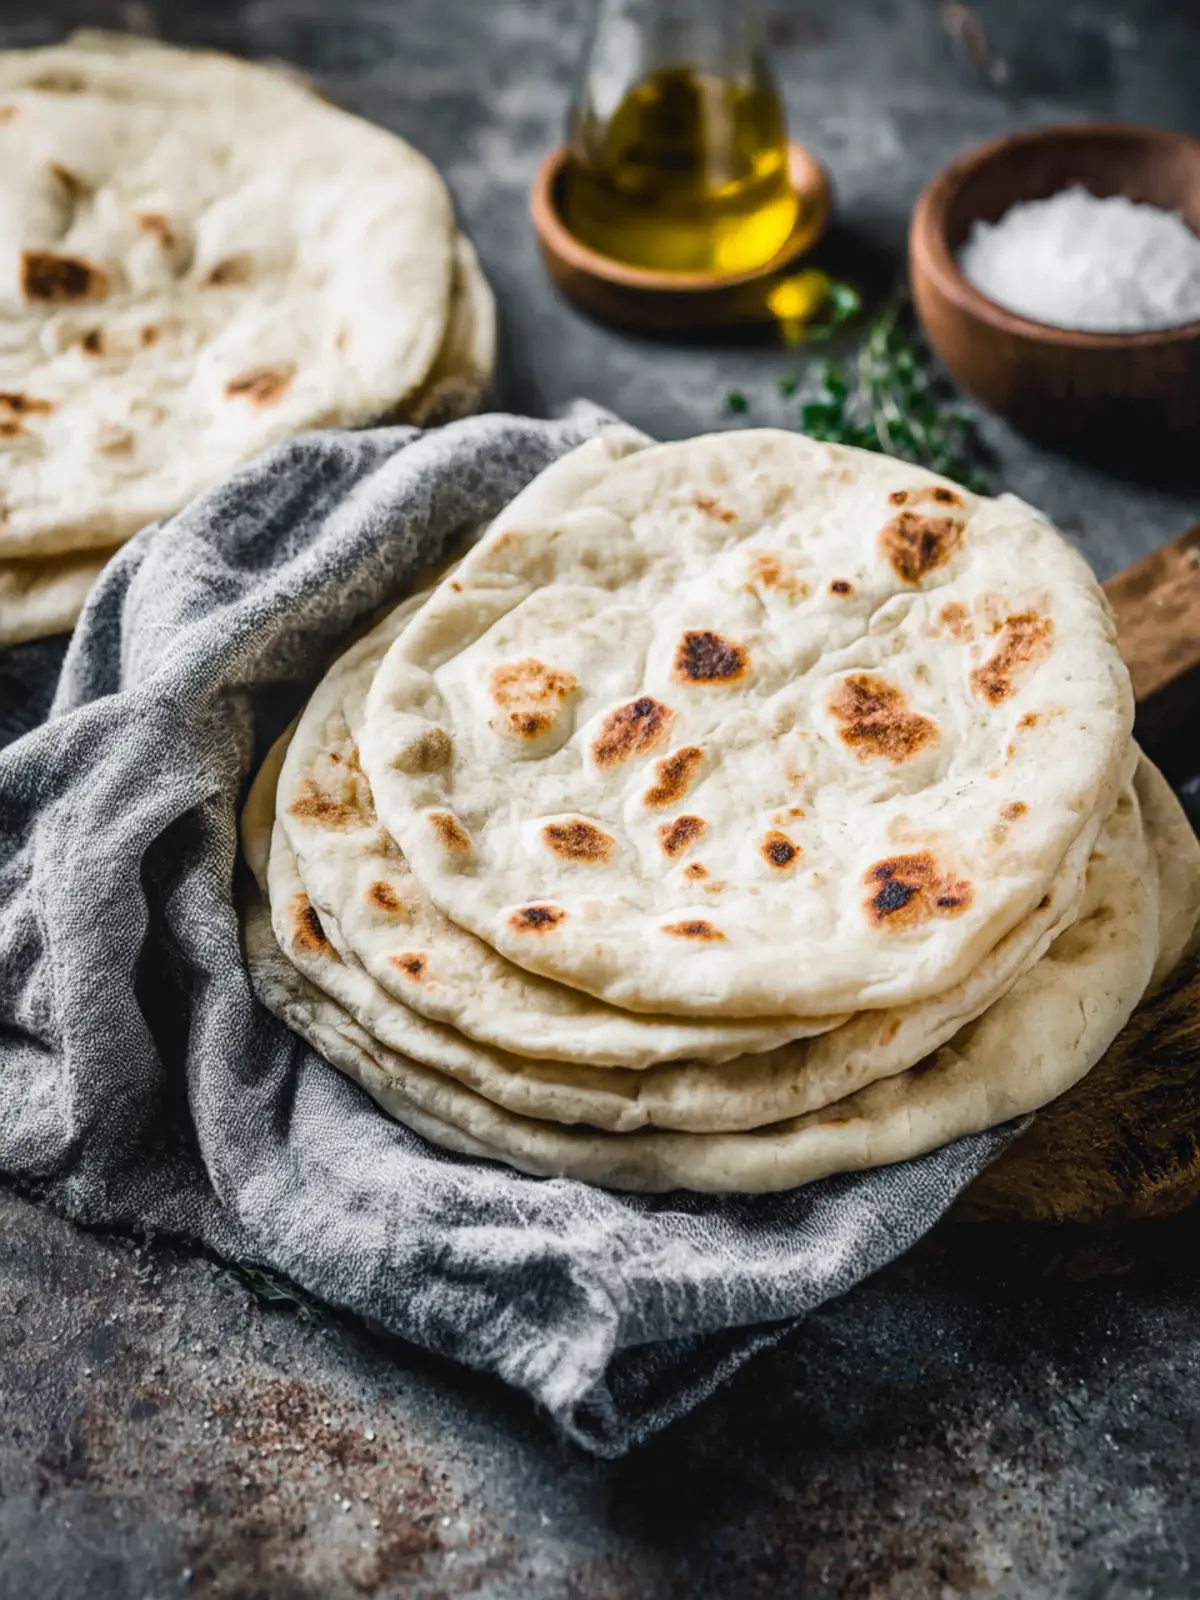
Easy Homemade Pita Bread for Fresh Flavor Anytime
Ingredients
Equipment
Method
- In a bowl, mix the warm water, instant yeast, and sugar, allowing it to sit for about 5 minutes until foamy.
- Gently stir in the fine sea salt and olive oil into the yeast mixture.
- Gradually add the all-purpose flour, mixing until a soft dough begins forming.
- On a floured surface, knead the dough for about 8-10 minutes until smooth and elastic.
- Place the kneaded dough into a greased bowl, cover with a cloth, and let it rise until doubled in size, about 1 hour.
- Gently punch down the dough, divide it into equal portions, and shape each into a ball.
- Place the flattened dough rounds on a floured surface, cover, and let them rise for another 30 minutes.
- Preheat your oven to 475°F (245°C), then bake the pitas for about 3-5 minutes until puffed and golden.