
As autumn creeps in and Halloween decorations start to dot the neighborhood, I can’t help but feel the excitement in the air. This is the perfect time for spooktacular treats that bring a touch of whimsy to gatherings. Recently, I was inspired to create something both playful and delicious — enter my Mummy Oreo Balls! These little guys are not just cute; they’re a hit at every party and an absolute breeze to make. With only a handful of ingredients and minimal effort, you can whip up a batch that will delight both kids and adults alike.
Picture it: the sweet crunch of Golden Oreos wrapped in a creamy filling, enveloped in a smooth vanilla coating, and finished off with squishy candy eyes. They seem to jump right off the plate! If you’re looking to brighten your dessert table or simply to impress your loved ones without spending hours in the kitchen, these Mummy Oreo Balls are the answer. So grab your apron, and let’s get started on this fun and festive treat!
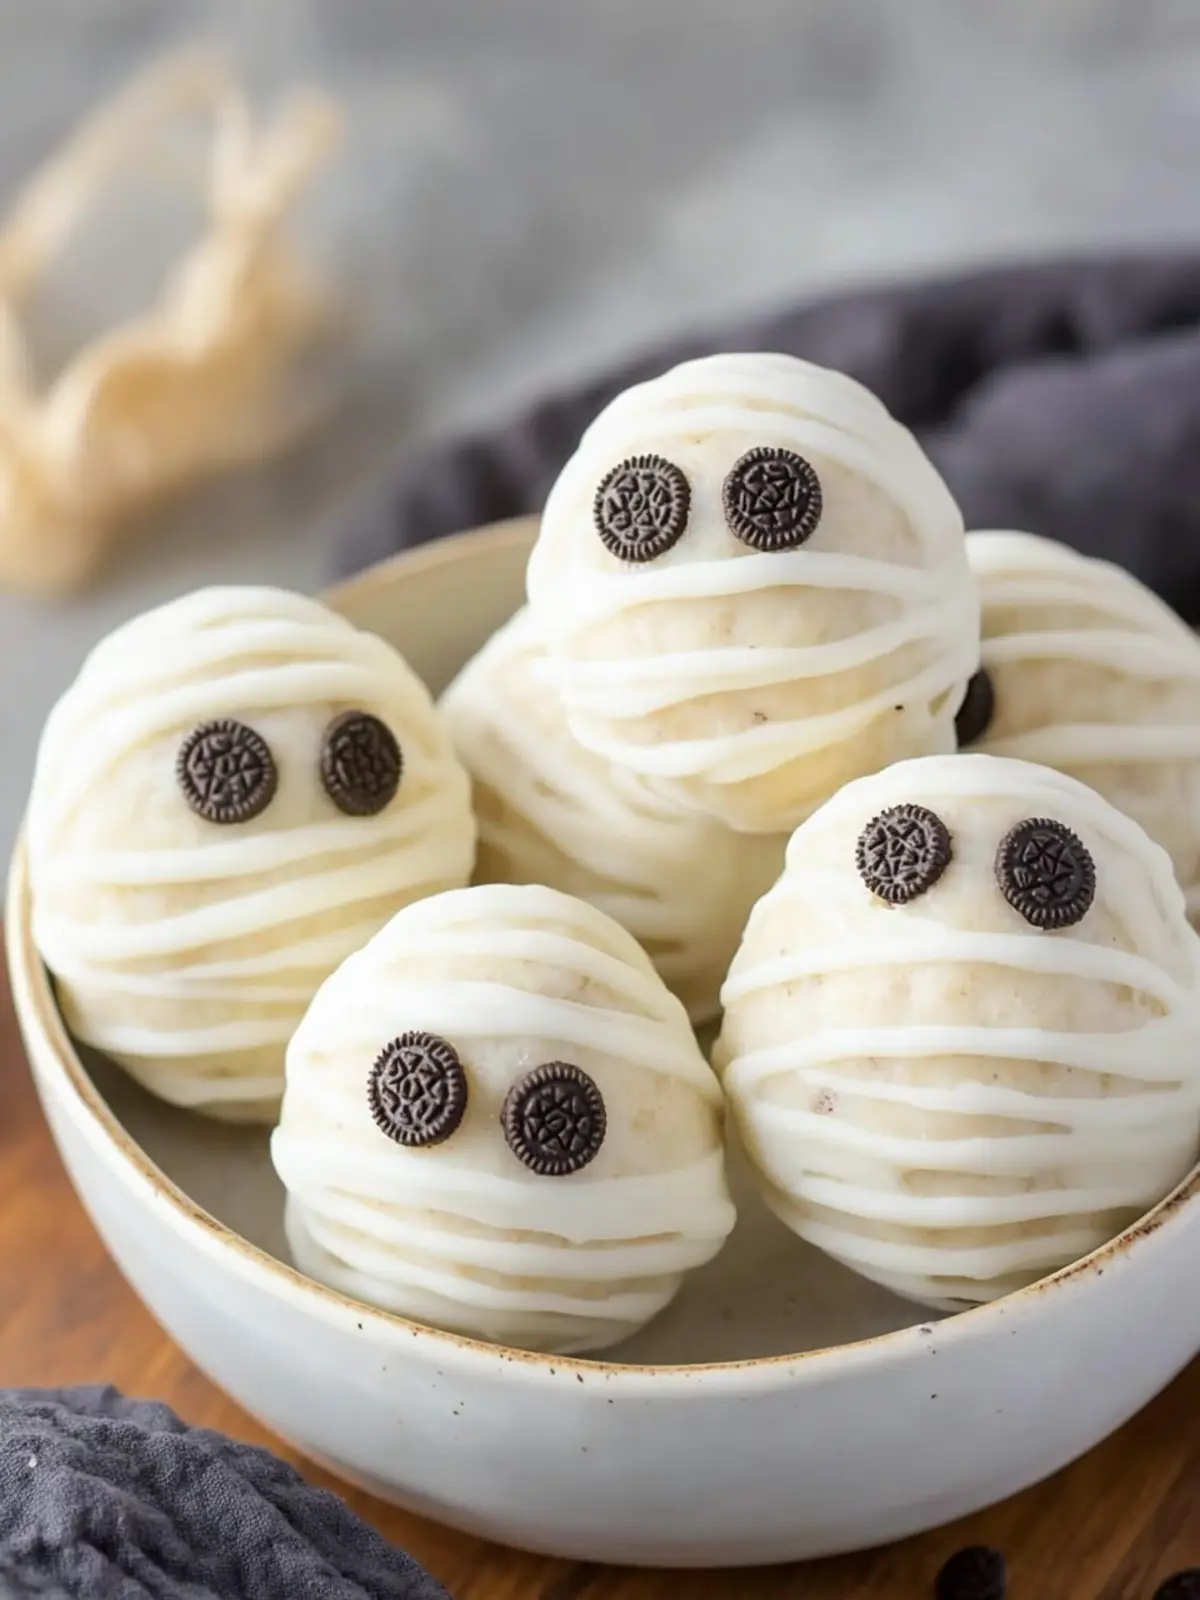
Why are Mummy Oreo Balls a must-try?
Uniqueness: These Mummy Oreo Balls transform classic ingredients into a whimsical Halloween treat that’s sure to impress!
Simplicity: With just a few easy steps, anyone can create these adorable bites—no baking required!
Crowd-Pleaser: They’re fun, festive, and appealing to both kids and adults alike, making them perfect for gatherings.
Versatile: Customize them for any occasion by changing the toppings or colors; the possibilities are endless!
Quick Treat: Whip these up in under an hour, including freezing time, and you’ll have a delightful dessert ready to serve. Feeling inspired to make more festive treats? Check out our other fun desserts for even more ideas!
Mummy Oreo Balls Ingredients
• Let’s gather the essentials for these spooky treats!
For the Truffle Mixture
- Golden Oreos – 20 – the key ingredient for a sweet and crunchy base.
- Cream Cheese – 4 ounces, softened – adds a rich, creamy texture that binds everything together.
For the Coating
- Vanilla Candy Melts – 10 ounces – makes for a smooth and tasty outer layer; feel free to choose colored melts for a fun twist!
For Decoration
- Candy Eyes – 1 package – bring your Mummy Oreo Balls to life with adorable, googly eyes!
These Mummy Oreo Balls are sure to be a hit at any gathering with their delightful flavors and festive appearance!
How to Make Mummy Oreo Balls
-
Crush the Golden Oreos into fine crumbs using a food processor or a zip-top bag with a rolling pin. This will create a sweet foundation for your truffles.
-
Mix together the crushed Oreos and softened cream cheese in a large bowl until well combined. The mixture should be creamy and easy to handle—like delicious cookie dough!
-
Roll the mixture into small balls, about 1 inch in diameter, and place them on a baking sheet lined with parchment paper. This step will form the base of your mummy treats.
-
Freeze the balls for about 30 minutes to set. This will help them firm up, making the dipping process easier and mess-free.
-
Melt the vanilla candy melts or dipping wafers according to package instructions, stirring regularly until smooth and glossy. Keep your melted coating warm while you work.
-
Dip each frozen ball into the melted candy, ensuring it’s completely coated. Gently shake off any excess coating before placing them back on the baking sheet.
-
Attach candy eyes to each dipped truffle while the coating is still wet. Position them creatively; the more personality, the better!
-
Set the truffles by allowing them to harden completely at room temperature, or refrigerate them for a shorter setting time. They’ll be ready to enjoy in no time!
Optional: Drizzle additional melted candy over the truffles for a spooky, mummy-like effect!
Exact quantities are listed in the recipe card below.
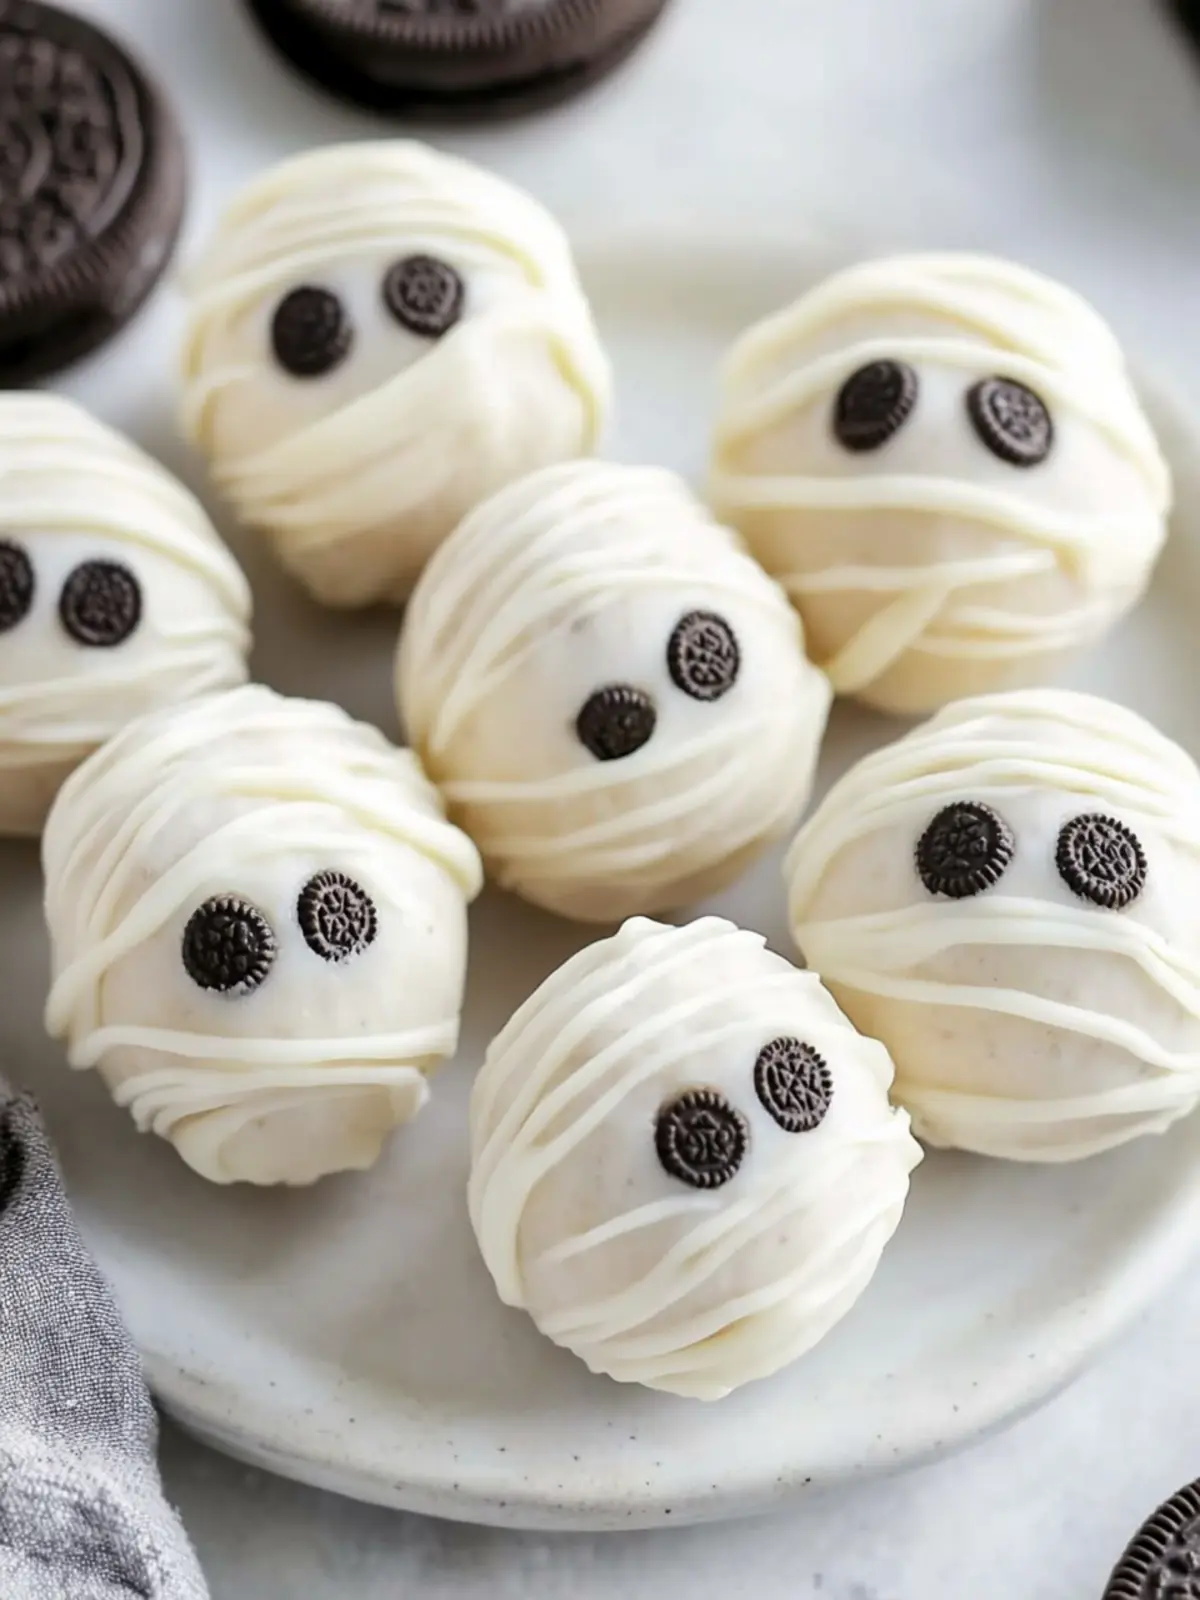
What to Serve with Mummy Oreo Balls?
Elevate your spooky sweet experience with these charming pairings that balance flavors and textures beautifully.
-
Milk: A classic pairing that complements the sweet crunch of the Oreo truffles while ensuring every bite remains soft and dreamy.
-
Hot Cocoa: Perfect for chilly autumn nights, a warm cup of cocoa enlivens the senses and pairs well with these delightful treats.
-
Caramel Sauce: Drizzle this rich, golden sauce over your Mummy Oreo Balls for an inviting, gooey treat that adds a touch of indulgence.
-
Pumpkin Spice Cookies: These soft, spiced cookies harmonize perfectly with the flavors of fall, providing a cozy contrast to the creamy truffles.
-
Apple Slices: Crisp, fresh apple slices provide a refreshing crunch that lightens up the sweetness of the Mummy Oreo Balls, making for a balanced dessert.
-
Vanilla Ice Cream: Creamy and cool, a scoop of vanilla ice cream elevates this dessert experience and balances the flavors nicely.
-
Chardonnay: A chilled glass of Chardonnay offers a light, fruity flavor that enhances the richness of the truffles, creating a delightful pairing for adult gatherings.
These delicious accompaniments will not only complement your Mummy Oreo Balls but also create a gathering full of festive delight!
Make Ahead Options
These Mummy Oreo Balls are perfect for busy home cooks looking to save time! You can prepare the truffle mixture up to 24 hours in advance by mixing the crushed Golden Oreos with softened cream cheese and rolling them into balls. After that, simply store them in an airtight container in the refrigerator until you’re ready to dip. For the coating, melt the vanilla candy melts just before serving; this way, the final product maintains its delicious texture and vibrant color. When ready to indulge, dip the chilled truffles in the melted candy, add the candy eyes, and enjoy these delightful treats without any fuss!
How to Store and Freeze Mummy Oreo Balls
- Room Temperature: Enjoy your Mummy Oreo Balls at room temperature for up to 2 days; keep them covered to maintain freshness and prevent drying out.
- Fridge: Store leftover Mummy Oreo Balls in an airtight container in the fridge for up to 1 week. This will keep them cool and delicious for snacking!
- Freezer: Freeze the truffles in a single layer on a baking sheet before transferring them to a freezer-safe container. They’ll stay fresh for up to 2 months—perfect for holiday treats!
- Reheating: When ready to enjoy, thaw the Mummy Oreo Balls in the fridge overnight before serving. No need to reheat; they’re delightful cold!
Helpful Tricks for Mummy Oreo Balls
-
Crush Evenly: Make sure the Golden Oreos are finely crushed to avoid chunks that can disrupt the creamy texture of your truffles.
-
Cream Cheese Temperature: Use softened cream cheese as it blends easily with the crumbs. If it’s too cold, the mixture will be difficult to mix and shape.
-
Perfect Coating: Keep the melted candy at a consistent warm temperature for a smooth dip. If it cools too much, it will become clumpy and stick to your truffles.
-
Eye Placement: Attach candy eyes right after dipping while the coating is wet to ensure they stick properly; otherwise, you may end up with googly eyes rolling around!
-
Freezing Time: Don’t rush the freezing process! Allowing the balls to freeze for a full 30 minutes will help them hold their shape when dipping.
-
Storage Tips: If you have leftovers, store the Mummy Oreo Balls in an airtight container in the refrigerator for up to a week, keeping them fresh and delightful!
Mummy Oreo Balls Variations & Substitutions
Feel free to get creative with these delightful truffles and make them your own!
-
Nut-Free: Substitute the cream cheese with a nut-free cream cheese alternative for a safe option. This way, everyone can enjoy the treats without worry!
-
Dairy-Free: Use dairy-free cream cheese and coconut oil for dipping to create a vegan version that still tastes amazing. The creamy texture combines beautifully with the Oreo crumbs.
-
Flavor Boost: Add 1 teaspoon of vanilla extract or almond extract to the cream cheese mixture for an extra layer of flavor. It elevates the taste while keeping all the original yumminess intact!
-
Colorful Coating: Swap regular vanilla melts for colored candy melts to create vibrant, festive truffles perfect for any occasion. The colorful coating will definitely grab everyone’s attention!
-
Spooky Sprinkles: Before the candy coating sets, sprinkle Halloween-themed sprinkles or edible glitter on top for a fun, textured look. This little detail adds a charming festive touch.
-
Decadent Chocolate Dip: For chocolate lovers, dip the truffles in melted dark or milk chocolate instead of vanilla melts. This twist adds that rich, cocoa flavor everyone craves!
-
Mini Mummies: Roll the mixture into smaller, bite-sized balls for a fun, snackable treat that could even serve as party favors. These little guys will disappear in no time!
-
Add Heat: For a spicy kick, mix in a pinch of cayenne pepper or chili powder to the cream cheese before rolling. It’s an adventurous twist that bold foodies will appreciate!
Let your imagination run wild and enjoy personalized variations of these spooky treats!
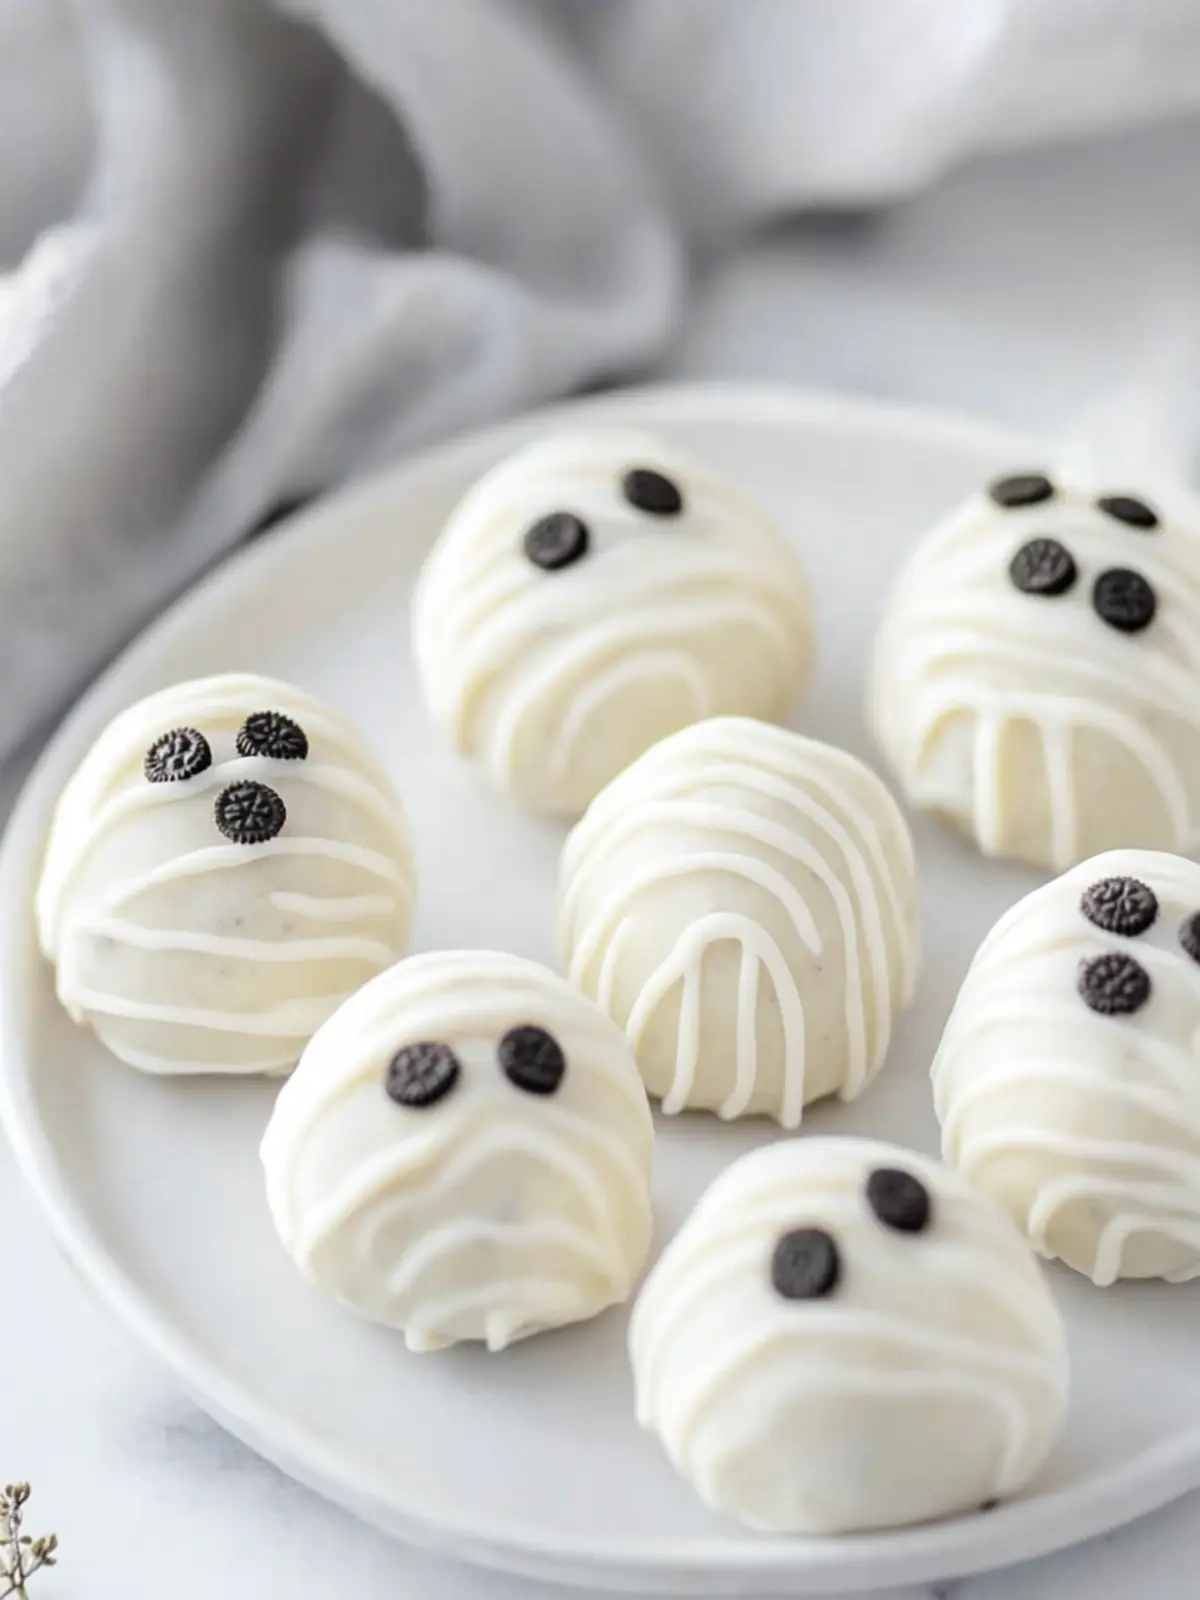
Mummy Oreo Balls Recipe FAQs
How do I select the best Golden Oreos for my Mummy Oreo Balls?
Absolutely! When picking out Golden Oreos, look for packages that are intact and free from any damage. Ensure the expiration date is fresh, as older cookies can become stale and affect the texture of your truffles.
What is the best way to store leftover Mummy Oreo Balls?
Very! To store your Mummy Oreo Balls, place them in an airtight container in the refrigerator. They’ll stay delicious for up to one week. Keep them covered to maintain their freshness and avoid any drying out.
Can I freeze Mummy Oreo Balls, and how?
Of course! To freeze your Mummy Oreo Balls, first, place them in a single layer on a baking sheet to freeze individually for about an hour. Once they are solid, transfer them to a freezer-safe container or zip-top bag, separating layers with parchment paper. They can be frozen for up to 2 months. When you’re ready to enjoy, simply thaw them in the refrigerator overnight—no need to reheat; they’re scrumptious cold!
What should I do if my coating is clumpy?
No worries! If your melted candy coating is clumping, it might be cooling too much. Try reheating it gently over a double boiler or in 15-second intervals in the microwave until smooth and glossy again. To ensure a perfect dip, maintain a warm temperature while working.
Are these Mummy Oreo Balls safe for kids with allergies?
Definitely! However, keep in mind that Golden Oreos contain wheat and dairy, so they are not suitable for those with gluten or lactose intolerances. If you’re accommodating allergies, consider checking for gluten-free cookies or alternative cream cheese options that are dairy-free. Always read labels to ensure safety.
How long should I freeze the truffle mixture before dipping?
The more the merrier! You should freeze the rolled truffles for about 30 minutes. This time allows them to firm up, which makes dipping in the melted coating easier and prevents them from losing their shape during the process.
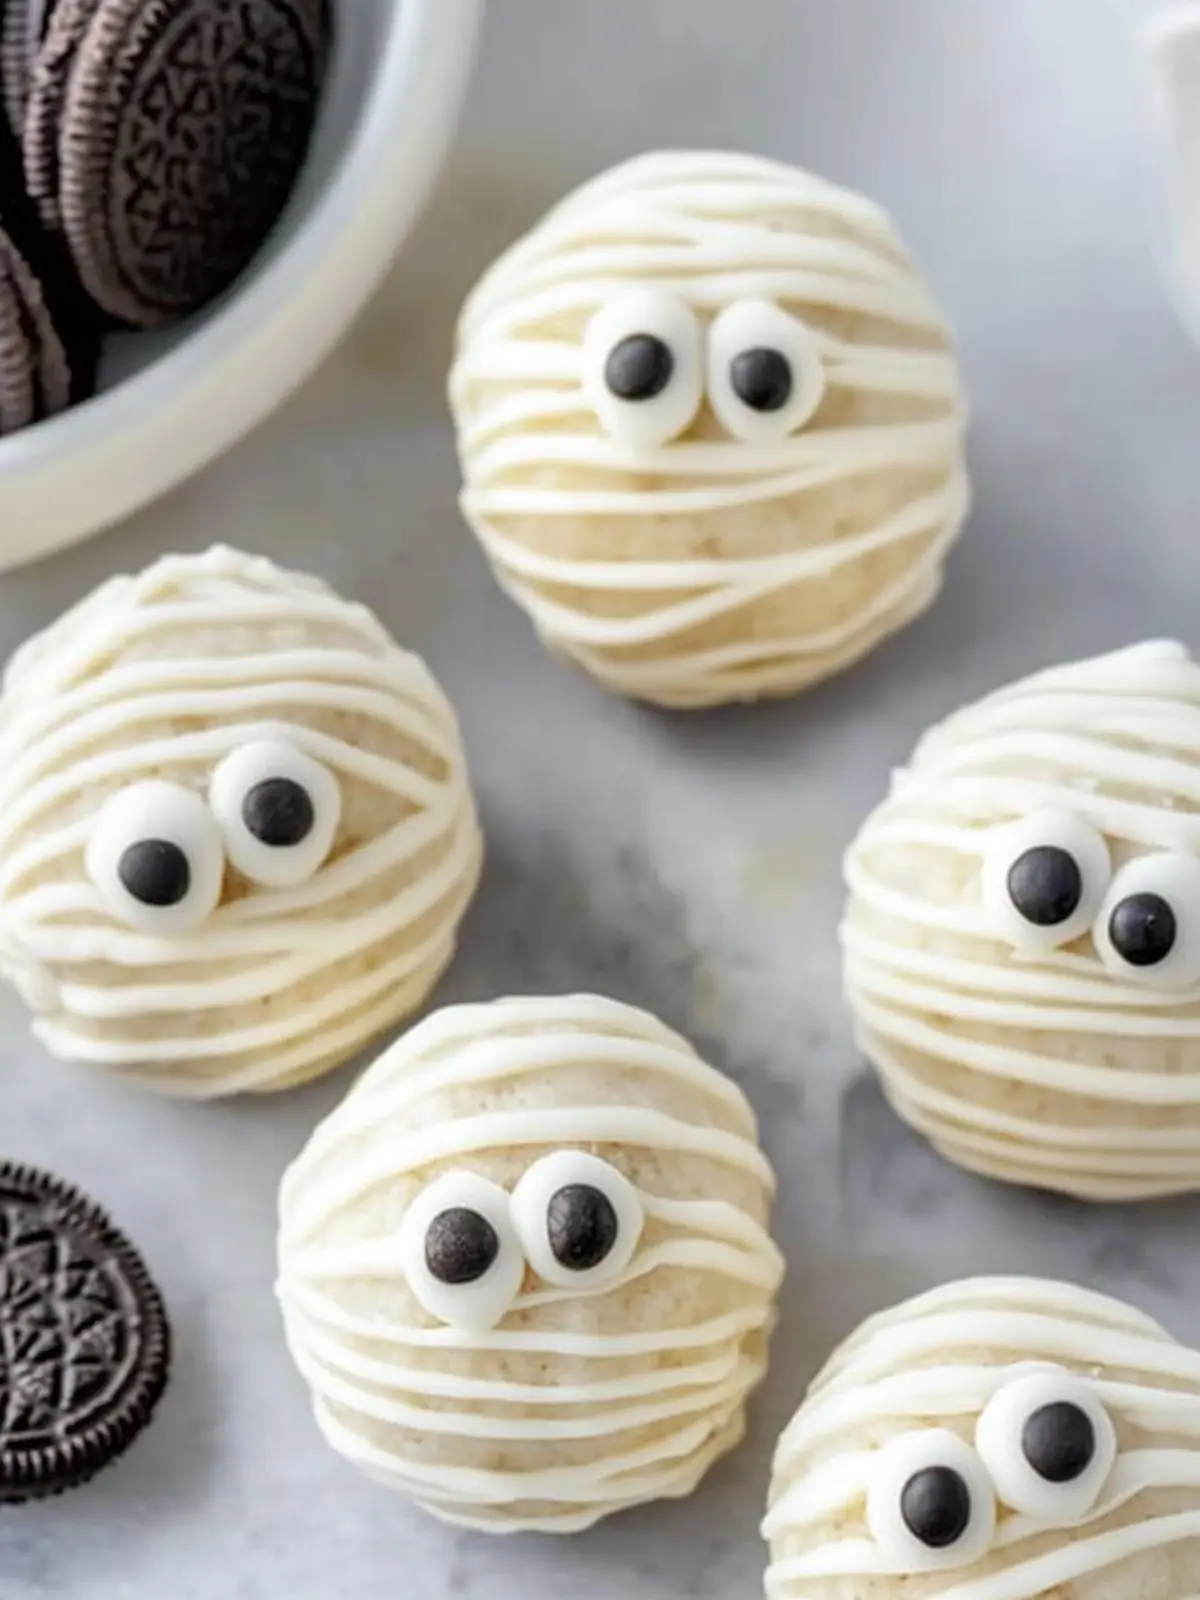
Mummy Oreo Balls: The Ultimate Spooky Treat You’ll Love
Ingredients
Equipment
Method
- Crush the Golden Oreos into fine crumbs using a food processor or a zip-top bag with a rolling pin.
- Mix together the crushed Oreos and softened cream cheese in a large bowl until well combined.
- Roll the mixture into small balls, about 1 inch in diameter, and place them on a baking sheet lined with parchment paper.
- Freeze the balls for about 30 minutes to set.
- Melt the vanilla candy melts according to package instructions, stirring regularly until smooth and glossy.
- Dip each frozen ball into the melted candy, ensuring it’s completely coated.
- Attach candy eyes to each dipped truffle while the coating is still wet.
- Set the truffles by allowing them to harden completely at room temperature or refrigerate them for a shorter setting time.