
There’s a certain joy that fills the kitchen when you decide to whip up a dish that outshines takeout, and that joy is palpable with this Better Than Takeout Mongolian Chicken. Picture this: vibrant chunks of crispy chicken enveloped in a sauce that glistens like liquid gold, bursting with the aromatic flavors of garlic and ginger. This recipe is not just a meal; it’s a journey of transforming humble ingredients into a sticky, savory masterpiece that will make your weeknight dinners feel extraordinary.
After a long day, I often dread the thought of fast food, which is why I turned to this delectable recipe. With minimal prep and a quick cook time, I can enjoy a comforting feast without breaking a sweat. Whether you’re entertaining friends or just indulging in a cozy night at home, this Mongolian Chicken will leave everyone asking for seconds. Trust me; these tender bites of chicken are about to become your new favorite go-to dish!
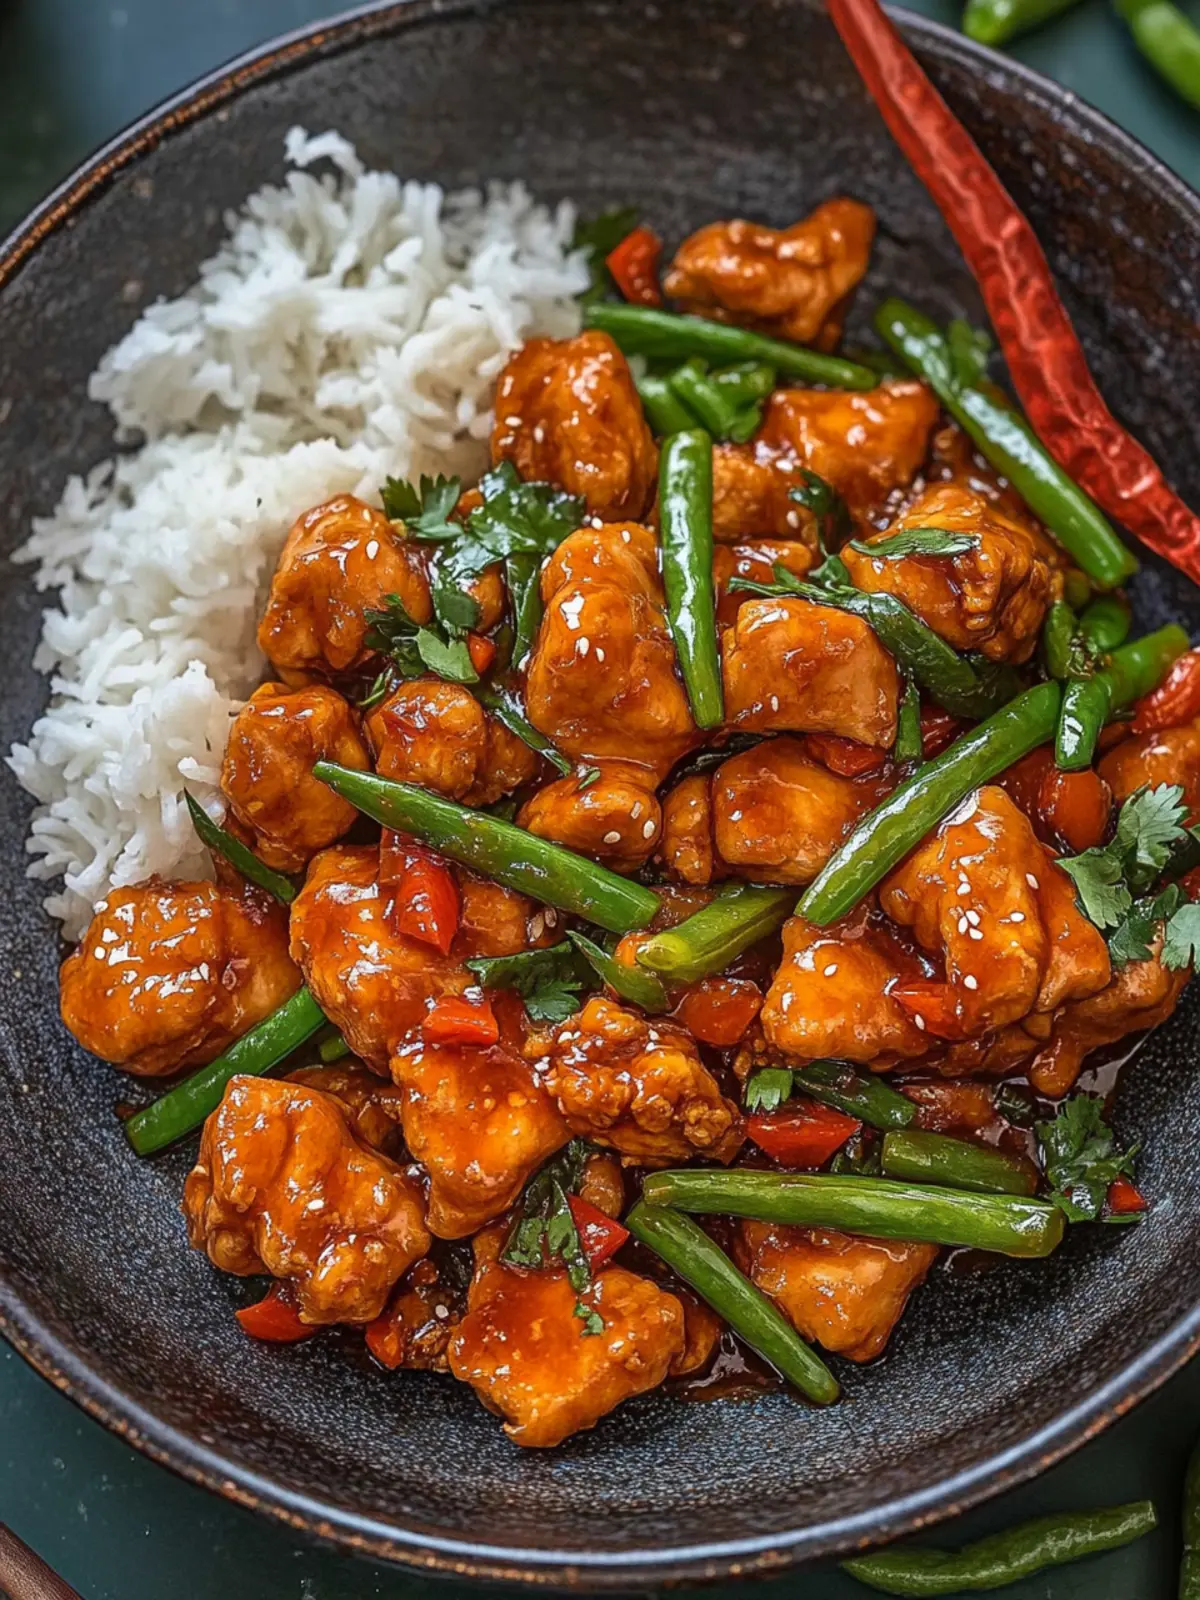
Why is Mongolian Chicken so irresistible?
Flavor Explosion: The combination of rich soy sauce, garlic, and ginger creates a savory symphony that dances on your palate.
Quick & Easy: With a simple preparation and cooking process, you can whip up this delightful meal in under 30 minutes!
Versatile: This dish easily adapts—swap chicken for shrimp or tofu for different protein options.
Crowd-Pleaser: Perfect for gatherings, this meal impresses family and friends, making it a dinner party favorite.
Better than Takeout: Skip the stay-in and savor restaurant-quality flavors from the comfort of your home with this satisfying recipe. You might want to consider some delicious serving suggestions to elevate your dining experience!
Mongolian Chicken Ingredients
• Get ready to create restaurant-style flavors at home with these simple ingredients!
For the Chicken
- Chicken – Chicken thighs are recommended for their juiciness, while breasts offer a leaner alternative.
- Neutral oil – Essential for frying; can substitute with canola or vegetable oil for a similar result.
- Potato starch – This ingredient creates a crispy coating on the chicken; cornstarch serves as a gluten-free alternative.
For the Sauce
- Chicken stock – Adds depth and richness to the sauce; opt for low-sodium to manage the salt content.
- Light soy sauce – Provides umami flavor; replace with tamari for a gluten-free version.
- Dark soy sauce – Deepens the flavor and adds color; more light soy can be substituted, but it will alter the dish’s appearance.
- Brown sugar – Brings sweetness and stickiness to the sauce; honey or coconut sugar can be exchanged if desired.
- Chicken powder – Enhances overall flavor; bouillon powder is a good substitute, just check for gluten-free options.
Aromatic Add-Ins
- Garlic – Fresh garlic is recommended for the best flavor; it’s a must-have in this dish.
- Ginger – Adds a fragrant aroma; freshly grated ginger is always the best choice.
- Scallions – Use both white and green parts for garnish and flavor depth; they complete this dish beautifully.
Prepare these ingredients, and you’ll be just minutes away from savoring the remarkable taste of Mongolian Chicken that’s truly better than takeout!
How to Make Mongolian Chicken
-
Marinate Chicken: In a bowl, combine the chicken with the marinade ingredients. Let it sit for 15–20 minutes until it becomes tacky, ensuring the flavors infuse well.
-
Prepare Sauce: Whisk together chicken stock, light soy sauce, dark soy sauce, brown sugar, and chicken powder in a separate bowl. Create a slurry by mixing potato starch with a bit of water and reserve for later.
-
Shallow-Fry Chicken: Heat oil in a pan over medium-high heat. Fry the marinated chicken pieces in batches for about 4–5 minutes or until golden brown and cooked through. Set aside on a plate lined with paper towels.
-
Stir-Fry Aromatics: Reduce heat to medium and add chilies, garlic, and ginger to the pan. Stir-fry for about 30 seconds until fragrant, ensuring not to let them burn.
-
Thicken Sauce: Increase the heat back up and pour in the prepared sauce mixture. Slowly add the potato starch slurry while stirring constantly until the sauce thickens and becomes glossy, about 2 minutes.
-
Finish Dish: Toss the fried chicken in the thickened sauce until well coated. Drizzle with sesame oil for extra flavor and serve immediately.
Optional: Garnish with sliced scallions and sesame seeds for a delightful finishing touch.
Exact quantities are listed in the recipe card below.
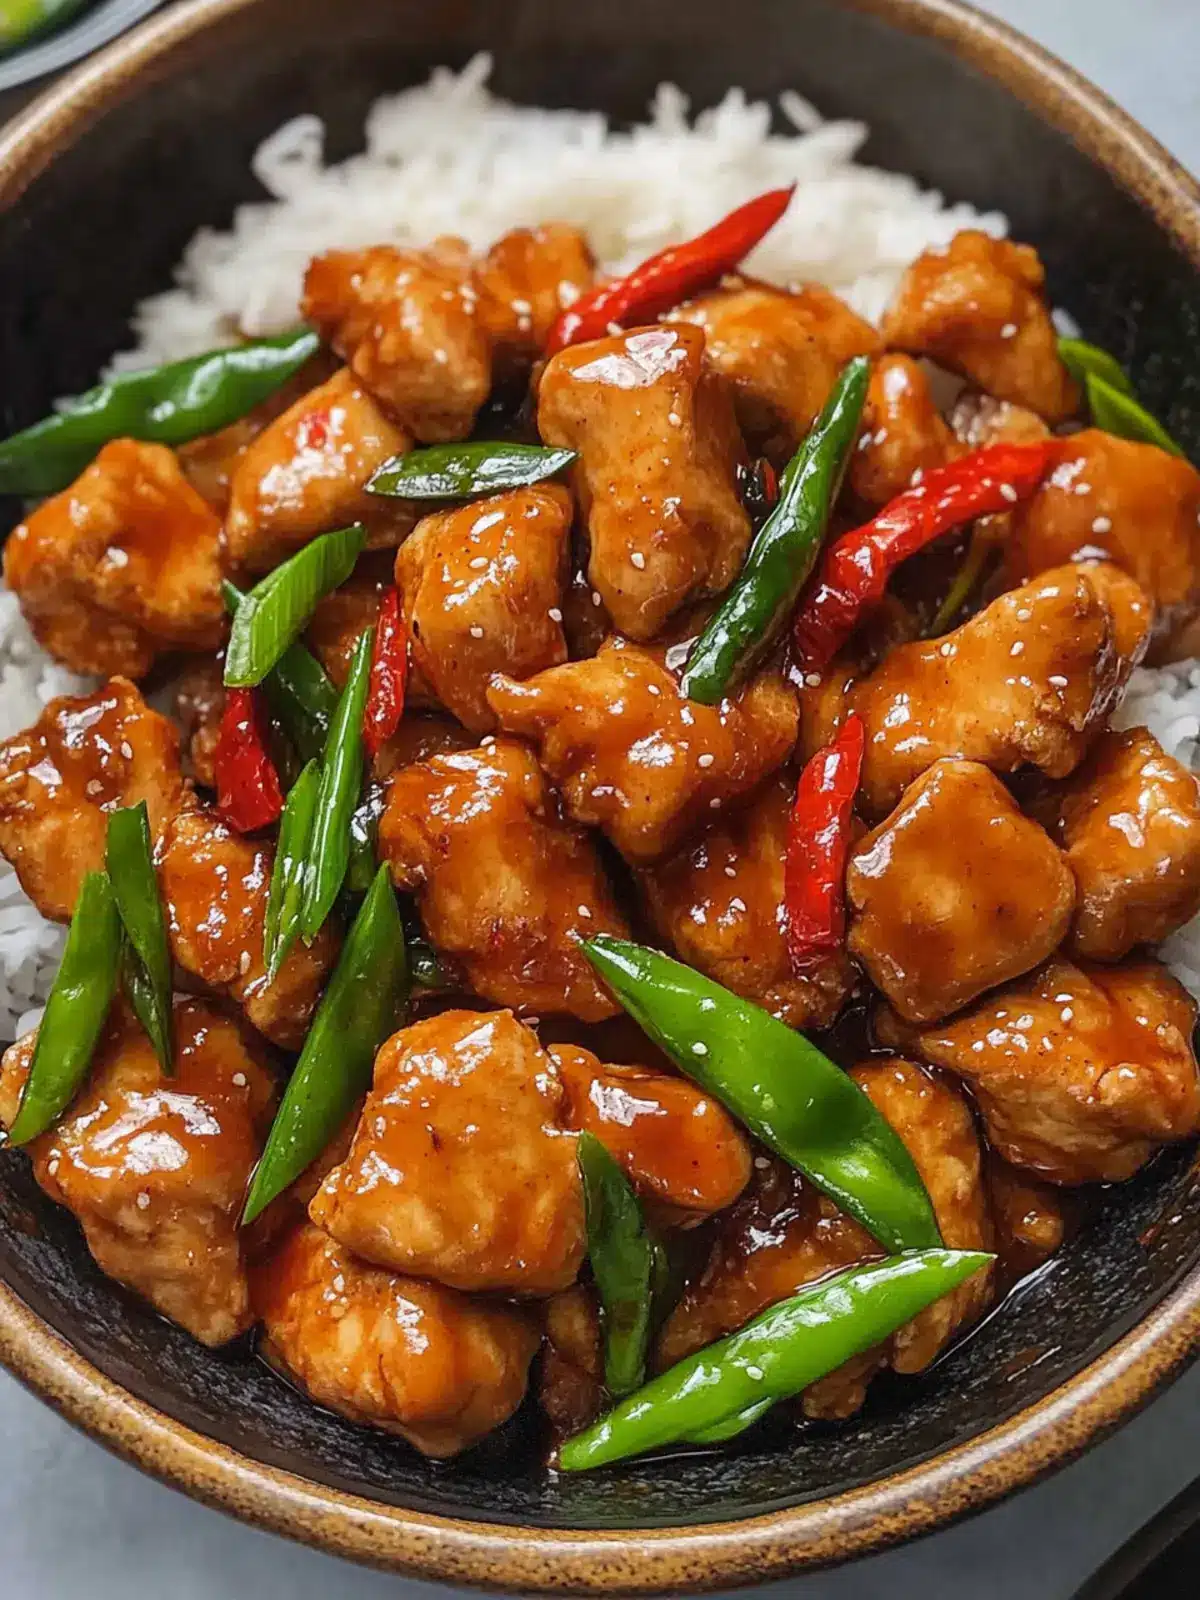
Expert Tips for Mongolian Chicken
-
Batch Cooking: Cook chicken in batches to maintain crispness. Overcrowding the pan can lead to steaming and soggy bites.
-
Proper Marinating: Ensure the chicken is well-coated and tacky after marinating. This allows for a better adherence of the crispy coating once fried.
-
Crispy Coating: Always start with dry chicken before coating with potato starch. This step is key to achieving that light and crunchiness we all crave in Mongolian Chicken.
-
Avoid Burning Aromatics: Stir-frying garlic and ginger requires attention. Remove them from heat as soon as they’re fragrant to prevent a bitter taste in your sauce.
-
Heat Adjustment: If the sauce thickens too quickly, lower the heat gradually. This will allow for even thickening and prevent burning.
-
Personal Touches: Feel free to adjust the sweetness or spiciness of your sauce. Adding chili flakes gives a nice kick, and balancing with stock can help achieve your preferred flavor profile.
How to Store and Freeze Mongolian Chicken
Fridge: Store leftover Mongolian Chicken in an airtight container for up to 3 days; the flavors will deepen as it sits.
Freezer: Freeze portions of Mongolian Chicken in freezer-safe containers for up to 2 months. Allow it to cool completely before sealing to maintain quality.
Reheating: Thaw overnight in the fridge before reheating. Warm gently in a skillet over low heat until heated through, ensuring the chicken remains tender and the sauce is glossy.
Note: When storing, avoid overcrowding the container to preserve the crispy texture of the chicken.
Make Ahead Options
These Mongolian Chicken preparations are perfect for busy weeknights! You can marinate the chicken up to 24 hours in advance, allowing the flavors to meld beautifully. Additionally, you can prepare the sauce (whisk together chicken stock, both soy sauces, brown sugar, and chicken powder) and store it in an airtight container in the fridge for up to 3 days. When you’re ready to serve, simply shallow-fry the marinated chicken until golden, reheat the sauce, and mix them together, finishing with a drizzle of sesame oil. This way, your meal is just as delicious and incredibly time-saving, turning a hectic evening into a delightful dining experience.
What to Serve with Mongolian Chicken?
Indulge in a full-flavored meal experience that beautifully complements your savory creation, enhancing every bite.
-
Steamed Jasmine Rice: A fragrant, fluffy base that soaks up the sticky sauce beautifully, making each mouthful a delightful taste experience.
-
Lo Mein Noodles: These chewy noodles add a satisfying texture and are perfect for slathering in the sweet soy sauce of Mongolian Chicken.
-
Crispy Egg Rolls: These crunchy bites filled with fresh vegetables create a delightful contrast, adding a welcome crunch to your dinner table.
-
Garlic Broccoli: This vibrant side offers a fresh, nutritious balance—a pop of green that lightens up the dinner plate while echoing the flavors of garlic in your main dish.
-
Chili Garlic Cucumber Salad: A cool, refreshing salad that perfectly offsets the richness of the chicken, adding zesty notes to your meal.
-
Sesame Spinach: This lightly sautéed side dish provides earthy tones and a rich umami flavor that beautifully cross-pollinates with the dish’s sweet and savory profile.
-
Mango Lassi: A creamy, sweet drink that helps cleanse the palate while offering cooling relief against the savory heat of the chicken.
-
Chocolate Mochi: A delightful, chewy dessert that carries a hint of sweetness to round out the meal, contrasting with the bold flavors of your Mongolian Chicken.
Mongolian Chicken Variations
Feel free to get creative and make this dish your own with some delightful twists and tweaks!
-
Seafood Swap: Use shrimp or scallops instead of chicken for a delicious seafood twist; they’ll cook quickly and absorb the flavors wonderfully.
-
Veggie Bonus: Add in bell peppers, broccoli, or snap peas to boost nutrition and color; they’ll add a satisfying crunch alongside the chicken.
-
Tofu Twist: For a vegetarian version, swap chicken with firm tofu. Simply press to remove water, then marinate and fry until crispy.
-
Spicy Kick: Incorporate fresh or dried chili peppers to amp up the heat; balance the spiciness with a splash of lime juice for brightness.
-
Brown Sugar Alternatives: Try using honey or maple syrup instead of brown sugar for a unique sweetness that enhances the sauce.
-
Herb Infusion: Add fresh cilantro or basil at the end for a fragrant herbal lift. This small addition can transform the flavor profile!
-
Gluten-Free Delight: Substitute light and dark soy sauces with tamari or coconut aminos for a gluten-free version without sacrificing flavor.
-
Ultimate Crunch: For an even crispier finish, double fry the chicken pieces. The second fry ensures that extra crunch that’s simply irresistible!
These variations not only enhance the flavor but also make your cooking more enjoyable and personalized to your tastes!
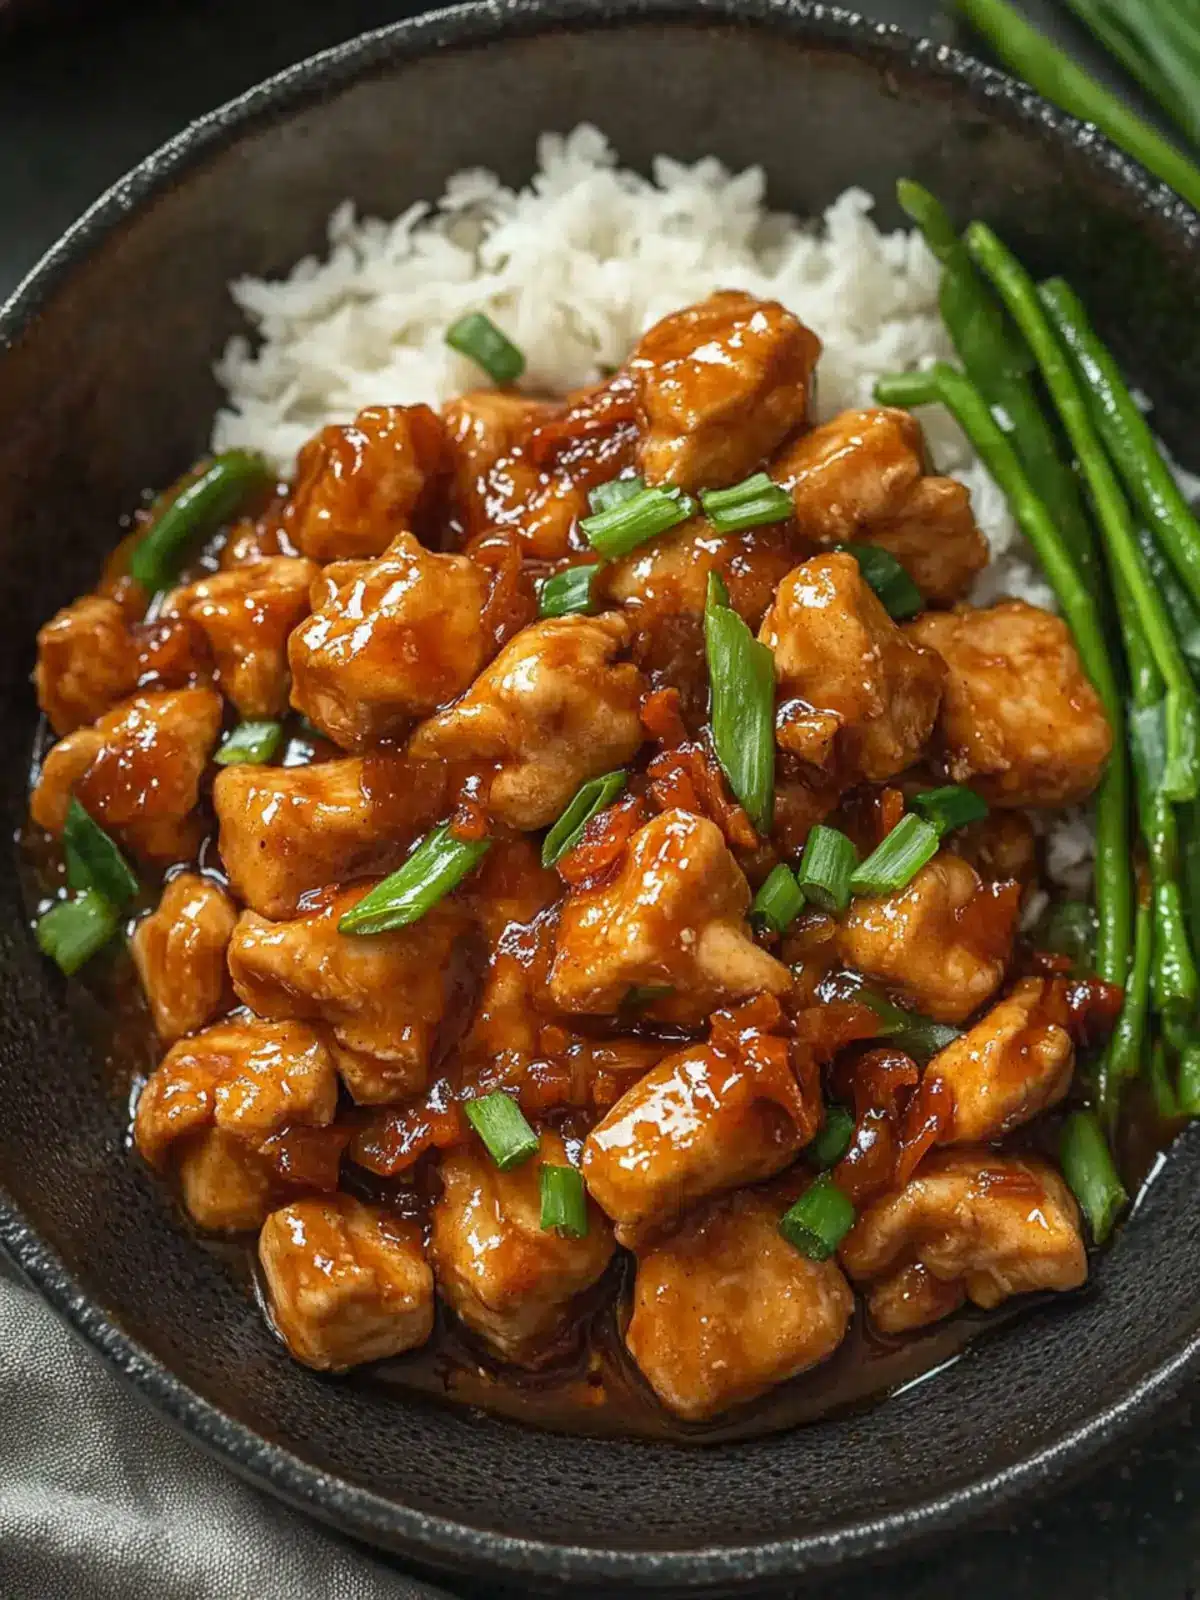
Mongolian Chicken Recipe FAQs
What type of chicken is best for Mongolian Chicken?
I recommend using chicken thighs for their juiciness and tenderness, but boneless, skinless chicken breasts work well for a leaner option. Just remember to slice the chicken against the grain for the most tender result!
How should I store leftover Mongolian Chicken?
Store your leftover Mongolian Chicken in an airtight container in the fridge for up to 3 days. The flavors actually deepen overnight, making it even more delicious the next day. Be sure to let it cool completely before sealing to maintain the best quality!
Can I freeze Mongolian Chicken?
Absolutely! You can freeze portions of Mongolian Chicken in freezer-safe containers for up to 2 months. Just allow it to cool completely before sealing. When you’re ready to enjoy it, thaw it overnight in the fridge and then gently reheat in a skillet over low heat to keep the chicken tender and the sauce glossy.
What should I do if my sauce is too thin?
If your sauce turns out too thin, don’t worry! Simply create an additional slurry by mixing a tablespoon of potato starch or cornstarch with a tablespoon of cold water. Stir it into the sauce over medium heat, and continue stirring until it thickens to your desired consistency. This usually takes just a minute or two!
Are there gluten-free options for this recipe?
Yes! To make Mongolian Chicken gluten-free, substitute light soy sauce with tamari and ensure that the chicken powder or bouillon used is gluten-free as well. Always double-check the labels on any pre-prepared products to ensure they are safe for your dietary needs.
Can I include vegetables in my Mongolian Chicken?
The more, the merrier! You can absolutely add vegetables like bell peppers, broccoli, or snap peas to your dish for extra nutrition and color. Just stir-fry them alongside the garlic and ginger before adding the chicken back in during the final steps of cooking. Enjoy!
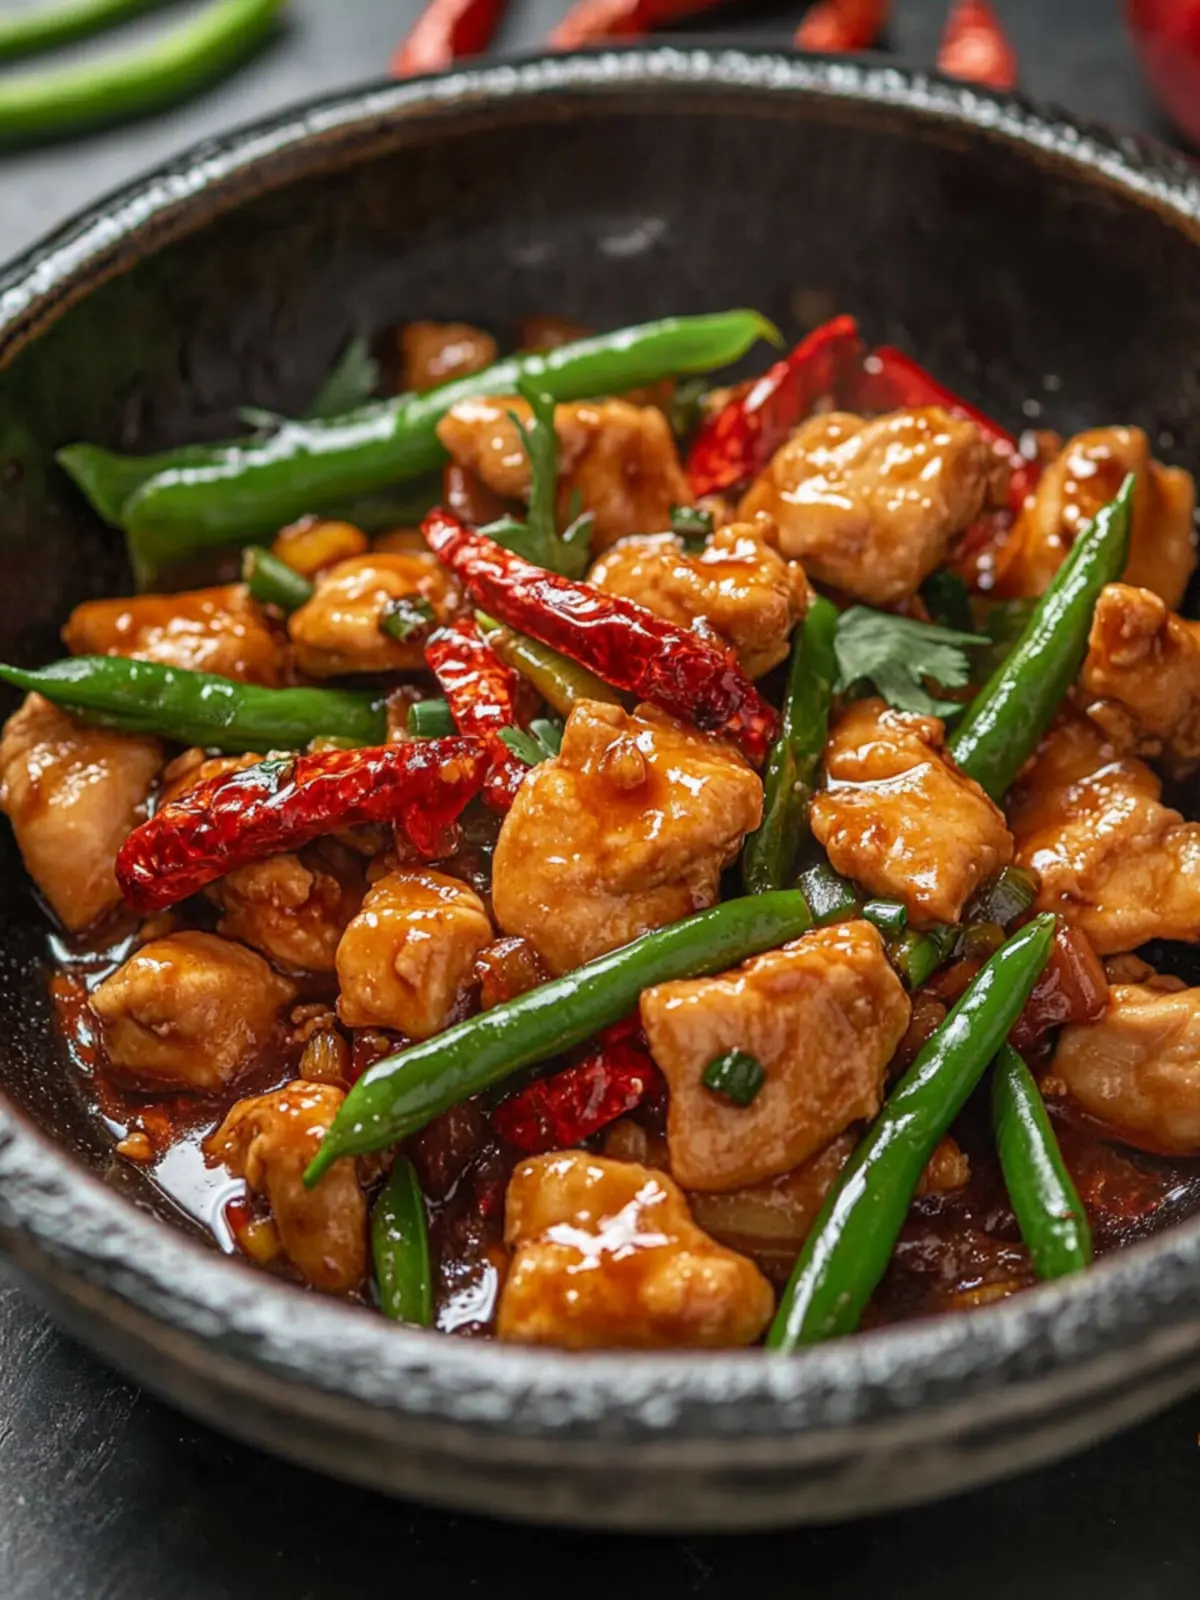
Mongolian Chicken Made Easy: Better Than Takeout Tonight
Ingredients
Equipment
Method
- Marinate Chicken: In a bowl, combine the chicken with the marinade ingredients. Let it sit for 15–20 minutes until it becomes tacky, ensuring the flavors infuse well.
- Prepare Sauce: Whisk together chicken stock, light soy sauce, dark soy sauce, brown sugar, and chicken powder in a separate bowl. Create a slurry by mixing potato starch with a bit of water and reserve for later.
- Shallow-Fry Chicken: Heat oil in a pan over medium-high heat. Fry the marinated chicken pieces in batches for about 4–5 minutes or until golden brown and cooked through. Set aside on a plate lined with paper towels.
- Stir-Fry Aromatics: Reduce heat to medium and add chilies, garlic, and ginger to the pan. Stir-fry for about 30 seconds until fragrant, ensuring not to let them burn.
- Thicken Sauce: Increase the heat back up and pour in the prepared sauce mixture. Slowly add the potato starch slurry while stirring constantly until the sauce thickens and becomes glossy, about 2 minutes.
- Finish Dish: Toss the fried chicken in the thickened sauce until well coated. Drizzle with sesame oil for extra flavor and serve immediately.