
There’s nothing quite like the enticing aroma of cheesy goodness wafting through the kitchen, especially when fresh jalapeños are thrown into the mix. I stumbled upon this incredible recipe for Jalapeño Cheese Squares during a friends’ gathering when I was searching for something easy yet delicious to whip up. These creamy squares are not only a hit at parties but also a perfect solution for banishing boring fast food from your life. Each bite delivers a delightful contrast of luscious creaminess and a spicy kick, making them a standout appetizer that guests will rave about.
Whether you’re hosting a gathering or just looking for a scrumptious snack, these Jalapeño Cheese Squares are sure to impress. Best of all, they come together in just a few simple steps. Let’s dive into the recipe and discover how to create this crowd-pleasing favorite that’ll have everyone asking for more!
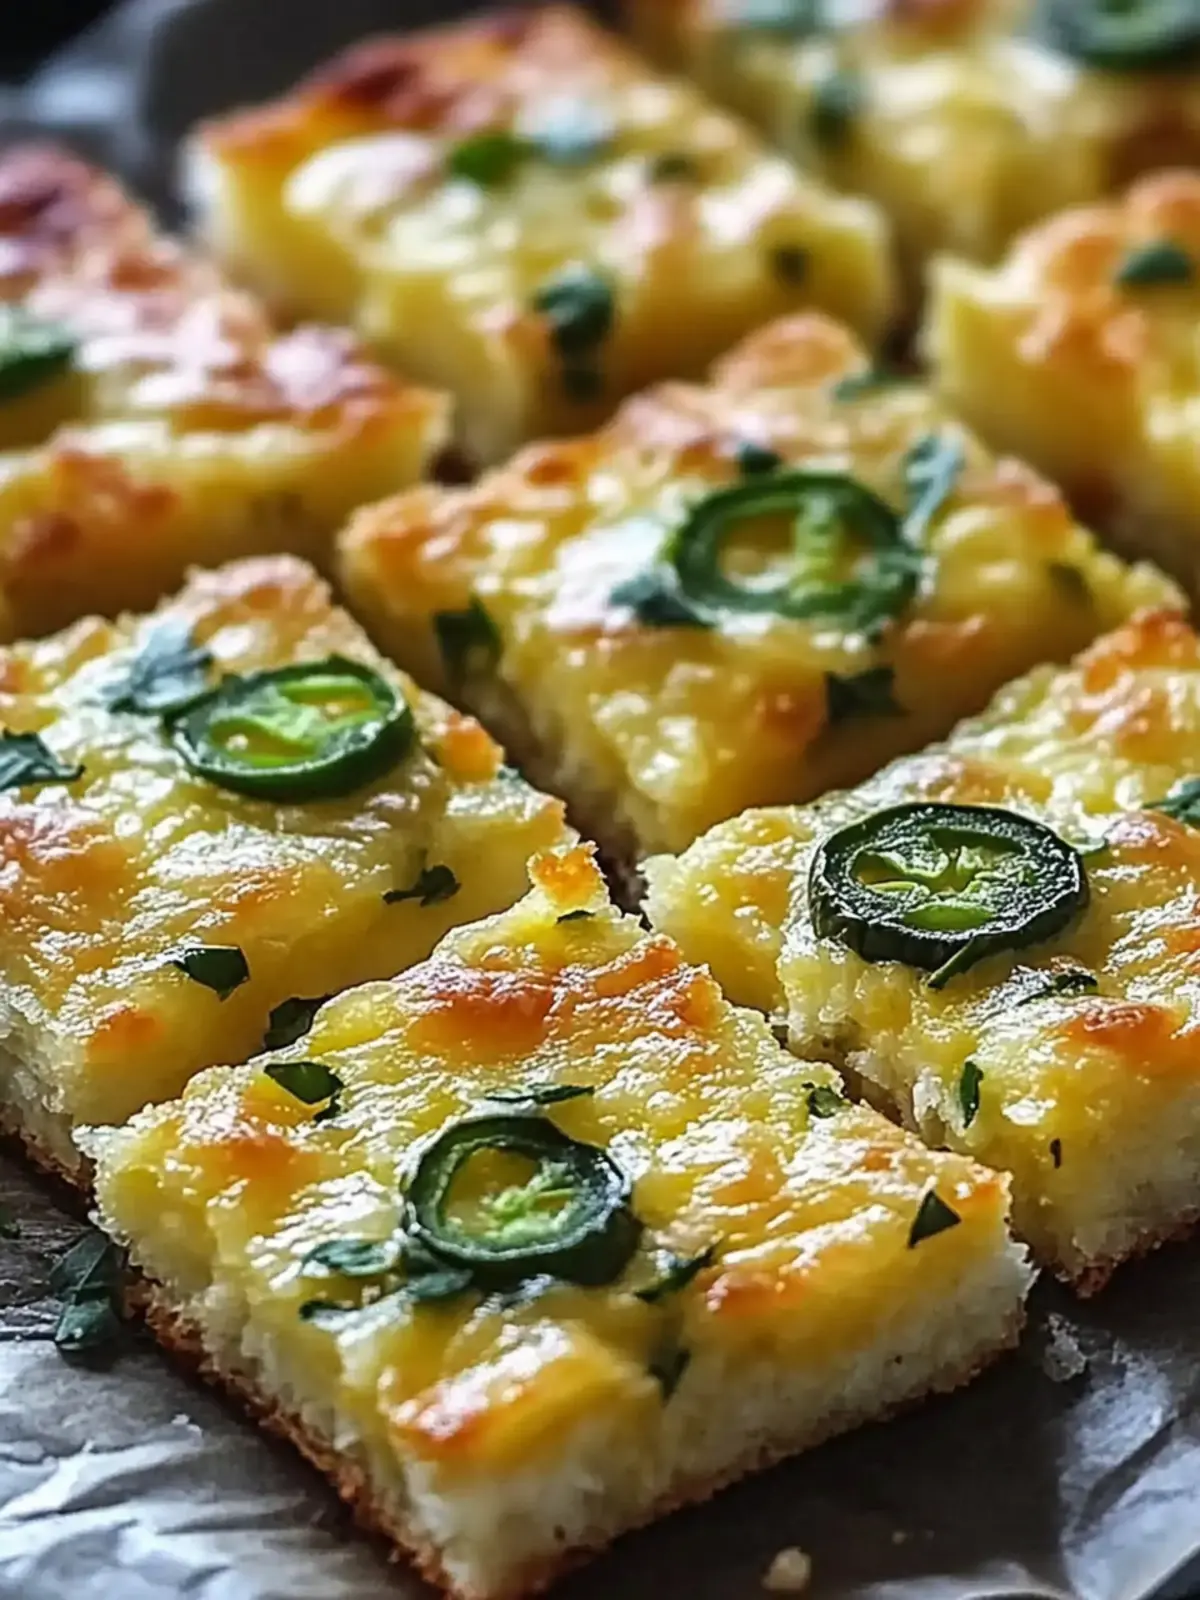
Why are Jalapeño Cheese Squares a must-try?
Irresistible Flavor: The combination of creamy cheese and zesty jalapeños creates an explosion of taste that lingers long after the last bite.
Easy Preparation: With minimal ingredients and straightforward steps, you can whip these up in no time, making them perfect for last-minute gatherings.
Crowd-Pleasing Appeal: These squares are not just an appetizer; they’re a conversation starter, captivating guests and turning any get-together into a flavorful feast.
Versatile Options: Tailor the recipe to suit your taste by adding crispy bacon, different cheeses, or even veggies for a personalized twist.
Perfect Comfort Food: Whether served warm or at room temperature, these squares offer a comforting, savory treat that both friends and family will love.
Jalapeño Cheese Squares Ingredients
For the Batter
• Shredded Cheddar Cheese – Provides a rich, savory flavor and creamy texture, though you can substitute it with Monterey Jack for a milder taste.
• Cream Cheese – Adds creaminess and binds the ingredients together; reduced-fat cream cheese is a great lighter option.
• All-Purpose Flour – Gives structure to the squares; swap it for gluten-free flour if needed.
• Fresh Jalapeños – Adds spice and flavor; removing the seeds can reduce heat, or you can use bell peppers for a milder choice.
• Large Eggs – Acts as a binding agent; consider a flax egg for a vegan alternative.
• Baking Powder – Helps the squares rise for a fluffy texture.
• Garlic Powder – Introduces a fragrant essence that elevates the flavor.
• Onion Powder – Enhances the depth of flavor, making every bite savory.
• Salt and Black Pepper – Essential seasonings that bring out the overall taste.
For Garnishing (Optional)
• Chopped Green Onions – Adds flavor and a splash of color on top for a beautiful presentation.
Your taste buds are in for a treat with these Jalapeño Cheese Squares!
How to Make Jalapeño Cheese Squares
-
Preheat Oven: Start by preheating your oven to 350°F (175°C). Grease a 9×13-inch baking dish to ensure your squares lift out easily once baked.
-
Mix Wet Ingredients: In a large mixing bowl, whisk together the softened cream cheese and large eggs until you achieve a smooth, creamy consistency. This forms the base of your delicious batter.
-
Add Cheese: Gradually stir in the shredded cheddar cheese, mixing until fully integrated. The cheese will add that rich, savory flavor we all crave!
-
Incorporate Dry Ingredients: Now, gently fold in the all-purpose flour, baking powder, garlic powder, onion powder, salt, and black pepper. Mix until combined, ensuring no lumps are left behind.
-
Add Jalapeños: Take your fresh jalapeños and fold them into the mixture evenly. Adjust the amount based on your heat preference—more for a kick, less for a milder flavor!
-
Transfer Mixture: Pour the cheesy mixture into your prepared baking dish, spreading it evenly with a spatula to ensure uniform baking.
-
Bake: Place the dish in the preheated oven and bake for 25-30 minutes. Keep an eye on it; you want the edges to turn golden brown and the center to be set.
-
Cool: After baking, let the squares cool for about 10 minutes. This will help them firm up and make slicing much easier!
-
Garnish: For that final touch, sprinkle the chopped green onions on top, adding extra flavor and a pop of color to your presentation.
Optional: Serve with a side of salsa or sour cream for an extra layer of flavor.
Exact quantities are listed in the recipe card below.

Jalapeño Cheese Squares Variations
Feel free to get creative with these delightful squares, tailoring them to your taste and making every bite uniquely yours.
-
Meat Boost: Add cooked bacon or crumbled sausage for a savory protein punch that elevates the flavor and heartiness of each square.
-
Cheese Swap: Experiment with different cheeses, such as pepper jack for an extra kick or creamy feta for a tangy twist. This can completely change the flavor profile!
-
Vegetable Medley: Incorporate other diced veggies like fresh spinach or corn for added color and nutrition. This not only enhances the texture but also brings a lovely, vibrant look to the dish.
-
Herb Infusion: Add fresh herbs like cilantro or chives to the batter for an aromatic flair that pairs beautifully with the spicy jalapeños.
-
Gluten-Free Version: Use gluten-free flour in place of all-purpose flour to cater to those avoiding gluten without sacrificing taste or texture.
-
Layered Flavors: Swirl in a bit of cream cheese and jalapeño mixture on top before baking for a visually stunning presentation and added creaminess.
-
Spice Level Adjustments: Get adventurous! Slip in a pinch of cayenne pepper or crushed red pepper flakes for those who crave more heat alongside the jalapeños.
-
Baked Crust: For a lovelier crunch, consider spreading the mixture on a pre-baked short crust or phyllo pastry before baking, adding to both texture and flavor complexity.
Make Ahead Options
These Jalapeño Cheese Squares are perfect for busy home cooks looking to save time on meal prep! You can prepare the batter up to 24 hours in advance by mixing all the wet and dry ingredients, then folding in the jalapeños. Store the mixture in an airtight container in the refrigerator. When you’re ready to bake, simply pour the batter into the greased dish and bake as directed, adding a few extra minutes if the batter is cold to ensure even cooking. This way, you maintain all that creamy, cheesy goodness while bringing those delightful flavors to your table with minimal effort!
Storage Tips for Jalapeño Cheese Squares
Room Temperature: Allow the squares to cool completely, then cover lightly. They can be stored at room temperature for up to 2 hours before needing refrigeration.
Fridge: Place leftovers in an airtight container in the refrigerator for up to 3 days. Make sure to seal tightly to maintain freshness and flavor.
Freezer: For longer storage, freeze the squares in an airtight container or freezer bag for up to 2 months. Lay them flat to save space, and thaw in the fridge before reheating.
Reheating: To enjoy warm Jalapeño Cheese Squares again, reheat in the oven at 350°F (175°C) for about 10–15 minutes, or until heated through for the best texture.
What to Serve with Jalapeño Cheese Squares?
Elevate your gathering with delightful accompaniments that enhance the creamy, spicy goodness of these squares.
-
Fresh Guacamole: A velvety avocado dip adds a refreshing contrast that beautifully balances the heat from the jalapeños. Serve it alongside for cool relief.
-
Zesty Salsa: A vibrant, chunky salsa with tomatoes, cilantro, and lime brings brightness and tang, making each bite even more exciting.
-
Crispy Tortilla Chips: The crunchiness of chips provides a textural counterpoint to the soft squares, perfect for scooping up guacamole or salsa.
-
Creamy Sour Cream: A dollop of sour cream adds creaminess to each bite while softening the spice, creating a soothing sensation with every mouthful.
-
Mixed Green Salad: A light, crisp salad with a citrus vinaigrette can cleanse the palate and contribute freshness to your meal.
-
Chilled Drink Pairings: Sweet iced tea or a refreshing cucumber mint lemonade are ideal thirst quenchers that cool the palate after the spiciness of the squares.
-
Miniature Tacos: Serve bite-sized tacos filled with your favorite ingredients for an interactive, fun option that pairs well with the flavors of the squares.
-
Brownies for Dessert: End your meal on a sweet note with fudgy brownies, offering a rich chocolate contrast to the savory spiciness of the Jalapeño Cheese Squares.
Combining these delightful options makes for a vibrant, well-rounded spread that complements the deliciousness of Jalapeño Cheese Squares.
Expert Tips for Jalapeño Cheese Squares
• Softened Cream Cheese: Ensure the cream cheese is fully softened before mixing to avoid any lumps in your batter, which can ruin the texture.
• Watch the Bake Time: Avoid overbaking; it can lead to dry squares. Keep an eye on the edges and remove them from the oven when they’re golden brown.
• Cooling Matters: Allow the squares to cool for about 10 minutes before slicing. This helps them maintain a clean shape and prevents crumbling.
• Heat Control: Adjust the amount of jalapeños based on your heat preference. For milder squares, remove seeds and membranes before adding them.
• Experiment with Cheese: While cheddar is delicious, try mixing in different cheeses like pepper jack or feta to customize your Jalapeño Cheese Squares even further!
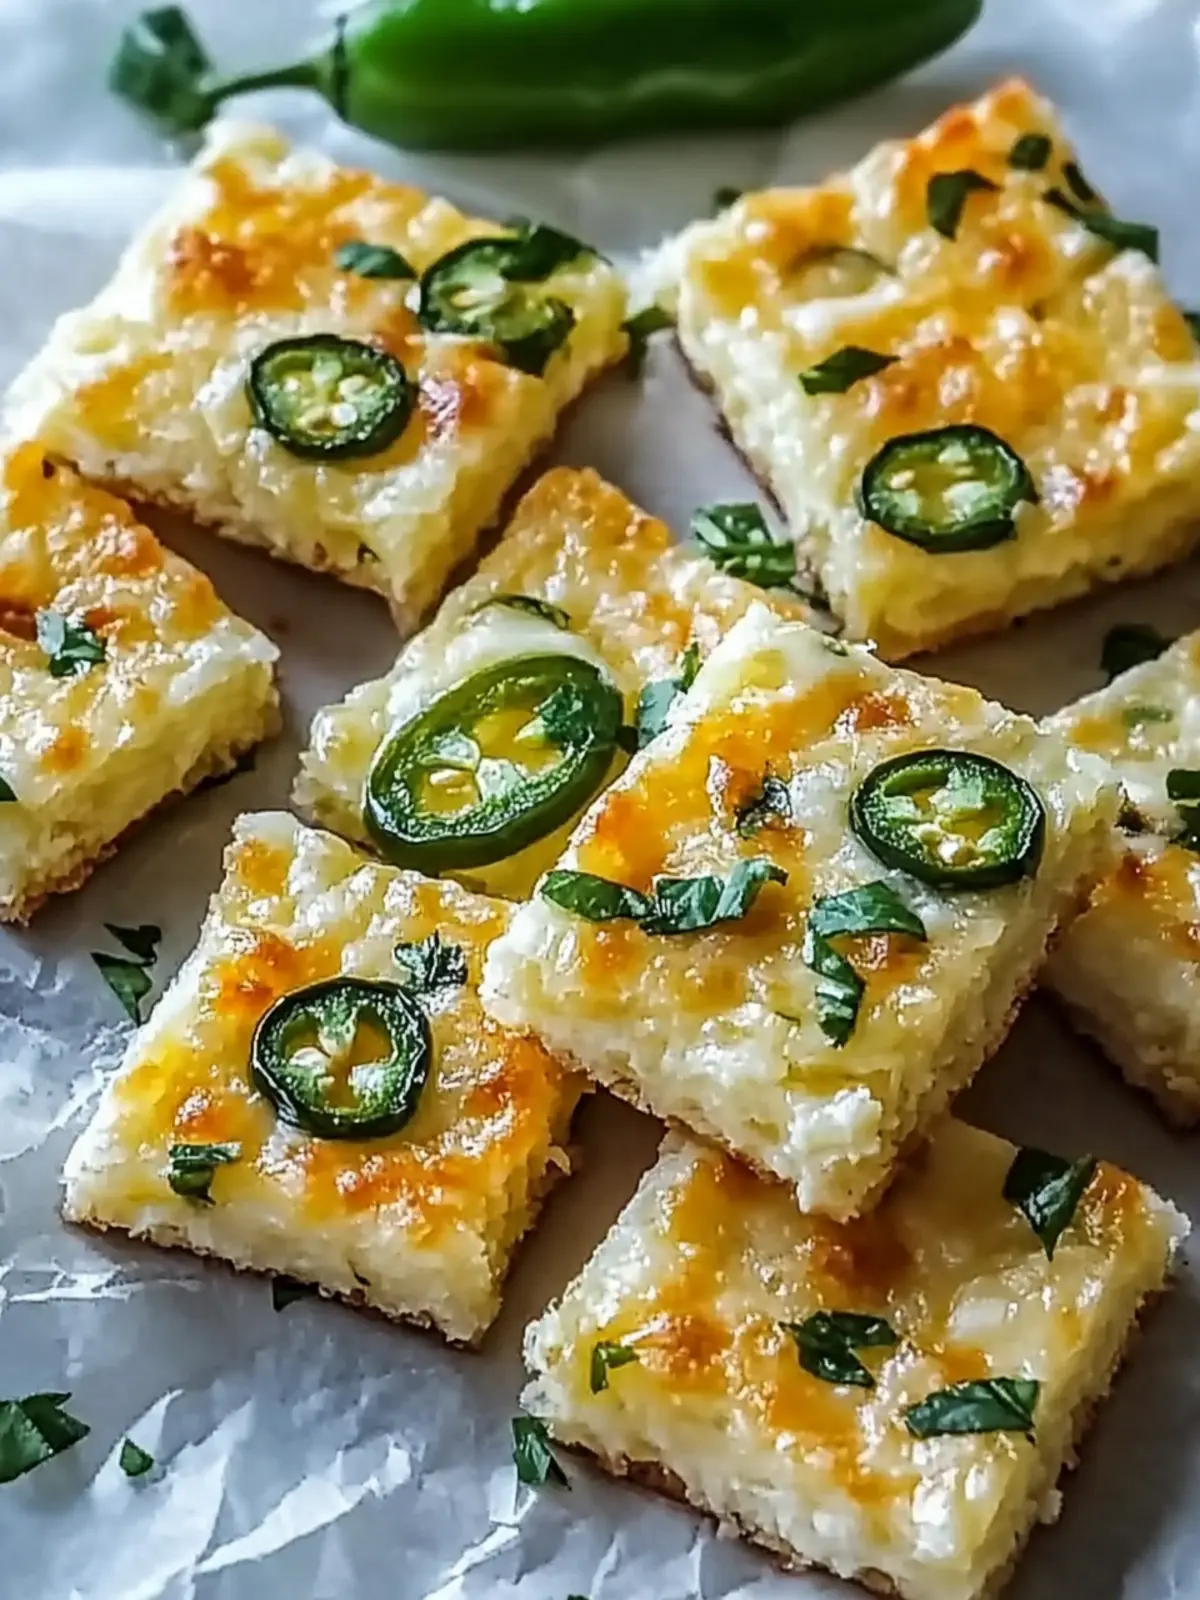
Jalapeño Cheese Squares Recipe FAQs
What should I look for when selecting jalapeños?
Absolutely! When choosing jalapeños, look for firm peppers that are vibrant green in color. Avoid any that have dark spots or are soft to the touch, as they may be overripe. If you prefer a milder flavor, opt for jalapeños with fewer visible scars on the skin.
How should I store leftover Jalapeño Cheese Squares?
You can keep your leftover squares in an airtight container in the refrigerator for up to 3 days. Ensure they’re cooled completely before sealing to prevent moisture buildup. To reheat, place them in the oven at 350°F (175°C) for about 10–15 minutes for the best texture, allowing them to warm through without losing their creaminess.
Can I freeze Jalapeño Cheese Squares?
Definitely! To freeze, first let the squares cool completely. Then, cut them into individual servings and place them in a single layer in an airtight freezer bag or container. You can freeze them for up to 3 months. When ready to enjoy, thaw them overnight in the fridge and reheat in the oven for the best results.
What if my Jalapeño Cheese Squares are too spicy?
If you find the squares too spicy, don’t worry! You can adjust the heat by using fewer jalapeños or by removing the seeds and membranes, where most of the heat resides. Additionally, adding milder ingredients like sweet peppers or serving the squares with sour cream can help balance the spiciness.
Are Jalapeño Cheese Squares suitable for vegetarians or those with dietary restrictions?
Yes! Jalapeño Cheese Squares can be made vegetarian-friendly, and you can easily adapt them for dietary needs. For a gluten-free version, substitute all-purpose flour with gluten-free flour. If you’re looking for a vegan alternative, you can replace the eggs with flax eggs (1 tablespoon of flaxseed meal mixed with 2.5 tablespoons of water per egg) and use plant-based cream cheese.
How can I enhance the flavor of my Jalapeño Cheese Squares?
There’s plenty of room for creativity! Consider adding crispy crumbled bacon or diced sausage for a protein boost. For a twist on flavor, experiment with different cheeses—pepper jack adds extra heat, while feta contributes a tangy zing. You can also include ingredients like corn or spinach for added nutrition and taste!

Spicy Jalapeño Cheese Squares for Ultimate Flavor Cravings
Ingredients
Equipment
Method
- Preheat your oven to 350°F (175°C) and grease a 9x13-inch baking dish.
- In a large mixing bowl, whisk together the softened cream cheese and large eggs until smooth.
- Gradually stir in the shredded cheddar cheese until fully integrated.
- Fold in the all-purpose flour, baking powder, garlic powder, onion powder, salt, and black pepper until combined.
- Fold in the fresh jalapeños evenly.
- Pour the mixture into the prepared baking dish, spreading evenly with a spatula.
- Bake for 25-30 minutes until golden brown and set in the center.
- Let cool for about 10 minutes before slicing.
- Sprinkle chopped green onions on top before serving.