
There’s a unique joy in the gentle process of making your own bread, and this Honey Oat Bread is the perfect gateway into baking bliss. As I folded the warm, fragrant dough and watched it rise, the sweet aroma of honey and nutty oats filled my kitchen, sparking warmth and comfort in the air. This loaf is a delightful blend of flavors and textures, with a slightly crusty exterior that gives way to a soft, chewy interior.
Whether you’re enjoying a cozy bowl of soup or sharing with friends at a gathering, this bread turns any meal into something special. It requires minimal effort and can be made ahead of time, fitting perfectly into a busy week. As you slice into this beautiful loaf, you’ll discover a homemade touch that simply can’t be matched by fast food. Ready to bake? Let’s dive into this easy and satisfying recipe!
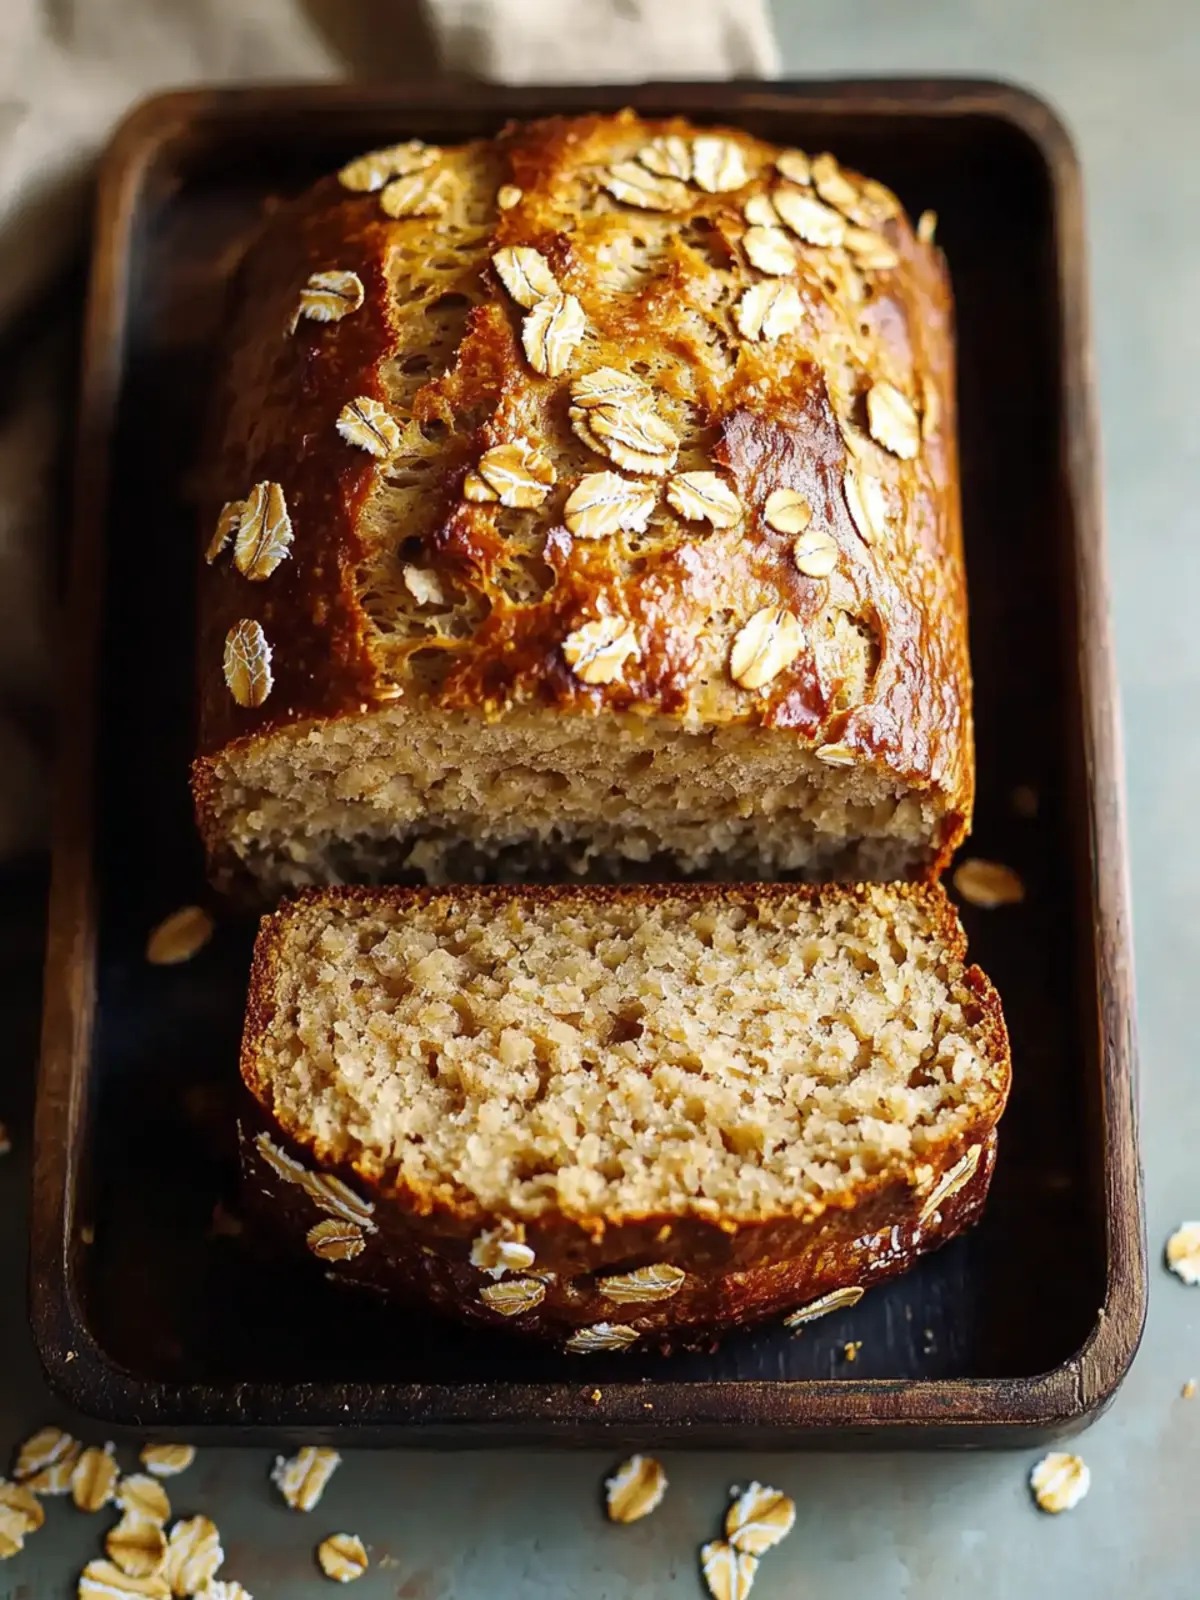
Why is this Honey Oat Bread special?
Ease of Preparation: This recipe is a great introduction to baking with minimal steps required.
Deliciously Unique: A delightful harmony of honey’s sweetness and the earthiness of oats infuses your meals with warmth.
Perfect for Any Occasion: Ideal for cozy soup nights or casual gatherings, it impresses without fuss.
Make-Ahead Friendly: With the option to prepare the dough in advance, it seamlessly fits into your busy lifestyle.
Homemade Comfort: There’s nothing quite like slicing into fresh bread, a cherished alternative to fast food. Explore more of my easy bread recipes to enhance your baking repertoire!
Honey Oat Bread Ingredients
• Here’s what you’ll need to create this beautiful Honey Oat Bread:
For the Dough
- Water – Lukewarm water helps activate the yeast effectively for a perfect rise.
- Instant Yeast – A crucial leavening agent; ensure it’s fresh for optimal bread rising.
- Honey – Provides sweetness and moisture; can be swapped with maple syrup for a vegan option.
- Flour – All-purpose flour is best for structure; feel free to mix in whole wheat for added nutrition.
- Rolled Oats – These add wonderful texture; reserve some for sprinkling atop the loaf.
- Salt – Enhances overall flavor and strengthens the gluten, essential for a great bread texture.
- Olive Oil – Adds richness and moisture; can be replaced with melted butter or vegetable oil for variation.
How to Make Honey Oat Bread
- Mix Wet Ingredients: In a large measuring jug, combine lukewarm water, instant yeast, and honey. Allow it to stand until frothy for about 5 minutes; this activates the yeast for a perfect rise.
- Combine Dry Ingredients: In a mixing bowl, add flour, rolled oats, and salt. Blend them well to ensure even distribution of ingredients for a consistent dough.
- Combine Mixtures: Pour the frothy wet ingredients along with olive oil into the flour mixture. Mix everything until fully combined; the dough should start coming together nicely.
- Refrigerate Overnight: Cover the dough with plastic wrap and refrigerate for up to 12 hours. This overnight rise enhances the flavor and makes the dough easier to work with.
- Bring to Room Temperature: About 1 hour before baking, remove the dough from the fridge and let it sit at room temperature for 45-60 minutes; it will become more pliable.
- Preheat Oven: Preheat your oven to 180°C (350°F) so it’s ready for the bread once prepared.
- Shape the Dough: On a floured surface, gently shape the dough into a loaf. Transfer it to a greased loaf pan, and sprinkle any reserved oats on top for a beautiful finish.
- Bake: Place the loaf in the preheated oven and bake for 45 minutes, or until it’s golden brown and sounds hollow when tapped; brush with melted butter before removing.
- Cool Down: Allow the bread to cool on a wire rack for at least 30 minutes before slicing, letting the flavors meld beautifully.
Optional: Serve with a pat of butter or alongside your favorite soup for a warm meal.
Exact quantities are listed in the recipe card below.
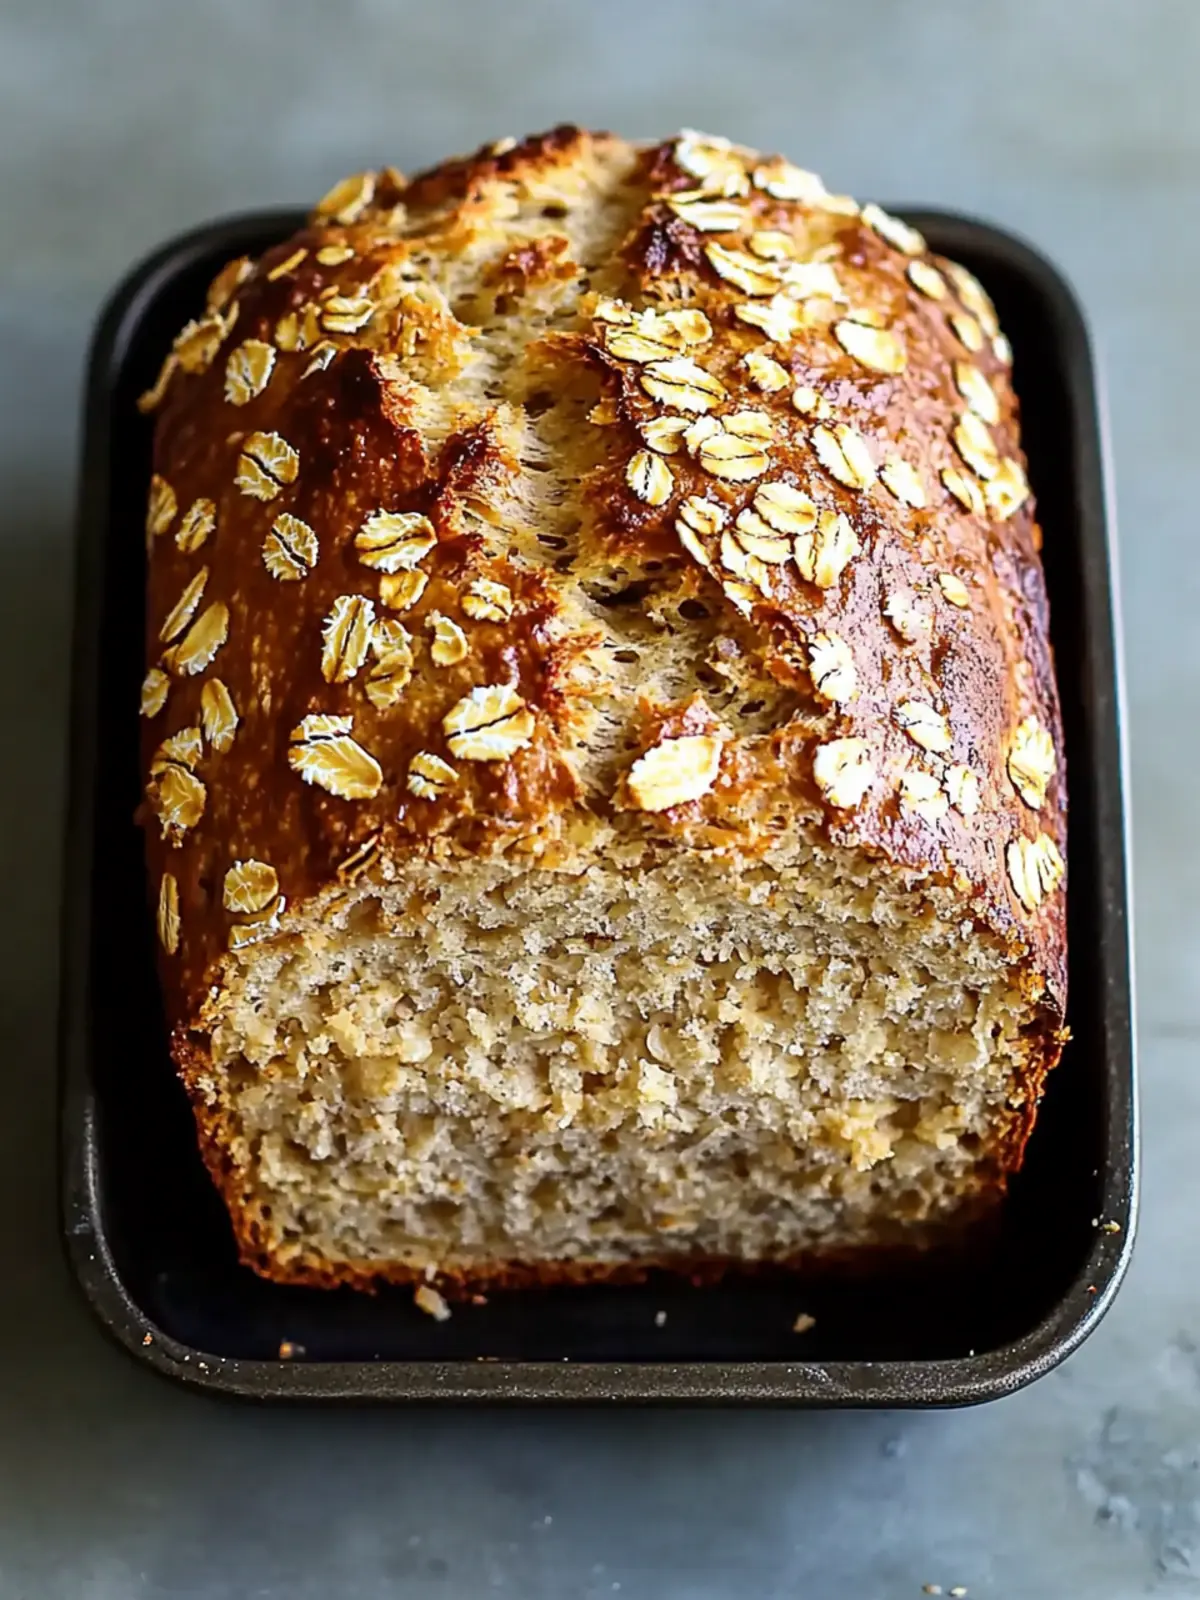
Make Ahead Options
This Honey Oat Bread is an excellent choice for meal prep, allowing you to savor homemade goodness even on your busiest days! You can prepare the dough up to 24 hours in advance by mixing all the ingredients and refrigerating the dough overnight (up to 12 hours) to develop the flavors. When you’re ready to bake, simply take the dough out about 1 hour before baking to let it come to room temperature. Ensure to cover the dough while it rests to maintain moisture and prevent drying. After shaping the loaf and letting it rise, proceed to bake it for a delightful bread that’s just as delicious as when made fresh!
Helpful Tricks for Honey Oat Bread
-
Optimal Yeast Activation: Always use lukewarm water (not hot) to activate instant yeast; this ensures your bread rises beautifully.
-
Flavorful Refrigeration: Allowing dough to rest overnight in the fridge not only enhances flavor but also makes it easier to handle during shaping.
-
Avoid Over-Flouring: When shaping the dough, use only a light dusting of flour; too much can make the bread dense and dry.
-
Check Doneness: Tap the bottom of the loaf; if it sounds hollow, it’s perfectly baked. Err on the side of baking longer if unsure.
-
Storage Tip: Wrap leftover Honey Oat Bread in foil and keep at room temperature for up to 5 days for delightful freshness.
Storage Tips for Honey Oat Bread
Room Temperature: Wrap the bread in foil or place it in an airtight container for optimal freshness; it can be stored for up to 5 days.
Freezer: For longer storage, slice the Honey Oat Bread and freeze it in a ziplock bag for up to 3 months. Toast slices directly from frozen for a quick treat.
Reheating: If enjoying the bread after freezing, simply pop slices in a toaster or warm them in the oven at 180°C (350°F) for about 10 minutes until heated through.
Honey Oat Bread Variations
Customize your baking adventures with delightful twists on this already comforting bread recipe that will tickle your taste buds.
-
Whole Wheat: Substitute half of the all-purpose flour with whole wheat for added nutrition and a heartier flavor. Enjoy a rustic, denser slice.
-
Gluten-Free: Swap in a gluten-free flour blend to make it suitable for those with dietary restrictions—try adding a tablespoon of xanthan gum for structure.
-
Dried Fruits: Mix in ½ cup of dried fruits like raisins, cranberries, or apricots for a sweet burst of flavor that beautifies each slice. Sweeten your mornings!
-
Seeds: Add ¼ cup of sunflower or pumpkin seeds to your dough for extra crunch and nutritional value. They not only provide texture but also a delightful nutty flavor.
-
Spiced Up: Incorporate a teaspoon of cinnamon or nutmeg into the dry ingredients for a warm, inviting aroma that enhances any meal’s comfort level.
-
Savory Twist: Mix in chopped herbs like rosemary or thyme to create a savory version, perfect for pairing with Mediterranean dishes or roasted meats. It’s a delightful surprise!
-
Extra Crunch: Top your loaf with a mix of oats, seeds, and a sprinkle of coarse salt before baking for a beautiful, crunchy crust that will have everyone asking for more.
-
Maple Magic: Replace the honey with maple syrup in the same quantity for a unique twist that adds a deliciously rich flavor—perfect for breakfast spreads!
What to Serve with Honey Oat Bread?
There’s something magical about pairing homemade bread with the right accompaniments that truly brings your meals to life.
-
Hearty Soup: A warm, chunky vegetable or minestrone soup complements the sweet notes of honey and provides a comforting balance. The bread’s texture helps mop up every delicious drop, making each bite a joy.
-
Creamy Stew: Pair with a rich, creamy chicken or beef stew, where the softness of the bread soaks up the savory sauce, creating a delectable experience. Each slice complements the hearty flavors beautifully.
-
Garden Salad: A fresh garden salad with a tangy vinaigrette offers a refreshing crunch and bright flavor, perfectly countering the sweetness of the bread. The contrast elevates each component of your meal.
-
Savory Cheese Platter: Serve alongside a selection of robust cheeses, like aged cheddar or creamy brie. The flavors meld together, creating a delightful tasting experience that tempts the palate.
-
Olive Oil & Balsamic Dip: Drizzling a mix of high-quality olive oil with balsamic vinegar creates an inviting dip that adds richness, enhancing the flavor of each slice. It’s perfect for a casual get-together.
-
Smooth Butter: Smearing warm slices with creamy butter brings out the sweetness of honey, creating a simple yet luxurious treat that can be enjoyed at any time of day.
-
Fruity Jam: Homemade or artisanal fruity jams like raspberry or fig create a sweet contrast that complements the honey in the bread. These delightful spreads turn your meal into a memorable occasion.
-
Fresh Fruit: Serve with seasonal fruits like juicy apples or ripe pears for a refreshing and healthy side option. The natural sweetness balances the earthiness of the oats wonderfully.
-
Red or White Wine: Consider a light red or crisp white wine to enhance your dining experience. The subtle complexities of the wine pair beautifully with the flavors in the bread, adding an extra layer of enjoyment.
Each of these pairings will enhance the comfort and heartfelt essence of your Honey Oat Bread, transforming every meal into a cherished memory.
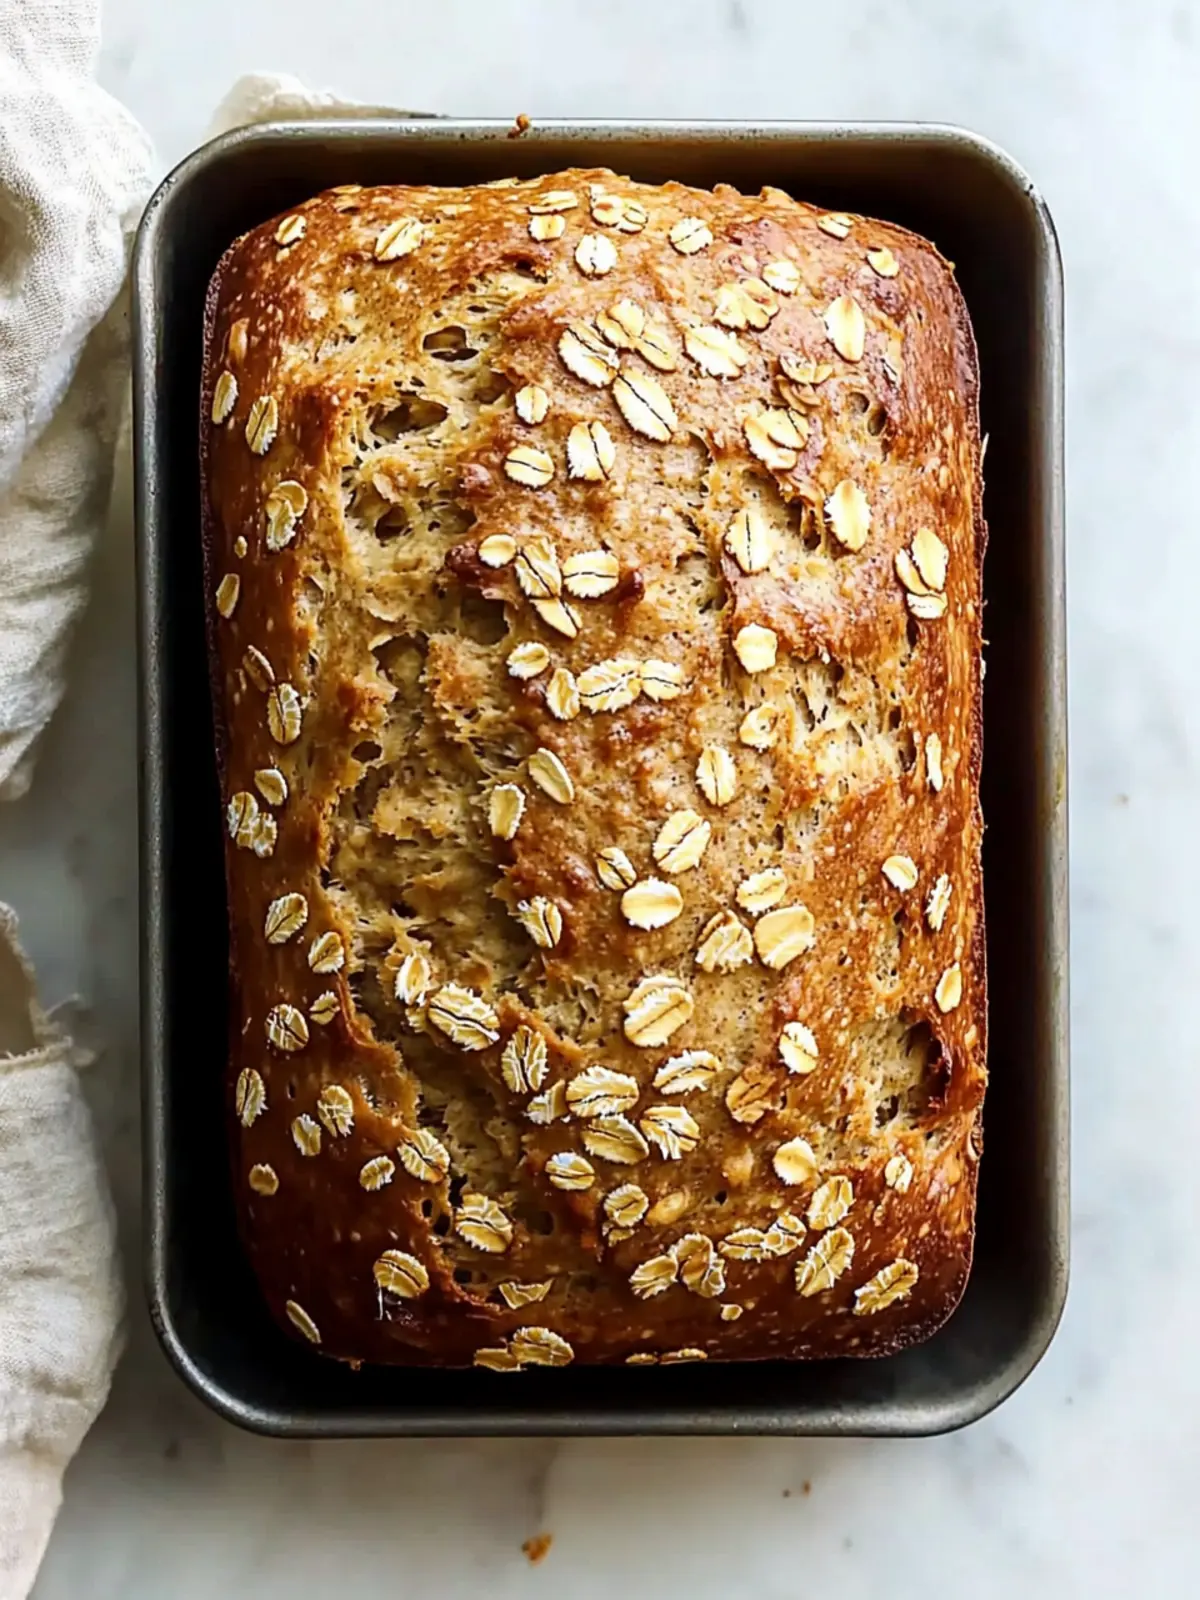
Honey Oat Bread Recipe FAQs
How do I select the right oats for this recipe?
Absolutely! For the best texture and flavor, opt for rolled oats instead of instant or steel-cut oats. Rolled oats create a lovely chewiness and blend nicely into the bread. When choosing, make sure there are no dark spots or signs of moisture, which can indicate spoilage. If you have gluten sensitivities, look for certified gluten-free oats.
How should I store my Honey Oat Bread?
To keep your bread fresh, wrap it tightly in foil or place it in an airtight container at room temperature for up to 5 days. The key here is to ensure it’s well-sealed to prevent it from drying out. If you find you have leftover slices, that’s no problem — you can freeze them!
What are the best methods for freezing Honey Oat Bread?
Very! To freeze your Honey Oat Bread, slice it first for easy access. Then, place the slices in a ziplock bag, squeezing out as much air as possible to prevent freezer burn. Label it and store for as long as 3 months. When you’re ready to enjoy, simply toast the slices directly from frozen — they’ll taste just like freshly baked!
What should I do if my bread doesn’t rise properly?
If your dough isn’t rising, double-check that your yeast is fresh. You can do a quick test by combining a teaspoon of yeast with a teaspoon of sugar in warm water; if it froths after 5-10 minutes, it’s active! Also, make sure the water you use is lukewarm, as hot water can kill the yeast. If it’s not rising after refrigeration, give it more time at room temperature.
Can I make this recipe vegan-friendly?
Certainly! To adapt this Honey Oat Bread recipe for a vegan diet, simply use maple syrup instead of honey for sweetness. Additionally, replace the olive oil with a plant-based oil or melted coconut oil. The flavor might shift slightly, but it will still be delicious and beautifully moist!
Is this bread suitable for those with nut allergies?
Yes! This Honey Oat Bread is free from nuts, making it a safe option for those with nut allergies. Always be cautious about cross-contamination, especially if you use shared kitchen tools. If you want to add seeds for crunch, opt for sunflower or pumpkin seeds, ensuring they are also nut-free!
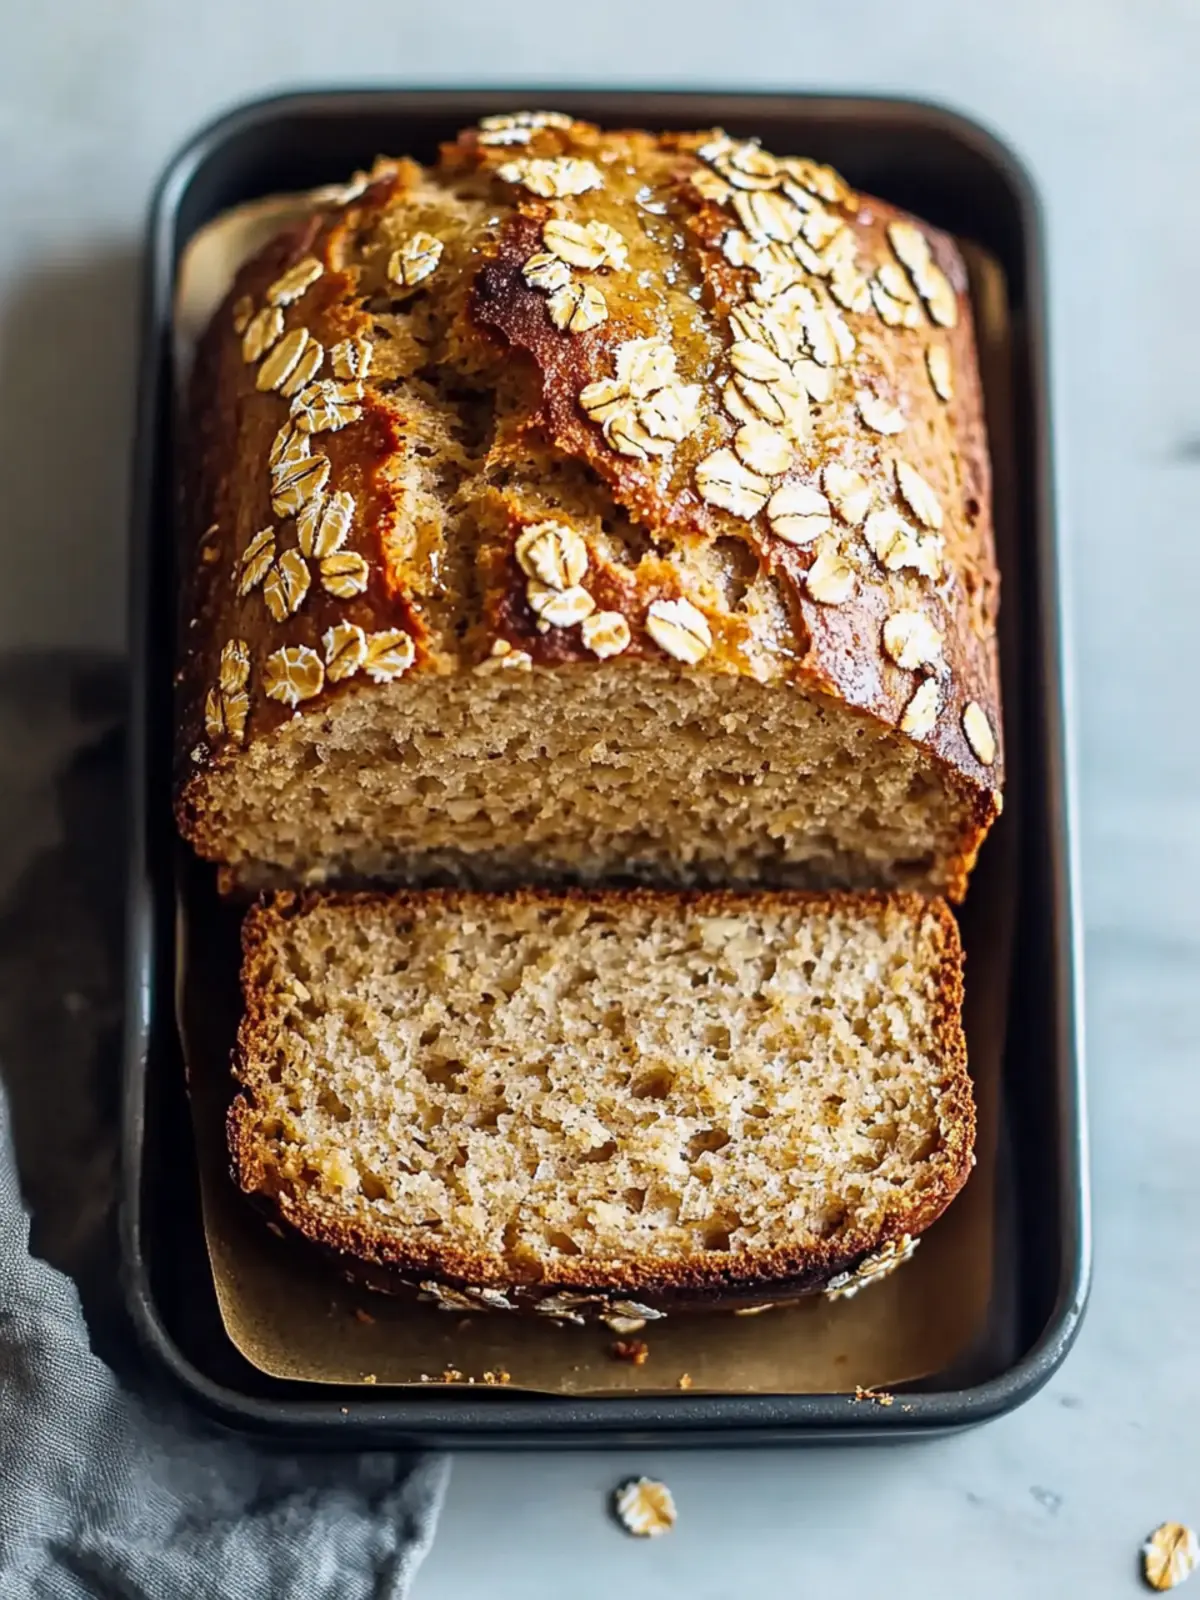
Homemade Honey Oat Bread That Perfectly Complements Meals
Ingredients
Equipment
Method
- In a large measuring jug, combine lukewarm water, instant yeast, and honey. Let stand for about 5 minutes until frothy.
- In a mixing bowl, add flour, rolled oats, and salt. Blend well for even distribution.
- Pour the frothy wet ingredients and olive oil into the dry mixture. Mix until fully combined.
- Cover the dough with plastic wrap and refrigerate for up to 12 hours.
- Remove dough from the fridge about 1 hour before baking and let it sit at room temperature.
- Preheat your oven to 180°C (350°F).
- Shape the dough into a loaf and transfer it to a greased loaf pan, sprinkling reserved oats on top.
- Bake in the preheated oven for 45 minutes until golden brown and sounds hollow when tapped.
- Cool on a wire rack for at least 30 minutes before slicing.