
There’s something delightfully nostalgic about the fizz and crackle of homemade Pop Rocks. Remember those wild bursts of flavor that danced on your tongue as a child? It’s time to bring that playful joy back into your kitchen! Whether you’re hosting a colorful birthday party or just indulging your sweet tooth after a long day, making your own Pop Rocks is not only a fun DIY project but also a great way to customize flavors to your liking.
This easy recipe lets you experiment with all sorts of vibrant flavors—think zesty citrus or summery berry—and even playful colors to match any occasion. Plus, it’s a fantastic alternative to store-bought treats, allowing you to impress friends and family with your candy-making skills. Get ready to channel your inner chef and create a crunchy, fizzy snack that’s sure to spark smiles and conversations. Grab your ingredients and let’s transform some simple pantry staples into a delightful homemade treat!
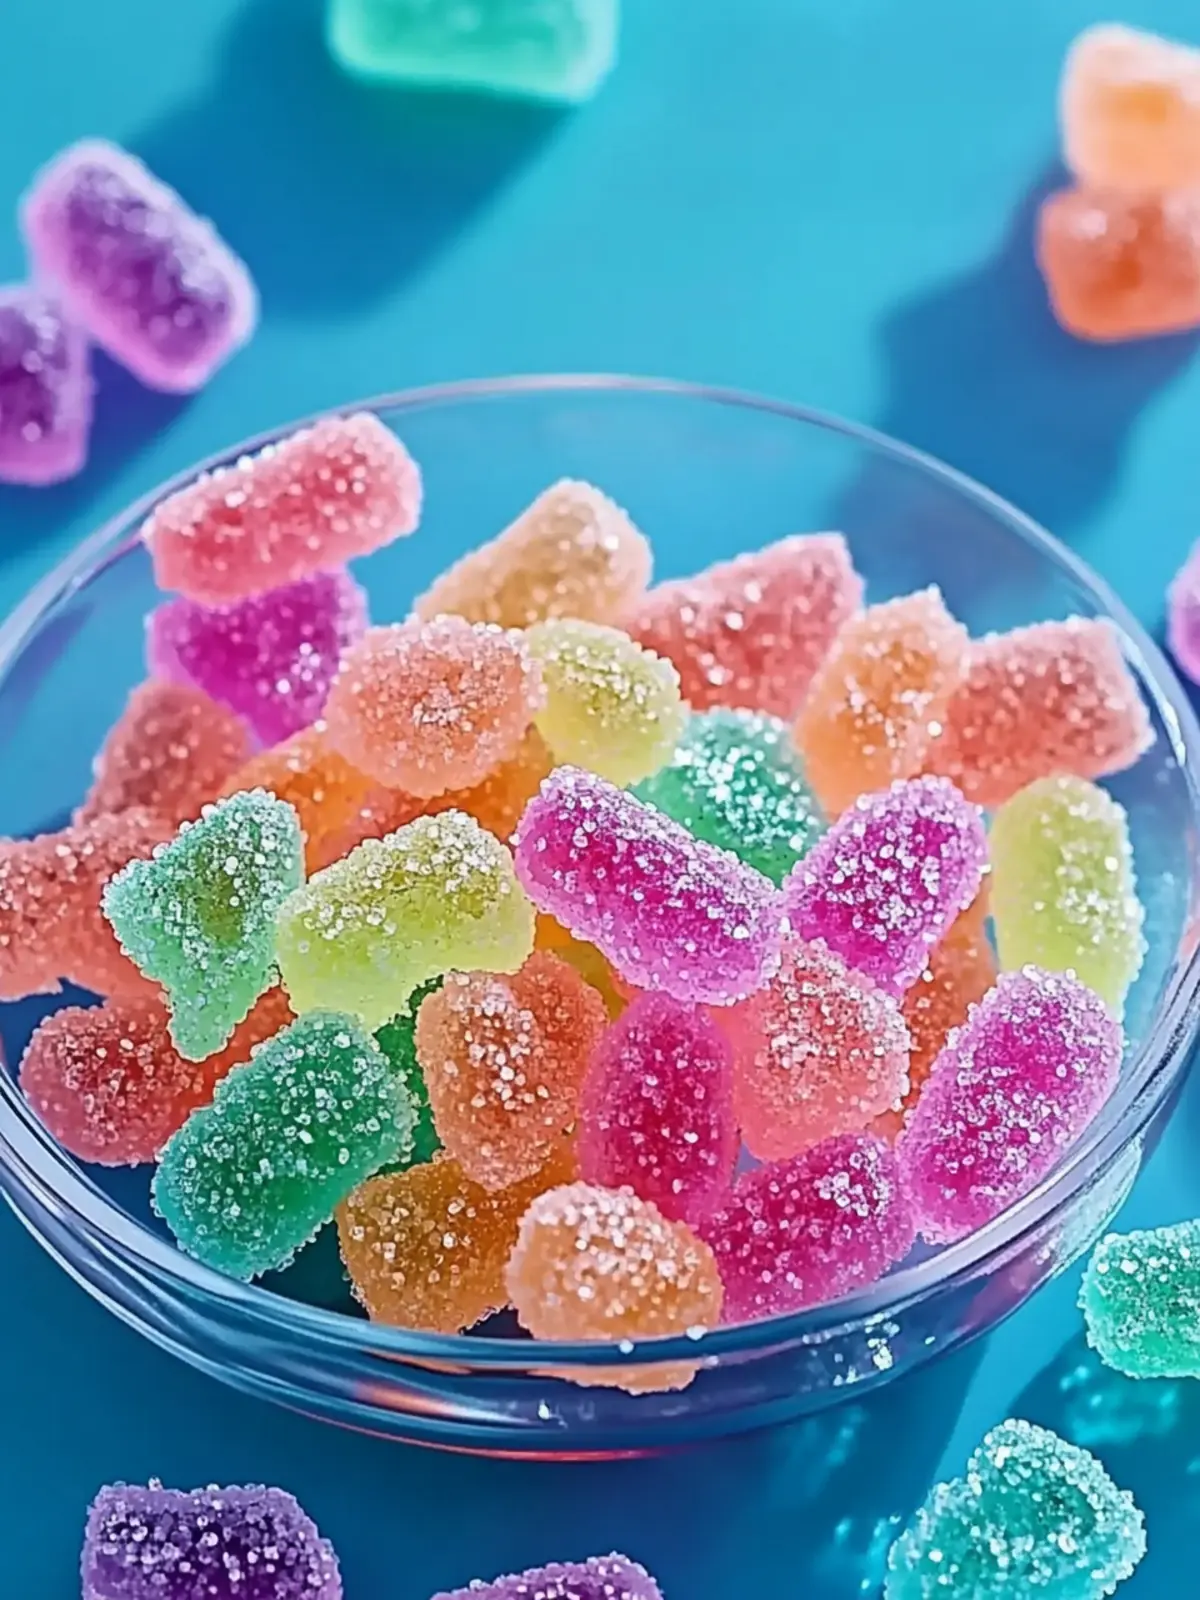
Why will you love these Homemade Pop Rocks?
Nostalgic Fun: Recreate the childhood magic of Pop Rocks right at home, adding a sprinkle of joy to your day.
Flavor Freedom: Customize with your favorite fruit extracts or even try a hint of mint! The options are endless.
Simple Steps: With easy-to-follow instructions, this no-fuss recipe ensures a fun experience for all ages.
Visual Appeal: Bright colors and fun shapes make these candies an eye-catching addition to any gathering or treat table.
Great for Sharing: Perfect for parties, these fizzy gems are sure to be a hit, leaving your guests buzzing with excitement!
Homemade Pop Rocks Ingredients
For the Candy Base
• Granulated Sugar – This sweetener provides the primary structure; you can substitute with brown sugar for a richer flavor.
• Corn Syrup – Helps prevent crystallization and adds stickiness; light molasses can work in a pinch, but the texture may vary.
• Baking Soda – Essential for the signature fizz when mixed with warmth; no direct substitution should be tried.
For Flavoring and Color
• Flavoring (fruit extracts or others) – Use your favorite extract from citrus to berry; the choice can turn your homemade Pop Rocks into a personalized delight.
• Food Coloring (optional) – While not necessary, this adds vibrant hues; feel free to omit for a more natural appearance.
Get ready to create your own homemade Pop Rocks! With these simple ingredients, you’re just a few steps away from reviving that childhood joy.
How to Make Homemade Pop Rocks
-
Prepare the Space: Gather all your ingredients and tools, ensuring you’re ready for a fun, fizzy adventure! A clean kitchen and a calm environment set the stage for success.
-
Combine Ingredients: In a heavy-bottomed saucepan, mix together granulated sugar and corn syrup. Stir well until everything is blended smoothly.
-
Heat Mixture: Place the saucepan over medium heat, stirring frequently. Keep an ear out for bubbling sounds; you’ll know it’s ready when the mixture starts to melt and bubble.
-
Add Baking Soda: Carefully sprinkle in the baking soda, expecting an exciting bubbling reaction! Stir continuously until the fizz has completely subsided and everything is well combined.
-
Cool and Flavor: Remove the pan from heat, letting it cool slightly before adding your chosen flavors and colors to create that signature taste and cheerful appearance.
-
Spread and Cool: Pour the mixture onto a sheet of parchment paper, spreading it evenly to about 1/4 inch thick. Allow it to cool completely at room temperature.
-
Break into Pieces: Once the candy has cooled, break it into small, pop rock-sized pieces, perfect for enjoying or sharing!
-
Store: Transfer your pop rocks into an airtight container to keep them fresh and fizzy until you’re ready to indulge.
Optional: Serve these homemade pop rocks on top of ice cream for a fizzy treat!
Exact quantities are listed in the recipe card below.
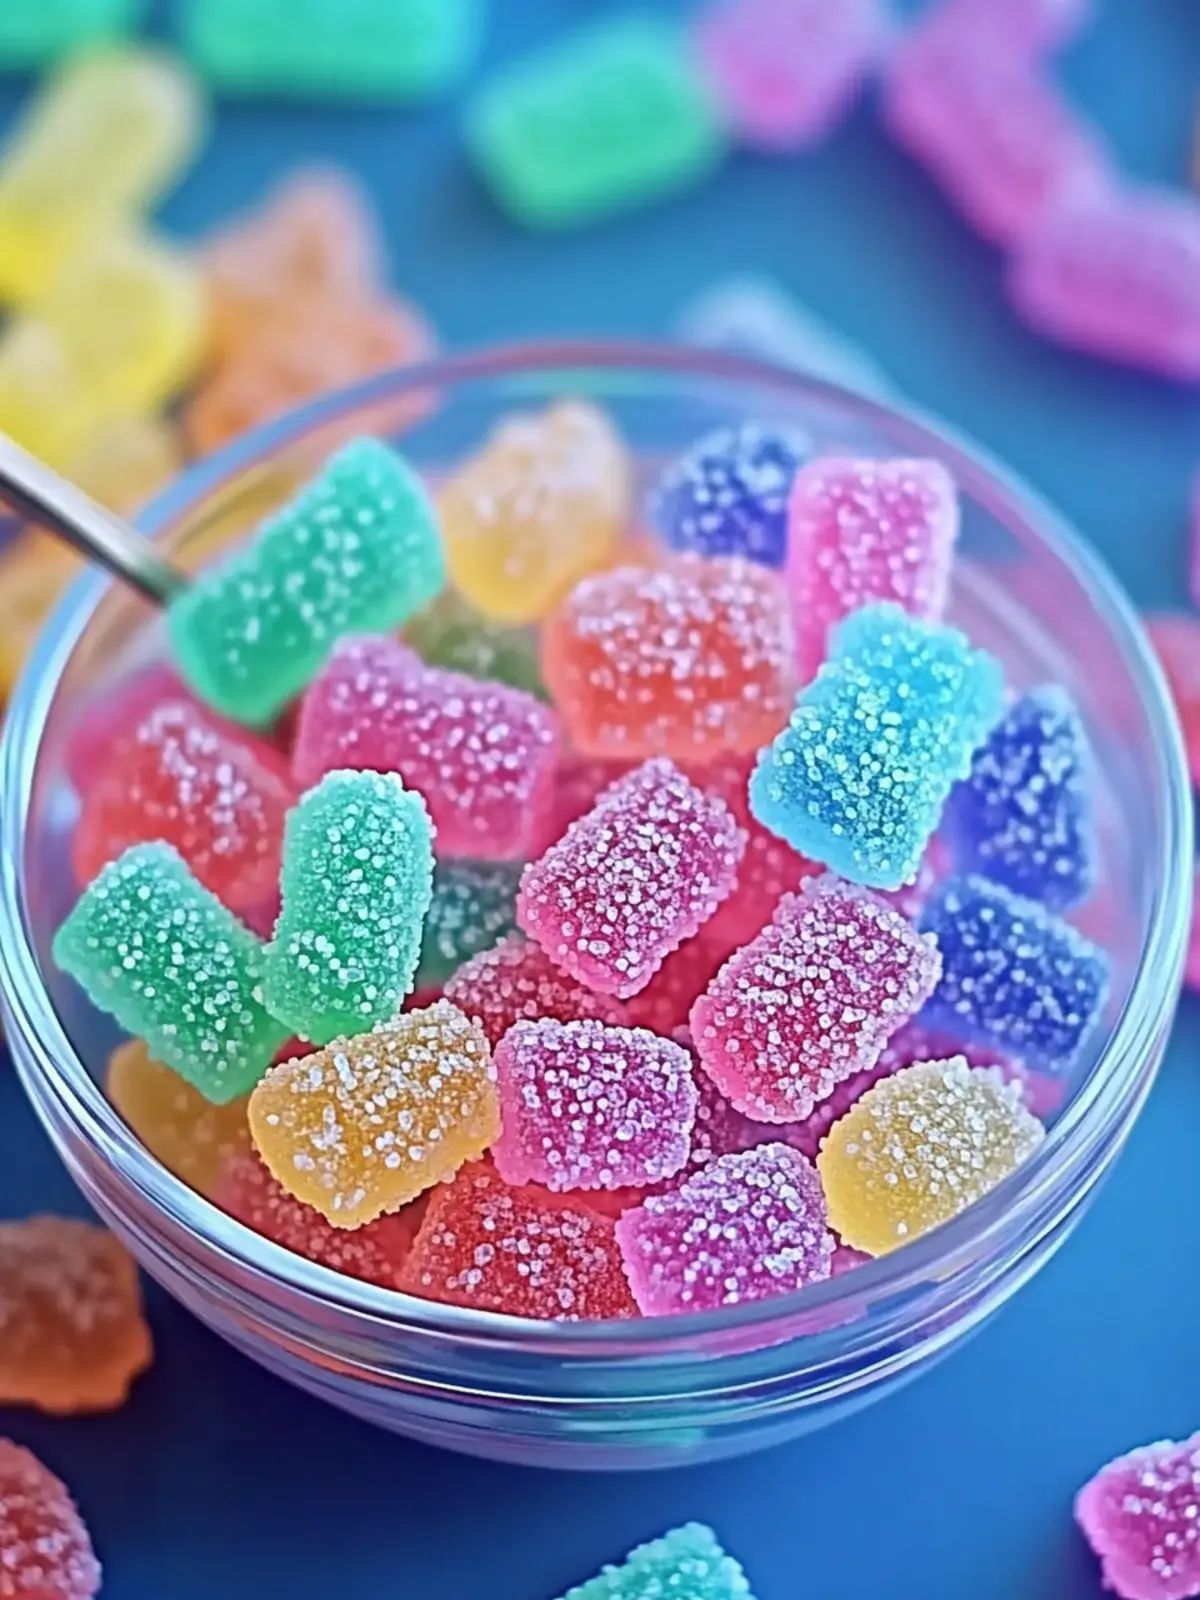
Expert Tips for Homemade Pop Rocks
• Stir Gently: When adding baking soda, stir gently yet thoroughly to avoid clumps in your homemade Pop Rocks mixture.
• Cool First: Allow the mixture to cool before adding flavors and colors; this prevents unintended textures and maintains a smooth finish.
• Prepare the Parchment: Use a clean, smooth parchment paper to pour the candy mixture—this ensures easy release and perfect shapes.
• Flavor Innovations: Feel free to experiment with unique flavors! Mix extracts like lavender or chai for an exciting twist on your homemade Pop Rocks.
• Temperature Control: Be cautious with heat; cooking at too high a temperature can result in burnt sugar or hardened candy that lacks fizz.
Storage Tips for Homemade Pop Rocks
Room Temperature: Store your homemade Pop Rocks in a cool, dry place away from direct sunlight to maintain their fizz and crunch for up to 3 days.
Fridge: Avoid refrigerating the candies, as moisture from the fridge can cause them to clump and lose their signature popping effect.
Freezer: If you need to store them longer, freeze in an airtight container for up to 2 months. Just remember to allow them to return to room temperature before enjoying them!
Reheating: No reheating is necessary; simply enjoy your pop rocks straight from the container for that delightful burst of flavor and effervescence!
Homemade Pop Rocks Variations
Feel free to let your creativity shine by customizing your homemade Pop Rocks with these exciting variations.
-
Minty Fresh: Add a few drops of peppermint extract for a refreshing twist that will tingle your taste buds.
-
Citrus Burst: Use zesty lemon or orange extract to brighten up the flavor profile, perfect for warm sunny days and outdoor gatherings.
-
Berry Bliss: Experiment with berry extracts like raspberry or strawberry for a delightful fruity explosion every time you pop.
-
Chocolate Delight: Incorporate cocoa powder for a unique twist; drizzle them with melted chocolate afterward for double the fun!
-
Spicy Kick: Add a dash of cayenne pepper or chili powder for an unexpected heat that contrasts beautifully with the sweetness.
-
Sparkling Glitter: Mix in edible glitter to elevate the visual appeal, making your homemade treat perfect for parties and celebrations.
-
Seasonal Colors: Tailor your food coloring to match holidays—use green for St. Patrick’s Day or red and white for Christmas to spread seasonal cheer!
-
Flavor Combo: Combine two extracts, like lemon and lavender, for a sophisticated flavor that’s both refreshing and aromatic.
What to Serve with Homemade Pop Rocks?
Bring your playful side to the table with delightful accompaniments that highlight the fizzy fun of your homemade treats!
- Ice Cream Sundae: Top your favorite vanilla or chocolate ice cream with pop rocks for an exciting crunch and surprise fizz.
- Fruit Salad: Bright, fresh fruit pairs wonderfully with the sweetness of pop rocks, giving a whimsical touch to your healthy treats.
- Cupcake Frosting: Add a sprinkle of pop rocks atop cupcakes for a delightful texture contrast and a burst of flavor with every bite.
- Chocolate Dipped Treats: Dip pretzels or strawberries in melted chocolate and sprinkle pop rocks for a visually appealing and fun flavor combination.
- Party Snacks: Create a candy bar at your next gathering with pop rocks in mason jars alongside gummy candies and chocolates, offering guests a nostalgic experience.
- Soda Float: Incorporate pop rocks into a classic soda float for an effervescent twist on this beloved refreshment, making it even more delightful.
- Themed Party Favors: Package pop rocks in cute bags as fun party favors for birthdays or celebrations, adding a whimsical touch to your events.
- Decorative Cake: Top a festive cake with pop rocks for added flair, making it not only delicious but also a center of attention.
- Refreshing Mocktail: Mix pop rocks with a sparkling drink or mocktail for a fun visual effect and unique flavor profile.
Make Ahead Options
These Homemade Pop Rocks are perfect for busy parents and spontaneous gatherings! You can prepare the candy base up to 24 hours in advance. Simply follow the initial steps—combine the sugar, corn syrup, and baking soda, and allow it to cool completely. Once cooled, break the candy into pieces and store them in an airtight container in a cool, dry place to maintain their delightful fizz and crunch. When you’re ready to serve, simply add your desired flavors and colors, and enjoy a batch of fizzy fun that’s just as delicious as if made fresh!
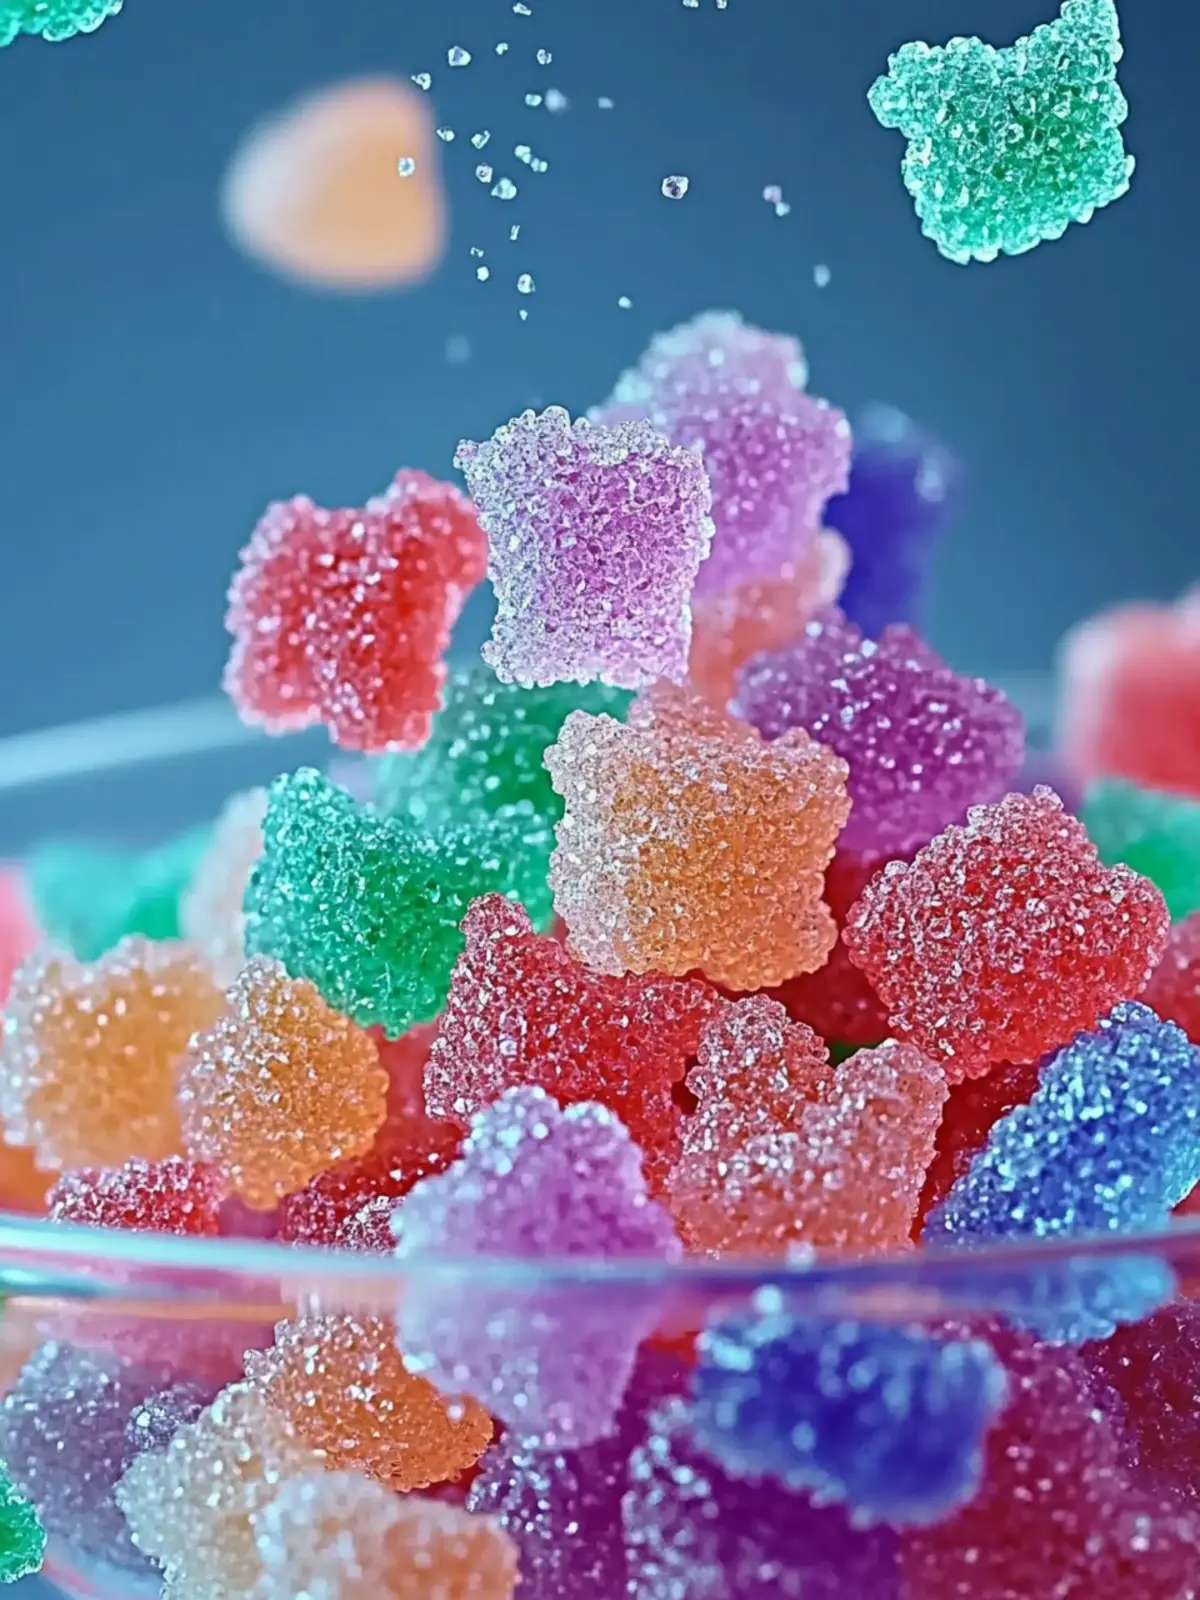
Homemade Pop Rocks Recipe FAQs
What’s the best way to choose ripe ingredients for my Homemade Pop Rocks?
Absolutely! Selecting the right ingredients is key for optimal flavor. When choosing flavoring extracts, go for high-quality options that are fragrant and vibrant. If you’re using any add-ins like dried fruits for flavor or decorations, ensure they are fresh and free from any dark spots or signs of spoilage.
How can I store my Homemade Pop Rocks and for how long?
To keep your Homemade Pop Rocks fresh and fizzy, store them in an airtight container at room temperature. They’ll stay good for about 3 days if kept in a cool, dry place away from sun exposure, which can cause them to lose their pop. Avoid putting them in the fridge, as moisture can cause clumping.
Can I freeze my Homemade Pop Rocks for later use?
Very! If you’d like to store your Homemade Pop Rocks for a longer period, you can freeze them. Place them in an airtight container, ensuring no moisture gets in, and freeze for up to 2 months. When you’re ready to enjoy, allow them to thaw at room temperature before indulging in their delightful crunch.
What should I do if my Homemade Pop Rocks don’t pop as expected?
If your Homemade Pop Rocks aren’t popping as they should, it might be due to one of a few reasons. First, ensure you added the baking soda after the mixture was removed from heat, allowing the reaction to occur before it cools too much. Also, check that you stored them properly—any moisture can cause the fizz to diminish. Keep experimenting until you find the fun combination that works for you!
Are there any dietary considerations I should keep in mind when making Homemade Pop Rocks?
Absolutely! While this recipe is vegetarian-friendly, those with allergies should be cautious about the flavoring extracts and any optional ingredients. Always check for gluten-free labels if necessary and avoid nut-based extracts if you’re sharing with people who have nut allergies. Your friends and family will appreciate your thoughtfulness!
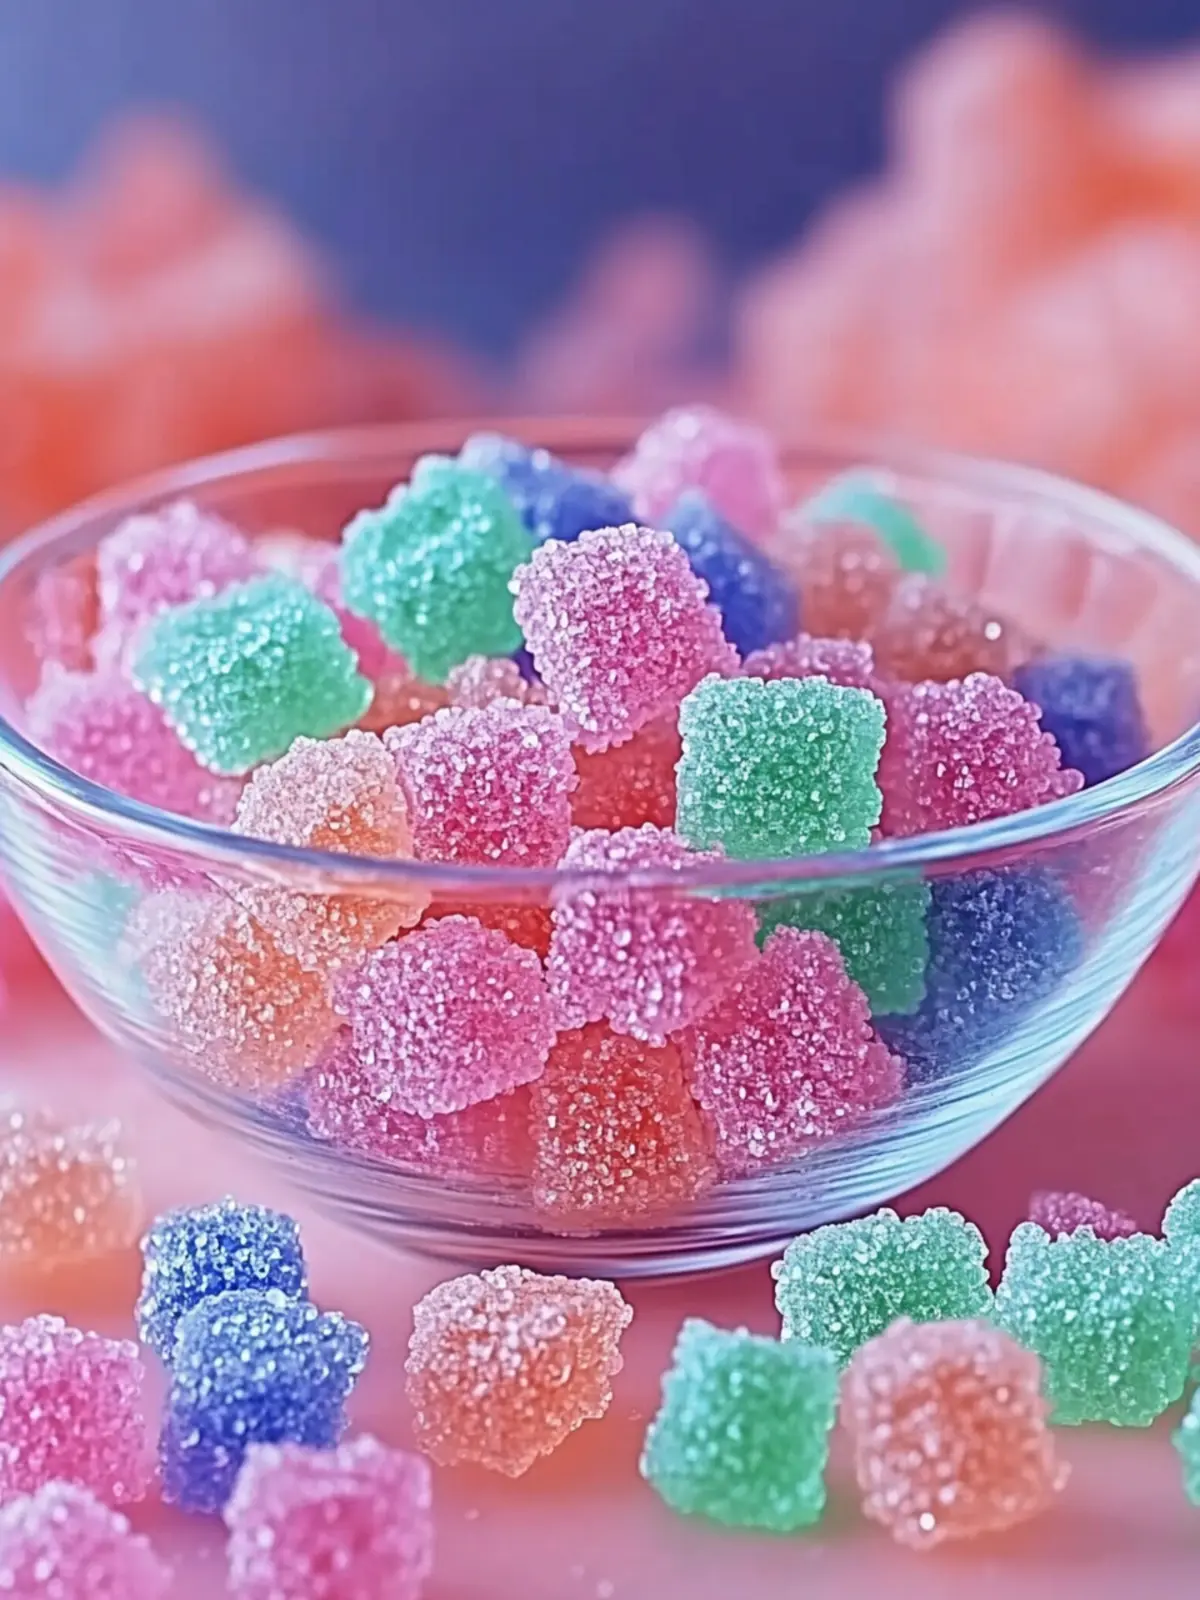
Homemade Pop Rocks: Create Fun, Fizzy Candy at Home
Ingredients
Equipment
Method
- Gather all your ingredients and tools for a fun candy-making adventure.
- In a heavy-bottomed saucepan, mix granulated sugar and corn syrup until blended smoothly.
- Heat the mixture over medium heat, stirring frequently until it starts to melt and bubble.
- Carefully sprinkle in the baking soda, stirring continuously until the fizz subsides.
- Remove from heat and cool slightly before adding your chosen flavors and colors.
- Pour the mixture onto parchment paper, spreading it evenly to about 1/4 inch thick.
- Allow the candy to cool completely before breaking it into pop rock-sized pieces.
- Store in an airtight container to maintain freshness and fizz.