
As summer’s warmth envelops us and vibrant fruits take center stage, I find myself reaching for something refreshing, colorful, and downright delightful—Dye-Free Rainbow Popsicles! A perfect antidote to the heat, these popsicles not only burst with natural flavor from fresh strawberries and ripe mangoes, but they also bring a playful, rainbow joy to the table.
Picture this: a sunny afternoon, laughter in the air, and the chatter of friends or family as they enjoy these creamy, guilt-free treats. You won’t believe how easy they are to whip up in a blender! With protein-packed layers crafted from simple ingredients like Greek yogurt and frozen fruit, they cater to various dietary needs, ensuring that everyone can join in on this delightful treat.
What makes these popsicles truly special is their customization potential. Feel free to mix it up with different fruits or yogurt swaps, creating a version that fits your taste buds perfectly. Get ready to impress your loved ones with vibrant pops that look as stunning as they taste!
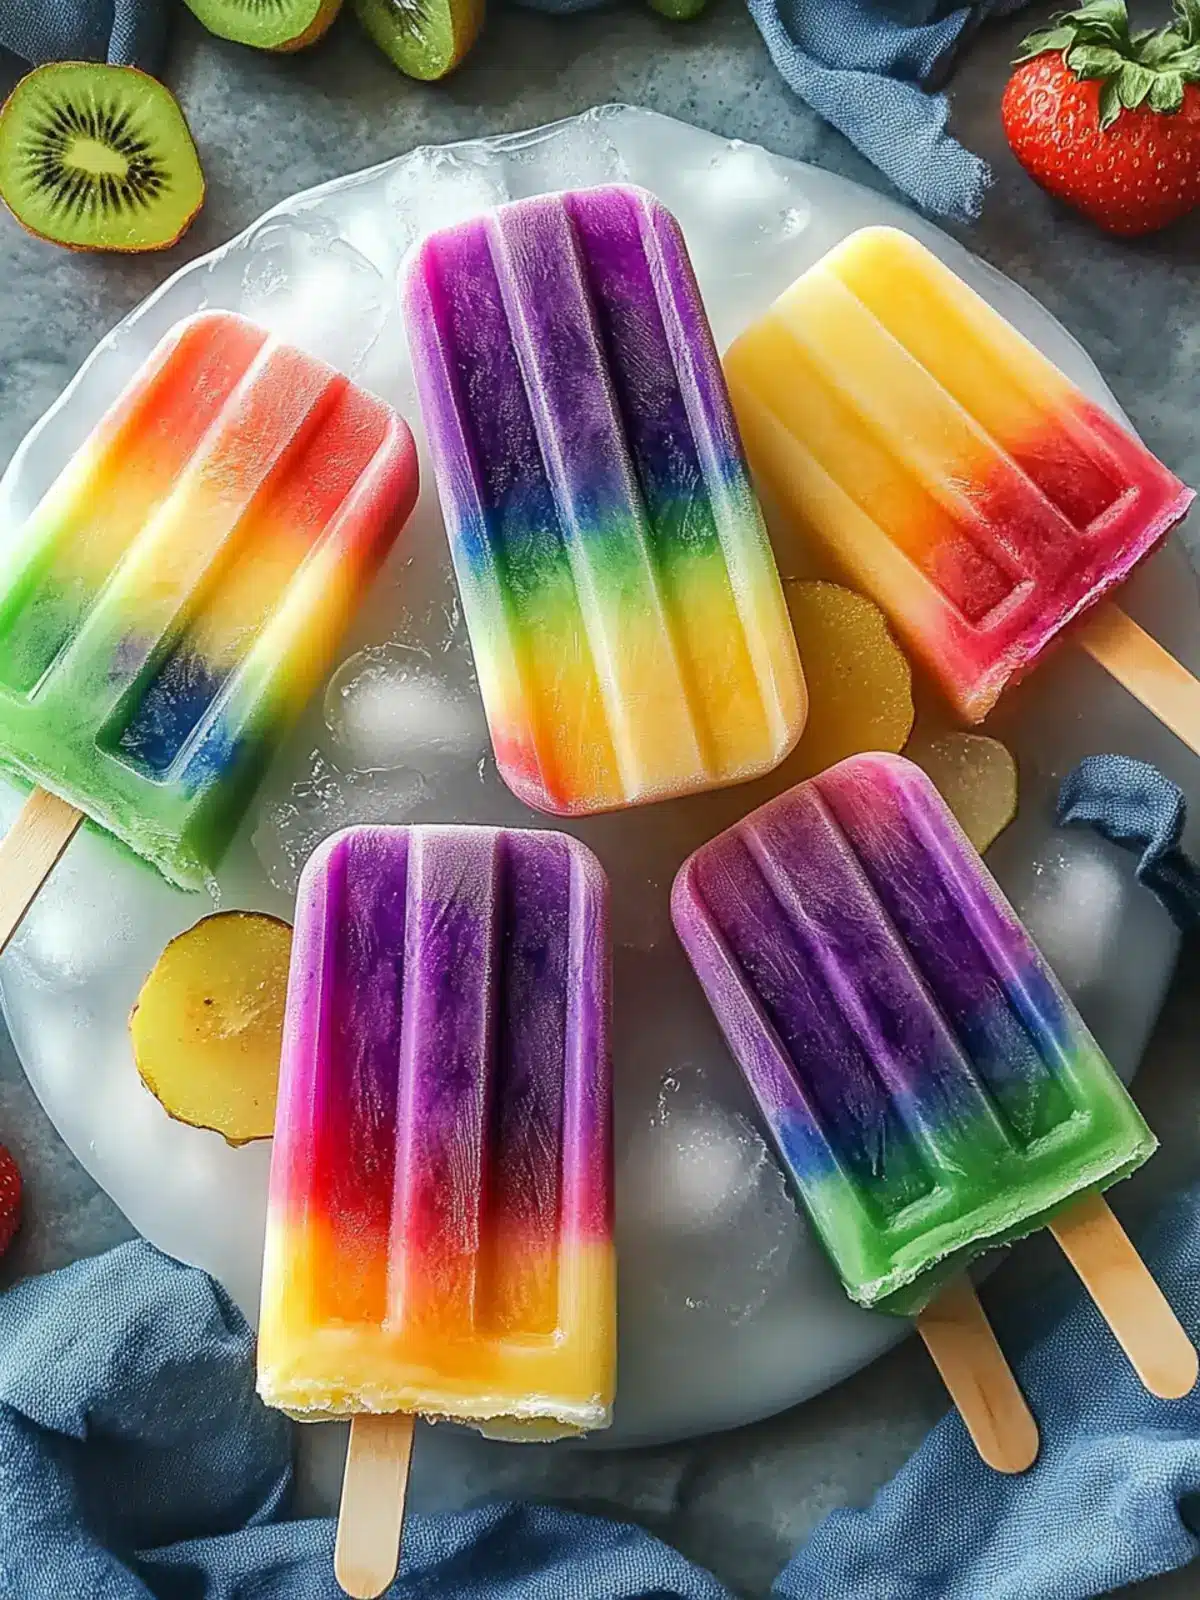
Why You’ll Love Dye-Free Rainbow Popsicles
Aren’t you craving a refreshing treat?
Bursting with flavor, these Dye-Free Rainbow Popsicles are made from real fruit, ensuring every bite is deliciously fresh. Customizable to your taste, the recipe allows you to swap in your favorite fruits or yogurt, catering to various dietary needs. Easy to prepare, these popsicles come together quickly, making them a perfect summer activity with family. Visually stunning, their vibrant layers create a colorful presentation that will impress your guests. Guilt-free fun, you can enjoy this delightful treat without the worry of artificial dyes or high-calorie counts—great for kids and adults alike!
Dye-Free Rainbow Popsicles Ingredients
For the Strawberry Layer
- Frozen Strawberries – Provides natural sweetness as the base for red, orange, and purple layers.
- Frozen Bananas – Adds creaminess; can be swapped with ripe mango or pineapple for a different texture.
- Plain Greek Yogurt – Enhances creaminess and boosts protein; substitute with full-fat vegan yogurt for a dairy-free option.
- Almond Milk – Achieves a smooth consistency; any milk (dairy or non-dairy) can work as a substitute.
For the Mango Layer
- Frozen Mango – The star for yellow, green, and blue layers, offers a tropical flavor that pairs well with strawberries.
- Spirulina Powder (Blue) – Natural colorant for blue hue, can be replaced with beet powder for a vibrant twist.
With these ingredients, you’re well on your way to creating your own delicious Dye-Free Rainbow Popsicles!
How to Make Dye-Free Rainbow Popsicles
-
Blend Strawberry Mixture: Combine frozen strawberries, one banana, Greek yogurt, and almond milk in a blender. Blend until smooth, about 1-2 minutes. You want a creamy consistency!
-
Prepare Layers: Divide the strawberry mixture into three bowls. Add spirulina powder to one bowl for the purple layer, and adjust with orange food coloring for another. Keep the last bowl untouched for the orange layer.
-
Blend Mango Mixture: In a separate blender, combine frozen mango, one banana, Greek yogurt, and almond milk. Blend until smooth; this will be your bright, sunny layer!
-
Split Mango Blend: Divide the mango mixture into three bowls as well. Add spirulina for the green layer and a larger quantity for a deep blue hue in the last bowl.
-
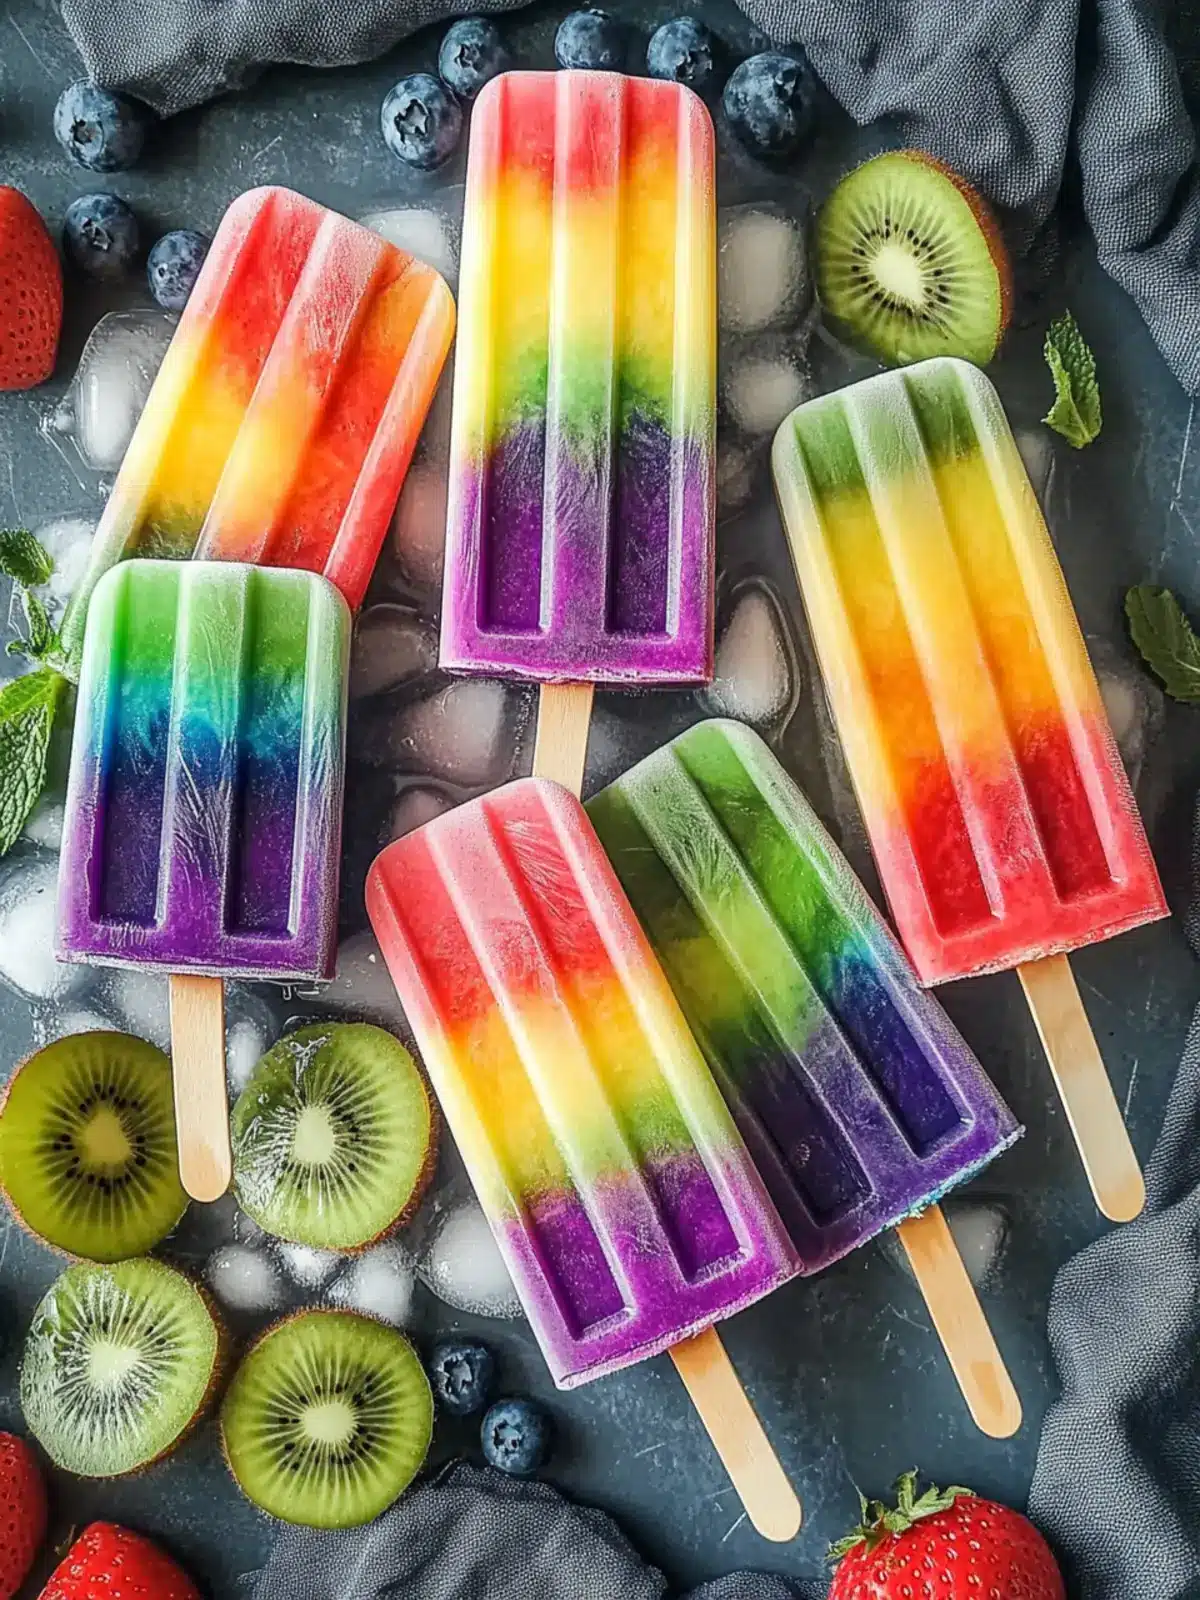
Layer Mixtures in Molds: Carefully spoon each blended mixture into popsicle molds, layering them in the order of the rainbow: red, orange, yellow, green, blue, and purple.
-
Freeze: Place the molds into the freezer and allow them to freeze for at least four hours, or until they are completely solid.
-
Release Popsicles: To serve, run the molds briefly under warm water to loosen them. Then, gently pull out the popsicles and enjoy your creation!
Optional: Drizzle with honey or agave for extra sweetness.
Exact quantities are listed in the recipe card below.
Make Ahead Options
These Dye-Free Rainbow Popsicles are perfect for busy home cooks looking to save time during hot summer days! You can blend the fruit and yogurt mixtures up to 24 hours in advance and store them in airtight containers in the fridge to keep them fresh. When you’re ready to layer, simply pour the prepared mixtures into molds and freeze. This not only streamlines your prep but ensures that each layer maintains its vibrant colors and flavors. Just remember to avoid over-mixing the fruit blends to preserve their lovely textures. Your family will enjoy these delightful rainbow treats with minimal effort on hot days!
What to Serve with Dye-Free Rainbow Popsicles?
Treat your taste buds to a colorful array of flavors and textures that complement these delightful popsicles.
-
Fresh Fruit Salad: A mix of seasonal fruits brightens the plate and adds refreshing textures, perfect after a creamy treat.
-
Coconut Water: Hydrate with this light, tropical beverage that enhances the fruity vibes and keeps your summer cool.
-
Herbal Iced Tea: Choose a refreshing mint or hibiscus tea for a fragrant pairing, balancing the sweetness of the popsicles beautifully.
-
Granola Parfait: Layer yogurt, granola, and fresh fruit for a crunchy contrast that pairs well with the creamy popsicles.
-
Nutty Energy Bites: These bites bring an additional crunch and nutty flavor, making for a satisfying snack alongside your fruity popsicles.
-
Chocolate Dipping Sauce: For those who crave a touch of decadence, a drizzle of warm chocolate creates a sweet contrast to the fruity pops.
Elevate your summer gatherings by serving these delightful accompaniments alongside your Dye-Free Rainbow Popsicles!
Expert Tips for Dye-Free Rainbow Popsicles
- Choose Ripe Fruits: Use the ripest frozen fruits to maximize sweetness and flavor, ensuring a delicious result in your Dye-Free Rainbow Popsicles.
- Blend Until Smooth: Make sure to blend the mixtures thoroughly to avoid icy textures; a smooth mixture is the key to creamy popsicles.
- Layer Carefully: Spoon the mixtures into the molds gently to maintain distinct color separation, creating that visually stunning rainbow appeal.
- Get Creative: Don’t hesitate to involve kids in the layering process; it’s a fun family activity that brings everyone together.
- Use a Popsicle Mold: Invest in a good popsicle mold that allows for easy release, making it simpler to enjoy your colorful creations.
Storage Tips for Dye-Free Rainbow Popsicles
- Fridge: These popsicles are best stored in the freezer. If left at room temperature, enjoy them immediately—they won’t last long!
- Freezer: Store your Dye-Free Rainbow Popsicles in an airtight container in the freezer for up to 2-3 months. Layer parchment paper between pups to prevent sticking.
- Reheating: When you’re ready to enjoy, run the molds under warm water for a few seconds to release the popsicles easily.
- Serving Suggestions: For an added touch, pair your popsicles with fresh fruit salad or refreshing coconut water, enhancing your summer experience!
Dye-Free Rainbow Popsicles Variations
Get ready to bring your creativity to the kitchen and customize this delicious recipe!
- Berry Blast: Substitute frozen strawberries with frozen blueberries for a berry-rich flavor that refreshes your palate.
- Tropical Paradise: Swap mango with fresh pineapple to infuse a unique tropical twist, transporting your taste buds to an exotic getaway.
- Non-Dairy Delight: Use coconut yogurt instead of Greek yogurt to create a creamy, fully vegan version that’s just as delicious.
- Minty Fresh: Add fresh mint leaves to the strawberry mixture for a refreshing burst, elevating the flavor profile beautifully.
- Citrus Surprise: A splash of freshly squeezed orange juice adds a zesty brightness, enhancing the overall flavor of your popsicles.
- Creamy Avocado: Blend in a ripe avocado for extra creaminess; it’ll create a richer texture that still tastes great!
- Choco Swirl: Drizzle melted dark chocolate between layers for a decadent twist that kids and adults alike will adore.
- Spicy Kick: For a daring spin, add a pinch of cayenne pepper to the mango mixture—you’ll get a surprising heat with every bite!
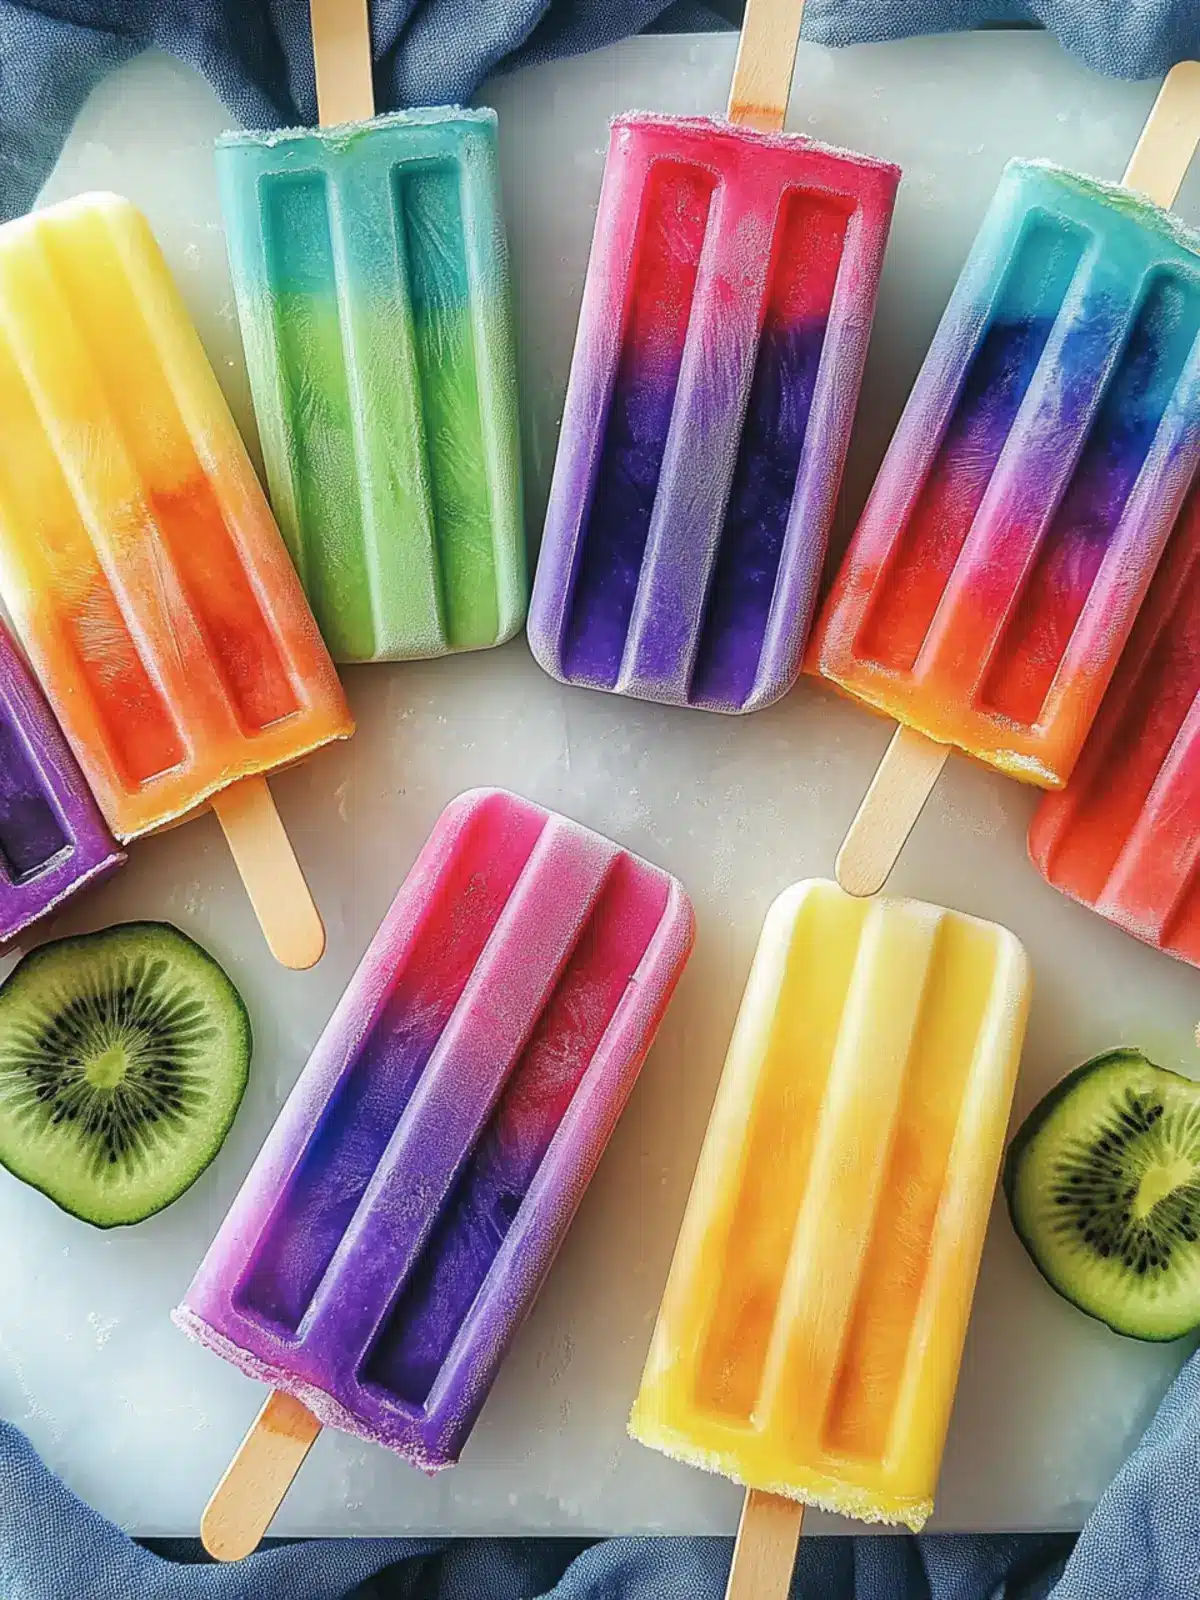
Dye-Free Rainbow Popsicles Recipe FAQs
What fruits are best to use for Dye-Free Rainbow Popsicles?
Absolutely! For the best results, select the ripest fruits available. Frozen strawberries and mangoes work wonderfully, as they provide natural sweetness and vibrant color. If you’re looking for variation, consider adding pineapple or blueberries for different flavors and textures.
How should I store my Dye-Free Rainbow Popsicles?
These popsicles should be stored in an airtight container in the freezer for up to 2-3 months. I recommend placing parchment paper between layers to prevent them from sticking together—it’s a simple trick that makes a world of difference.
Can I freeze these popsicles for later?
Yes, you can! Make a big batch of Dye-Free Rainbow Popsicles and freeze them for up to 2-3 months. Just remember to let them freeze completely before transferring them to an airtight container. When you’re ready to enjoy, run the molds under warm water briefly to loosen the popsicles.
What if my popsicles turn out icy?
Very! An icy texture can often be attributed to insufficient blending. Make sure to blend your mixtures until they’re completely smooth, as a creamy base is key to a delicious popsicle. If you find them icy after freezing, try blending in a little more yogurt or almond milk to create the perfect consistency next time!
Are Dye-Free Rainbow Popsicles suitable for everyone?
Definitely! This recipe is versatile and can cater to various dietary needs. To make them vegan and dairy-free, simply substitute Greek yogurt with full-fat vegan yogurt and ensure you use plant-based milk. Always double-check the fruit and yogurt for any potential allergens if serving to guests.
How can I make these popsicles even more fun?
Get creative! These Dye-Free Rainbow Popsicles are not only tasty but also fun to make. Involve the kids by letting them layer the colors—it’s a wonderful way to bond and spark creativity. You can also add fun toppings like crushed nuts or coconut flakes for an extra crunch!
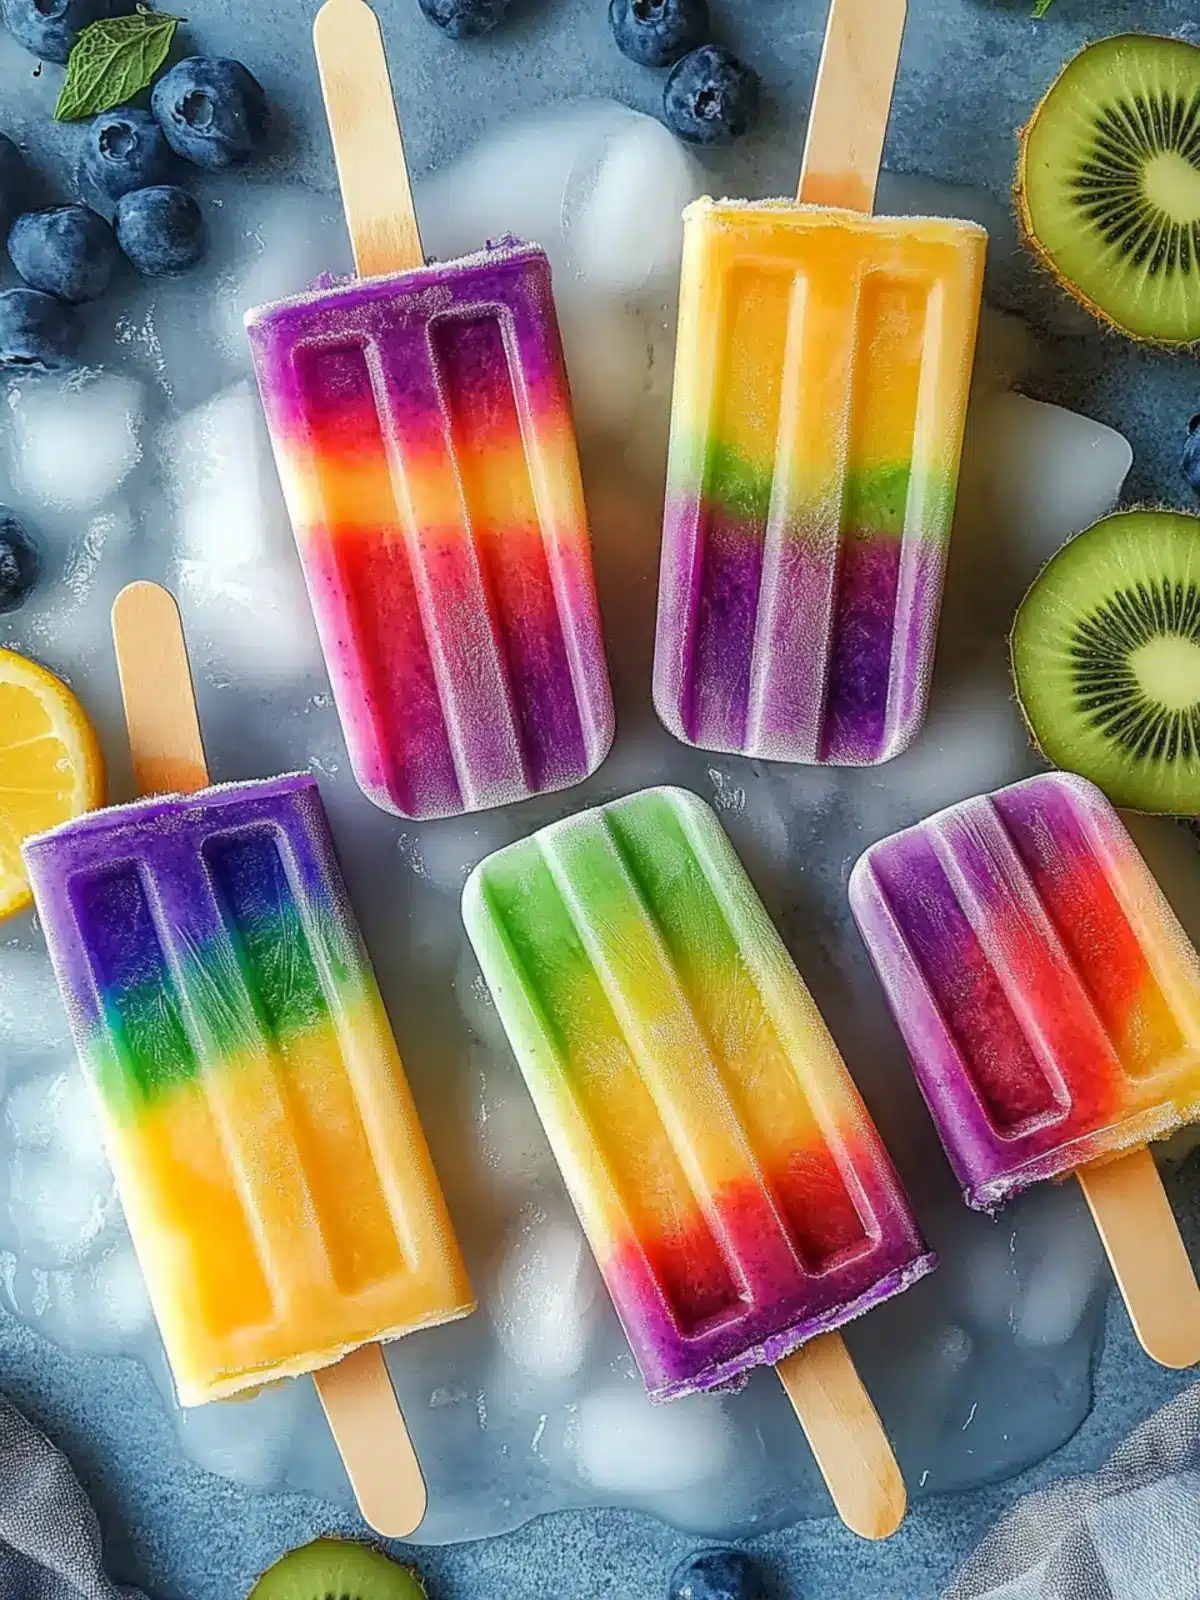
Dye-Free Rainbow Popsicles: Creamy, Healthy Summer Fun
Ingredients
Equipment
Method
- Blend Strawberry Mixture: Combine frozen strawberries, one banana, Greek yogurt, and almond milk in a blender. Blend until smooth, about 1-2 minutes.
- Prepare Layers: Divide the strawberry mixture into three bowls. Add spirulina powder to one bowl for the purple layer, and adjust with orange food coloring for another.
- Blend Mango Mixture: In a separate blender, combine frozen mango, one banana, Greek yogurt, and almond milk. Blend until smooth.
- Split Mango Blend: Divide the mango mixture into three bowls as well. Add spirulina for the green layer and a larger quantity for a deep blue hue in the last bowl.
- Layer Mixtures in Molds: Carefully spoon each blended mixture into popsicle molds, layering them in the order of the rainbow.
- Freeze: Place the molds into the freezer and allow them to freeze for at least four hours.
- Release Popsicles: To serve, run the molds briefly under warm water to loosen them.