
As the sun sets and the weeknight hustle starts to wind down, I often find myself craving a comforting snack that’s both delicious and easy to whip up. Enter my Cheesy Taco Sticks – a delightful fusion of buttery breadsticks and zesty taco flavors! It all began when I had some leftover taco meat begging for a new life in my kitchen. I knew I needed something that would excite my family without adding hours to my evening routine.
These delightful sticks are perfect for game nights, after-school snacks, or those moments when you simply want to elevate your dinner game without stress. Imagine that golden, crispy exterior giving way to a warm, cheesy center packed with savory goodness – it’s hard to resist! Plus, they’re kid-friendly, making them an ideal choice for families looking to break away from fast food. You might just find that this recipe becomes a go-to whenever you need a tasty treat that hits the spot! Join me as we delve into the simple steps to make these irresistible Cheesy Taco Sticks.
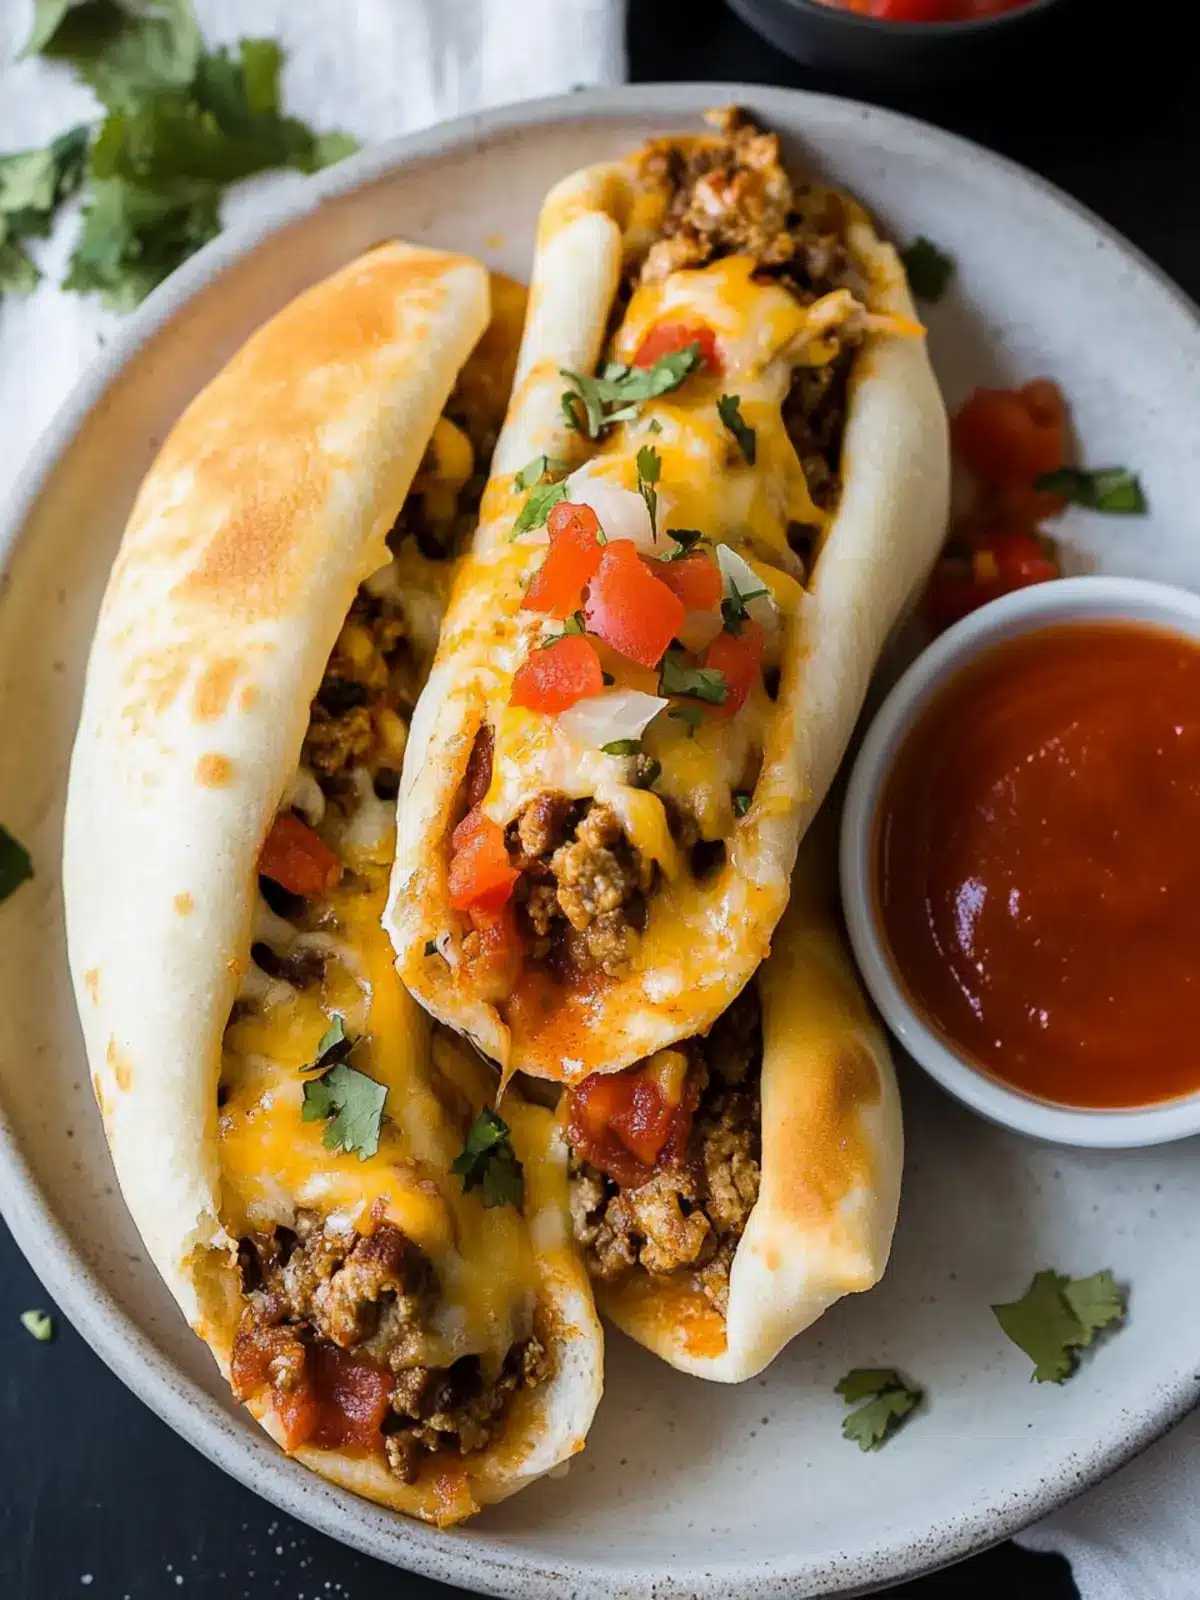
Why are Cheesy Taco Sticks so irresistible?
Endless Possibilities: These Cheesy Taco Sticks are incredibly versatile; you can swap out the meat, use different cheeses, or even add additional veggies.
Quick to Make: With only a few ingredients and a smooth assembly process, these sticks can go from prep to plate in under 30 minutes.
Kid-Approved Flavor: They pack a flavor punch that even the pickiest eaters will love, making dinner a breeze!
Perfect for Leftovers: Transform yesterday’s taco night into an exciting new dish; no waste here!
Crowd Pleaser: Serve them at parties, game days, or family gatherings – they’re always a hit!
If you’re looking for more fun ideas to do with leftovers, check out our guide on delightful ways to reinvent meals!
Cheesy Taco Sticks Ingredients
• Prepare to make the most delicious Cheesy Taco Sticks!
For the Filling
- Ground Beef – Main protein source, provides flavor and texture; substitute with ground turkey or shredded chicken for a lighter option.
- Taco Seasoning Mix – Adds spice and flavor depth; use homemade seasoning for a customized taste.
For the Dough
- Pillsbury Pizza Dough – Base for the sticks, provides flaky texture; can substitute with crescent roll dough for a different flavor.
For the Cheese
- Colby Jack and Cheddar Cheese Sticks – Provides cheesy inside and flavor; can substitute with mozzarella cheese for a milder taste.
For the Topping
- Butter – Adds richness and helps with browning; use olive oil for a lighter option.
- Garlic Powder – Enhances flavor; fresh minced garlic works well too.
- Dried Parsley – Adds a hint of color and flavor; omit if fresh herbs are preferred.
How to Make Cheesy Taco Sticks
-
Prepare the Taco Filling:
Start by cooking the ground beef in a skillet over medium heat. Once browned, stir in the taco seasoning mix according to the package instructions until everything is well combined. -
Prepare Pizza Dough:
Dust a clean surface with flour, then roll out the Pillsbury pizza dough. Cut it into rectangles big enough to wrap around the savory fillings to ensure each stick has the perfect bite. -
Assemble the Taco Sticks:
Take one rectangle of dough and place a generous portion of the cooked taco meat along with a halved cheese stick at one end. Roll it up tightly, and place it seam-side down on a baking sheet to keep everything snug inside. -
Apply Butter Mixture:
In a small bowl, mix melted butter with garlic powder and dried parsley. Brush this delicious mixture over each assembled taco stick to infuse warmth and richness, making them golden brown while baking. -
Bake the Taco Sticks:
Preheat your oven to 425°F. Place your baking sheet in the oven and bake for about 12-15 minutes, or until the taco sticks are golden brown and the dough is puffed up, offering a delightfully crispy exterior. -
Serve:
Allow them to cool for just a few moments before serving. Perfectly paired with salsa or sour cream for dipping, they’ll be an instant hit!
Optional: Serve with fresh guacamole for an extra layer of flavor!
Exact quantities are listed in the recipe card below.
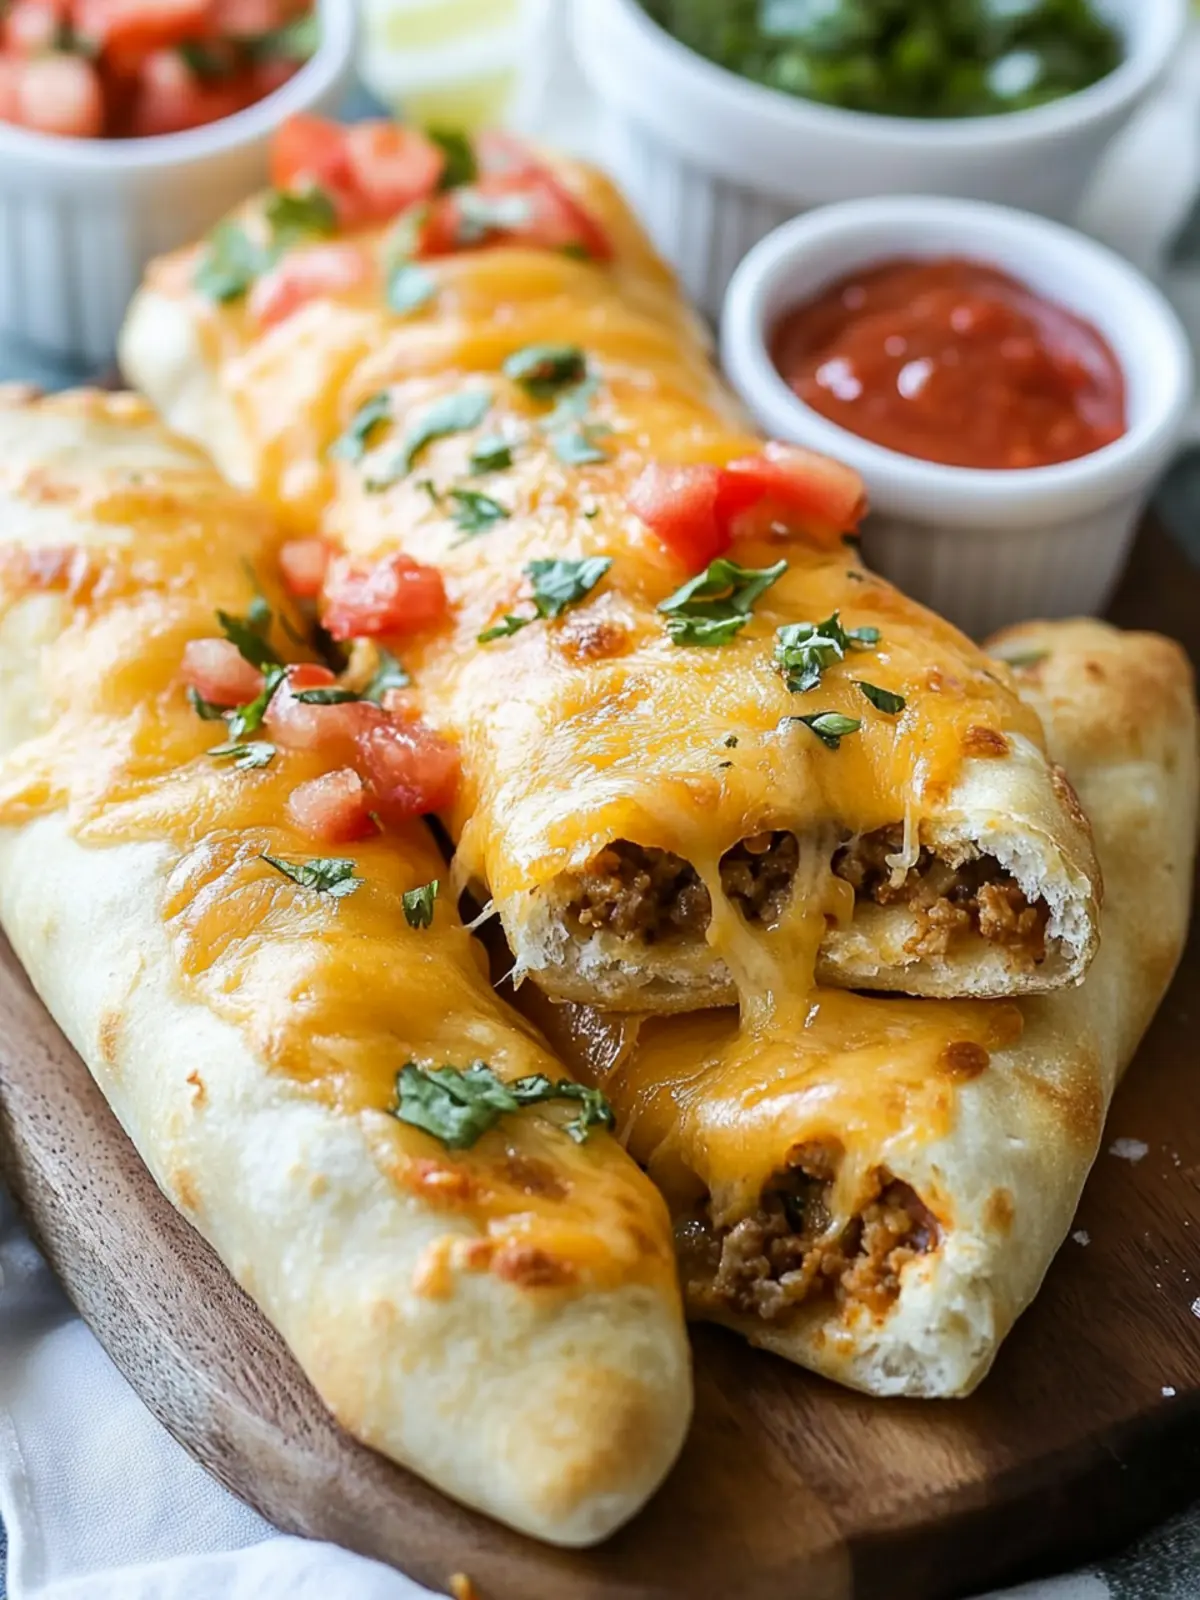
How to Store and Freeze Cheesy Taco Sticks
Fridge: Store leftover Cheesy Taco Sticks in an airtight container for up to 3 days. This keeps them fresh and ready for your next snack attack!
Freezer: For long-term storage, freeze the assembled but unbaked taco sticks on a baking sheet, then transfer to a freezer bag for up to 2 months.
Reheating: To enjoy them again, bake from frozen at 425°F for about 15-20 minutes until heated through and golden brown. This restores that crispy exterior!
Room Temperature: If you’ve got any leftover sticks after serving, allow them to cool and store them at room temperature for up to 2 hours, but do refrigerate if longer.
What to Serve with Cheesy Taco Sticks?
Add a burst of flavor and texture to your meal with these delightful pairings that elevate your taco-inspired snacking experience.
-
Salsa Verde: This tangy, zesty sauce brightens the flavors of the Cheesy Taco Sticks, creating a refreshing contrast that tantalizes your taste buds.
-
Guacamole: The creamy richness of guacamole perfectly complements the cheesy goodness and adds a cool, velvety finish to each bite.
-
Fresh Veggie Platter: Crisp carrots, cucumbers, and bell peppers provide a satisfying crunch and a burst of freshness, making for a balanced plate that kids love.
-
Mexican Street Corn (Elote): Charred sweet corn slathered in creamy sauce and sprinkled with cheese offers an exciting flavor pairing that echoes the taco theme.
-
Honey-Lime Fruit Salad: A sweet and tangy cactus fruit salad brightens your plate and refreshes the palate, making it an unexpected yet delightful side.
-
Crisp Lettuce Wraps: Serve the Cheesy Taco Sticks with crisp iceberg or romaine lettuce to create a crunchy contrast, adding a fresh texture.
-
Chilled Horchata: This traditional Mexican drink, with its soothing sweetness and cinnamon notes, is perfect for washing down savory bites while adding an authentic touch.
-
Chocolate Tres Leches Cake: Finish on a sweet note with a rich, moist cake that balances out the savory flavors, leaving everyone with a smile.
Cheesy Taco Sticks Variations
Feel free to get creative and put your own spin on these Cheesy Taco Sticks!
-
Dairy-Free: Use dairy-free cheese alternatives for a tasty vegan option. They’ll still deliver that gooey, melty goodness.
-
Spicy Twist: Mix in some diced jalapeños or hot sauce with the taco meat for an extra kick. It adds a delightful heat that spicy food lovers will adore.
-
Vegetarian Option: Swap ground beef with black beans or lentils mixed with taco seasoning. This makes a hearty and flavorful filling for plant-based eaters.
-
Added Veggies: Fold in finely chopped bell peppers or diced onions with the meat for a flavor boost and extra texture. The crunch complements the softness beautifully.
-
Different Cheeses: Experiment by using pepper jack cheese for an extra spicy flavor or feta for a tangy twist. Each cheese variation brings something unique to the table!
-
Herb Infusion: Add fresh cilantro or oregano into the filling for a burst of refreshing flavor. Herbs elevate the overall taste, making these sticks even more satisfying.
-
Crunchy Topping: Sprinkle some crushed tortilla chips on top before baking for a delightful crunch. This adds an extra layer of texture that children especially find fun!
These variations not only allow you to adapt to dietary needs but also elevate the taste, making each batch uniquely delicious!
Make Ahead Options
These Cheesy Taco Sticks are perfect for meal prep, allowing you to enjoy a delicious snack or appetizer with minimal effort! You can prepare the taco filling up to 3 days in advance and refrigerate it in an airtight container to maintain its freshness. Additionally, you can assemble the sticks (but not bake them) and keep them in the fridge for up to 24 hours. When you’re ready to bake, simply preheat the oven and brush the assembled sticks with the butter mixture before popping them in for the recommended 12-15 minutes. This way, you’ll still enjoy that delightful warm, gooey goodness without the last-minute rush!
Expert Tips for Cheesy Taco Sticks
-
Seal It Right: Ensure that the cheese is completely sealed inside the dough to prevent any oozing during baking. This keeps the gooey goodness inside!
-
Warm Your Filling: If preparing the taco meat in advance, always warm it up before assembling. Cold meat can lead to uneven cooking and affect the delicious flavor of the Cheesy Taco Sticks.
-
Experiment with Spice: For a spicier kick, add sliced jalapeños or chopped fresh chilies to the taco filling before rolling. It adds an exciting depth of flavor!
-
Watch the Bake Time: Keep an eye on the taco sticks towards the end of the baking time. Overbaking can lead to a hard crust instead of that perfect golden brown texture.
-
Make Ahead and Freeze: Prepare the assembled sticks and freeze them unbaked. Simply pop them in the oven straight from the freezer when you’re ready for a quick snack later!
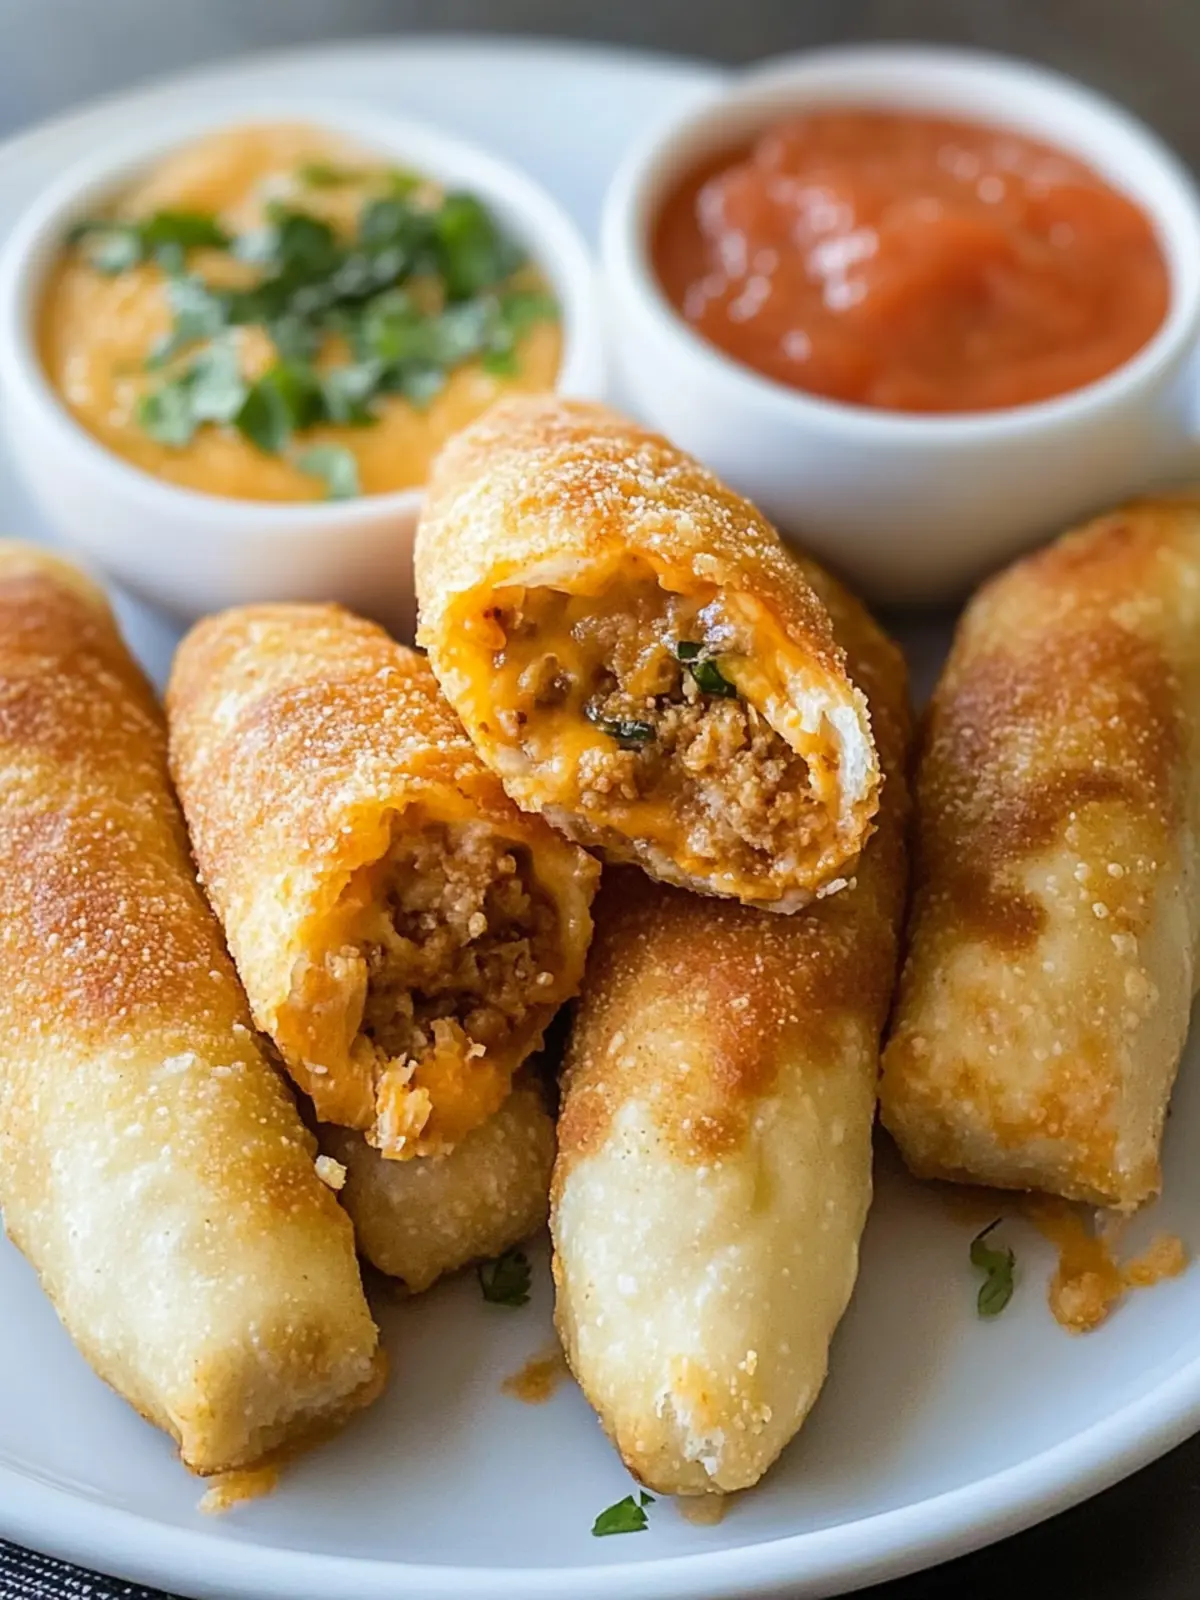
Cheesy Taco Sticks Recipe FAQs
What type of ground meat is best for Cheesy Taco Sticks?
Absolutely, ground beef is the classic choice for Cheesy Taco Sticks, but you can also use ground turkey or shredded chicken. These alternatives are lighter and just as flavorful! For a vegetarian option, consider using beans or lentils seasoned with taco spices.
How should I store leftover Cheesy Taco Sticks?
Store your leftover Cheesy Taco Sticks in an airtight container in the fridge for up to 3 days. This keeps them fresh and ready for a quick snack! Just reheat them in the oven at 350°F until warmed through for the best texture.
Can I freeze Cheesy Taco Sticks?
Yes, you can freeze them! First, assemble the sticks but don’t bake them. Place them on a baking sheet and freeze until solid. After that, transfer them to a freezer bag or airtight container for up to 2 months. When you’re ready to enjoy them, bake them straight from the freezer at 425°F for about 15-20 minutes or until golden brown.
What if the cheese oozes out while baking?
To avoid cheese oozing out of your Cheesy Taco Sticks, ensure that the dough is tightly sealed around the fillings before baking. If you notice dark spots on your dough after assembling, it might mean it isn’t tightly wrapped. A gentle press or roll around the seam will help keep it secure!
Are Cheesy Taco Sticks suitable for children with allergies?
If there are dairy allergies, you can swap out traditional cheeses for dairy-free alternatives. For gluten sensitivities, consider using gluten-free pizza dough. Just be sure to check all ingredient labels for hidden allergens to keep these sticks safe for your little ones.
How do I make Cheesy Taco Sticks spicier?
For an added kick, mix some sliced jalapeños or chopped fresh chilies into the taco meat before assembling the sticks. You could also use pepper jack cheese instead of the usual Colby Jack and Cheddar for a delightful heat. Enjoy the flavorful adventure!
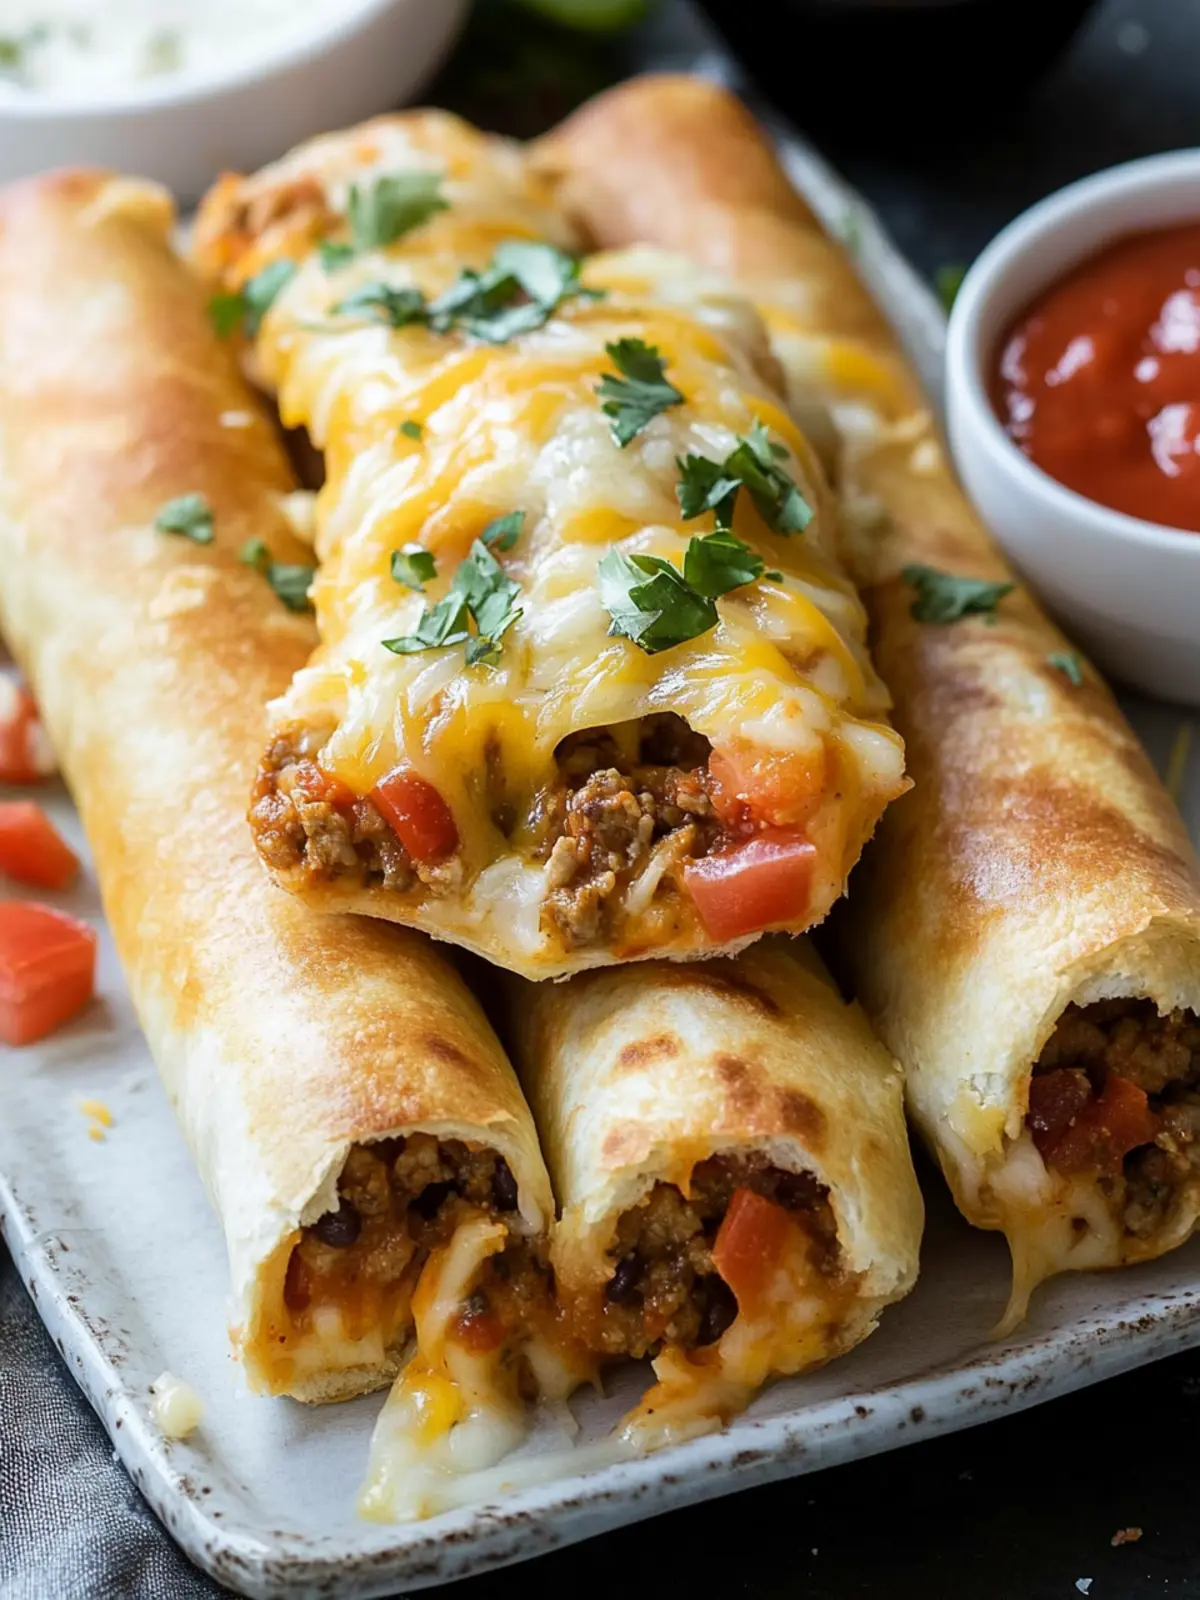
Cheesy Taco Sticks: The Ultimate Snack for Taco Lovers
Ingredients
Equipment
Method
- Cook the ground beef in a skillet over medium heat. Stir in the taco seasoning mix until well combined.
- Dust a clean surface with flour and roll out the pizza dough. Cut it into rectangles.
- Place a portion of cooked taco meat and a halved cheese stick on a rectangle of dough. Roll tightly and place seam-side down.
- Mix melted butter, garlic powder, and dried parsley. Brush over each taco stick.
- Preheat oven to 425°F. Bake the taco sticks for 12-15 minutes until golden brown.
- Let cool for a few moments before serving, paired with salsa or sour cream.