
There’s an incredible sense of satisfaction that comes from creating your own snacks at home, especially when they can meet all your cravings in just a few minutes. I recently found myself wanting something quick yet wholesome to fuel my busy mornings, and that’s when I stumbled upon these delicious homemade cereal bars. With only three simple ingredients, they’re not only a breeze to whip up but also incredibly customizable!
Picture this: crunchy cereal kissed by creamy nut butter and a drizzle of sweet syrup, all harmonizing into a chewy, delightful bar that you can enjoy anytime. Whether you’re reaching for a quick breakfast or a snack to power through the afternoon slump, these cereal bars are an absolute lifesaver. Plus, the fun part? You can jazz them up with a myriad of flavors—think chocolate, cookie dough, or even a fruit twist!
Join me as we unlock the secret to these easy, no-bake cereal bars that will leave your taste buds singing and your snack stash full!
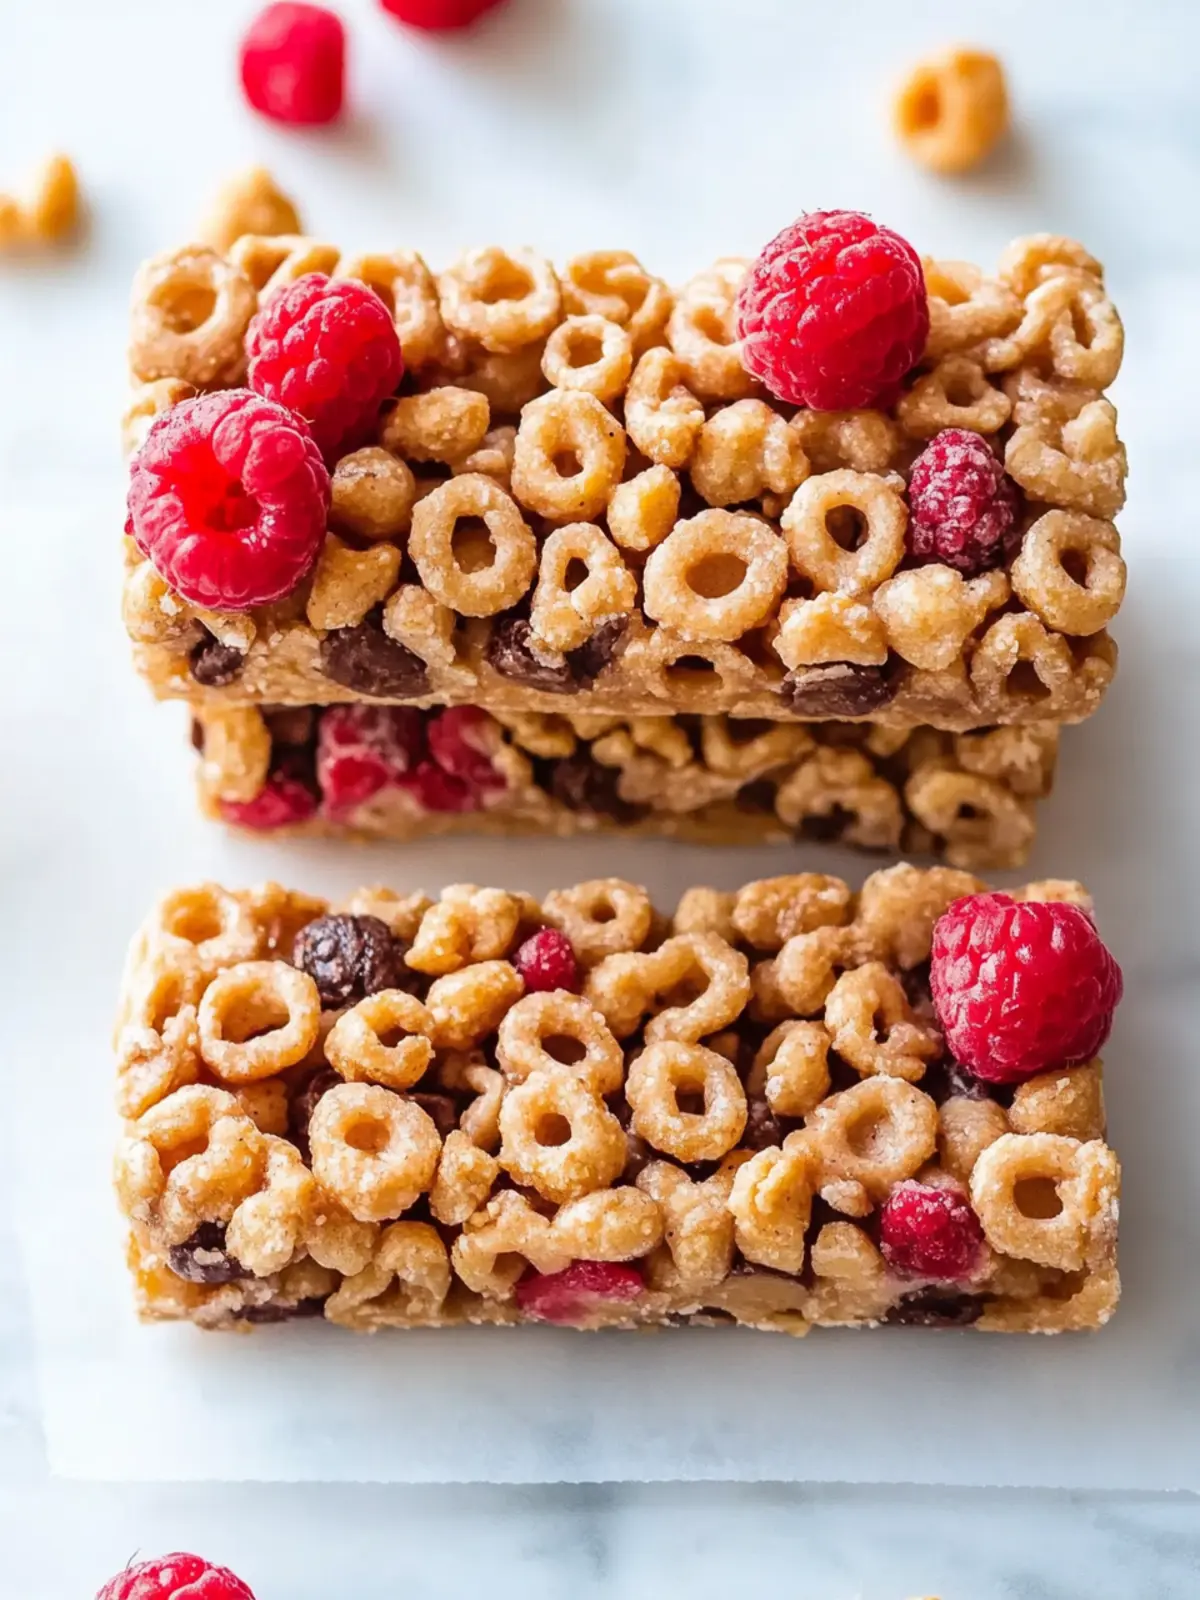
Why You’ll Love These Cereal Bars
Simplicity at its Core: With just three ingredients, these cereal bars are incredibly easy to make, perfect for busy days.
Endless Customization: From chocolate to cookies, you can tailor these bars to suit your unique taste preferences.
Quick & Convenient: Ready in a flash, these no-bake snacks make a delightful addition to your morning routine or a quick pick-me-up anytime!
Healthy Indulgence: Made with wholesome ingredients, these bars strike the perfect balance between health and flavor.
Family-Friendly Appeal: Kids and adults alike will adore these tasty treats, making them a crowd-pleasing favorite in your home.
Don’t forget to check out our variation ideas for endless fun!
Cereal Bars Ingredients
• For the Base
- Cereal – Use your favorite small-flake cereal like Cheerios or Rice Krispies for the perfect crunch.
- Nut Butter – Choose peanut butter, almond butter, or sunflower butter for a creamy texture that binds the bars together.
• For Sweetness
- Liquid Sweetener – Agave syrup or honey adds delicious sweetness; remember to use agave for a vegan option for these cereal bars!
• Optional Enhancements
- Optional Salt – A pinch can elevate the flavor but can be omitted based on your preference.
- Optional Protein Powder – Mix in for an extra protein boost to keep you fueled throughout the day.
How to Make Cereal Bars
-
Prepare the Pan: Line an 8-inch baking pan with wax or parchment paper, ensuring it hangs over the edges for easy removal. For a larger batch, double the recipe and use a 9×13-inch pan.
-
Warm Nut Butter: Gently heat your nut butter in the microwave for about 20-30 seconds if it’s stiff. This will make it easier to stir and blend with your other ingredients.
-
Mix Ingredients: In a large mixing bowl, combine your chosen cereal, warmed nut butter, and liquid sweetener. Stir well to ensure everything is evenly coated and combined.
-
Transfer Mixture: Pour the mixture into the prepared pan. Place another sheet of parchment paper on top and press down firmly with your hands or a spatula to create a compact layer.
-
Chill the Mixture: Place the pan in the freezer for approximately 30 minutes, or until the mixture is firm enough to slice easily into bars.
-
Store Leftovers: Once set, remove the bars from the pan and cut them into your desired shape. Cover any leftovers and store them in an airtight container in the fridge, or freeze for longer storage.
Optional: Drizzle melted chocolate over the bars for extra indulgence!
Exact quantities are listed in the recipe card below.
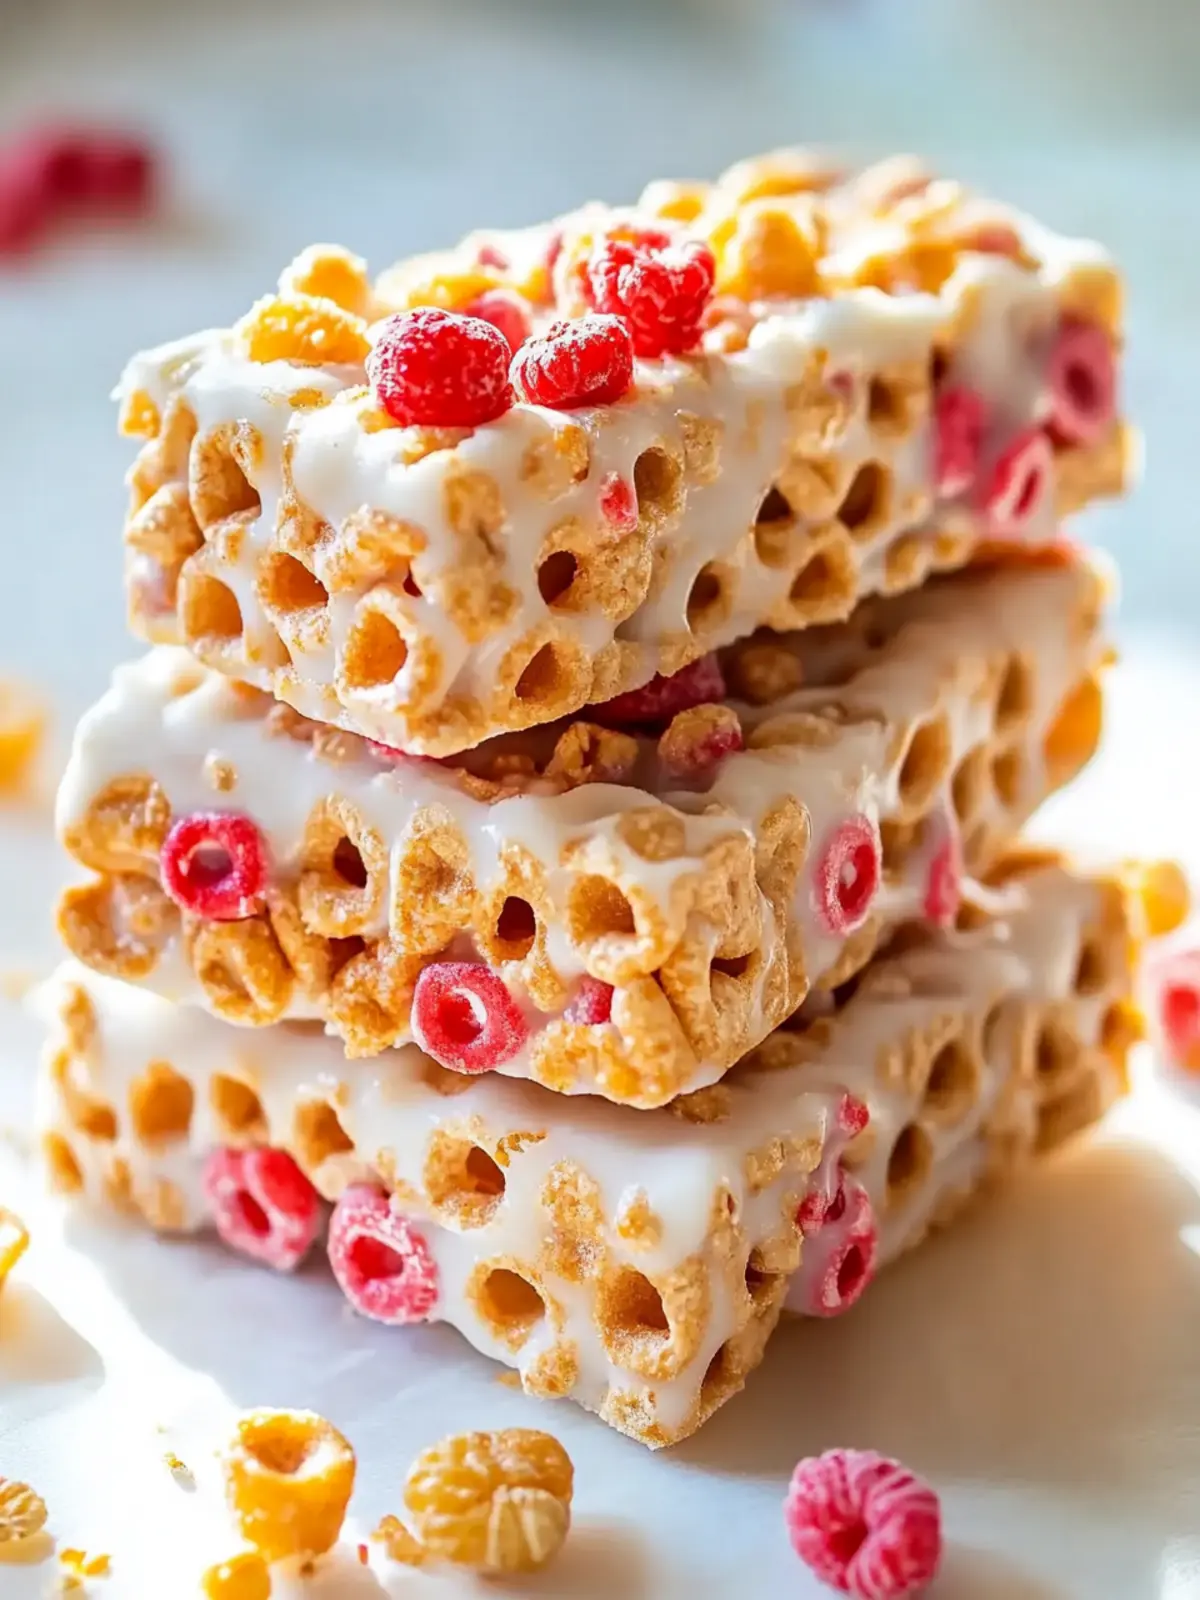
What to Serve with Cereal Bars?
These delightful homemade treats invite a world of possibilities to create a balanced meal or snack.
-
Fresh Fruit: Light and refreshing, fruits like strawberries or bananas add a juicy contrast that brightens your snack. They enhance the sweet flavor of the bars while providing extra nutrients.
-
Yogurt Parfait: A layer of creamy yogurt topped with berries creates a delicious dip or side. This pairing adds a pleasing coolness and soft texture alongside the crunchy bars.
-
Nut Milk: A glass of almond or oat milk offers a smooth, nutty flavor that pairs beautifully with the bars. Sip on it for a nourishing boost that complements your homemade treats perfectly.
-
Nut Butter Dip: A small dish of extra nut butter for dipping can elevate your experience. It adds richness and ensures every bite is creamy and satisfying.
-
Trail Mix: A handful of your favorite nuts and dried fruits creates a satisfying crunch. This combo provides a nutritious contrast to the chewy cereal bars while keeping your energy high.
-
Smoothie: Blend your favorite fruits with spinach and a splash of nut milk for a quick nutrient boost. It’s a fab way to enjoy more flavors while complementing the hearty texture of the cereal bars.
-
Dark Chocolate Squares: For a sweet ending, serve a piece of dark chocolate alongside. The rich chocolate enhances the flavors beautifully, providing a decadent touch to your homemade snack.
-
Honey Drizzle: Offering honey on the side to drizzle over the bars brings a lovely touch of sweetness. It’s simple yet elevates the overall flavor experience and adds a gourmet twist.
Expert Tips for Cereal Bars
- Firm Pressing: Press down the mixture firmly into the pan to ensure the cereal bars hold their shape when cut. This is critical for a successful outcome!
- Cereal Variety: Try experimenting with different cereals like granola or cornflakes to discover unique flavors and textures. Your cereal bars will surprise you!
- Sweetener Balance: If you’re adjusting sweetness, remember that different sweeteners behave differently. Liquid sweeteners like agave will affect texture, so use them carefully.
- Nut Butter Options: Choose your nut butter wisely. Creamy nut butters work best for binding; avoid dry ones to prevent crumbling in your cereal bars.
- Chilling Time: Don’t skip the chilling step! Properly chilling the bars ensures they firm up well and are easier to slice without falling apart.
Make Ahead Options
These cereal bars are a fantastic choice for meal prep enthusiasts! You can prepare up to 24 hours in advance, making them an ideal option for busy mornings. Simply follow the recipe until the mixture is combined, then transfer it to the lined pan and freeze. Once firm, wrap the pan tightly in plastic wrap or store the bars in an airtight container in the fridge to maintain their chewiness. When you’re ready to enjoy your homemade cereal bars, slice them and take a moment to feel satisfied with your prepped snack. They’ll taste just as delicious as if you had made them on the spot!
Storage Tips for Cereal Bars
- Room Temperature: Store in a cool, dry place in an airtight container for up to 3 days for optimal freshness. Avoid exposure to heat and moisture which can soften the bars.
- Fridge: Keep your cereal bars in an airtight container in the refrigerator for up to 1 week. This helps maintain their chewy texture while adding a refreshing chill.
- Freezer: For longer storage, freeze the cereal bars for up to 3 months. Wrap them tightly in plastic wrap before placing them in a freezer-safe bag to prevent freezer burn.
- Reheating: If desired, you can warm them in the microwave for about 10 seconds to soften slightly before enjoying your cereal bars!
Cereal Bars Variations & Substitutions
Feel free to mix things up and create your perfect cereal bars! The sky’s the limit when it comes to fun flavors and unique tweaks.
-
Chocolate Twist: Add 1-2 tablespoons of cocoa powder for a rich, chocolaty flavor that kids will adore. For an even sweeter touch, drizzle melted chocolate on top before serving!
-
Nutella Delight: Switch your nut butter for Nutella to turn your bars into a creamy, indulgent treat that satisfies your sweet tooth.
-
Cookie Dough Flavor: Replace your nut butter with cashew butter, and fold in mini chocolate chips to make a deliciously nostalgic cookie dough-inspired bar.
-
Fruity Burst: Mix in a handful of freeze-dried fruits like strawberries or blueberries for a refreshing, fruity taste that brightens up every bite.
-
Marshmallow Magic: Stir in mini marshmallows for added delight and chewiness that makes these bars feel extra special.
-
Spiced Pumpkin: Add a teaspoon of pumpkin spice or cinnamon in autumn to give your cereal bars a warm, cozy flavor perfect for the season.
-
Nut-Free Alternative: For a nut-free version, substitute any nut butter with sunflower seed butter—still deliciously creamy while accommodating allergy concerns!
-
Protein Boost: Toss in a scoop of protein powder to help keep your energy up, perfect for post-workout nourishment or a busy day ahead.
These variations not only keep your snack game exciting but also allow you to cater to varied taste preferences and dietary needs!
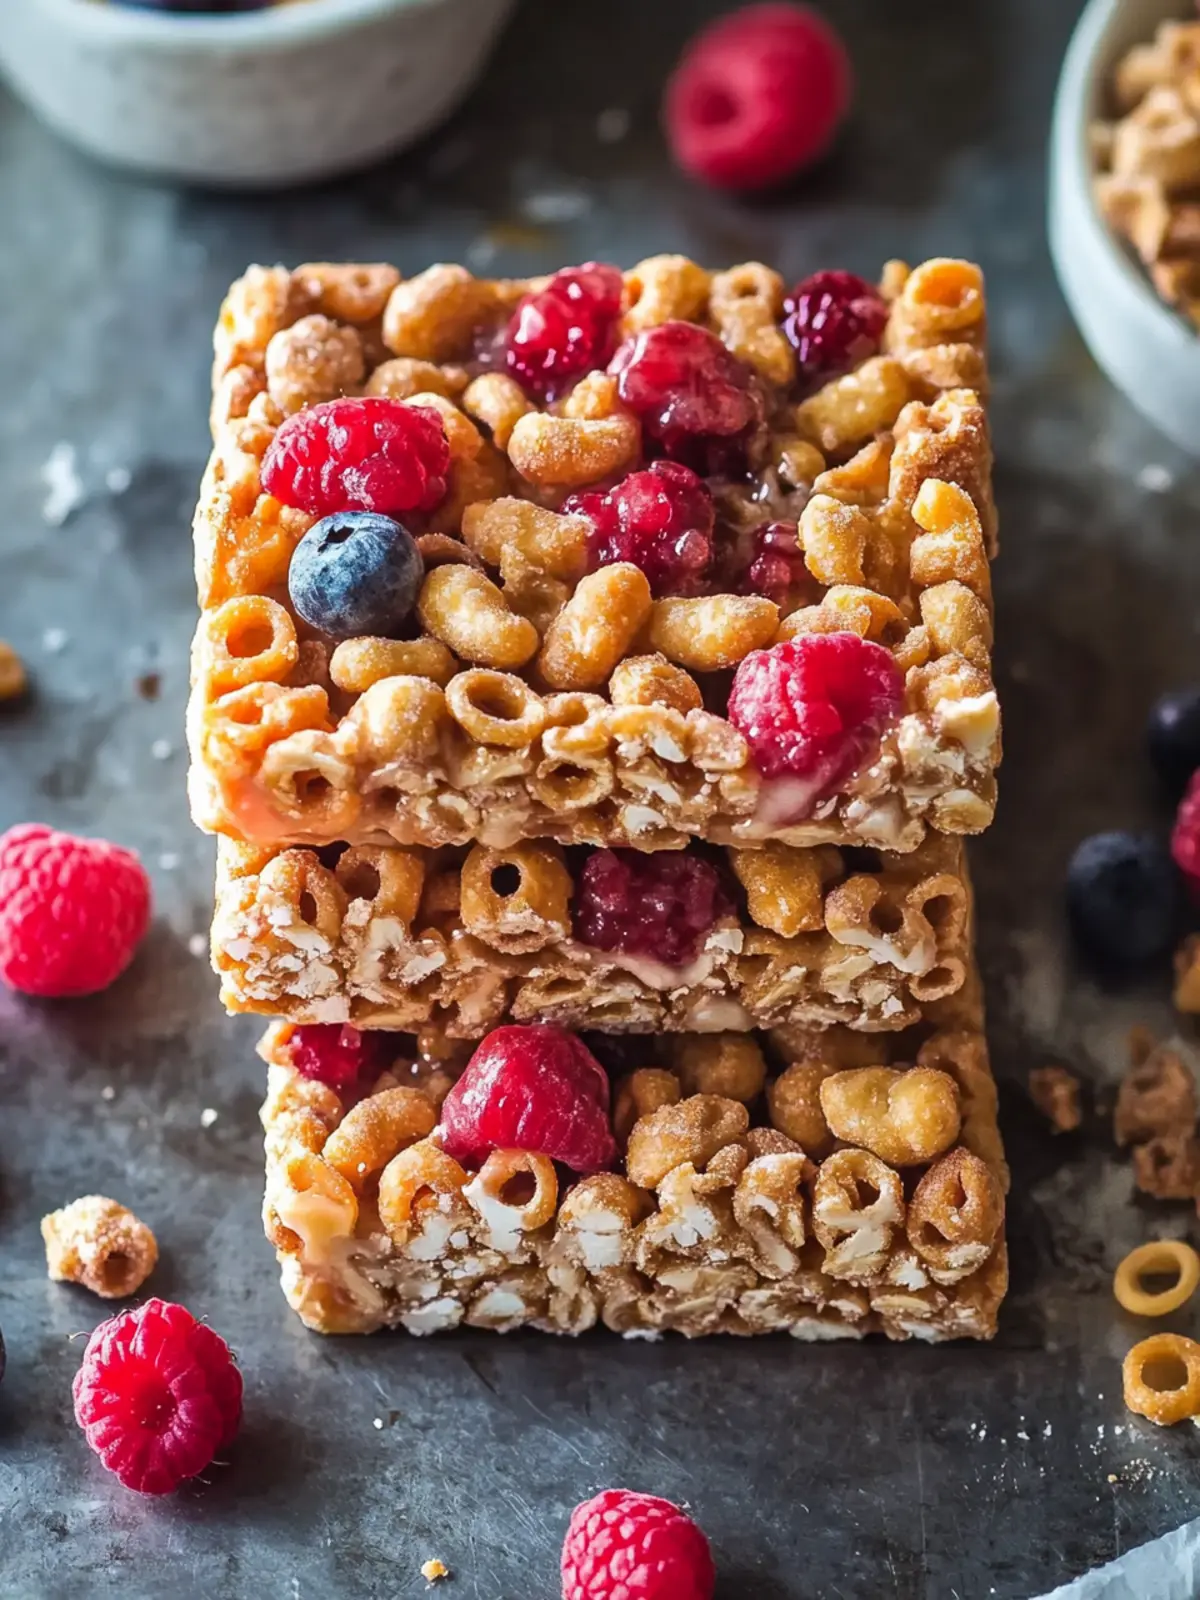
Homemade Easy Cereal Bars Recipe FAQs
How do I choose the right cereal for these bars?
Absolutely! Opt for a cereal that has small flakes or shapes, like Cheerios or Rice Krispies, as these hold together better when mixed with nut butter. If you’re looking for a gluten-free option, rice-based cereals work wonderfully. Just check the labels for any hidden gluten if allergies are a concern!
How long can I store these cereal bars?
Very! You can keep your cereal bars in an airtight container at room temperature for up to 3 days. If you want to preserve them for longer, I recommend refrigerating them, where they’ll stay fresh for about a week.
Can I freeze these cereal bars? What’s the best method?
Absolutely, freezing is a great option! Wrap each bar tightly in plastic wrap and place them in a freezer-safe bag. They can last up to 3 months in the freezer without losing their texture. When you’re ready to enjoy, simply let them thaw at room temperature or pop them in the microwave for a quick softening!
What should I do if my cereal bars are too crumbly?
If your bars are crumbling, don’t worry! This can happen if there isn’t enough nut butter or liquid sweetener. To fix this, you can melt an additional tablespoon of nut butter and blend it with a splash of water or sweetener. Mix this into your bar mixture, then press it down firmly again in the pan. This added moisture helps bind everything together!
Are these cereal bars suitable for everyone, including those with allergies?
It’s important to customize based on dietary needs! These cereal bars can easily be made nut-free by using sunflower butter instead of nut butter. Always check ingredients for potential allergens, especially if you’re serving them to kids or guests. Also, using agave syrup keeps them vegan-friendly, perfect for various diets!
Can I make these cereal bars healthier?
The more the merrier! To increase the nutritional value, you can mix in ingredients like chia seeds or hemp hearts for added fiber and protein. A scoop of protein powder is another great option if you’re looking for a post-workout snack that packs a punch!
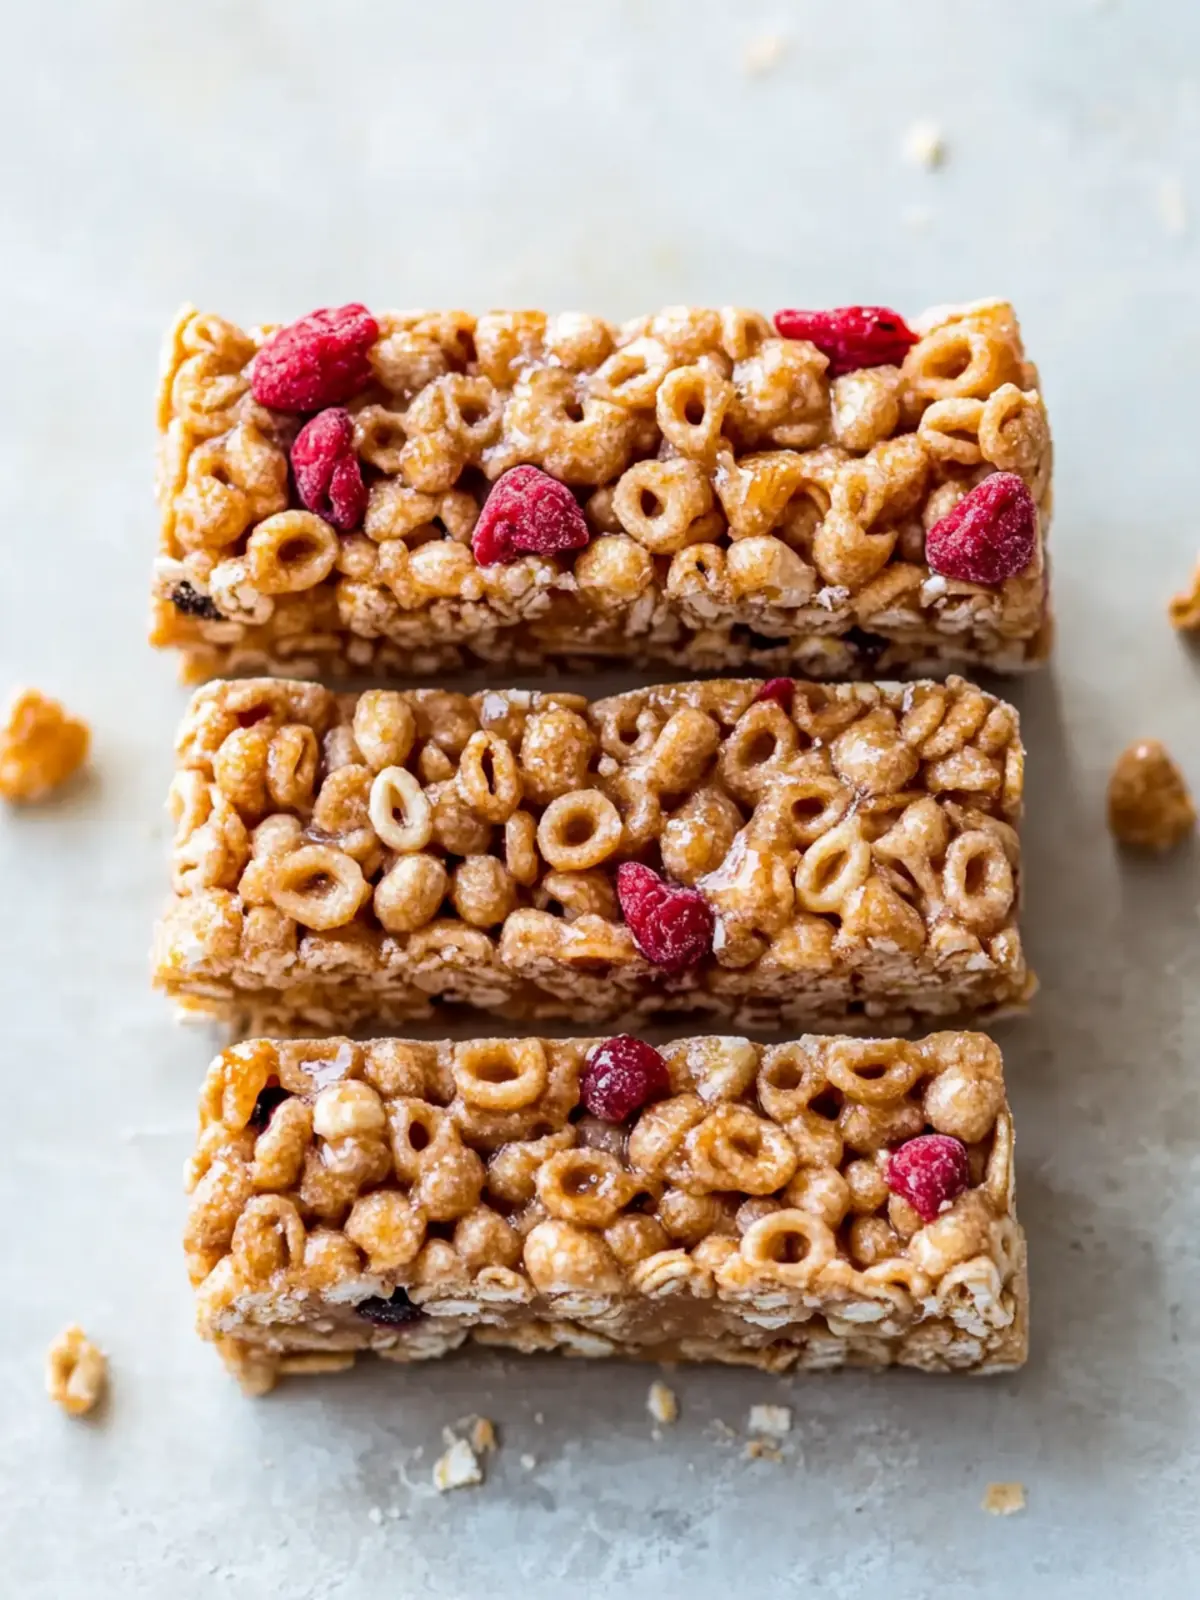
Delicious 3-Ingredient Cereal Bars: Quick & Customizable Treats
Ingredients
Equipment
Method
- Line an 8-inch baking pan with wax or parchment paper.
- Gently heat your nut butter in the microwave for about 20-30 seconds.
- In a large mixing bowl, combine your chosen cereal, warmed nut butter, and liquid sweetener.
- Pour the mixture into the prepared pan and press down firmly.
- Place the pan in the freezer for approximately 30 minutes.
- Remove the bars from the pan and cut them into your desired shape.