
As the days grow shorter and the air turns crisp, I find myself yearning for the cozy, nostalgic flavors of fall. There’s something undeniably delightful about the way seasonal treats can whisk us back to our childhood, especially when Halloween rolls around. Picture this: you’re in your kitchen, the scent of cocoa wafting through the air, as the vibrant orange and black of Halloween Oreos spark joy and whimsy.
These Halloween Oreo Chocolate Cookies are a delicious celebration of the season, combining the rich flavors of chocolate with the familiar crunch of those iconic cookies. They are not only easy to whip up, but their decadent taste and fun aesthetic make them the perfect treat for gatherings or a cozy night in. Whether you’re looking to impress guests at a party or simply wanting to indulge yourself, these cookies are a surefire way to bring a little magic into your kitchen. Grab your apron, and let’s create a deliciously haunting treat that’s sure to satisfy your sweet tooth!
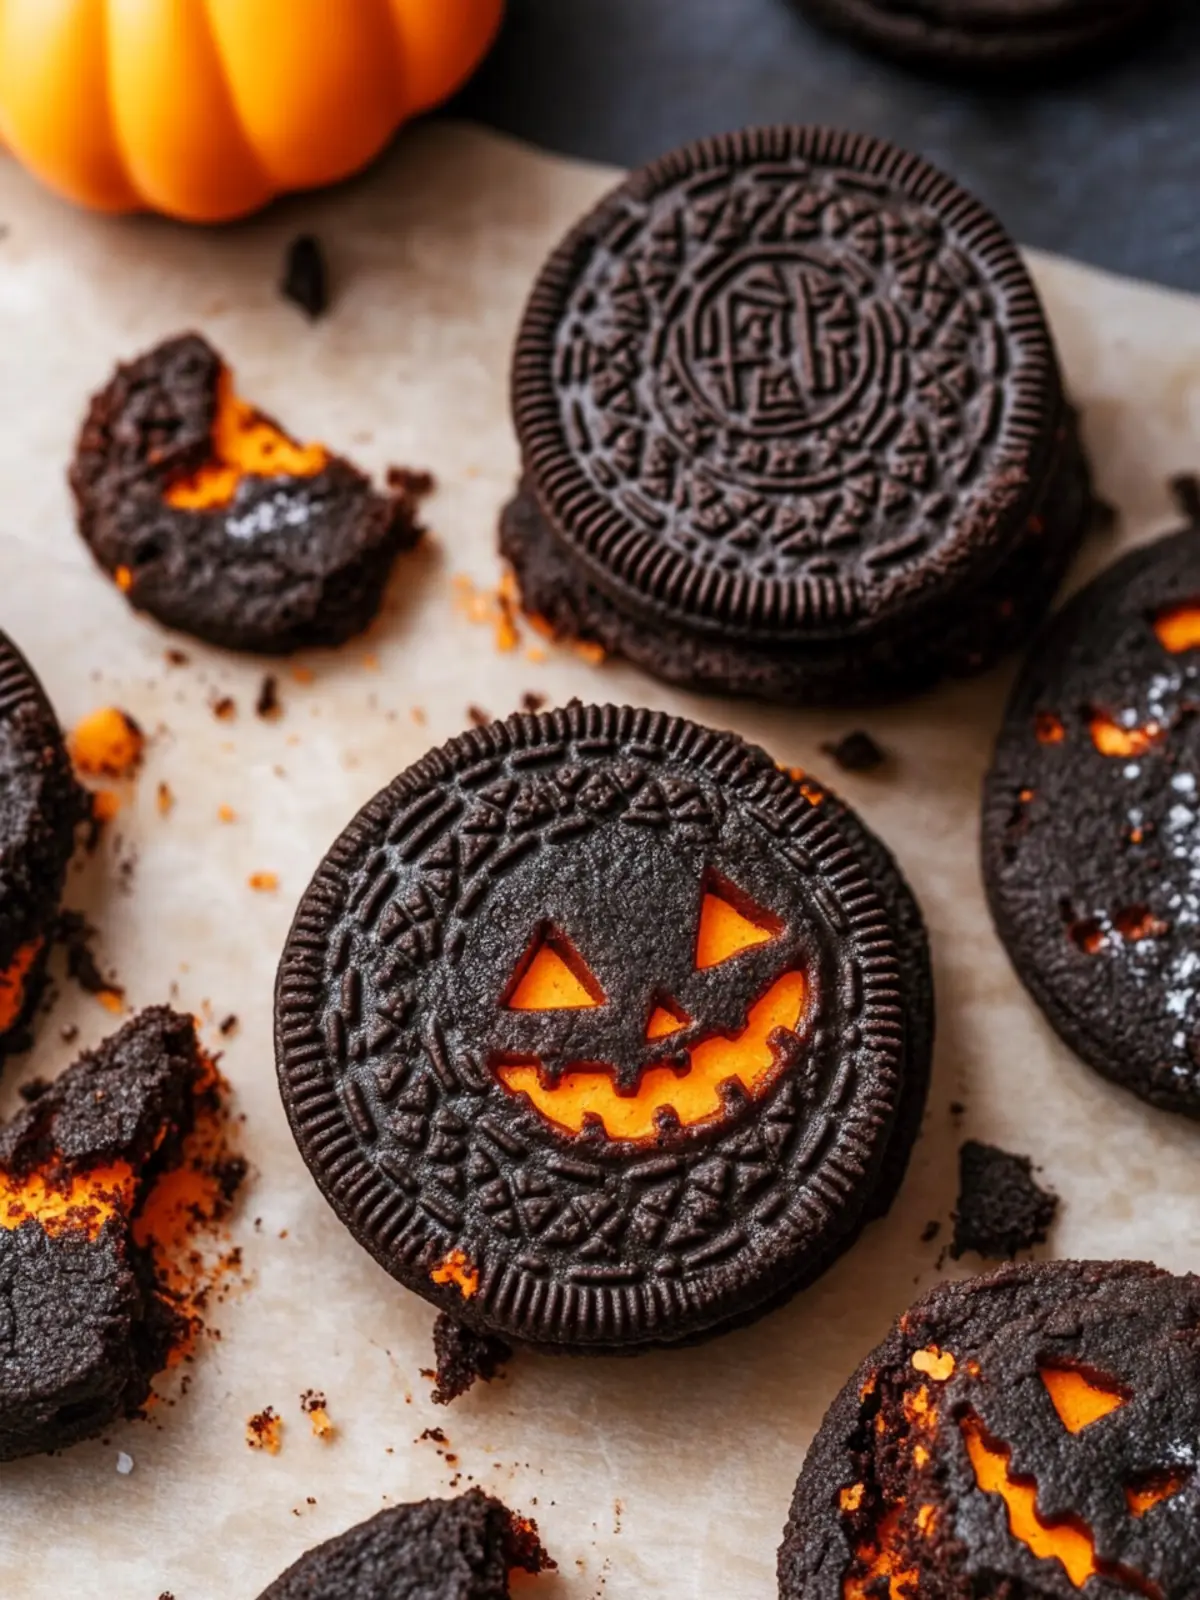
Why are Halloween Oreo Chocolate Cookies a must-try?
Irresistible combination: The blend of rich chocolate and crunchy Halloween Oreos creates a unique taste experience that captures the spirit of the season.
Quick and simple: These cookies require minimal time and effort, making them perfect for busy bakers.
Crowd-pleaser: Great for Halloween parties or cozy gatherings, they will surely impress family and friends alike.
Visual delight: The vibrant colors and textures make for stunning presentations, enhancing any festive table.
Versatile indulgence: Enjoy them fresh out of the oven, or package them as spooky treats for neighbors and friends.
Get ready to whip up a batch that will dazzle your taste buds and bring warmth to your autumn evenings!
Halloween Oreo Chocolate Cookies Ingredients
Prepare to create a batch of treats that embody the essence of Halloween with these simple yet delightful ingredients.
For the Cookie Dough
- All-purpose flour – a base that provides the ideal structure for your Halloween Oreo Chocolate Cookies.
- Black cocoa powder – adds a rich, dark chocolate flavor that perfectly complements the Oreos.
- Kosher salt – enhances the sweetness and balances the flavors; use table salt if that’s what you have!
- Baking soda – a crucial ingredient that helps the cookies rise beautifully.
- Unsalted butter – gives your cookies that melt-in-your-mouth richness; be sure to soften it first!
- Granulated sugar – contributes to the sweetness and golden color of your cookies.
- Dark brown sugar – brings a hint of molasses and moisture, making your cookies irresistibly soft.
- Vanilla extract – a must-have for adding depth to the flavor; vanilla paste works wonderfully too!
- Large egg – binds the ingredients together for a perfect cookie texture.
- Halloween Oreos – the star ingredient; coarsely chop them for a delightful crunch in every bite.
For Topping
- Chopped Oreos – sprinkle on top of the cookies before baking to elevate that classic Oreo flavor!
With these ingredients in hand, you’re all set to conjure up some magic in the kitchen. Let’s get baking!
How to Make Halloween Oreo Chocolate Cookies
-
Preheat your oven to 350°F (175°C) and line two baking sheets with parchment paper. This ensures a perfect surface for your cookies to bake evenly without sticking.
-
Combine the all-purpose flour, black cocoa powder, Kosher salt, and baking soda in a medium bowl. Whisk together until everything is well incorporated, creating a harmonious mix of dry ingredients.
-
Cream the unsalted butter, granulated sugar, and dark brown sugar in a large bowl using an electric mixer. Beat until the mixture is light and fluffy—about 3-4 minutes. This step is crucial for a soft, tender cookie.
-
Add the vanilla extract and the large egg to the butter-sugar mixture. Mix well until fully combined, creating a smooth and creamy batter that brings warmth to your baking session.
-
Gradually mix in the dry ingredients from step 2 to the wet mixture. Stir gently until just combined—be careful not to overmix! You want to keep that lovely texture intact.
-
Fold in the chopped Halloween Oreos with a spatula, making sure they’re evenly distributed throughout the cookie dough. Delight in the colorful surprise that each bite will hold!
-
Scoop about a tablespoon of dough and place it onto the prepared baking sheets, leaving some space between each cookie. Sprinkle additional chopped Oreos on top for that extra crunch and festive look.
-
Bake in the preheated oven for 10-12 minutes, until the edges are set and the centers are slightly soft. They’ll continue to firm up as they cool, so don’t overbake!
Optional: Drizzle with melted chocolate for a decadent finish!
Exact quantities are listed in the recipe card below.
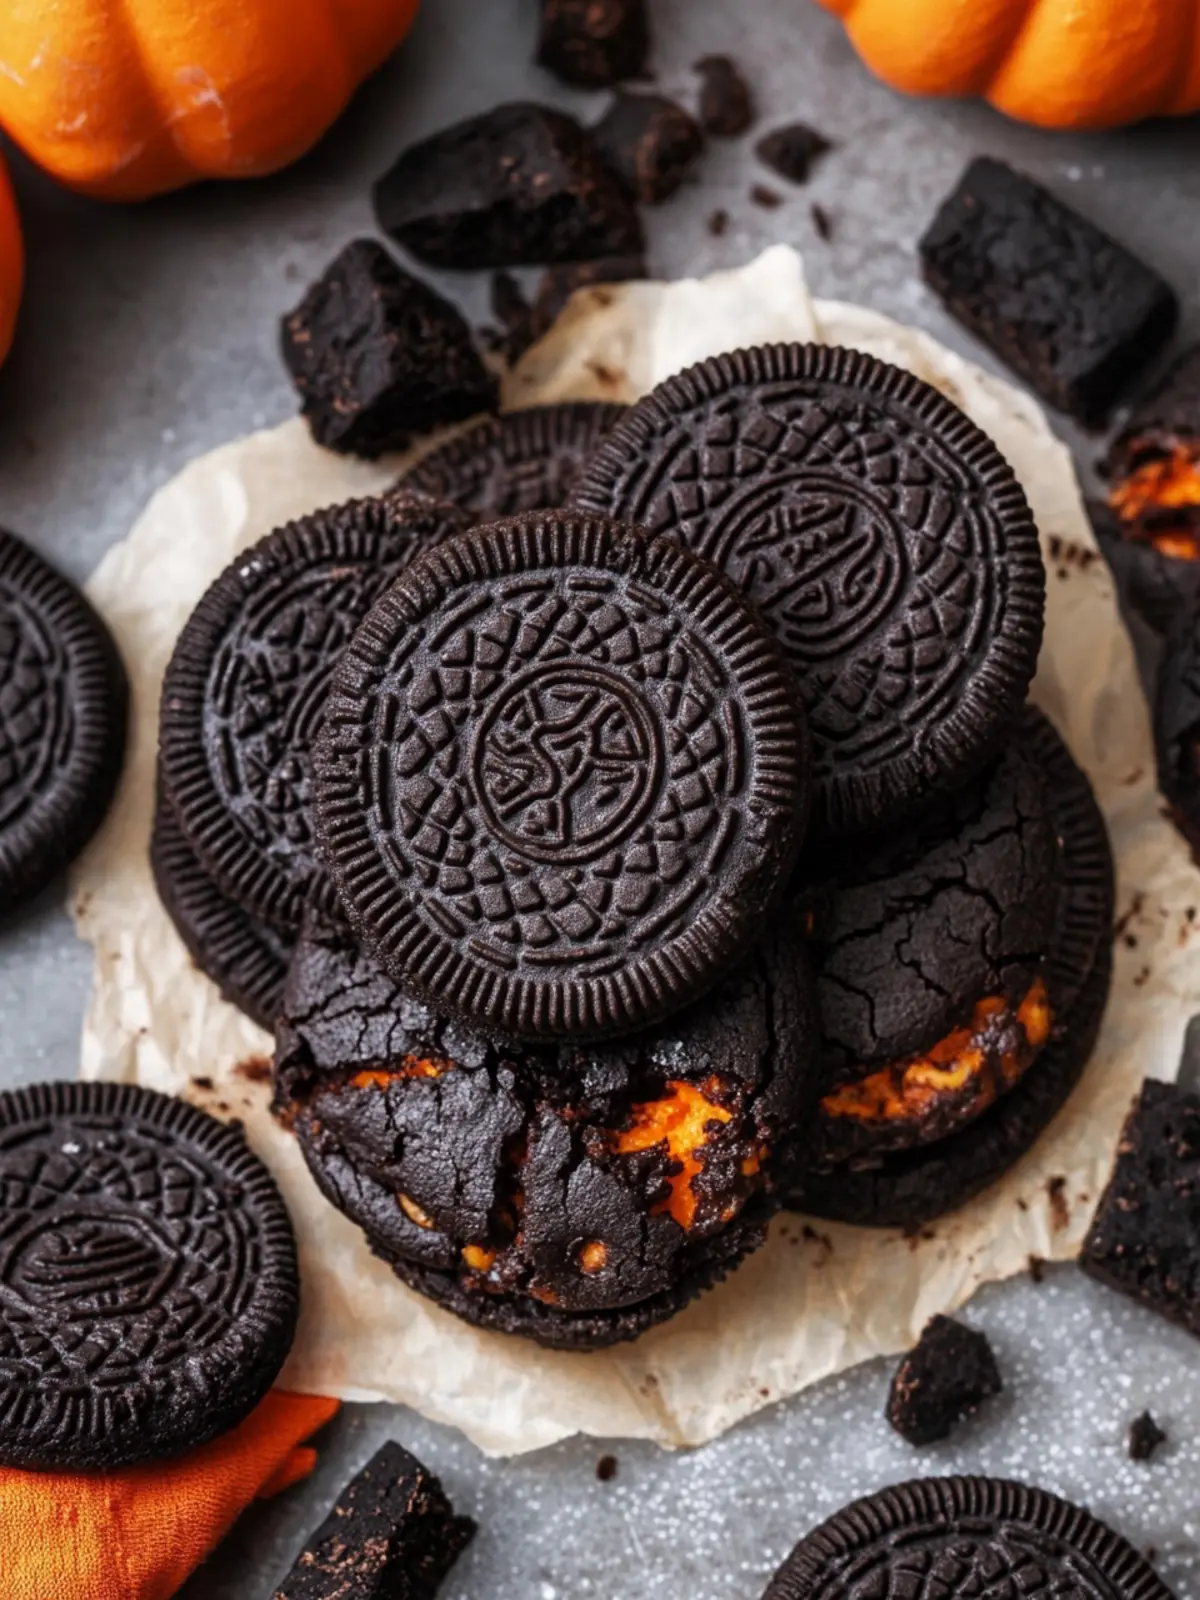
Halloween Oreo Chocolate Cookies Variations
Feel free to mix things up and make these cookies your own, exploring fun twists and swaps!
- Gluten-Free: Substitute all-purpose flour with a 1:1 gluten-free blend for a trouble-free treat that everyone can enjoy.
- Vegan: Use a flax egg (1 tablespoon flaxseed meal + 2.5 tablespoons water) in place of the egg, and swap in vegan butter for a dairy-free delight.
- Minty Twist: Add ½ teaspoon of peppermint extract for a refreshing spin that brings a burst of flavor to your cookies.
- White Chocolate: Fold in chopped white chocolate or white chocolate chips for a sweet contrast to the dark chocolate flavors of the cookies.
- Spicy Kick: Mix in ¼ teaspoon of cayenne pepper or cinnamon to give your cookies a festive warmth that’s pleasantly surprising.
- Nutty Crunch: Toss in ½ cup of chopped nuts, like walnuts or pecans, for added texture and a delicious nutty flavor throughout the cookies.
- Dipped Delight: Dip half of each cookie in melted chocolate and sprinkle with Halloween-themed candies for an extra festive touch.
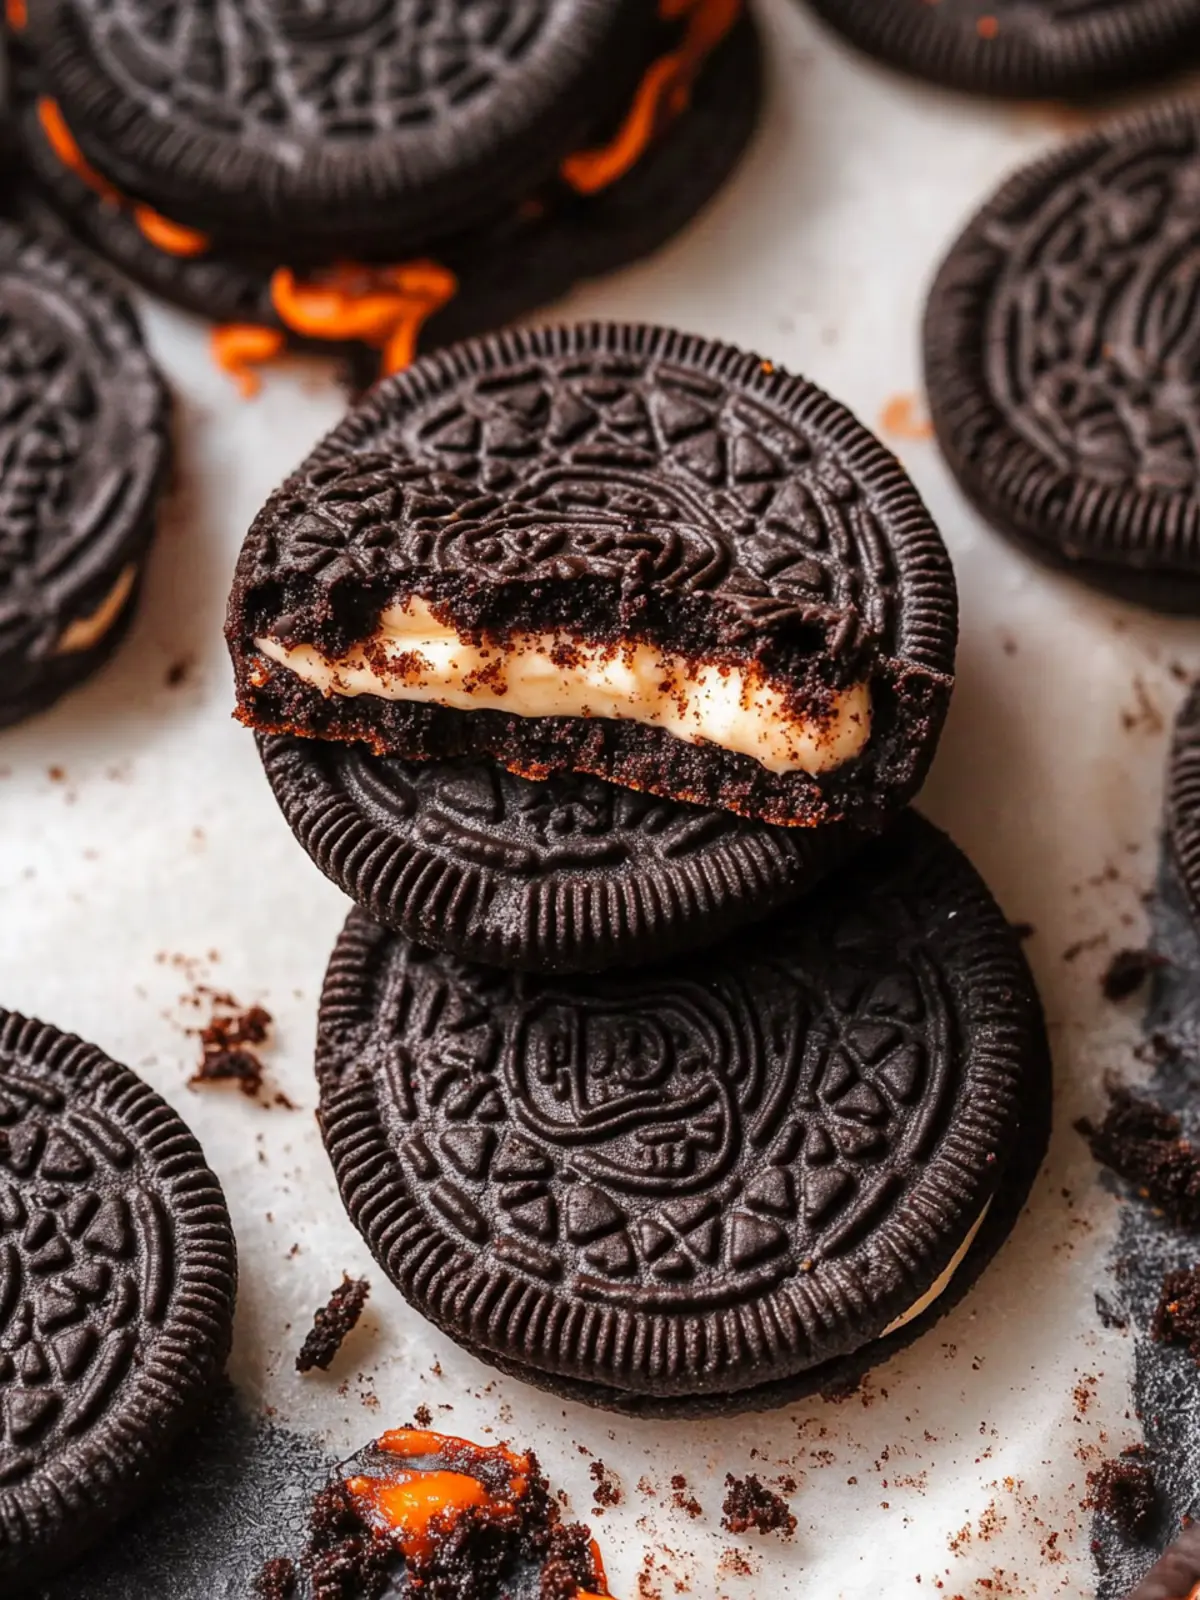
- Stuffed Surprise: Sandwich some cream cheese frosting between two cookies for a luscious and indulgent treat that elevates your baking adventure!
How to Store and Freeze Halloween Oreo Chocolate Cookies
Room Temperature: Keep cookies in an airtight container at room temperature for up to 3 days to maintain freshness and flavor.
Fridge: For longer storage, place cookies in the refrigerator, wrapped individually or in a container, for up to 1 week—great for keeping them soft and chewy!
Freezer: These Halloween Oreo Chocolate Cookies freeze beautifully! Lay them in a single layer on a baking sheet, freeze until solid, then transfer to a zip-top bag for up to 3 months.
Reheating: To enjoy, thaw cookies overnight in the fridge or at room temperature, then briefly microwave for 5-10 seconds to restore their warm, gooey texture.
Make Ahead Options
These Halloween Oreo Chocolate Cookies are fantastic for meal prep! You can make the cookie dough up to 24 hours in advance. Just prepare the dough as directed and wrap it tightly in plastic wrap or place it in an airtight container before refrigerating. To maintain that fresh taste, make sure to keep it well-sealed to prevent drying out. When you’re ready to bake, simply scoop the chilled dough onto your baking sheets, top with additional chopped Oreos, and allow it to sit at room temperature for about 10-15 minutes. Then, bake as instructed for cookies that are just as delicious as if you made them from scratch that day! Enjoy the time-saving benefits while delighting in a classic Halloween treat!
What to Serve with Halloween Oreo Chocolate Cookies?
Indulging in these festive treats opens the door to a delightful array of pairings that will elevate your Halloween festivities.
-
Cold Milk: A classic pairing, cold milk complements the rich chocolate and creamy filling of the cookies, enhancing every bite.
-
Pumpkin Spice Latte: Embrace the fall flavors with this warm beverage, balancing the sweetness with comforting spices. Your guests will love this cozy choice!
-
Vanilla Ice Cream: Serving a scoop of creamy vanilla ice cream alongside the cookies creates a delightful contrast in temperature and texture.
-
Fruit Medley: Fresh apples, pears, or grapes beautifully balance the sweetness of the cookies, offering a refreshing crunch to each bite.
-
Caramel Sauce: Drizzle warm caramel over the cookies for a luxurious twist; the sweet and salty notes turn each cookie into a decadent dessert!
-
Hot Chocolate: A warm, rich hot chocolate brings out the cocoa notes in the cookies, making for a truly indulgent experience on chilly nights.
-
Spooky Cupcakes: A playful touch! Serve colorful, Halloween-themed cupcakes for a festive dessert table that will impress guests of all ages.
-
Candy Corn: Embrace the spirit of the season by adding a bowl of candy corn to your spread. Their sweetness complements the cookies and adds a fun visual element!
These pairings promise to create a memorable Halloween treat experience that your family and friends will treasure!
Tips for the Best Halloween Oreo Chocolate Cookies
- Chill the Dough: Allowing the cookie dough to chill for at least 30 minutes helps prevent spreading, resulting in thicker, chewier cookies.
- Use Softened Butter: Make sure your unsalted butter is at room temperature; this promotes a fluffy texture and better incorporation of ingredients.
- Mix Carefully: When combining wet and dry ingredients, mix until just combined to avoid tough cookies; overmixing can lead to undesirable texture.
- Watch the Bake Time: Every oven is different, so start checking your cookies at the 10-minute mark; they should look set but still soft in the center for the ultimate chewy bite.
- Customize Toppings: Feel free to get creative with your toppings! Add festive sprinkles or a drizzle of white chocolate for an extra spooky flair.
Enjoy these Halloween Oreo Chocolate Cookies, and remember the magic is in the details!
Halloween Oreo Chocolate Cookies Recipe FAQs
What kind of Oreos should I use for this recipe?
Absolutely, Halloween-themed Oreos are perfect for this recipe, but regular Oreos work just as well! The fun colors and festive designs of Halloween Oreos add a delightful touch. Keep in mind that if you opt for the classic, the flavor will still be amazing!
How should I store my Halloween Oreo Chocolate Cookies?
To keep your cookies fresh, store them in an airtight container at room temperature for up to 3 days. If you want to keep them longer, refrigerate them for up to 1 week. This helps retain their chewy texture, ensuring you enjoy that lovely flavor for days to come!
Can I freeze Halloween Oreo Chocolate Cookies?
Very! To freeze your cookies, place them in a single layer on a baking sheet and freeze until solid, about 2 hours. Once frozen, transfer them to a zip-top bag or airtight container and store for up to 3 months. Whenever you’re ready to indulge, simply thaw them overnight in the fridge.
What do I do if my cookies spread too much while baking?
If your cookies turn too flat, don’t worry—this can happen! Make sure your butter is softened but not too melting; using cold butter can help prevent over-spreading. You can also chill the dough for at least 30 minutes before scooping it onto the baking sheet. This gives the dough time to firm up and results in thicker cookies!
Can I make these cookies gluten-free or dairy-free?
Absolutely! You can substitute all-purpose flour with a gluten-free blend that works in baking. For a dairy-free version, use plant-based butter and dairy-free chocolate cookies. This way, everyone can enjoy these festive treats without missing out!
Are these cookies safe for pets?
No, I wouldn’t recommend sharing these cookies with pets, as they contain chocolate and sugar, both of which can be harmful to animals. If you want a special treat for your furry friend, consider making dog-friendly cookies specifically designed for them!
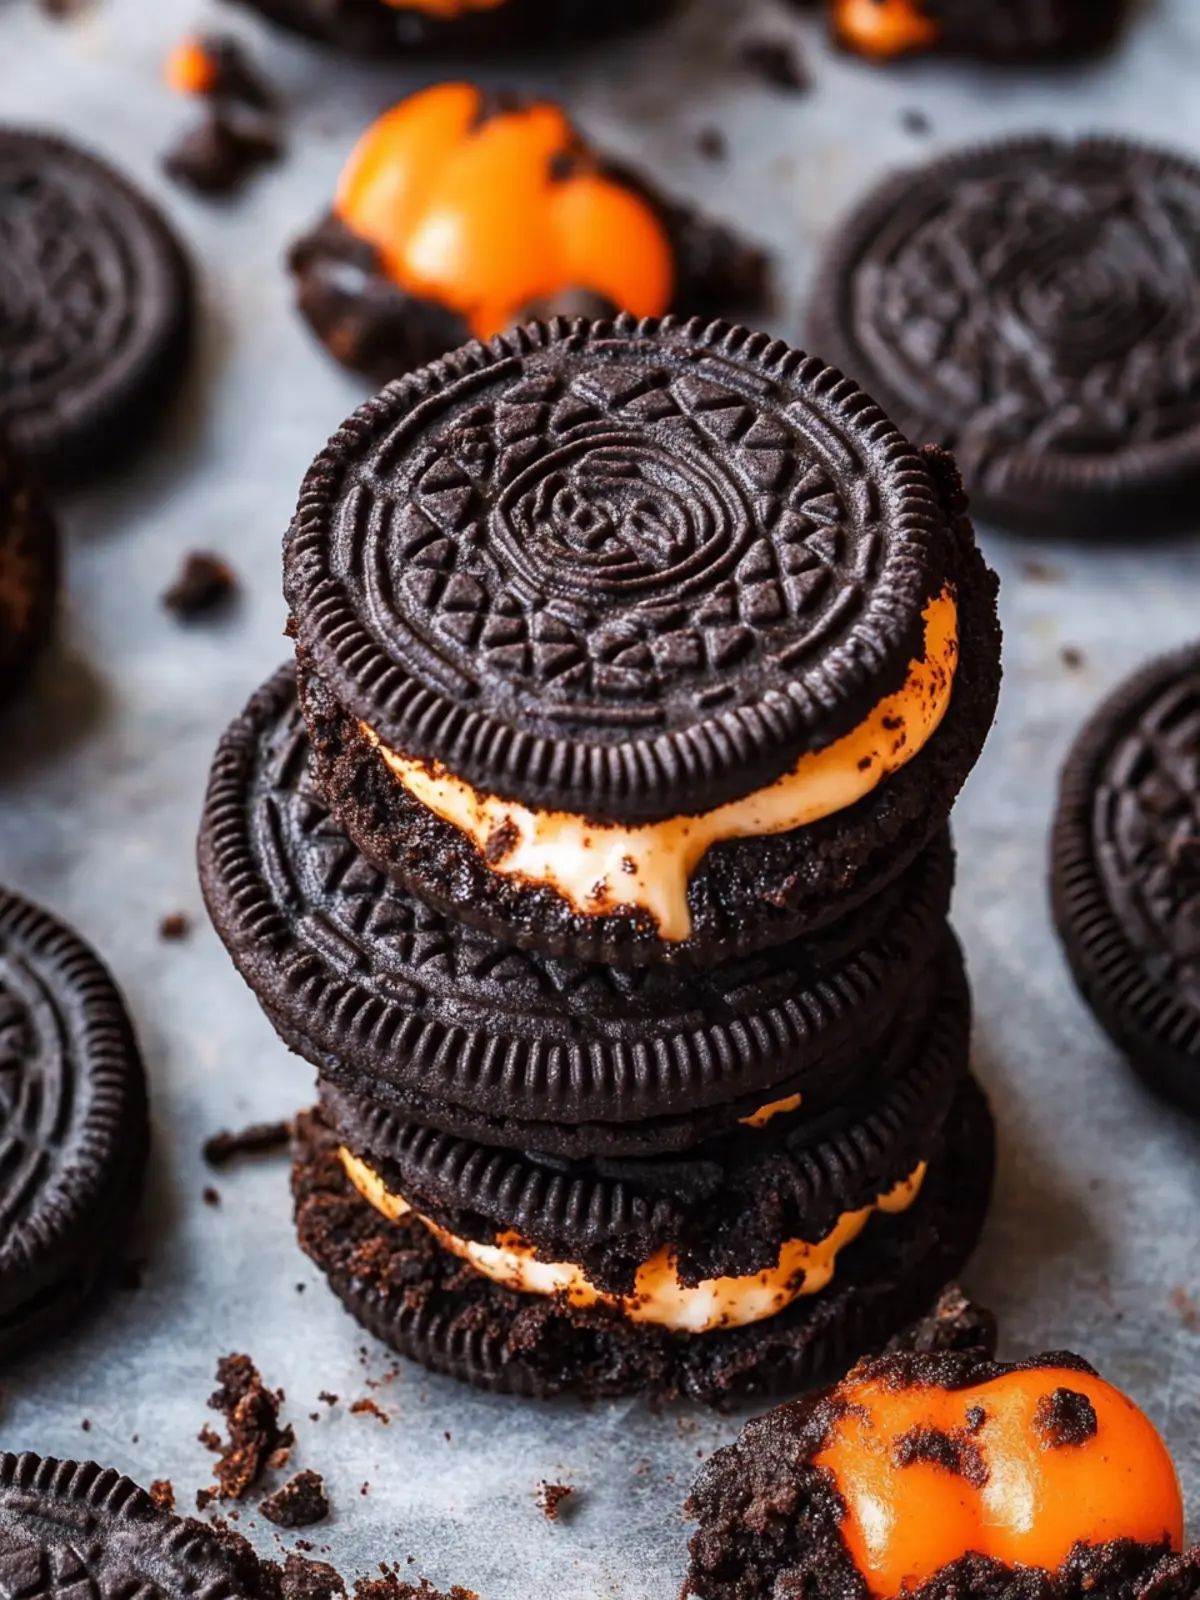
Spooktacular Halloween Oreo Chocolate Cookies to Dazzle Your Tastebuds
Ingredients
Equipment
Method
- Preheat your oven to 350°F (175°C) and line two baking sheets with parchment paper.
- Combine the all-purpose flour, black cocoa powder, Kosher salt, and baking soda in a medium bowl. Whisk together until well incorporated.
- Cream the unsalted butter, granulated sugar, and dark brown sugar in a large bowl using an electric mixer until light and fluffy.
- Add the vanilla extract and the egg to the butter-sugar mixture. Mix well until fully combined.
- Gradually mix in the dry ingredients from step 2 to the wet mixture. Stir gently until just combined.
- Fold in the chopped Halloween Oreos with a spatula until evenly distributed.
- Scoop about a tablespoon of dough and place it onto the prepared baking sheets, leaving space between each cookie.
- Sprinkle additional chopped Oreos on top before baking.
- Bake in the preheated oven for 10-12 minutes, until the edges are set and the centers are slightly soft.