
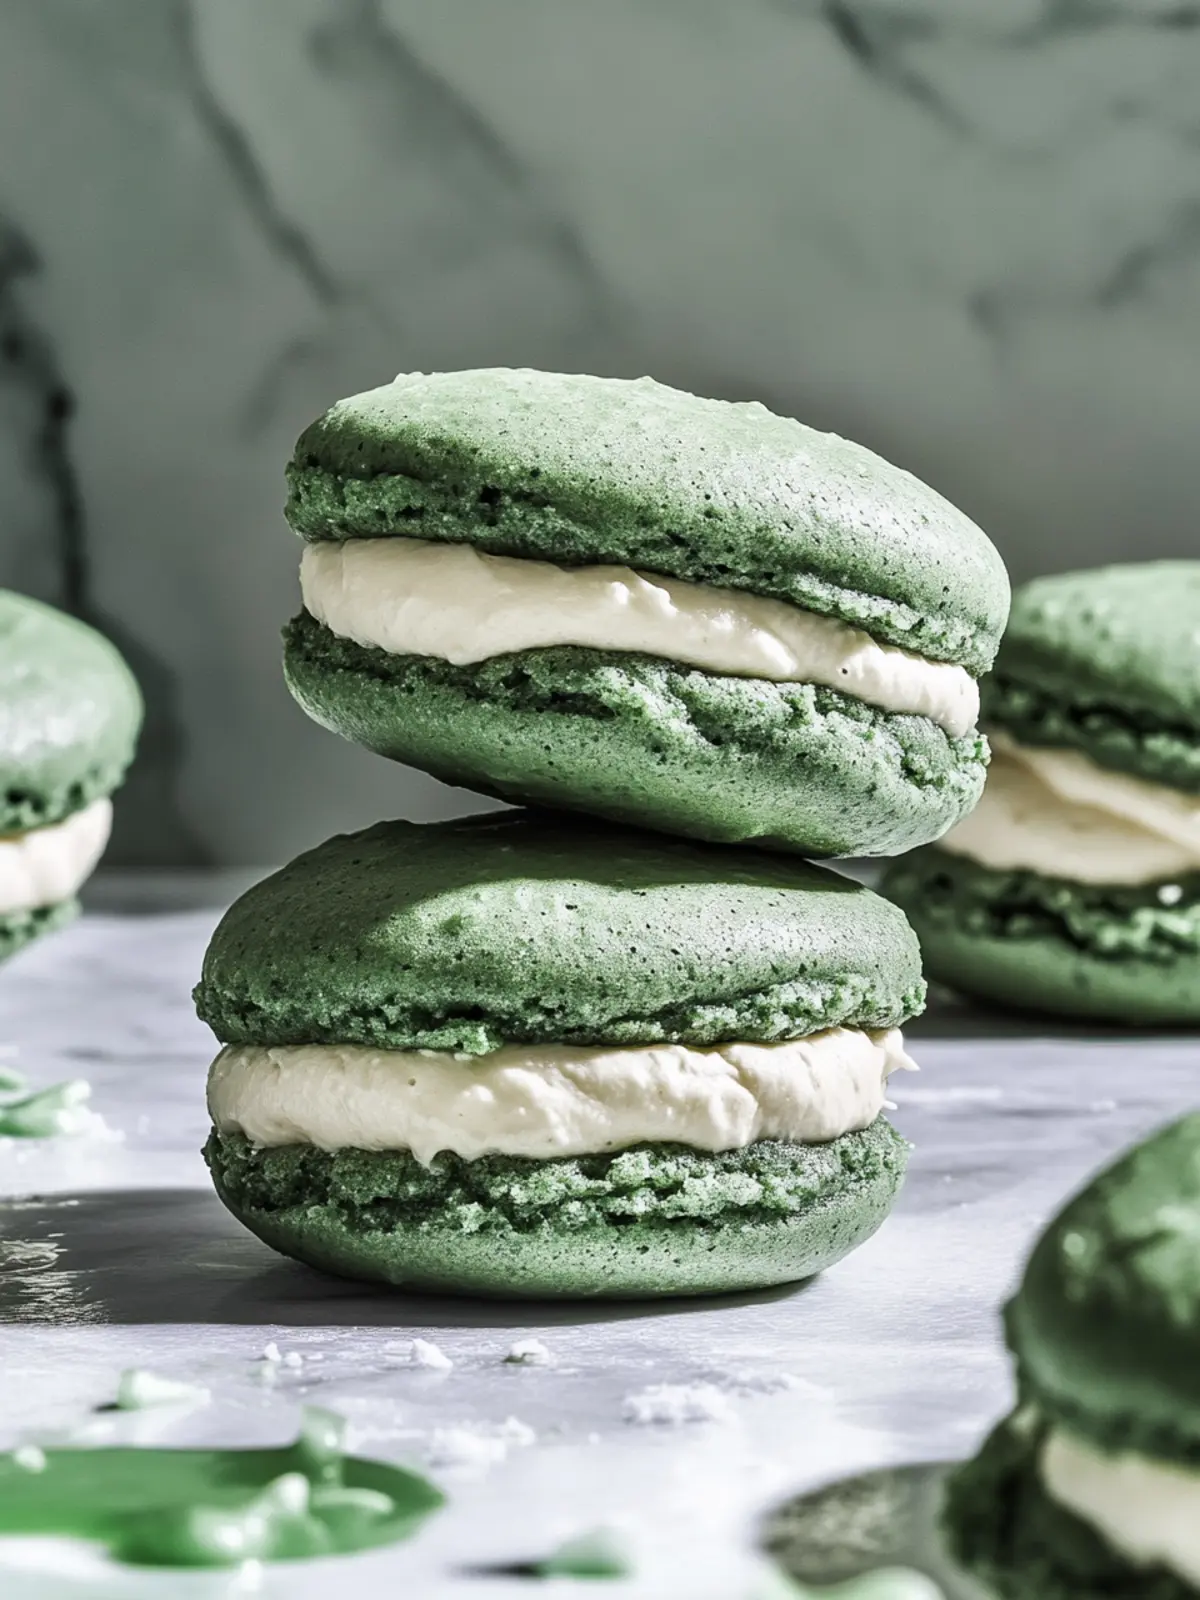
There’s something utterly delightful about the sight of a vibrant green treat that stands out from traditional desserts. These Green Velvet Whoopie Pies are a fun twist on the classic red velvet, and I’m here to tell you—they’re a hit at any gathering! Picture this: the soft, velvety cake, filled with a rich cream that melts in your mouth. It’s like a hug for your taste buds.
When I first experimented with this recipe, I was simply looking to bring a touch of whimsy to my dessert table. The addition of green food coloring not only brightens the dessert but also makes it perfect for celebrations like St. Patrick’s Day or even Halloween! Plus, it’s an exciting way to break free from the routine of everyday sweets and introduce something that feels special yet is easy enough to whip up on a whim. You won’t believe how quickly they come together, making them an ideal choice for surprise guests or a last-minute treat for yourself. Let’s dive into the joy of baking these scrumptiously green delights!
Why Try Green Velvet Whoopie Pies?
Unique Flavor: These pies offer a delightful twist on the classic, combining soft green velvet cake with a luscious cream filling.
Colorful Presentation: The striking green color makes them a showstopper for any event, delighting both kids and adults alike.
Easy to Make: With simple ingredients and a quick process, they can be prepared in no time—perfect for unexpected guests!
Versatile for Any Occasion: Whether it’s a birthday, holiday, or just a rainy day, these treats add whimsy to any dessert table.
Crowd Favorite: Watch as they disappear fast; everyone loves the fun-loving spirit and flavor of Green Velvet Whoopie Pies!
Essential Green Velvet Whoopie Pies Ingredients
For the Cake
- All-purpose flour – Provides the structure for these delightful pies.
- Granulated sugar – Sweetens the batter, making every bite a treat.
- Unsweetened cocoa powder – Adds depth to the flavor, balancing the sweetness.
- Baking soda – Helps the cake rise, resulting in a light and fluffy texture.
- Salt – Enhances all the flavors and balances the sweetness.
- Unsalted butter – Creates a rich taste and moist crumb when softened properly.
- Large egg – Acts as a binding agent, ensuring a smooth batter.
- Vanilla extract – Infuses the cake with warm, inviting flavor notes.
- Green food coloring – Gives these whoopie pies their vibrant, fun hue!
- Buttermilk – Adds moisture and a slight tang, elevating the flavor experience.
For the Cream Filling
- Cream cheese – A rich base that adds a tangy flavor to the filling.
- Powdered sugar – Sweetens the cream while giving it a smooth texture.
- Vanilla extract – Enhances the cream’s flavor, tying it all together.
- Heavy cream – Whipped to make the filling light and fluffy for that irresistible bite!
Now, you’re all set to whip up a batch of these enchanting Green Velvet Whoopie Pies that are sure to impress!
How to Make Green Velvet Whoopie Pies
-
Preheat the oven to 350°F (175°C). This ensures the whoopie pies bake evenly, leading to that perfect fluffy texture you’re aiming for.
-
Mix the dry ingredients by combining all-purpose flour, granulated sugar, cocoa powder, baking soda, and salt in a mixing bowl. Whisk them together until well blended to avoid clumps.
-
Cream the softened unsalted butter with the granulated sugar in another bowl until it’s light and fluffy. This step is crucial for achieving a tender, airy texture.
-
Incorporate the large egg, vanilla extract, and green food coloring into the butter mixture. Mix them well until combined, creating a vibrant green batter.
-
Blend the dry ingredients into the wet ingredients, alternating with buttermilk. Mix until just combined to prevent overworking the batter, which can make the pies tough.
-
Spoon the batter onto a greased baking sheet using a cookie scoop or spoon. Aim for even-sized dollops to ensure uniform baking.
-
Bake for 10-12 minutes or until the edges look set. They should be slightly springy to the touch, but not overly browned.
-
Cool the baked cookies on the sheet for a few minutes before transferring them to a wire rack to cool completely.
-
Prepare the cream filling by beating cream cheese, powdered sugar, and vanilla together until smooth. Gradually add whipped heavy cream until fluffy and well incorporated.
-
Assemble your whoopie pies by spreading a generous dollop of cream filling on the flat side of one cookie, then sandwich it with another cookie, pressing gently to spread the filling.
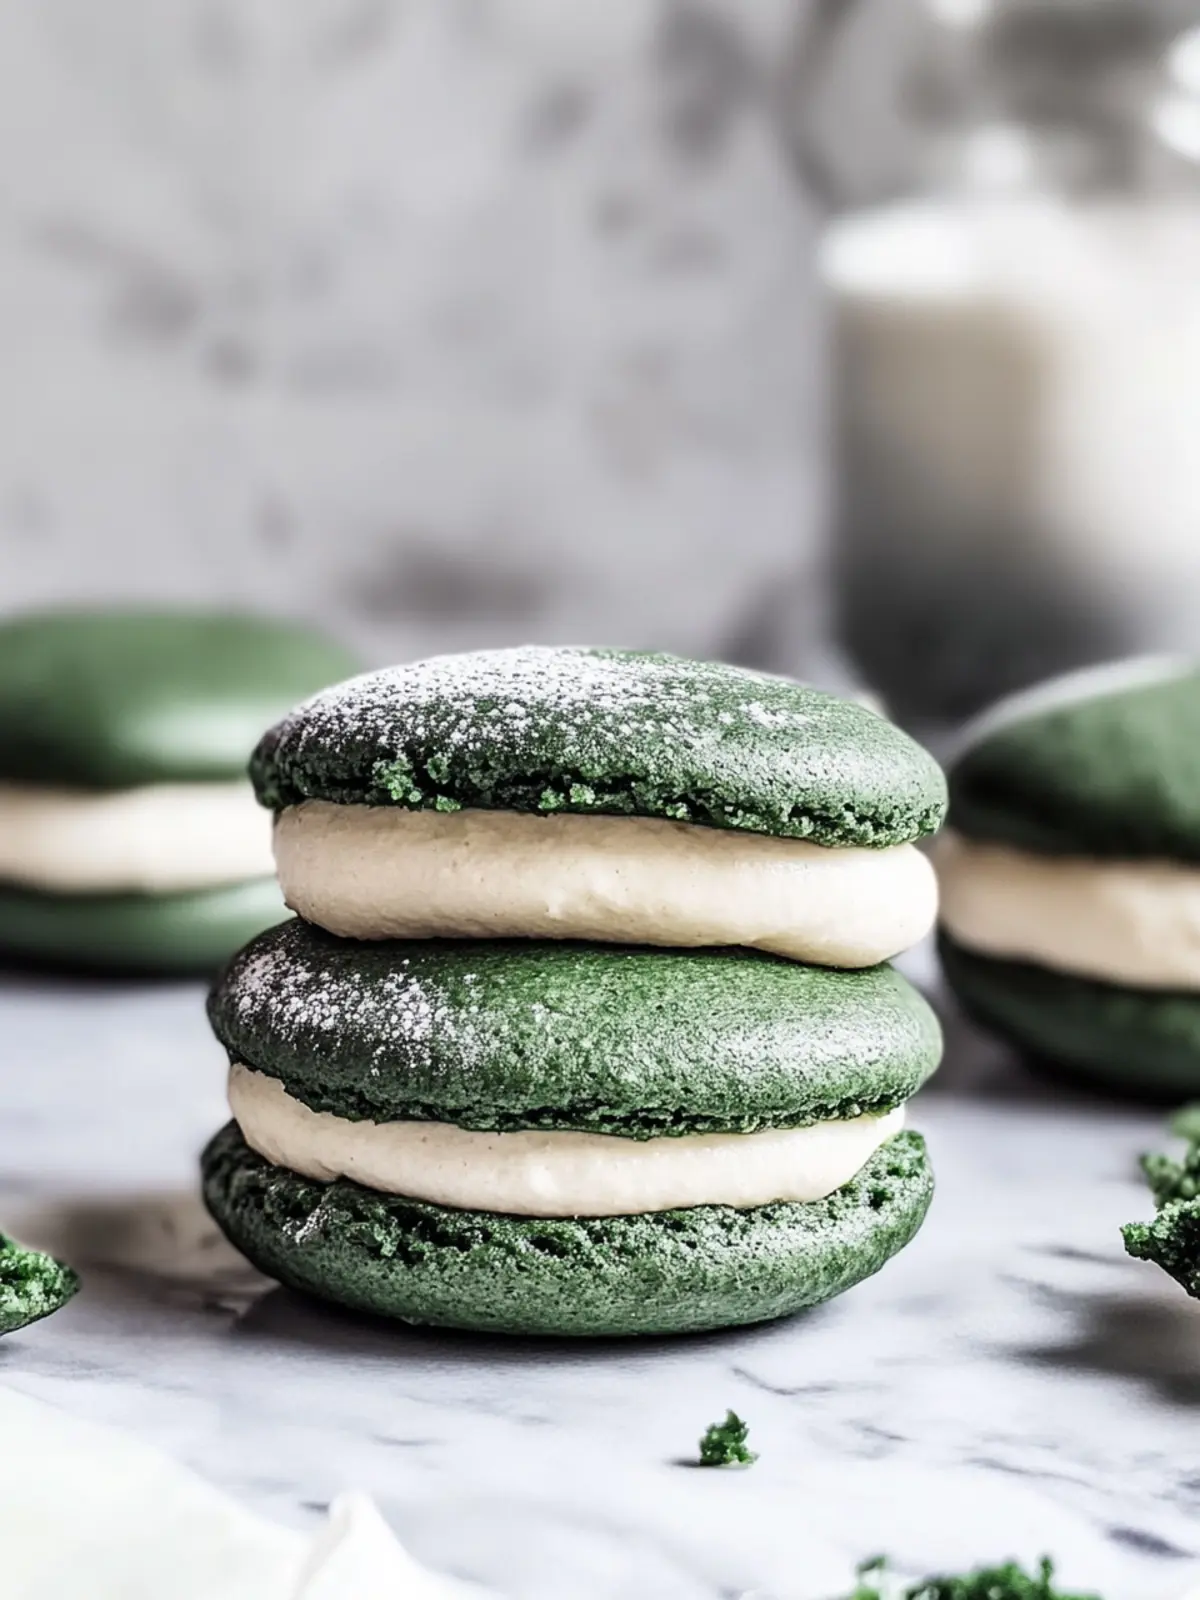
Optional: Dust with powdered sugar for a beautiful finish.
Exact quantities are listed in the recipe card below.
How to Store and Freeze Green Velvet Whoopie Pies
Room Temperature: Store your whoopie pies in an airtight container at room temperature for up to 2 days. This keeps them soft and fresh, ready for immediate enjoyment!
Fridge: If you wish to keep them longer, place the whoopie pies in the fridge for up to a week. Just be sure they’re wrapped properly or in a sealed container to prevent them from drying out.
Freezer: For longer storage, freeze the assembled whoopie pies in a single layer on a baking sheet. Once frozen solid, transfer them to a freezer-safe bag for up to 3 months.
Reheating: To enjoy them warm, simply allow the whoopie pies to thaw overnight in the fridge, then warm them in the microwave for about 10-15 seconds before serving!
What to Serve with Green Velvet Whoopie Pies?
Looking to create the perfect spread to accompany these whimsical delights? Here are some scrumptious pairings that will enhance your dessert table.
-
Fresh Berries: The tartness of raspberries or strawberries perfectly balances the sweetness of the whoopie pies. Their vibrant colors also add visual appeal!
-
Mint Chocolate Chip Ice Cream: This classic ice cream brings a refreshing minty flavor that harmonizes with the rich cream filling of the pies. It’s a delightful way to cool down!
-
Coffee or Espresso: The bold flavor of coffee can amplify the chocolate notes in the whoopie pies, creating a comforting and cozy treat experience.
-
Chocolate Ganache: Drizzling warm chocolate ganache over the whoopie pies takes them to another level of indulgence, making every bite even more decadent.
-
Whipped Cream: A dollop of freshly whipped cream adds a light and airy contrast, enhancing the whoopie pies’ texture while also providing a classic touch.
-
Lemonade: The zesty and refreshing qualities of lemonade cleanse the palate, making it a fantastic pairing for these sweet treats that bring out the fun in dessert!
-
Chocolate Dipped Pretzels: The salty crunch of pretzels adds a delightful texture contrast, while the chocolate complements the vanilla and cocoa flavors in the whoopie pies beautifully.
-
Caramel Sauce: A drizzle of warm caramel not only adds a luscious sweetness but also an irresistible sticky texture that pairs surprisingly well with these pies.
-
Tea: A fragrant cup of chamomile or Earl Grey tea enhances the experience, making it a cozy pairing that feels special and perfectly suited for an afternoon treat.
Make Ahead Options
These Green Velvet Whoopie Pies are perfect for meal prep, allowing you to enjoy the delightful flavors with less fuss during busy weeknights! You can prepare the whoopie pie cookies up to 24 hours in advance. Simply bake the cookies, allow them to cool completely, then store them in an airtight container at room temperature. For the cream filling, it’s best to make it fresh, but you can prepare it up to 3 days ahead; just refrigerate it in an airtight container until you’re ready to assemble. When ready to serve, simply assemble the pies by spreading the filling between the cookies for a treat that’s just as delicious as if made fresh! This way, you’ll have your charming Green Velvet Whoopie Pies ready to impress at a moment’s notice.
Expert Tips for Green Velvet Whoopie Pies
- Ingredient Temperature: Ensure your butter and eggs are room temperature. This helps create a smoother batter, leading to a delightful texture in your Green Velvet Whoopie Pies.
- Don’t Overmix: When combining the wet and dry ingredients, mix until just combined. Overworking the batter can lead to dense pies, which is a common mistake!
- Uniform Size: Use a cookie scoop for even batter portions on the baking sheet. This ensures they bake evenly, giving you perfectly matching whoopie pies.
- Cooling Time: Allow the baked cookies to cool completely before adding the filling. This prevents the cream from melting and ensures a delightful bite.
- Custom Flavor: Feel free to experiment with different extracts. Almond or mint can elevate the flavor profile of your Green Velvet Whoopie Pies!
Variations & Substitutions for Green Velvet Whoopie Pies
Feel free to unleash your creativity and make these whoopie pies truly your own with delicious variations!
- Gluten-Free: Substitute all-purpose flour with a gluten-free blend to enjoy this treat without any gluten worries!
- Dairy-Free: Use coconut cream and dairy-free butter to make a delightful, lactose-free filling that’s still incredibly creamy.
- Mint Chocolate: Add 1 tsp of peppermint extract to the cream filling for a refreshing twist that delights the senses.
- Berry Boost: Fold in fresh raspberries or blueberries into the batter for a burst of fruity flavor that complements the chocolate.
- Spicy Kick: Mix in a pinch of cayenne pepper or chili powder for a spicy surprise that elevates the sweetness of the cake.
- Nutty Surprise: Incorporate finely chopped nuts such as walnuts or almonds for a delightful crunch that contrasts with the soft cake.
- Chocoholic’s Dream: Add chocolate chips to the batter for an extra chocolaty experience that will satisfy any chocolate lover’s craving.
- Creamy Orange Filling: Swap vanilla extract for orange extract in the cream filling for a citrusy zing that pairs beautifully with the chocolatey flavor.
Explore these variations and discover a multitude of ways to enrich your Green Velvet Whoopie Pies, making every batch a new and exciting experience!
Green Velvet Whoopie Pies Recipe FAQs
What type of green food coloring should I use?
Absolutely! I recommend using gel food coloring for a more vibrant color without adding too much liquid to the batter. Liquid food coloring can work too, but it might require more to achieve that perfect shade.
How should I store my Green Velvet Whoopie Pies?
For optimal freshness, store them in an airtight container at room temperature for up to 2 days. If you want to keep them longer, you can refrigerate them for up to a week, just ensure they’re well-wrapped to prevent drying out.
Can I freeze Green Velvet Whoopie Pies?
Yes, you can! To freeze them, place the assembled whoopie pies in a single layer on a baking sheet and freeze until solid. Then, transfer them to a freezer-safe bag for up to 3 months. To enjoy, simply thaw them overnight in the fridge and warm them in the microwave for about 10-15 seconds before serving.
What do I do if my whoopie pies turn out too dry?
If you find your whoopie pies are on the dry side, make sure you’re measuring your flour correctly—too much flour can lead to dryness. Also, don’t overmix the batter; mix until just combined to keep them tender. If they do come out dry, you can always serve them with a bit more filling or a drizzle of cream to enhance moisture and flavor!
Can these whoopie pies be made dairy-free or gluten-free?
Very! For a dairy-free version, substitute the buttermilk with a non-dairy milk mixed with a tablespoon of lemon juice or vinegar to mimic the tanginess. For gluten-free options, use a gluten-free all-purpose flour blend. Just make sure it contains xanthan gum for structure, ensuring your Green Velvet Whoopie Pies have that delightful soft texture!
Are there any allergies I should keep in mind when making these?
Certainly! Be mindful of common allergens like gluten, dairy, and eggs. You can use egg substitutes (like flaxseed meal mixed with water) for an egg-free option. Always check the ingredient labels of your food coloring and cream cheese for any additional allergens.
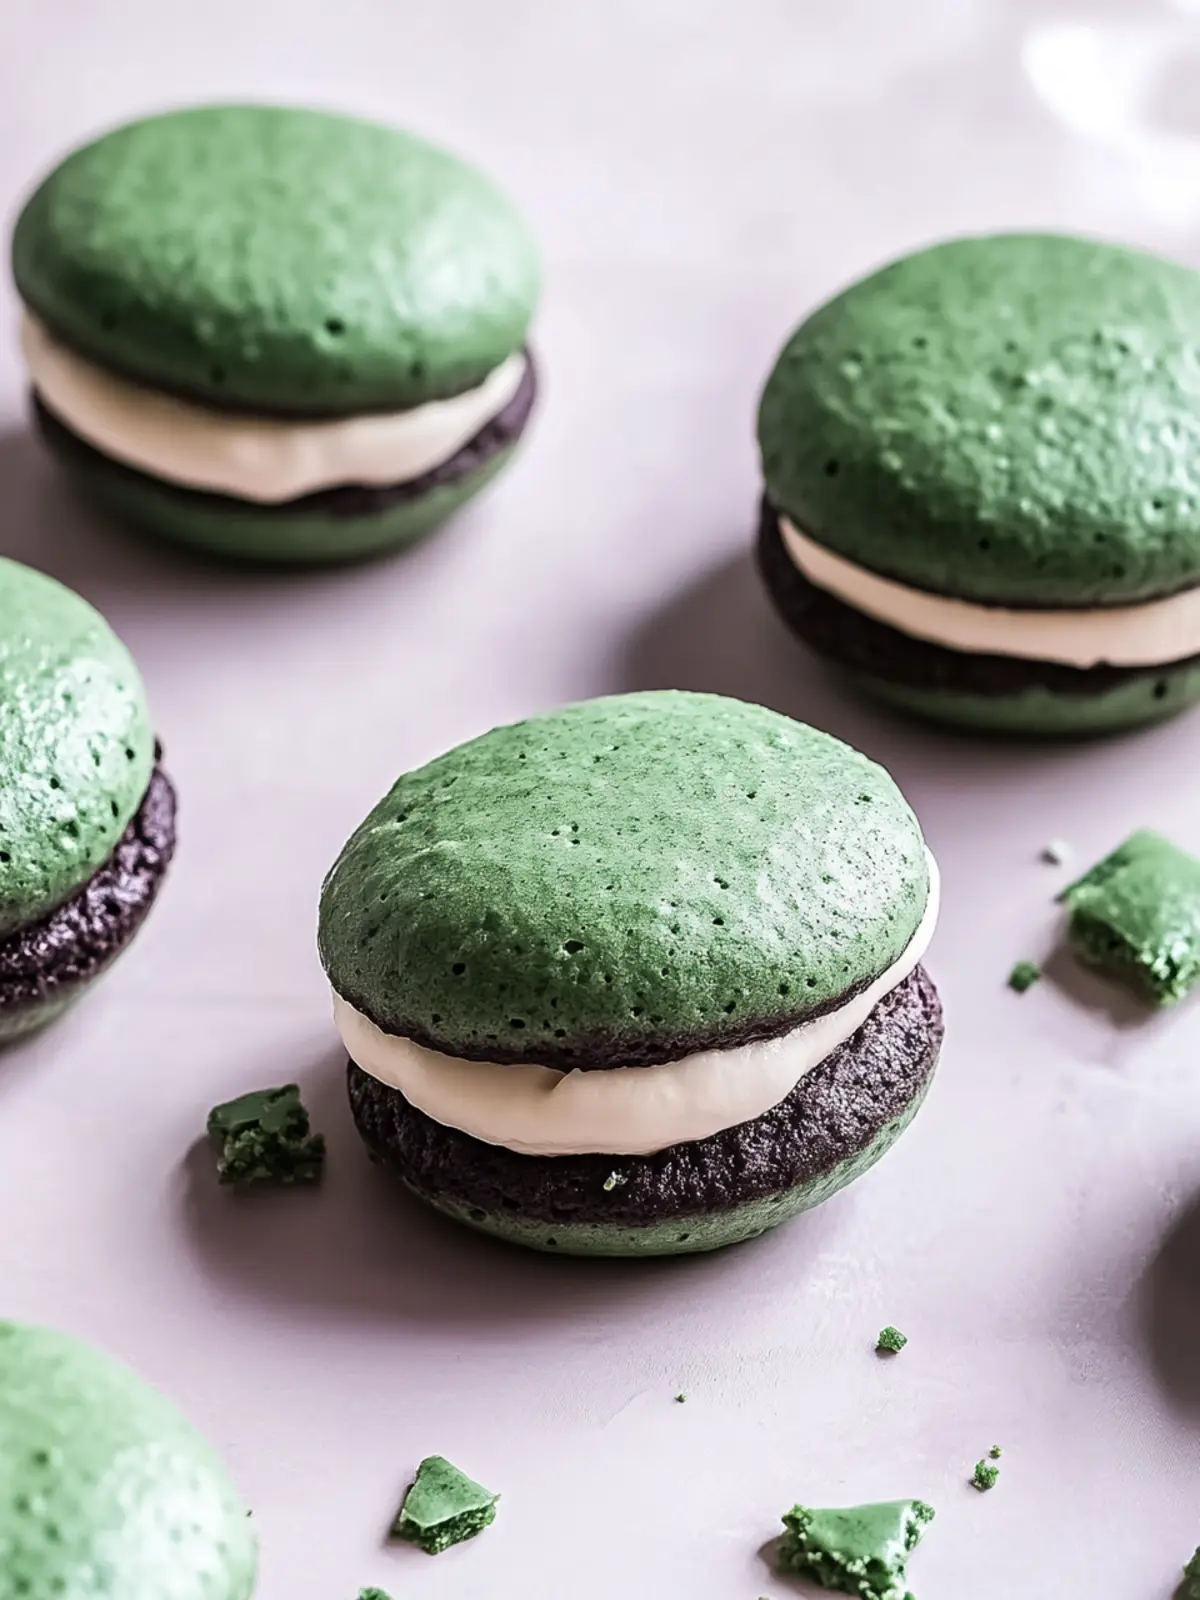
Decadent Green Velvet Whoopie Pies: A Fun Twist on Tradition
Ingredients
Equipment
Method
- Preheat the oven to 350°F (175°C).
- Mix the dry ingredients by combining all-purpose flour, granulated sugar, cocoa powder, baking soda, and salt in a mixing bowl.
- Cream the softened unsalted butter with the granulated sugar until light and fluffy.
- Incorporate the large egg, vanilla extract, and green food coloring into the butter mixture.
- Blend the dry ingredients into the wet ingredients, alternating with buttermilk.
- Spoon the batter onto a greased baking sheet using a cookie scoop or spoon.
- Bake for 10-12 minutes or until the edges look set.
- Cool the baked cookies on the sheet for a few minutes before transferring to a wire rack.
- Prepare the cream filling by beating cream cheese, powdered sugar, and vanilla together until smooth. Gradually add whipped heavy cream.
- Assemble your whoopie pies by spreading cream filling on one cookie and sandwiching with another.