
In the midst of a busy week, the enchanting aroma of warm bread rising in the oven became my little sanctuary. That’s when I decided to embrace the vibrant flavors of Hawaiian cuisine with a delightful twist on dinner rolls – Taro Rolls. These adorable, purple-hued beauties are more than just a feast for the eyes; their light, fluffy texture and hint of sweetness make them a perfect accompaniment to any meal.
Upon discovering this recipe, I was amazed at how simple it was to transform everyday ingredients into something truly extraordinary. With the delightful taste of taro, these rolls are not only gluten-free if you choose the right flour, but they also bring a playful element that’s sure to please both kids and adults alike. Whether served alongside a hearty dinner or slathered with butter for a snack, these Taro Rolls are bound to steal the show and awaken your love for homemade food. Join me as we dive into this vibrant recipe that celebrates both flavor and fun!
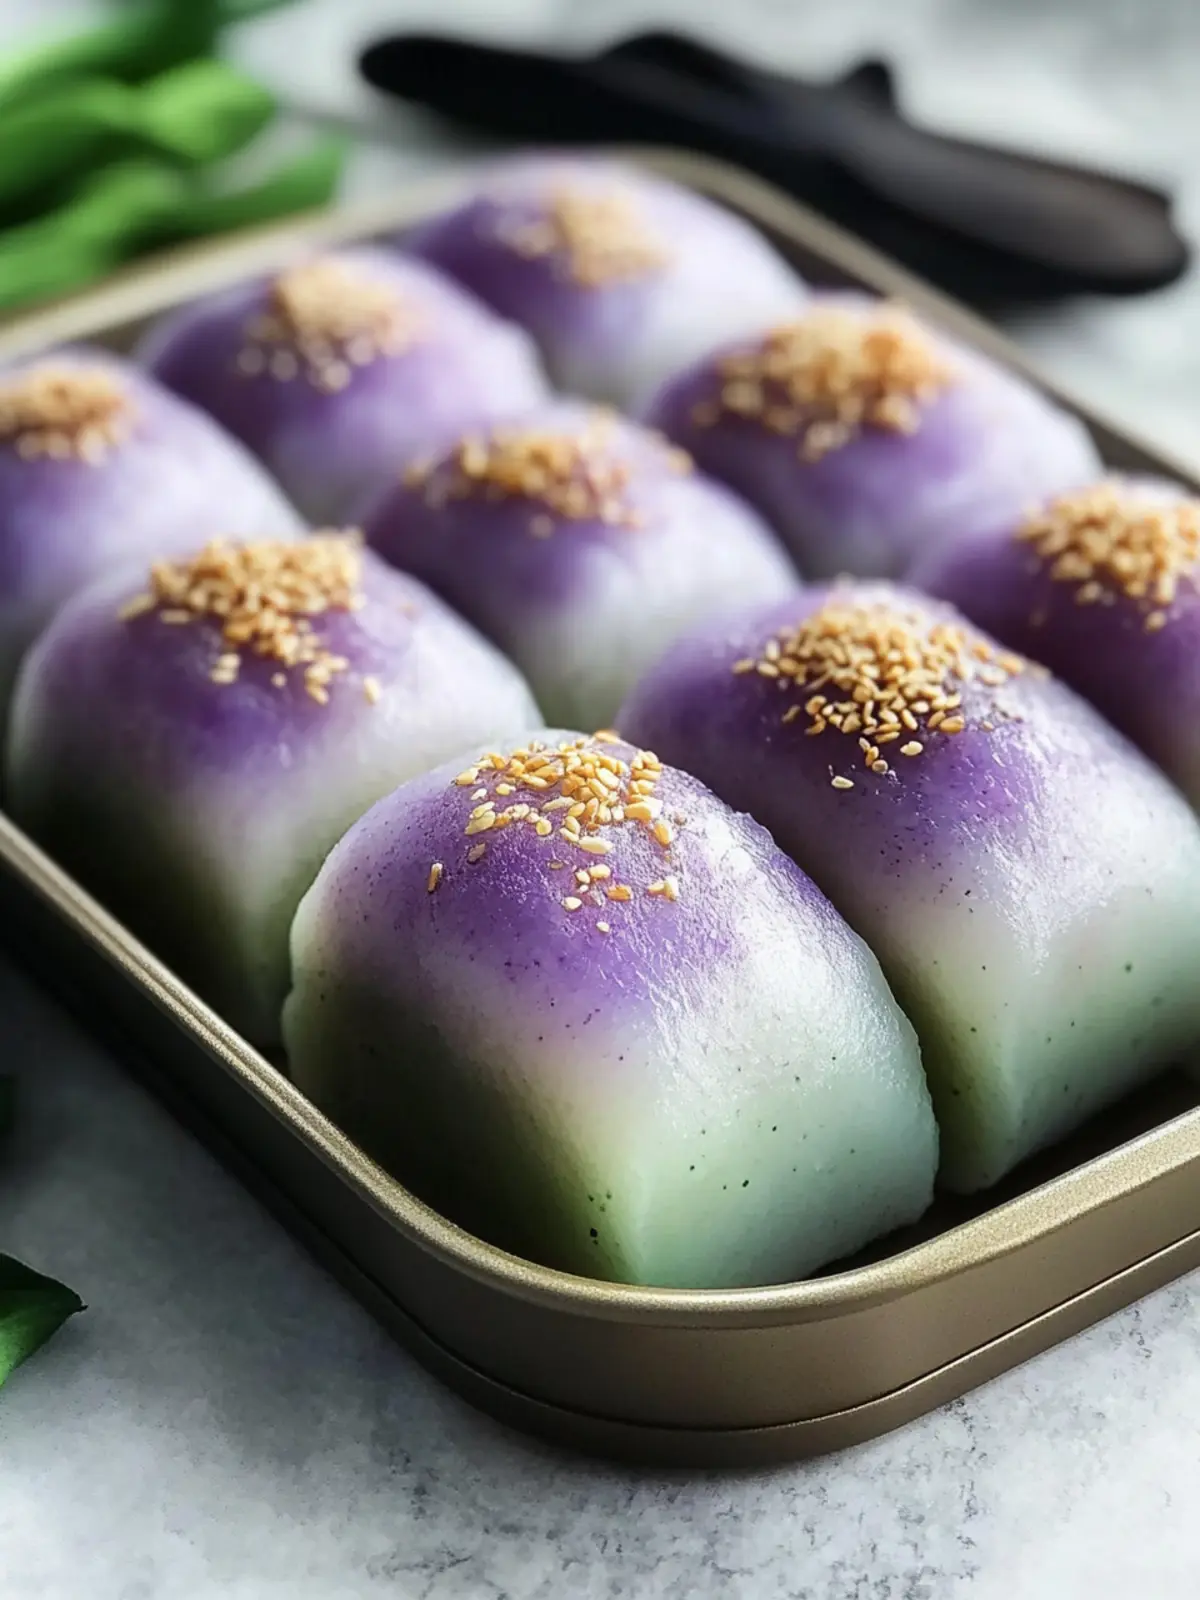
Why Love These Taro Rolls?
Simplicity at Its Best: This recipe is straightforward, making it accessible for both novice and experienced cooks.
Vibrant Appearance: The stunning purple color makes these rolls a standout at any meal, instantly elevating your dinner table.
Unique Flavor: Taro adds a sweet twist that’s unlike traditional rolls, allowing you to surprise your guests with something new.
Kid-Friendly: These fluffy treats are perfect for children, who will love their playful color and delicious taste.
Versatility: Ideal as a side dish or a snack, you can pair them with a variety of meals or enjoy them on their own.
Gluten-Free Option: Simply swap in gluten-free bread flour, ensuring everyone can enjoy this delightful treat! These Taro Rolls are sure to become a favorite, so be sure to check out our gluten-free bread options for more ideas!
Taro Rolls Ingredients
Transform your dinner experience with these delightful Taro Rolls!
For the Dough
- Bread Flour – Provides structure and texture; substitute with gluten-free flour for a gluten-free version.
- Sugar – Adds a touch of sweetness to balance the flavor of the taro.
- Instant Yeast – Responsible for leavening, helping the rolls rise; use active dry yeast if instant is unavailable, just adjust proofing time.
- Salt – Enhances flavor and strengthens the dough.
- Warm Milk – Adds moisture and helps activate the yeast; you can use any milk or plant-based alternatives.
- Poi – A classic in Hawaiian cuisine, providing natural sweetness and moisture; use store-bought or homemade poi.
- Egg – Acts as a binding agent, lending richness; substitute with a flax egg for a vegan option.
- Butter – Adds a rich flavor to the rolls; substitute with vegan butter for a dairy-free version.
- Purple Food Coloring – Enhances the visual appeal; can be omitted when using naturally colorful ingredients, or swap for beet juice for natural color.
With these ingredients in hand, you’re just steps away from crafting these delightful Taro Rolls!
How to Make Taro Rolls
-
Prepare the Dough: In a large mixing bowl, combine bread flour, sugar, and instant yeast. In a stand mixer, mix warm milk, poi, egg, and softened butter until well blended. Add purple food coloring to the mixture to enhance the visual appeal.
-
Knead the Dough: Switch to a dough hook and gradually add the flour mixture into the wet ingredients. Knead the dough for about 10 minutes until it becomes smooth and elastic; the dough should feel wet but not sticky.
-
Shape the Rolls: Divide the dough into 15 equal pieces. Roll each piece into a smooth ball, ensuring a nice, rounded shape for your rolls.
-
First Rise: Place the shaped rolls into a greased 9×13 baking dish. Cover them with a clean kitchen towel and let them rise in a warm area until they double in size, about 1-2 hours.
-
Bake the Rolls: Preheat your oven to 325°F (160°C). Bake the rolls for 20-25 minutes or until they are lightly golden brown on top and fragrant.
-
Cool and Serve: Carefully remove the rolls from the oven and allow them to cool slightly in the pan. Serve warm for the best experience!
Optional: Brush with melted butter for an extra touch of richness.
Exact quantities are listed in the recipe card below.
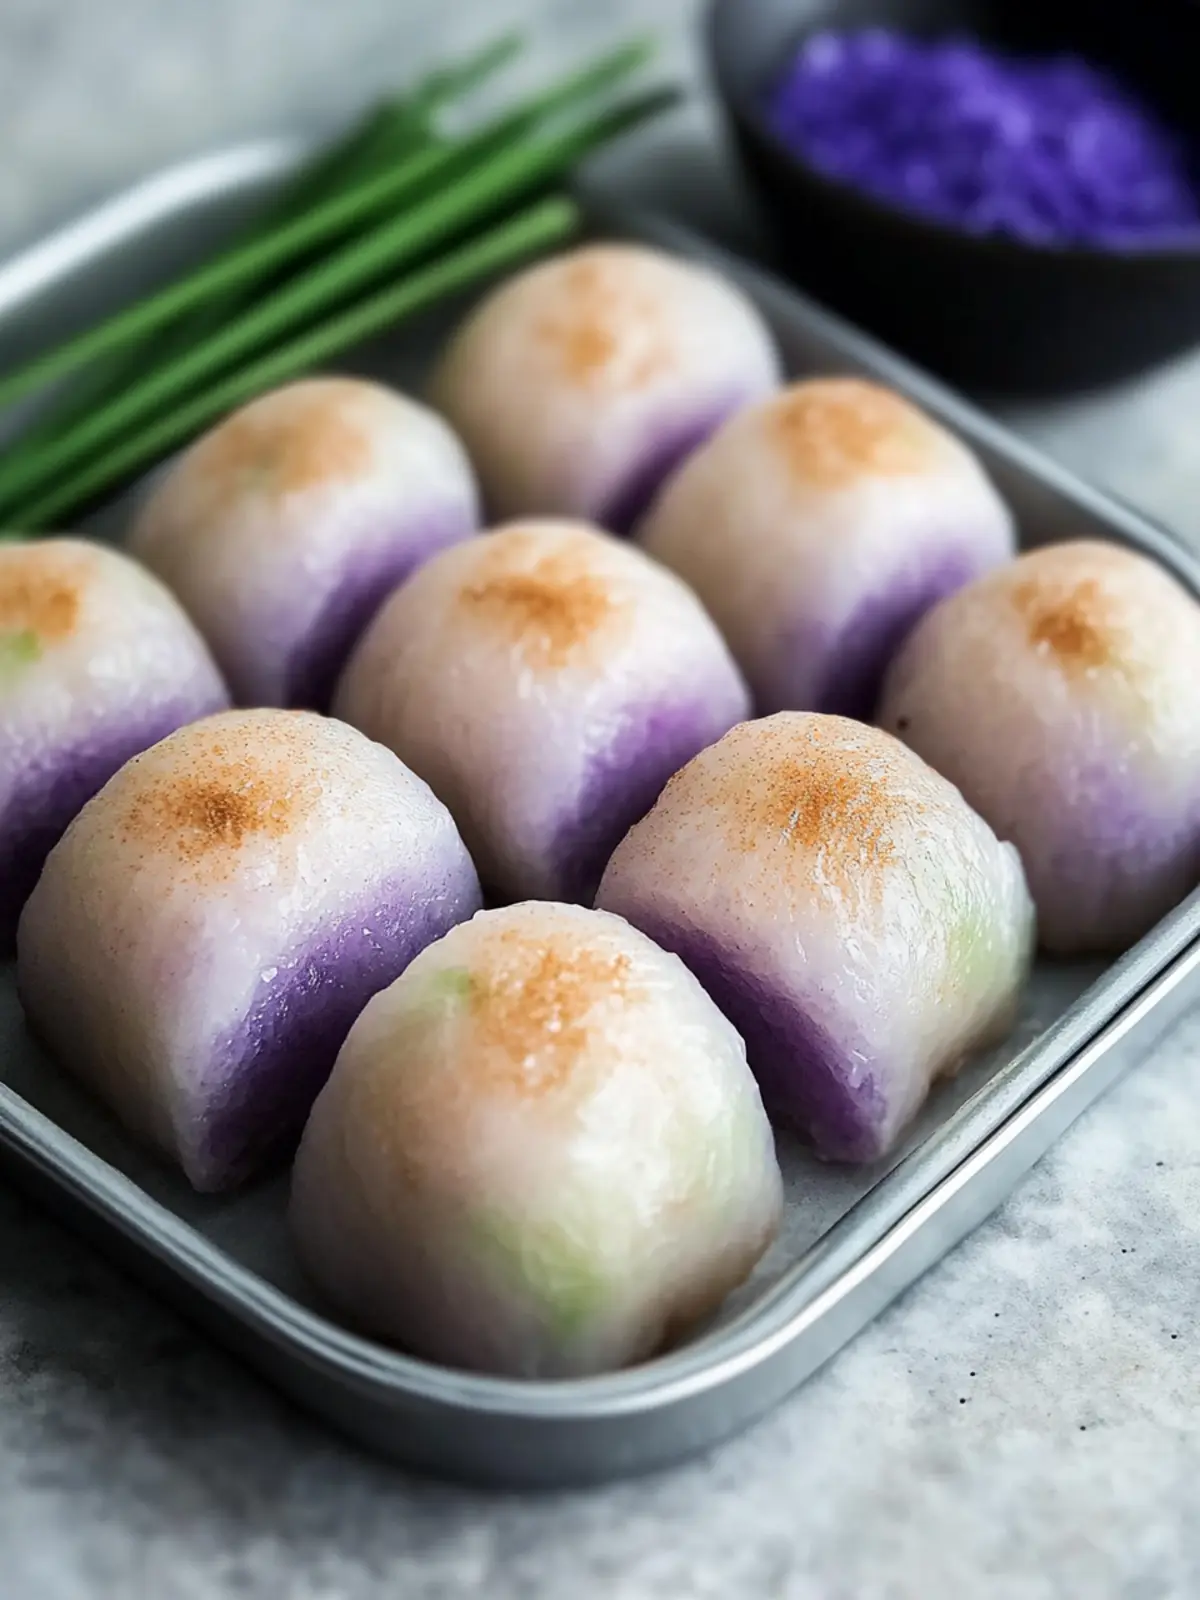
Storage Tips for Taro Rolls
- Room Temperature: Keep your Taro Rolls in an airtight container at room temperature for up to 4–5 days to maintain their softness and flavor.
- Fridge: If you need to store these rolls longer, refrigerate them in an airtight container for up to a week; just be aware that refrigeration may slightly affect their texture.
- Freezer: For longer storage, freeze Taro Rolls in airtight bags for up to 3 months. To enjoy, thaw overnight in the fridge and reheat in a 350°F (175°C) oven for about 10 minutes.
- Reheating: Reheat individual rolls in the microwave for about 15-20 seconds or in an oven for a warm, fresh taste that brings out their delightful sweetness again.
Expert Tips for Taro Rolls
- Consistent Dough: Monitor the dough consistency closely, adding extra liquid if your poi is particularly thick or humidity is high.
- Rise Time: Allow your rolls enough time to rise; underestimating this step is a common mistake that leads to dense taro rolls.
- Egg Wash: For an extra glossy finish, brush the rolls with an egg wash before baking; this enhances their golden color.
- Avoid Dryness: Keep the rising dough covered with a damp cloth to prevent it from drying out, ensuring soft and fluffy rolls.
- Flavor Variations: Don’t hesitate to experiment with spices like cinnamon or nutmeg for a unique twist on these delightful rolls.
Taro Rolls: Explore Variations
Feel free to make these Taro Rolls your own with delightful variations and substitutions that will add an extra layer of flavor and fun!
- Gluten-Free: Substitute bread flour with a gluten-free blend, making these rolls suitable for everyone.
- Sweet Potato Swap: Replace poi with mashed sweet potatoes for a hint of sweetness and a golden hue.
- Savory Style: Mix in chopped fresh herbs like rosemary or oregano for a fragrant twist that enhances the flavor profile.
- Spicy Kick: Add a pinch of cayenne or red pepper flakes for those who like a little heat in their rolls.
- Nutty Flavor: Incorporate ground flaxseeds or chia seeds into the dough for added texture and nutrition.
- Cocoa Twist: For a sweet touch, blend in cocoa powder to create a chocolate version of these Taro Rolls.
- Fruit Blend: Toss in chopped dried fruits like cranberries or raisins to give your rolls a delightful sweetness and chewiness.
- Cinnamon Sugar Coating: After baking, brush the tops with melted butter and sprinkle with a cinnamon-sugar mix for a dessert-like finish.
Experiment with these variations to craft the perfect batch of rolls that will impress family and friends!
What to Serve with Taro Rolls?
Elevate your dining experience with these delightful rolls that are as playful as they are tasty.
- Mango Salsa: The sweet and tangy contrast of mango salsa adds a refreshing burst of flavor, perfectly complementing the sweetness of the rolls.
- Grilled Chicken: Juicy, marinated chicken provides a hearty contrast and enhances the overall meal with its savory notes.
- Coconut Rice: Creamy and subtly sweet, coconut rice brings a tropical twist that harmonizes beautifully with the taro rolls.
- Mixed Green Salad: A crisp salad tossed with citrus dressing adds a refreshing crunch, balancing the rolls’ fluffy texture with vibrant, fresh flavors.
- Poke Bowl: Serve them alongside a poke bowl for a fusion experience; the savory fish pairs seamlessly with the rolls’ sweetness.
- Pineapple Glaze: Drizzling a pineapple glaze over the rolls enhances their tropical flavor while adding a shiny finish that’s simply irresistible.
- Cold Brew Coffee: For a delightful beverage pairing, a chilled coffee balances the sweetness of the taro rolls, making for a fabulous afternoon treat.
- Coconut Whipped Cream: For a dessert option, a dollop of coconut whipped cream on your warm rolls transforms them into a tropical treat that endears children and adults alike.
Make Ahead Options
Preparing these Taro Rolls ahead of time is a fantastic way to save time during your busy week! You can prepare the dough and shape the rolls up to 24 hours in advance; simply cover them tightly with plastic wrap and refrigerate. When you’re ready to bake, let them sit at room temperature for about 30 minutes to rise slightly before preheating your oven. Alternatively, you can also bake the rolls and then freeze them in an airtight container for up to 3 months. To reheat, simply thaw overnight in the fridge and warm them in the oven until they’re fluffy and fragrant again. This way, you’ll enjoy delicious Taro Rolls that are just as good as fresh!
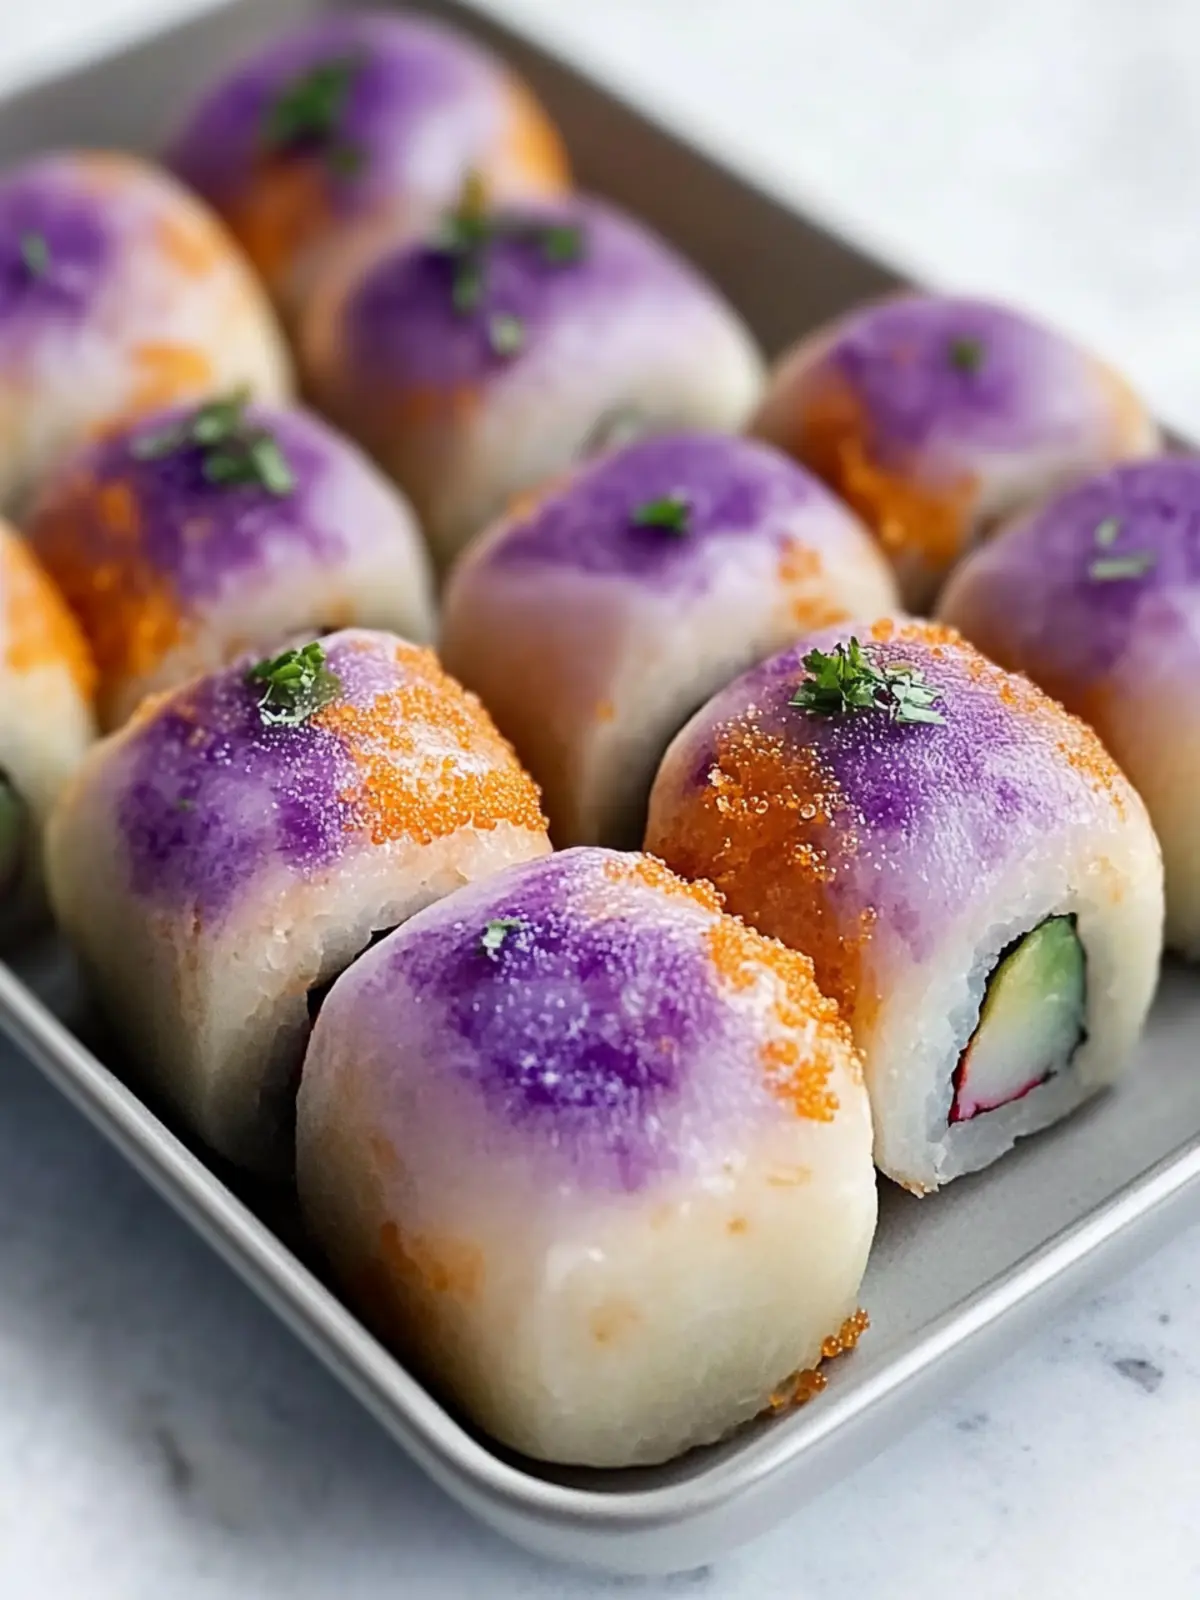
Hawaiian Taro Rolls Recipe FAQs
How do I choose ripe taro for these rolls?
Absolutely! When selecting taro, look for bulbs that feel firm and heavy for their size. They should be free from dark spots and soft areas, which indicate spoilage. The skin should have a light brown to beige color with minimal blemishes. If possible, opt for smaller taro as they tend to have a sweeter flavor!
How should I store leftover Taro Rolls?
To keep your Taro Rolls fresh, store them in an airtight container at room temperature for 4-5 days. A little tip I often use is to place a slice of bread inside the container; this helps maintain moisture, keeping the rolls soft and delightful!
Can I freeze Taro Rolls?
Very! If you want to enjoy your Taro Rolls later, you can freeze them. Place them in airtight freezer bags, removing as much air as possible. They can be frozen for up to 3 months. To thaw, simply leave them in the fridge overnight, then warm them in a preheated oven at 350°F (175°C) for about 10 minutes for that fresh-out-of-the-oven taste.
What if my dough is too sticky or dry?
No worries! If your dough feels too sticky, try adding a little more flour, a tablespoon at a time, until it reaches the right consistency. On the other hand, if it’s too dry, gradually add a few drops of warm milk while kneading, until it’s smooth and slightly tacky. Keep in mind that humidity and the brand of poi can affect dough consistency, so adjustments are often necessary!
Are Taro Rolls safe for kids with allergies?
The more the merrier! These Taro Rolls can be made to accommodate different dietary needs. If you’re concerned about gluten, use certified gluten-free bread flour. Additionally, for dairy allergies, swap the butter for a non-dairy version and use plant-based milk. If you want a vegan option, simply use a flax egg instead of a regular egg.
How can I enhance the flavor of my Taro Rolls?
Certainly! Feel free to play around with the recipe. Try adding a teaspoon of cinnamon or nutmeg to the dough for a warm spice flavor. Alternatively, if you want a savory twist, incorporate minced garlic or fresh herbs into the dough for a delightful flavor experience. Experimenting is part of the fun in cooking!
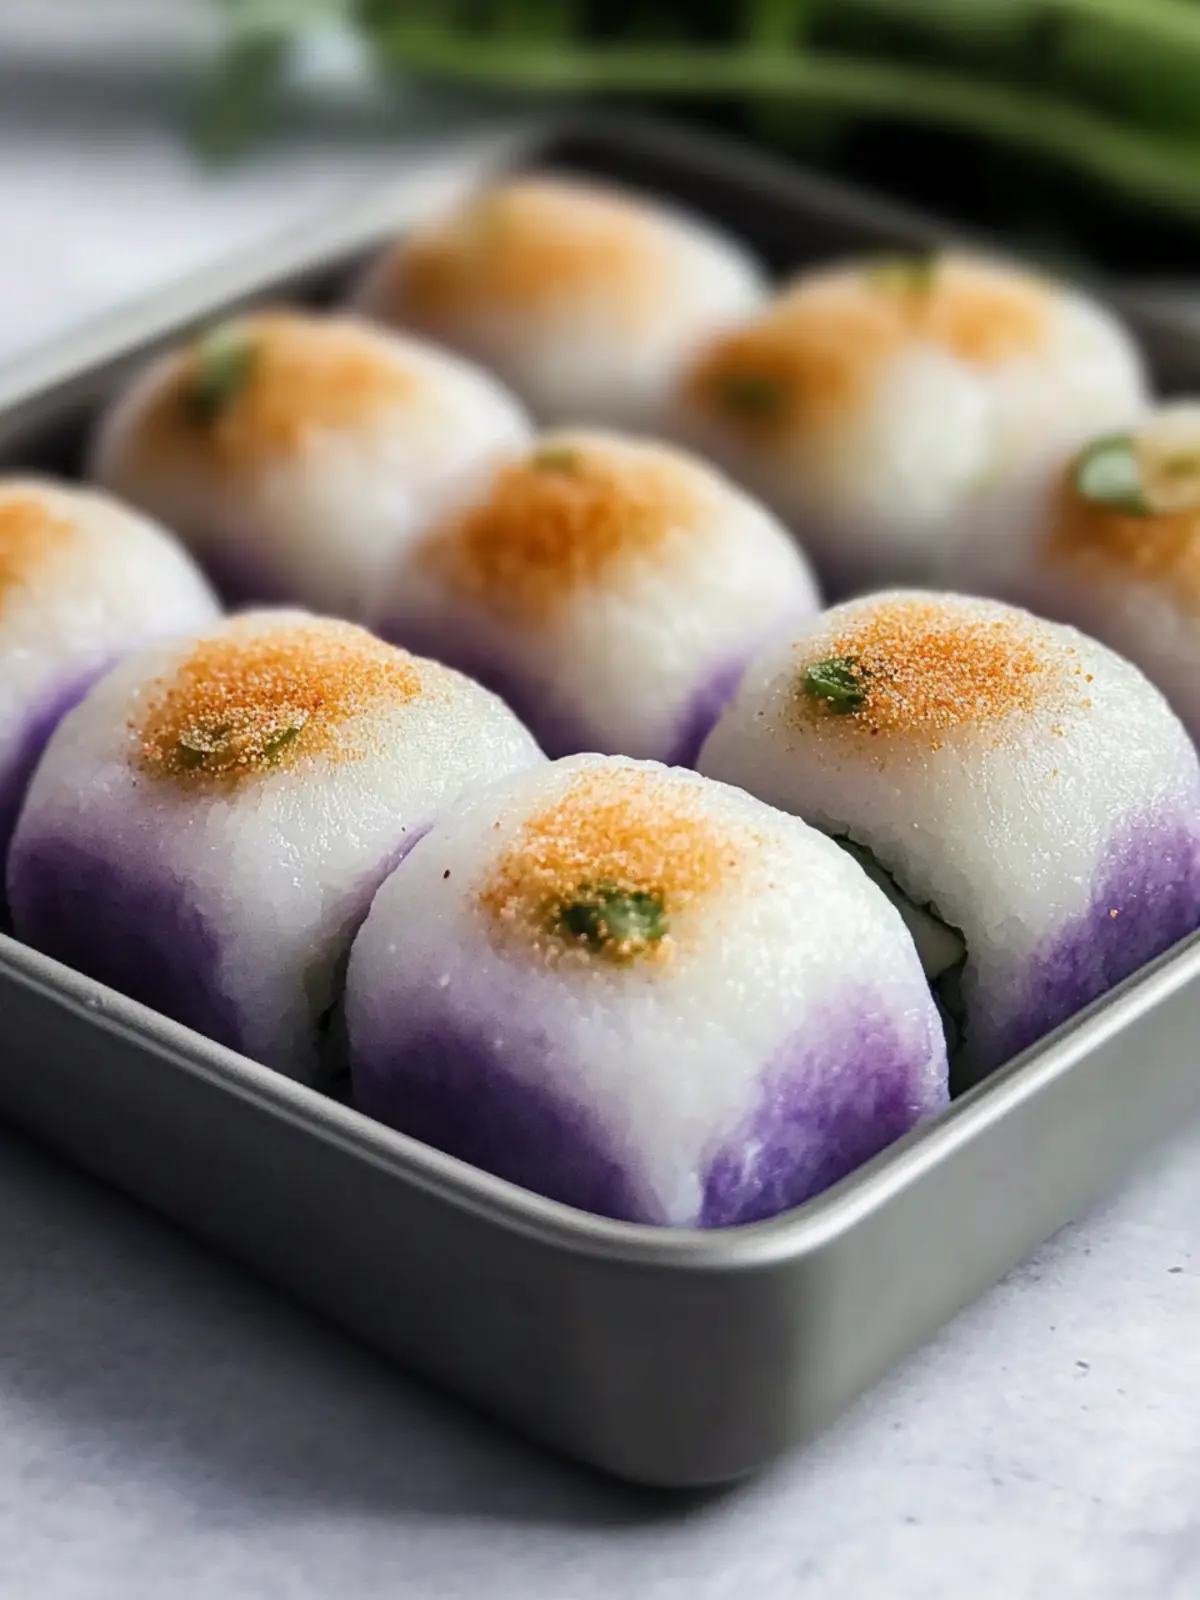
Fluffy Taro Rolls: A Sweet Hawaiian Delight You’ll Love
Ingredients
Equipment
Method
- Prepare the Dough: In a large mixing bowl, combine bread flour, sugar, and instant yeast. In a stand mixer, mix warm milk, poi, egg, and softened butter until well blended. Add purple food coloring to enhance the visual appeal.
- Knead the Dough: Switch to a dough hook and gradually add the flour mixture into the wet ingredients. Knead the dough for about 10 minutes until it becomes smooth and elastic.
- Shape the Rolls: Divide the dough into 15 equal pieces. Roll each piece into a smooth ball.
- First Rise: Place the shaped rolls into a greased 9x13 baking dish. Cover with a clean kitchen towel and let rise until they double in size, about 1-2 hours.
- Bake the Rolls: Preheat your oven to 325°F (160°C). Bake the rolls for 20-25 minutes or until lightly golden brown.
- Cool and Serve: Allow the rolls to cool slightly in the pan. Serve warm for the best experience!