
Walking into my kitchen, the vibrant colors of Jello glaring from the packets always bring back childhood memories of summer picnics and birthday parties. The instant burst of nostalgia sparked a fun idea: why not whip up some homemade gummies? This simple recipe is my go-to solution when I want something satisfying yet playful in texture. With just a few ingredients, including delightful flavors from your favorite Jello, you’ll be amazed at how easily you can recreate those chewy treats without the additives found in store-bought versions.
Perfect for gatherings or just a sweet snack at home, these homemade gummies are incredibly versatile—you can customize them to suit any occasion or taste preference. Plus, you might find that making them can be a delightful project to share with loved ones. Join me in reviving that childhood joy with this easy recipe that transforms ordinary ingredients into a tasty adventure!
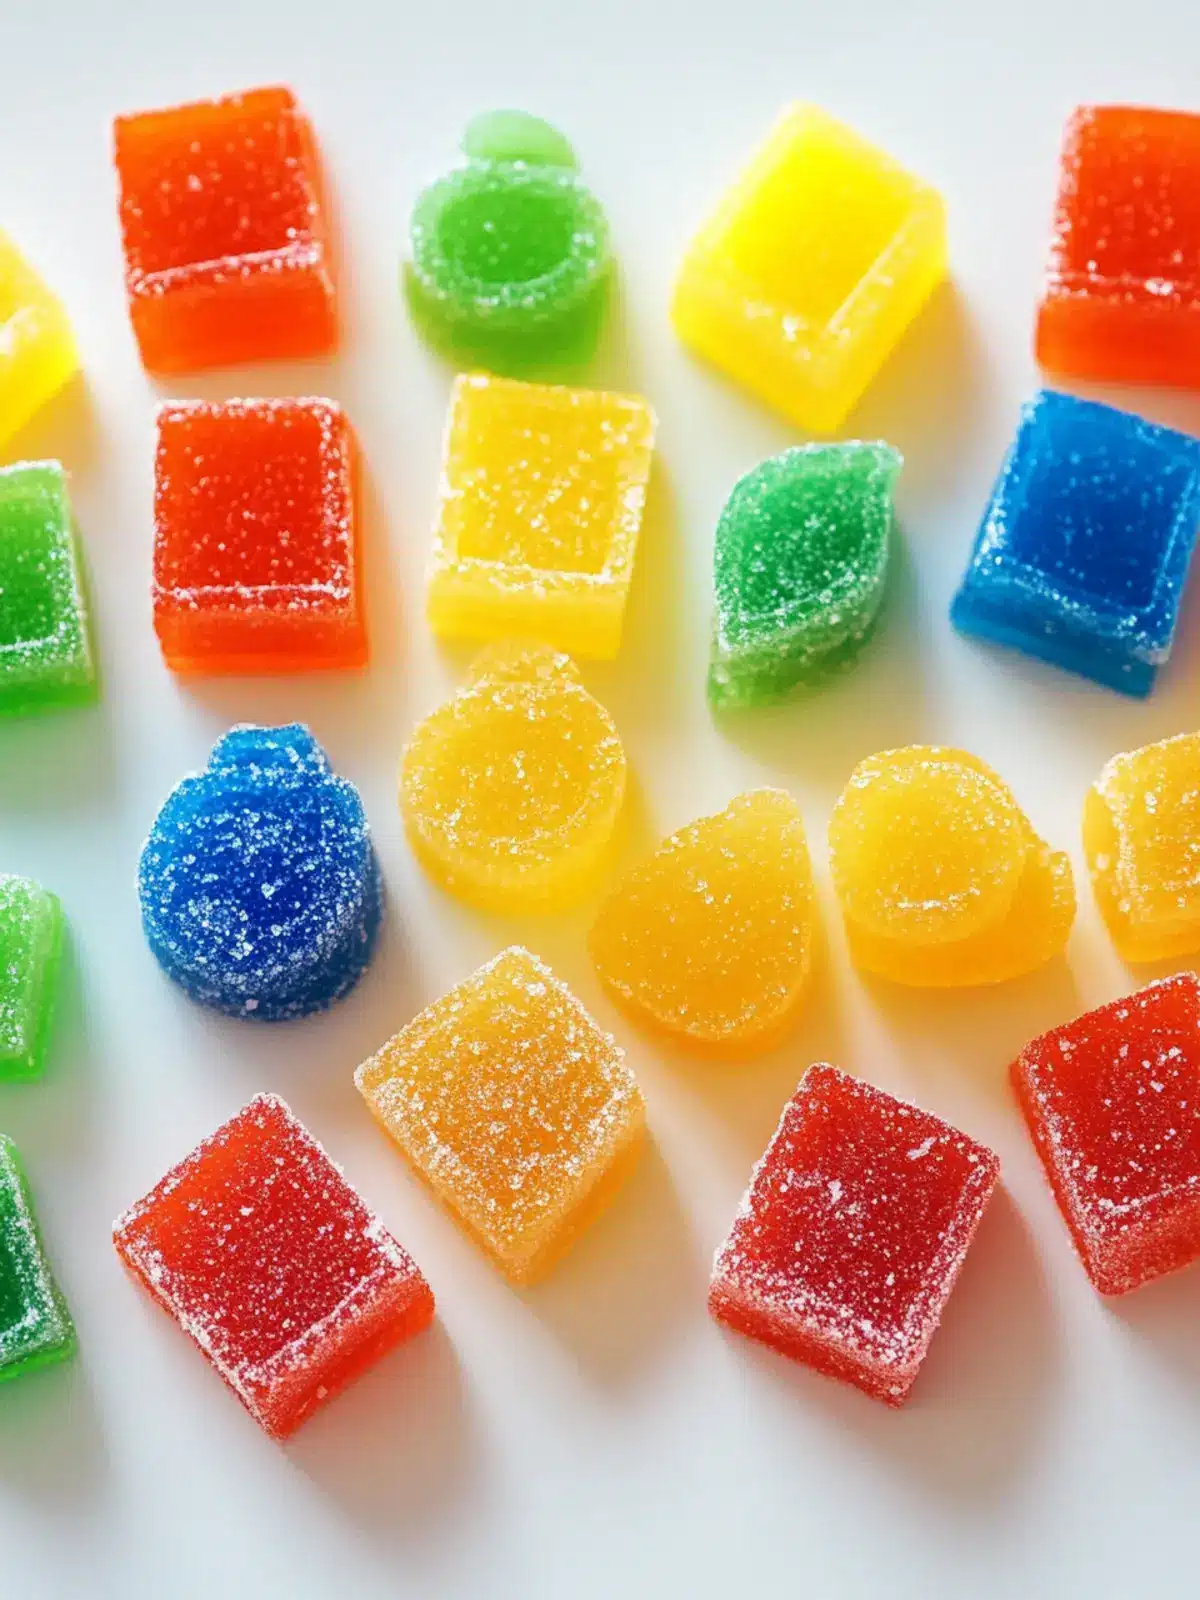
Why choose Homemade Gummies for fun snacks?
Endless creativity: Personalize your gummies with favorite Jello flavors and even shapes!
Kid-friendly fun: Involve the little ones in the kitchen for a delightful bonding experience.
Healthier choice: With control over ingredients, you can skip artificial additives.
Quick process: Just a few simple steps, and you’ve got tasty treats to enjoy in no time!
Perfect for parties: These colorful bites are sure to steal the show at any gathering.
Transform your snack game by making delicious homemade gummies today!
Homemade Gummies Ingredients
For the Gummies
• 3 oz box Jello – choose your favorite flavor for a fun twist on taste and color!
• 2 packets unflavored gelatin – this adds the perfect chewiness to your homemade gummies.
• ⅓ cup water – enhances the gelatin mixture, so your treats set just right.
Optional Add-Ins
• Fresh fruit purée – mix in your favorite fruit purée for an extra burst of flavor!
• Citric acid – sprinkle on the gummies before serving for a tangy kick.
Get ready to create some delicious homemade gummies that bring smiles to every gathering!
How to Make Homemade Gummies
-
Boil water: Start by bringing 1 cup of water to a rolling boil in a pot. This step is crucial to properly dissolve the Jello and unflavored gelatin.
-
Dissolve Jello: Once the water boils, pour in the 3 oz box of Jello along with the 2 packets of unflavored gelatin. Stir continuously until everything is completely dissolved and the mixture is vibrant.
-
Add water: Remove the pot from heat and add ⅓ cup of cold water to your colorful mixture. This helps cool it down and ensures a pleasant texture in your gummies.
-
Mold gummies: Pour the mixture into your choice of molds, whether silicone shapes or a simple baking dish for cutting later. Tap gently to remove any air bubbles, ensuring even gummies.
-
Chill: Place the filled molds in the refrigerator for about 2-4 hours, or until the gummies are firmly set and ready to pop out.
Optional: Dust with a sprinkle of citric acid for a tangy finish!
Exact quantities are listed in the recipe card below.
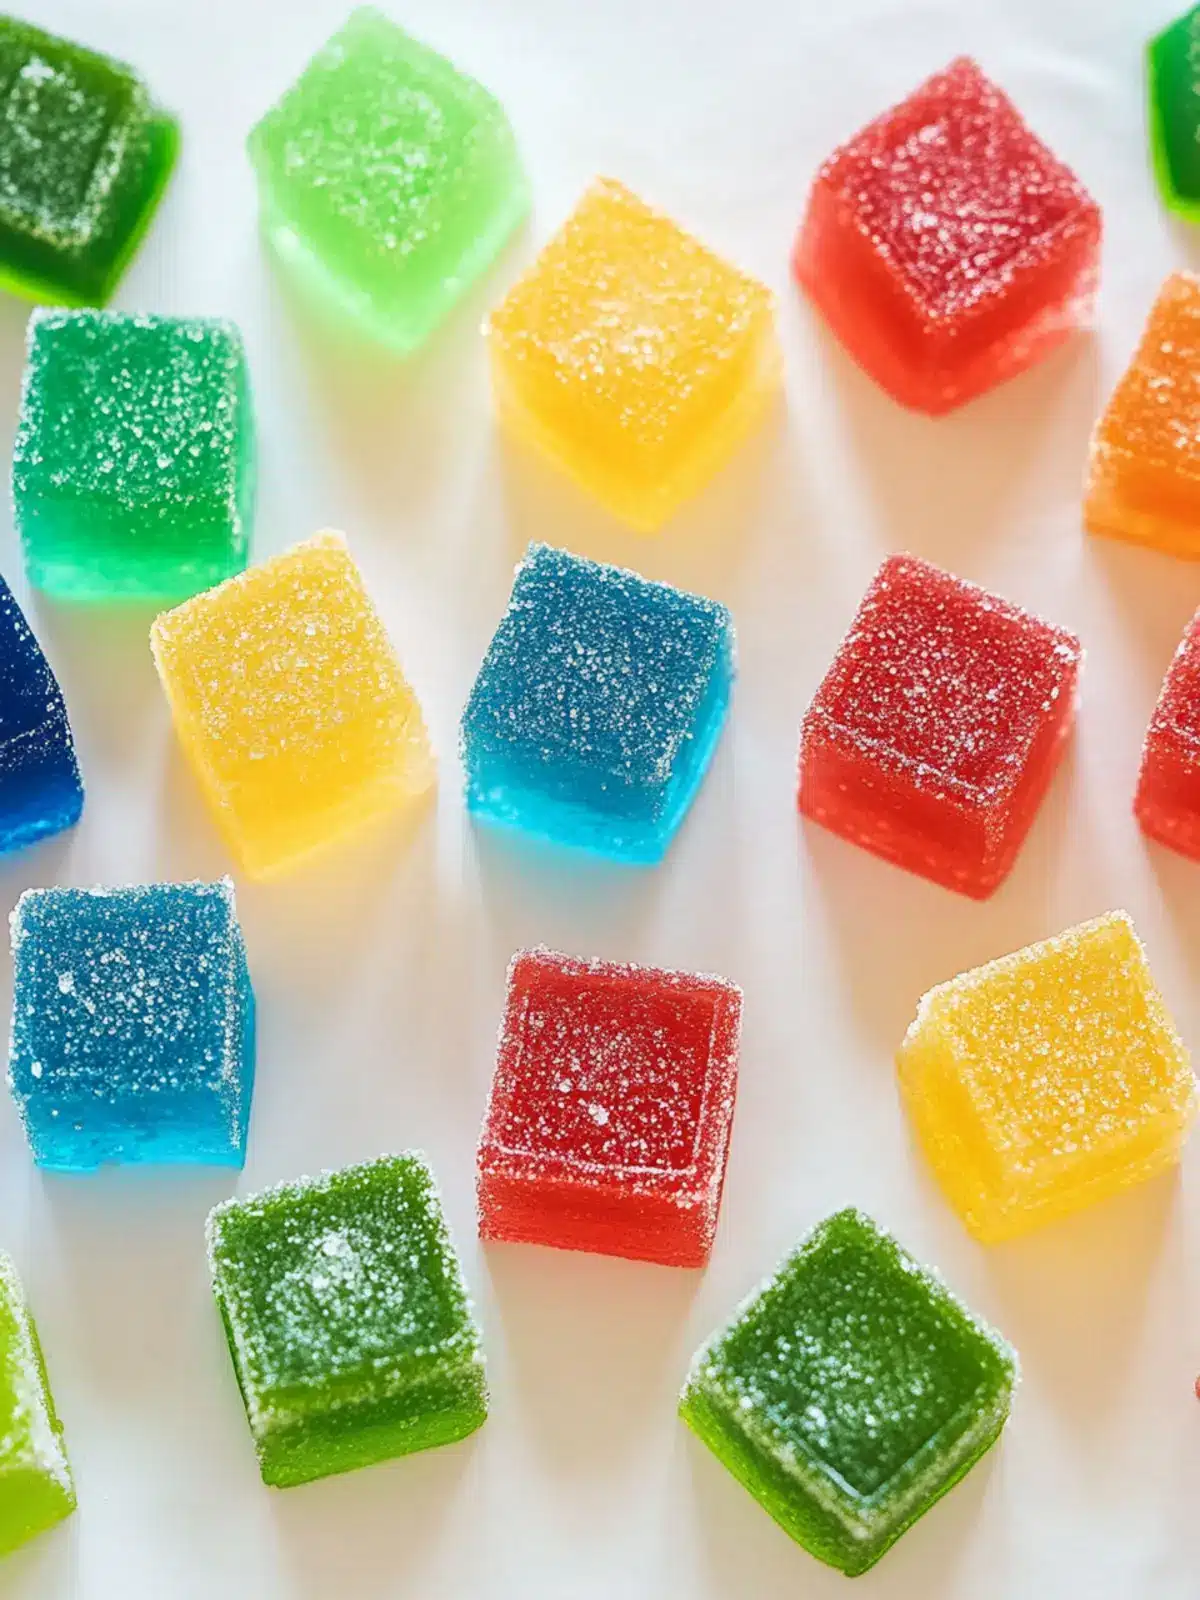
Make Ahead Options
These homemade gummies are perfect for meal prep enthusiasts looking to save time during busy weeks! You can dissolve the Jello and unflavored gelatin up to 24 hours in advance, just be sure to refrigerate the prepared mixture in an airtight container to maintain flavor and texture. When you’re ready to create your gummies, simply pour the mixture into molds, and chill them for 2-4 hours until set. This way, you can have delightful homemade gummies on hand whenever a sweet craving strikes or for any special occasion, without the last-minute rush. Enjoy the satisfaction of having these fun treats ready to go!
Variations & Substitutions for Homemade Gummies
Feel free to let your imagination run wild and create your own spin on these delightful gummies!
- Organic Jello: Swap standard Jello for organic varieties, eliminating artificial colorings and flavors while enjoying the same great taste.
- Sugar-Free: Choose sugar-free Jello for a lighter treat that still packs a punch of flavor without the calories.
- Vegan Option: Use plant-based gelatin substitutes like agar-agar or carrageenan for a vegan-friendly gummy that everyone can enjoy.
- Fruit Infusion: Blend in fresh fruit purée, like raspberry or mango, for a burst of natural sweetness and flavor in every bite.
- Flavored Extract: Add a few drops of fruit extract (like vanilla or almond) to elevate the flavor profile and surprise your taste buds!
- Spicy Kick: Mix in a hint of chili powder or cayenne for a unique, spicy twist that adds excitement to your gummies.
- Citrus Zing: Sprinkle citric acid on top before serving for a tangy finish that brightens the flavor and adds a fun texture.
- Herbal Twist: Infuse with herbal teas like chamomile or peppermint for a soothing gummy that tastes delightful and uplifting.
Experiment and find your favorite combinations—these gummy treats are just waiting for your personal touch!
What to Serve with Homemade Gummies?
Elevate your homemade gummy experience by pairing them with delightful snacks and drinks that will make your taste buds dance with joy.
- Fresh Fruit Platter: A vibrant assortment of seasonal fruits complements the chewy sweetness of gummies, adding a refreshing crunch.
- Creamy Yogurt Dip: Pairing your gummies with a tangy yogurt dip creates a wonderful contrast of textures, making for an enjoyable snack.
- Sparkling Water: Enjoy your gummies with sparkling water infused with citrus slices for a zesty, refreshing sip that balances sweetness.
- Chocolate Fondue: The richness of melted chocolate brings a decadent twist, creating a fun and interactive dessert moment perfect for sharing.
- Nutty Trail Mix: For a little energy boost, pair gummies with a crunchy trail mix; the nuts provide protein, while the gummies offer a sweet treat.
- Mini Cupcakes: Delightfully sweet and fluffy miniature cupcakes are perfect companions, offering additional textures that kids and adults will love.
- Homemade Fruit Punch: This fruity beverage can tie everything together, providing a hydrating and flavorful drink with your gummy treats.
- Cheese and Crackers: A sophisticated twist, combining gummies with a cheese board adds an unexpected yet delightful flavor contrast that guests will adore.
- Ice Cream Sundae Bar: Set up an ice cream sundae bar with your gummies as playful toppings, inviting everyone to create their own delicious dessert masterpiece!
Expert Tips for Homemade Gummies
• Dissolving tips: Ensure the boiling water is at a rolling boil to fully dissolve the Jello and gelatin, preventing a grainy texture.
• Cooling methods: After adding cold water, gently stir to help cool the mixture quickly without introducing air, which can create bubbles in your gummies.
• Mold selection: Use silicone molds for easy release and fun shapes. If using a baking dish, lightly grease for best results when cutting.
• Flavor boosts: Don’t hesitate to experiment with fresh fruit purées or other flavorings to customize your homemade gummies to your unique taste!
• Storage advice: Keep gummies in an airtight container in the refrigerator to maintain their chewy texture and prevent them from sticking together.
Making delightful homemade gummies can be a fun and rewarding experience, perfect for those looking to escape the world of fast food!
Storage Tips for Homemade Gummies
Room Temperature: Store gummies in an airtight container away from direct sunlight and heat for up to 1 week for the best flavor and texture.
Fridge: Keep your homemade gummies refrigerated in an airtight container for up to 2 weeks to maintain their chewiness and freshness.
Freezer: For longer storage, you can freeze homemade gummies for up to 3 months. Just ensure they’re well-wrapped to prevent freezer burn. Simply thaw them in the fridge before enjoying!
Reheating: There’s no need to reheat gummies, just let them sit at room temperature for a few minutes after refrigeration for optimal texture.
Homemade Gummies Recipe FAQs
How do I pick the right Jello flavor?
Absolutely! When choosing your Jello flavor, think about your mood or occasion. Classic flavors like cherry or lemon are crowd-pleasers, while tropical varieties like pineapple or blue raspberry add a fun twist!
How long can I store homemade gummies?
Very! Homemade gummies can last up to 2 weeks in the fridge when stored in an airtight container. For room temperature storage, they’re good for about 1 week. Just make sure they’re kept away from heat and sunlight to retain their deliciousness.
Can I freeze homemade gummies?
Yes, you can! To freeze homemade gummies, ensure they’re placed in a single layer on a baking sheet first, then transfer them to a freezer-safe bag or container once fully frozen. They can last up to 3 months in the freezer. When you’re ready to enjoy, simply thaw them in the fridge overnight!
What should I do if my gummies are too soft?
If your gummies turn out too soft, it could be due to not dissolving the gelatin properly or insufficient chilling time. To troubleshoot, you can remelt the gummies gently in a pot, add a bit more unflavored gelatin (about 1 tablespoon for every 1 cup of mixture), and re-mold them. Make sure to chill until set again—this should help achieve that perfect chewy texture!
Are homemade gummies safe for pets?
While your homemade gummies are fantastic for humans, they may not be safe for pets, especially if you’ve added any ingredients like citric acid or artificial sweeteners. Always keep your gummies out of reach of your furry friends!
Can I customize my gummies further?
The more the merrier! Feel free to add fresh fruit purées, or a bit of fruit juice instead of some of the water for additional flavor. You can also experiment with different shapes and sizes for fun presentation!
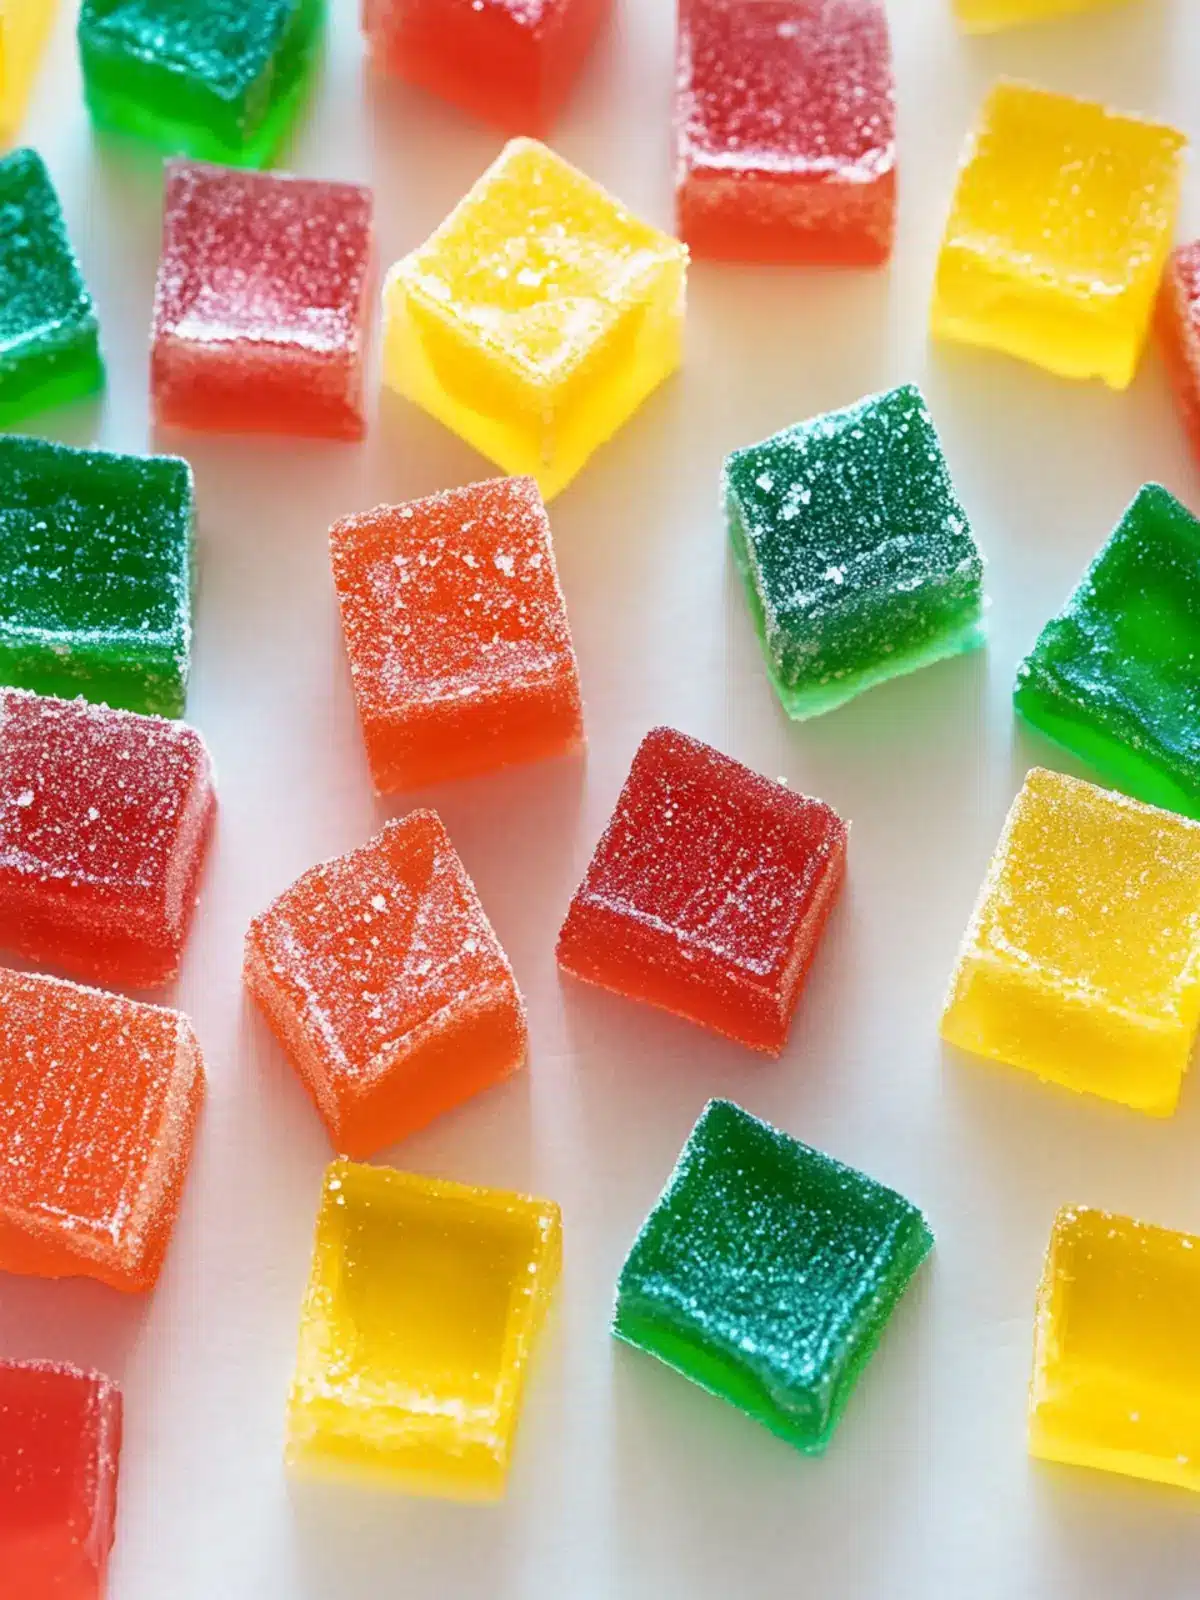
Delicious Homemade Gummies: Fun and Easy Treats to Make!
Ingredients
Equipment
Method
- Start by bringing 1 cup of water to a rolling boil in a pot.
- Once the water boils, pour in the 3 oz box of Jello along with the 2 packets of unflavored gelatin. Stir continuously until everything is completely dissolved and the mixture is vibrant.
- Remove the pot from heat and add ⅓ cup of cold water to your colorful mixture.
- Pour the mixture into your choice of molds, whether silicone shapes or a simple baking dish for cutting later.
- Place the filled molds in the refrigerator for about 2-4 hours, or until the gummies are firmly set and ready to pop out.