
When the evening sun casts a golden glow over my kitchen, that’s when the magic begins. I find myself drawn to the playful crunch of fried foods, and this is where crispy fried olives with garlic aioli step in as a delightful companion. Picture this: a bite-sized morsel that gives way to a briny surprise, perfectly paired with a smooth, garlicky dip that leaves you craving more.
These fried olives aren’t just an appetizer; they’re a conversation starter, a party favorite, and an indulgent treat that screams comfort. Whether you’re hosting friends for a cozy gathering or just want to elevate your weeknight meals, this recipe brings a taste of excitement to the table. Coupled with an easy, homemade garlic aioli, these little gems will elevate any occasion into something extraordinary.
Join me as I guide you through this simple yet rewarding recipe that promises to tantalize your taste buds while bringing joy and warmth to your home. Let’s dive right in!
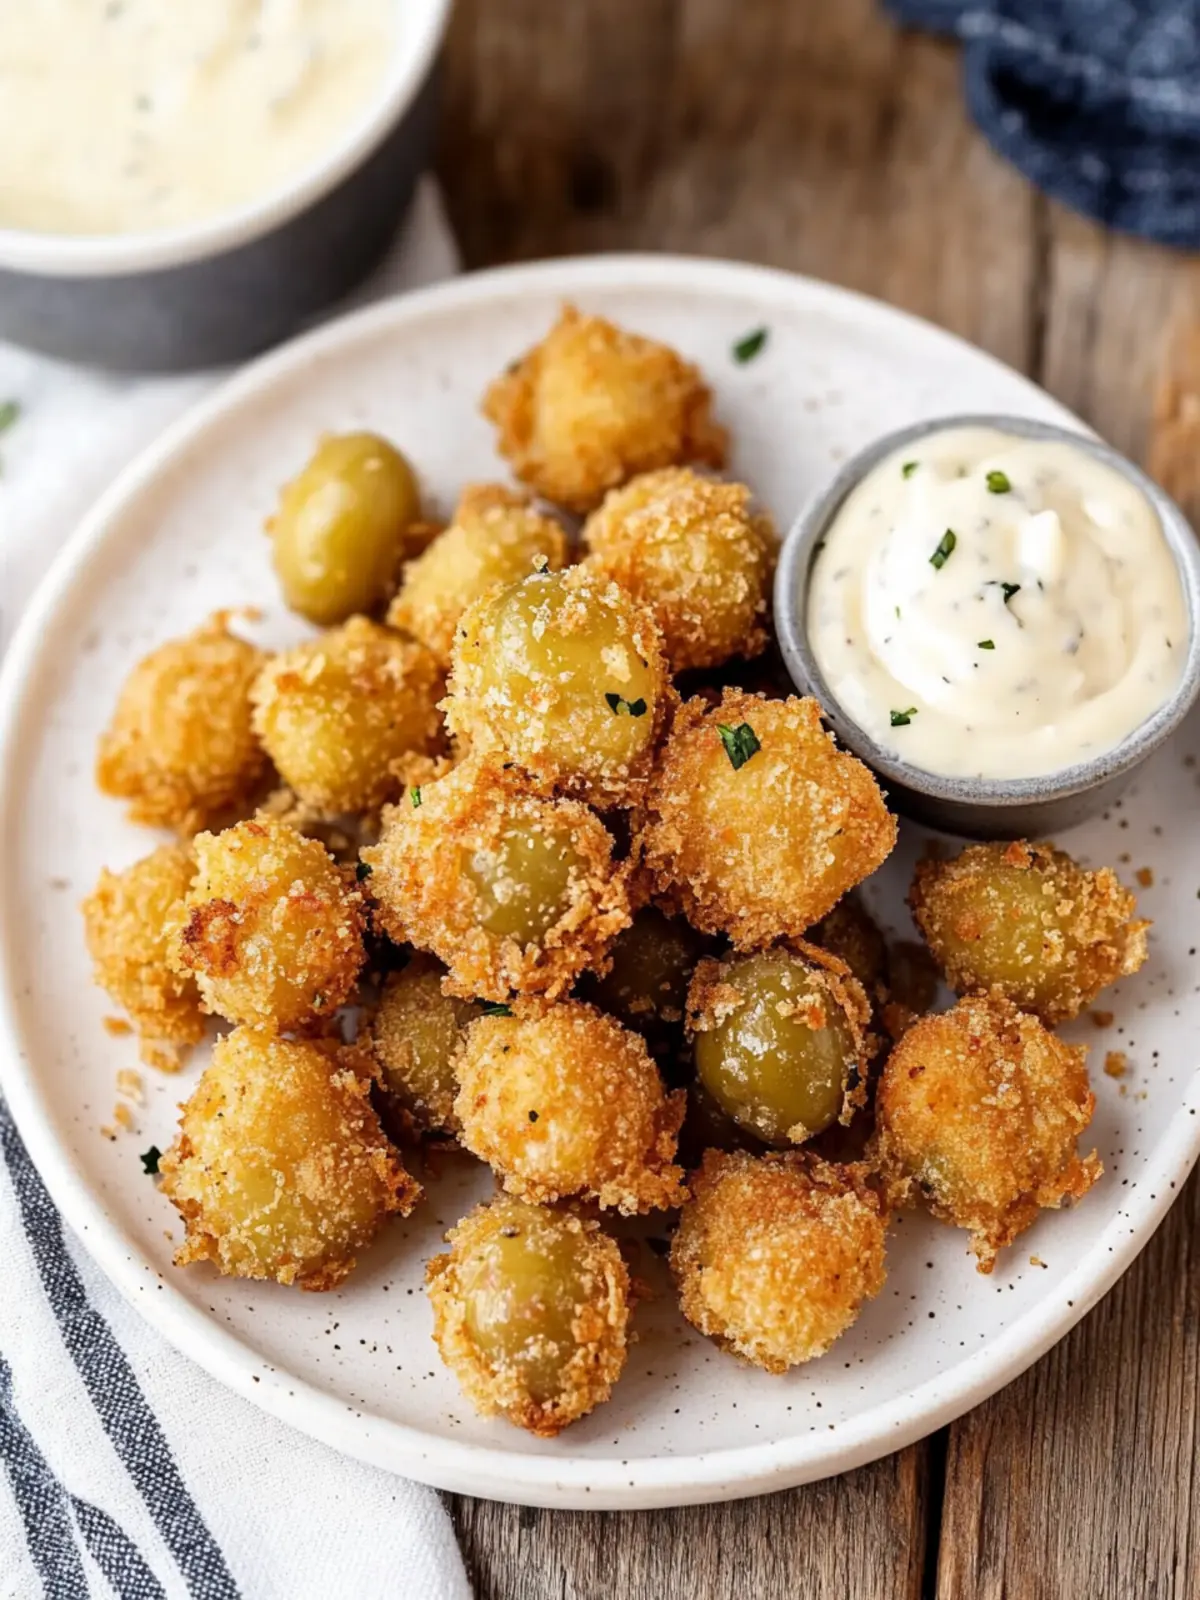
Why are Fried Olives with Garlic Aioli a Must-Try?
Unique Flavor Explosion: Each bite reveals a burst of briny goodness, complemented perfectly by a smooth garlic aioli.
Crowd-Pleasing Appetizer: These little gems are sure to impress your guests and spark delightful conversations at parties.
Quick & Easy: The step-by-step cooking process is straightforward, making it suitable for both novice and seasoned chefs alike.
Versatile Indulgence: Pair them with drinks or add to a charcuterie board for a versatile finger food that elevates any meal.
Comforting Crunch: Enjoy the crispy exterior that contrasts with tender olives, delivering a satisfying snack experience.
For more culinary delight, check out my easy dips to accompany your favorite dishes!
Fried Olives with Garlic Aioli Ingredients
For the Olives
- Small pimento-stuffed olives – These provide a briny burst of flavor; make sure they are pitted for safe frying.
- Panko bread crumbs – Creates a delightful crispy coating; feel free to substitute with regular breadcrumbs if necessary.
- Flour – Helps the egg wash stick; gluten-free flour works well for a gluten-free option.
- Egg – This acts as the binding agent; try a flax egg for a vegan alternative.
- Canola oil – Essential for frying; peanut oil can add a different flavor profile if preferred.
For the Garlic Aioli
- Mayonnaise – The creamy base for your aioli; Greek yogurt is a lighter option if desired.
- Lemon juice – Adds a refreshing tang; fresh lemon juice is always best!
- Minced garlic – Brings a robust flavor to the aioli; fresh is best for maximum potency.
- Salt & Pepper – Season to taste and enhance all flavors; feel free to adjust according to preference.
Enjoy these Fried Olives with Garlic Aioli as a delightful appetizer that’s sure to impress!
How to Make Fried Olives with Garlic Aioli
-
Prep Aioli: In a small mixing bowl, whisk together mayonnaise, lemon juice, minced garlic, salt, and pepper. Cover and refrigerate the mixture to chill while preparing the olives. A cool aioli enhances its flavor!
-
Drain Olives: Place the small pimento-stuffed olives in a strainer to drain excess liquid. This prevents splattering when frying and helps the coating stick better.
-
Prep Frying Station: Heat about 2 inches of canola oil in a heavy-bottomed pot over medium heat until it reaches 325-350°F. Use a thermometer for accuracy to ensure the perfect fry.
-
Dredging Process: On separate plates, place flour and panko breadcrumbs. In a small bowl, whisk an egg until smooth. This station is where our olives get their delightful coating!
-
Coat Olives: Dredge the drained olives in flour first, then dip them in the egg, and finally roll them in breadcrumbs until they are fully coated. This creates a crispy outer layer when fried!
-
Fry Olives: In batches, carefully fry the coated olives until they turn golden brown, about 1 minute. Use a slotted spoon to remove them and transfer to a paper towel-lined plate to drain excess oil.
-
Serve: Allow the fried olives to cool slightly. Serve warm alongside the chilled garlic aioli for dipping, creating the ultimate flavor experience!
Optional: Garnish your presentation with fresh herbs for a pop of color.
Exact quantities are listed in the recipe card below.
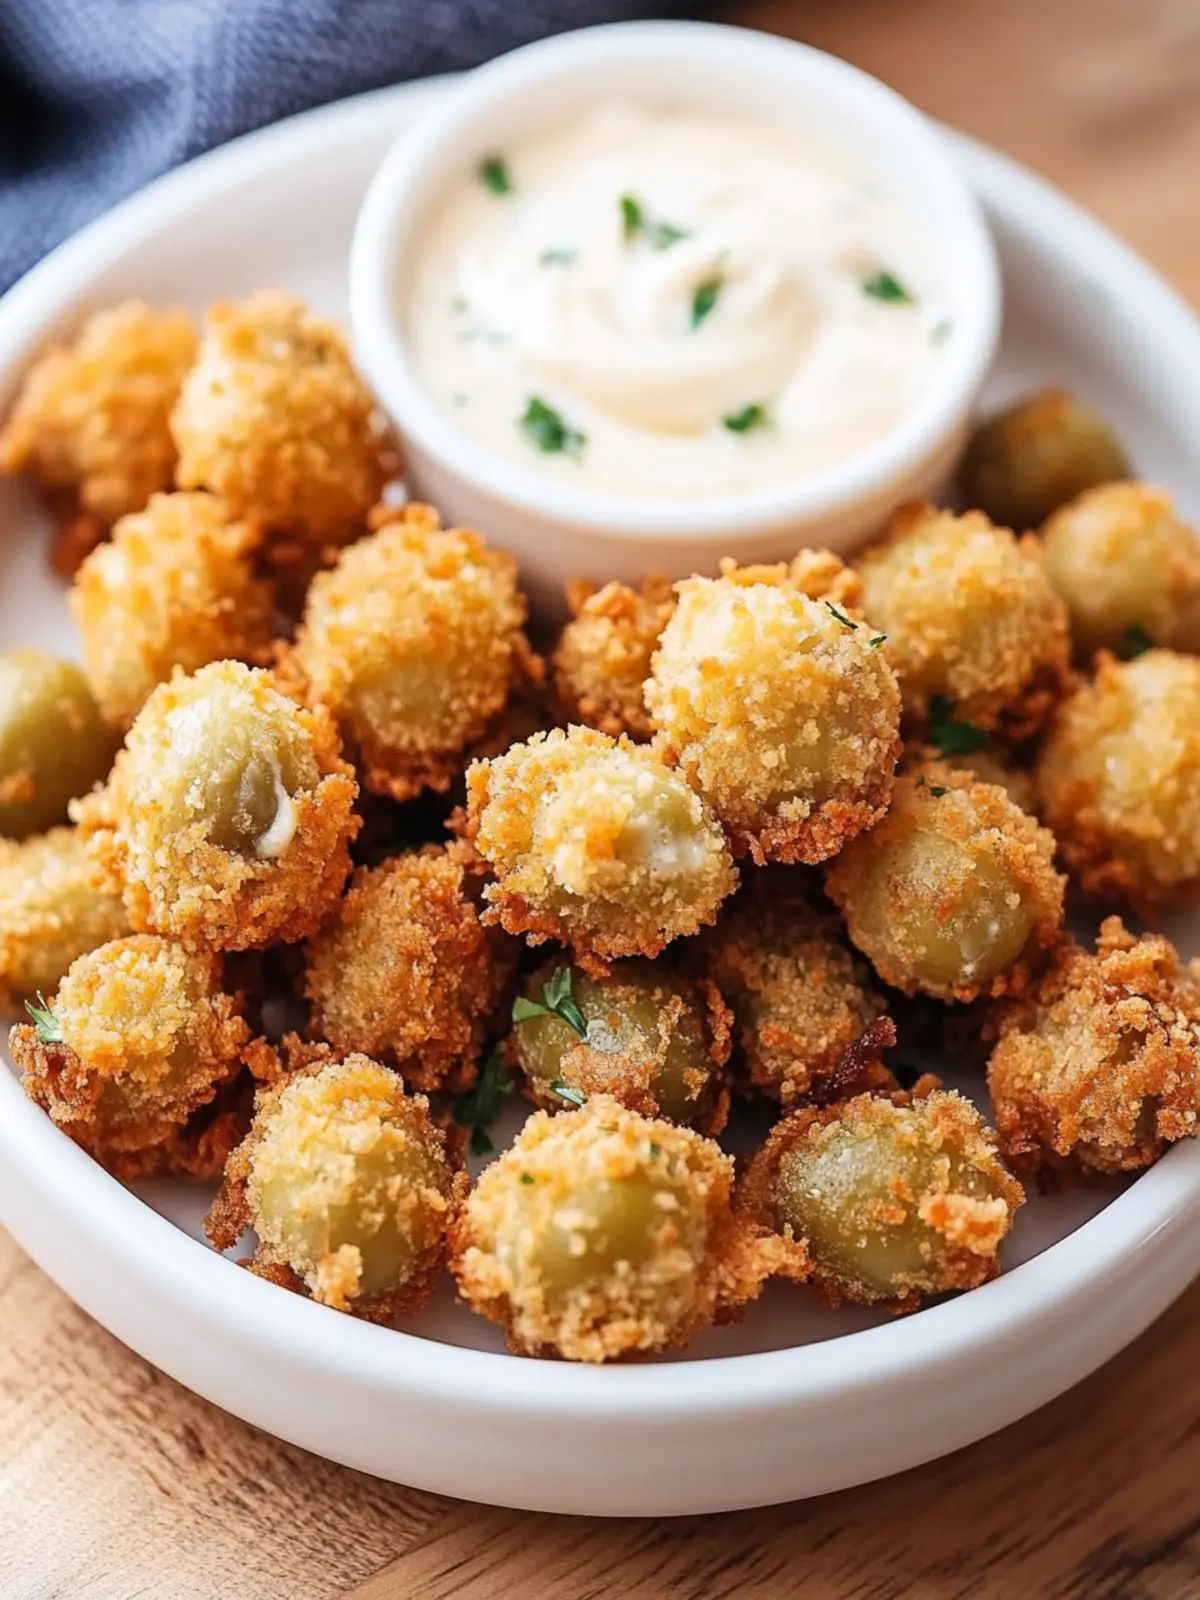
Storage Tips for Fried Olives with Garlic Aioli
- Fridge: Store leftover fried olives in an airtight container for up to 3 days. Make sure they’re completely cool before sealing to avoid condensation.
- Freezer: For longer storage, freeze fried olives in a single layer on a baking sheet, then transfer to a freezer-safe bag. They’ll last up to 2 months.
- Reheating: To restore crunch, reheat frozen olives in the oven at 375°F for about 10-15 minutes or until heated through. Avoid using a microwave, as it may make them soggy.
- Serving Tip: Pair reheated fried olives with freshly made garlic aioli for a deliciously warm appetizer that feels just made!
Fried Olives with Garlic Aioli Variations
Feel free to let your creativity shine by customizing this delicious recipe to suit your taste and dietary needs.
-
Cheese-Stuffed Olives: Swap regular olives for cheese-stuffed ones for an indulgent twist. The creamy filling adds another layer of flavor!
-
Gluten-Free: Use gluten-free breadcrumbs and flour to ensure everyone can enjoy these crispy delights without worry. It’s a simple swap that keeps the crunch intact.
-
Spicy Kick: Add a pinch of cayenne pepper or red pepper flakes to the breadcrumbs for a delightful heat that tantalizes the taste buds. It’ll make your fried olives pop!
-
Herbed Aioli: Mix in fresh herbs like dill or parsley into your garlic aioli for an earthy freshness that elevates the overall taste. Experiment with different herbs to find your perfect combination.
-
Mediterranean Twist: Incorporate some chopped sun-dried tomatoes or kalamata olives in the aioli for a Mediterranean flair that adds a burst of tangy flavor. Perfect for impressing your guests!
-
Batter Variation: Try using a tempura batter instead of the traditional coating for an airy, light crunch that beautifully contrasts the filled olives. Your guests will love this new texture!
-
Baked Olives: For a lighter option, bake the olives instead of frying them. Spray with cooking oil and bake until golden for guilt-free indulgence that still delivers on flavor.
-
Nut Crust: Substitute breadcrumbs with crushed nuts (like almonds or pistachios) for a crunchy, wholesome alternative. It adds a unique richness that pairs beautifully with the olives.
Make Ahead Options
These crispy Fried Olives with Garlic Aioli are perfect for meal prep enthusiasts! You can prepare the garlic aioli up to 24 hours in advance by combining the mayonnaise, lemon juice, minced garlic, salt, and pepper, then refrigerating it to enhance the flavors. The olives can also be coated in flour and breadcrumbs up to 3 days ahead of time; just refrigerate them in an airtight container to maintain their crunch. When you’re ready to serve, simply heat the oil and fry the coated olives for about 1 minute until golden brown. This way, you’ll have delicious finger foods with minimal effort, just as delightful as freshly prepared!
Expert Tips for Fried Olives with Garlic Aioli
- Pitted Olives Only: Always use pitted olives to avoid any choking hazards and enjoy your snacks worry-free.
- Temperature Check: Keep a close eye on the oil temperature; too hot can burn the olives, while too cool may result in greasy bites.
- Even Coating: For that perfect crunch, make sure the olives are evenly coated with flour, egg, and breadcrumbs—don’t skimp on any step!
- Batch Frying: Fry in small batches for better temperature control and to ensure all olives are evenly cooked and crispy.
- Reheat Wisely: Leftover fried olives can be revived in an oven or air fryer to regain their crunchiness; avoid microwaving them.
What to Serve with Fried Olives with Garlic Aioli?
Ready to elevate your appetizer game? The crispy texture of fried olives, alongside the creamy garlic aioli, can create a symphony of flavors.
- Fresh Salad: A bright, crisp greens salad adds a refreshing contrast to the rich flavors of the fried olives, balancing each bite beautifully.
- Cheese Platter: Pair with an assortment of cheeses, such as sharp cheddar or creamy brie, for a delightful mix of textures and flavors.
- Rustic Bread: Serve with warm, crusty bread, perfect for dipping in aioli, enhancing the homemade comfort of your meal.
- Roasted Vegetables: A medley of roasted seasonal vegetables complements the olives with earthy flavors, creating a satisfying and wholesome experience.
- Chilled White Wine: A glass of crisp white wine, like Sauvignon Blanc, cuts through the richness and enhances the overall flavor profile.
- Charcuterie Board: Add your fried olives to a charcuterie board filled with cured meats, fruits, and nuts for a visually stunning and delicious spread.
- Spicy Hummus: Serve with a side of zesty hummus for an inviting dip that provides a delightful mix of tastes and a hint of spice.
These delightful pairings will not only complement your fried olives with garlic aioli but will also create a memorable dining experience that keeps your guests coming back for more!
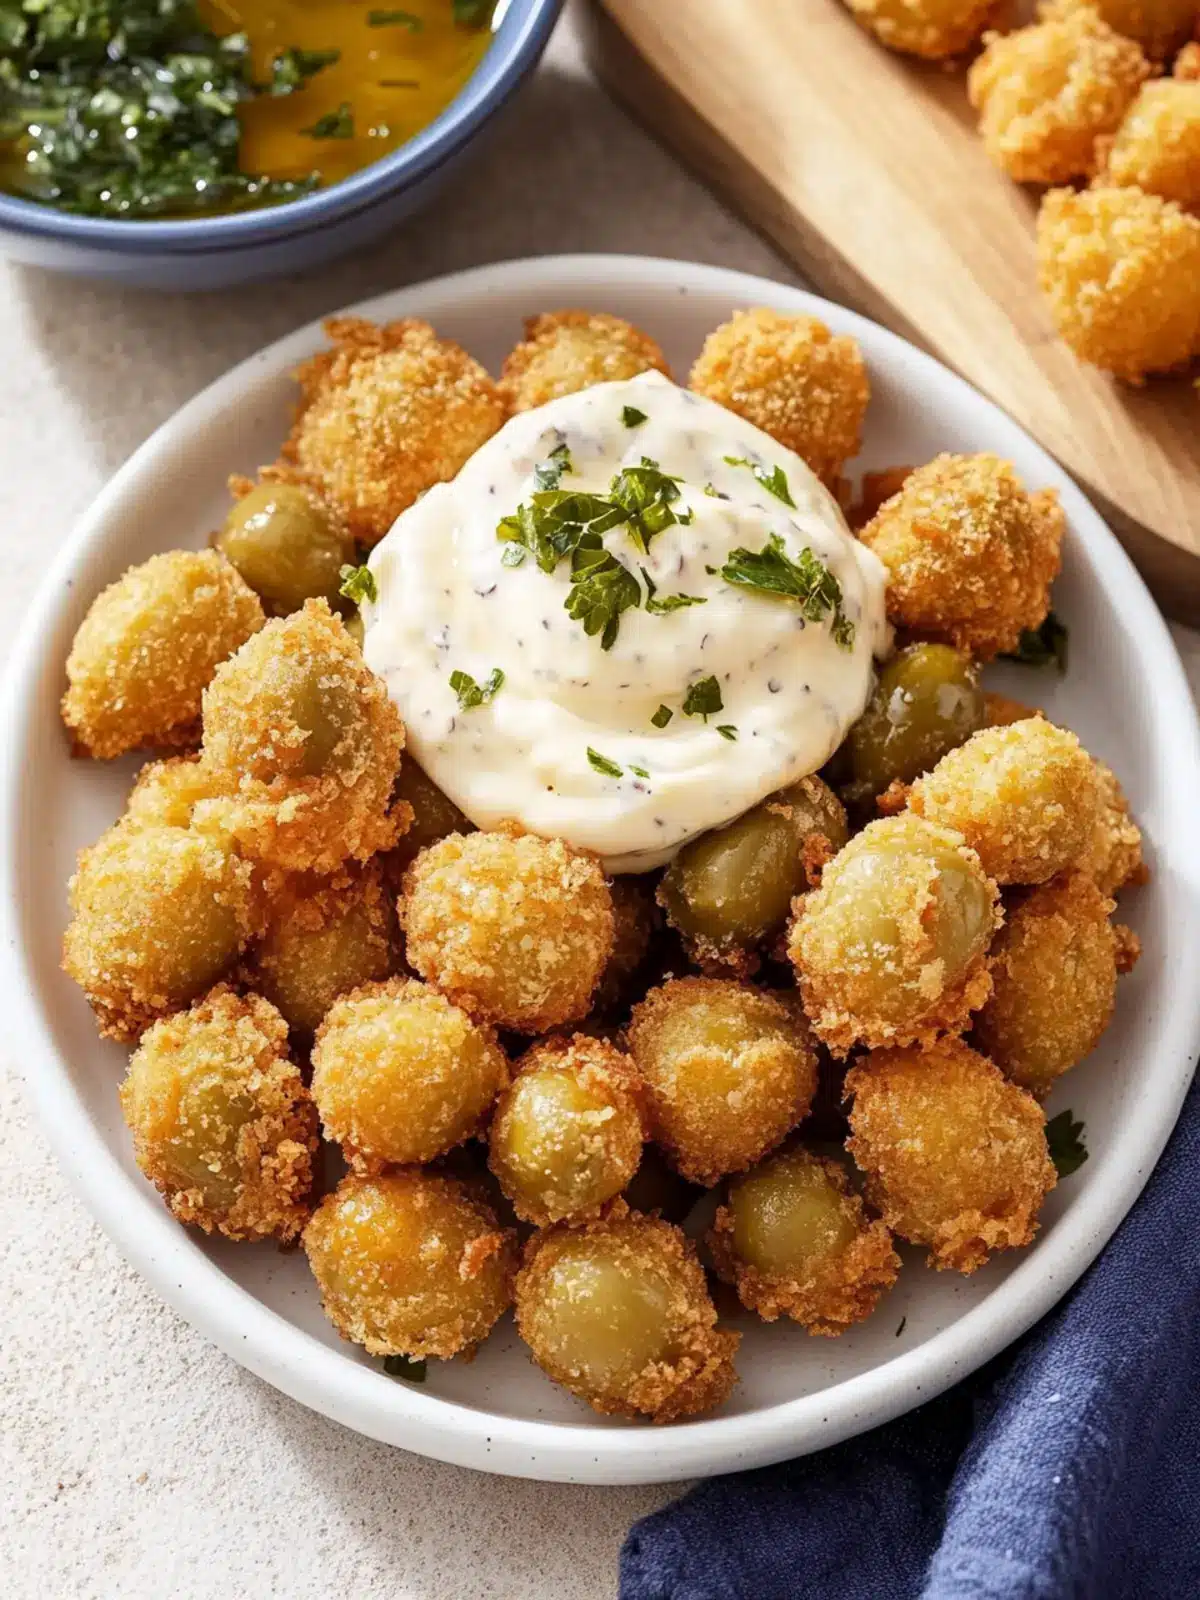
Fried Olives with Garlic Aioli Recipe FAQs
What type of olives should I use?
I recommend using small pimento-stuffed olives for the best flavor and texture. Make sure they are pitted to prevent any hazards while frying. Look for ones that are firm and free from dark spots to ensure the best taste!
How should I store leftover fried olives?
Leftover fried olives can be stored in an airtight container in the refrigerator for up to 3 days. To maintain their crispiness, ensure they are completely cooled before sealing the container. Always reheat in an oven or air fryer for the best texture!
Can I freeze fried olives?
Absolutely! To freeze fried olives, lay them in a single layer on a baking sheet to flash freeze, which helps prevent sticking. Once frozen, transfer them to a freezer-safe bag or container. They can be kept for up to 2 months. When ready to eat, reheat in the oven at 375°F for about 10-15 minutes until heated through and crispy!
How do I ensure even frying and prevent mess?
To fry effectively and avoid mess, heat the oil to 325-350°F before adding olives. Use a thermometer for accuracy, and fry in small batches. This helps maintain oil temperature and ensures your delicious fried olives don’t become greasy!
What’s the best way to adjust this recipe for dietary needs?
This recipe is easily adaptable! For a gluten-free option, substitute regular breadcrumbs with gluten-free panko and use gluten-free flour. If you’re looking for a vegan version, replace the egg with a flax egg (1 tablespoon of ground flaxseed mixed with 2.5 tablespoons of water) for a similar binding effect. Enjoy the crispy goodness while staying true to your dietary preferences!
Can pets have fried olives?
It’s best to keep fried olives away from pets. Olives themselves aren’t toxic to dogs, but the high salt and oil are not healthy for them. Always prioritize your pet’s safety and stick to dog-friendly treats instead!
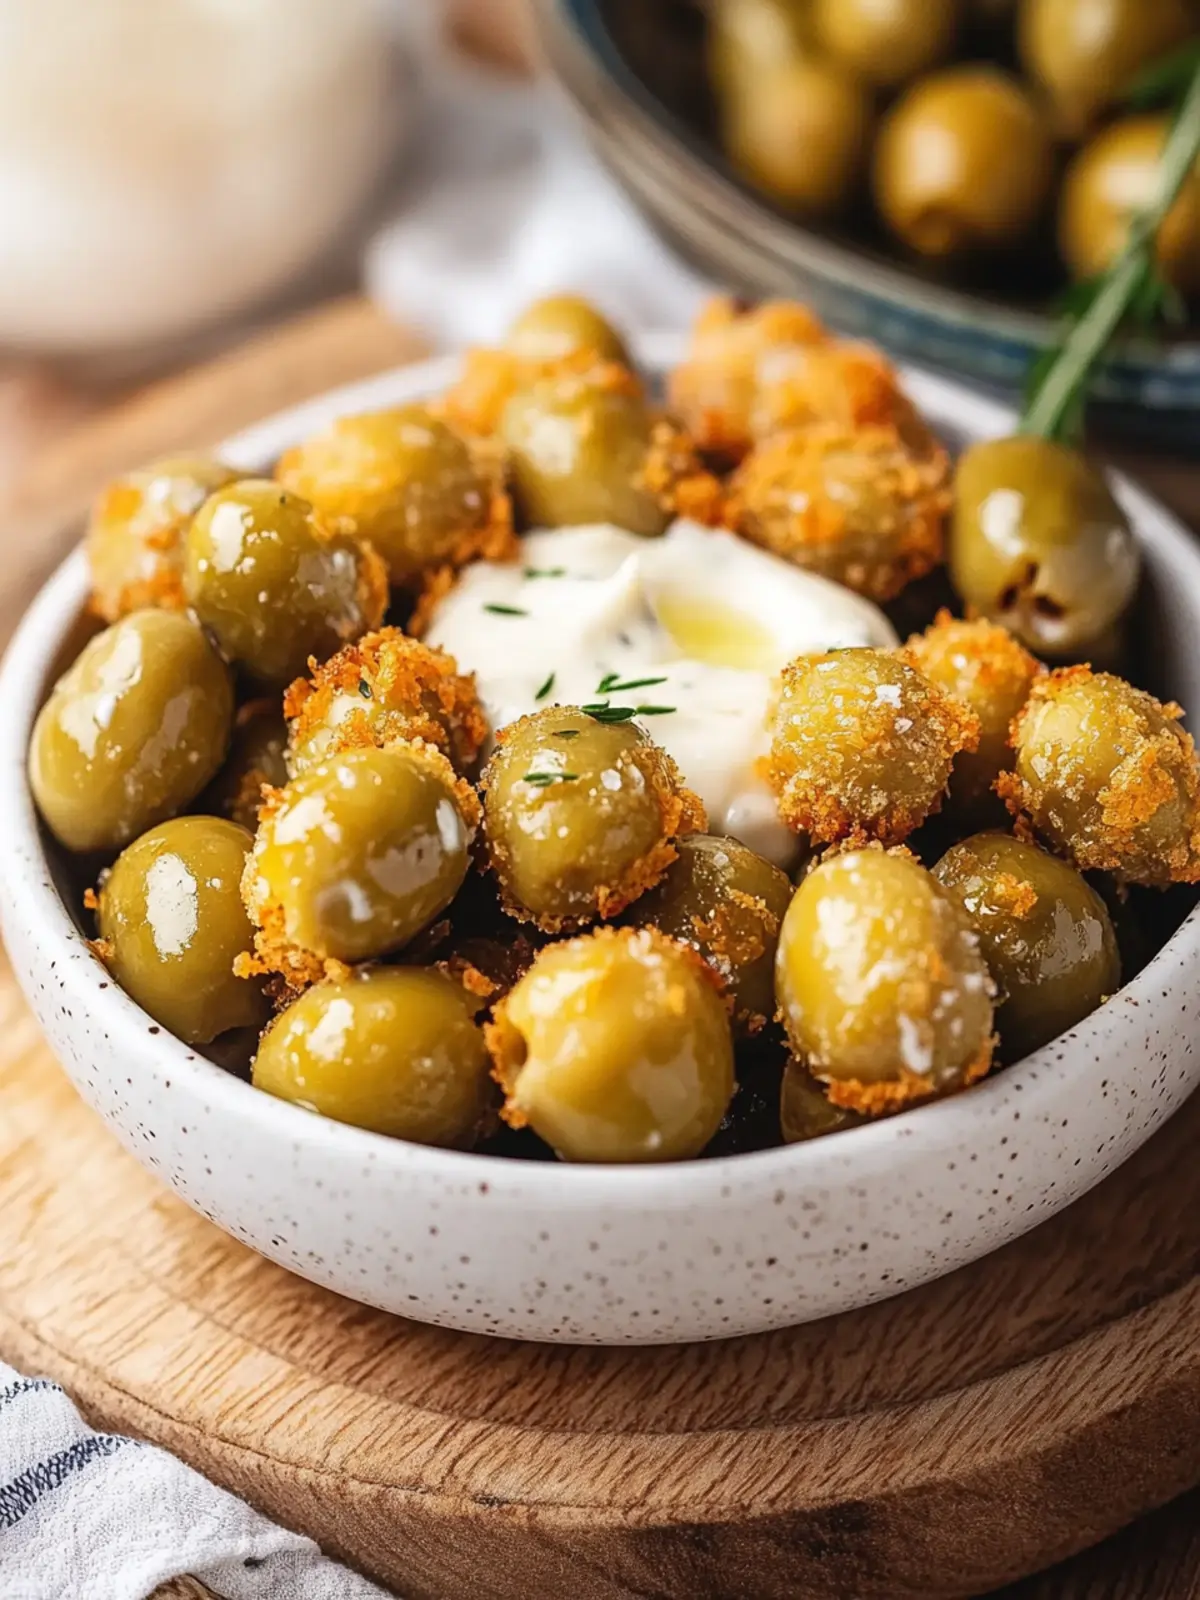
Fried Olives with Garlic Aioli: A Flavor-Packed Delight
Ingredients
Equipment
Method
- In a small mixing bowl, whisk together mayonnaise, lemon juice, minced garlic, salt, and pepper. Cover and refrigerate to chill.
- Place the small pimento-stuffed olives in a strainer to drain excess liquid.
- Heat about 2 inches of canola oil in a heavy-bottomed pot over medium heat until it reaches 325-350°F.
- On separate plates, place flour and panko breadcrumbs. In a small bowl, whisk an egg until smooth.
- Dredge the drained olives in flour first, dip in egg, then roll in breadcrumbs until fully coated.
- In batches, fry coated olives until golden brown, about 1 minute. Use a slotted spoon to remove and drain excess oil on paper towels.
- Serve warm alongside the chilled garlic aioli for dipping.