
There’s something truly delightful about the vibrant layers of Rainbow Jello, a dessert that brings out the child in all of us. I recently found myself daydreaming about summer picnics and birthday parties where this multicolored masterpiece was the star of the table. With its array of fruity flavors and stunning hues, each slice offers a burst of sweetness that dances on the palate and invokes laughter and joy.
What I love the most is how easy it is to whip up. You can customize the flavors to match any occasion or even accommodate dietary needs with sugar-free options. Whether it’s a gathering with friends or a simple family dinner, this colorful dessert transforms any moment into a celebration. So grab your favorite Jello flavors, and let’s create a dessert that not only tastes amazing but also adds a splash of color and fun to your table!
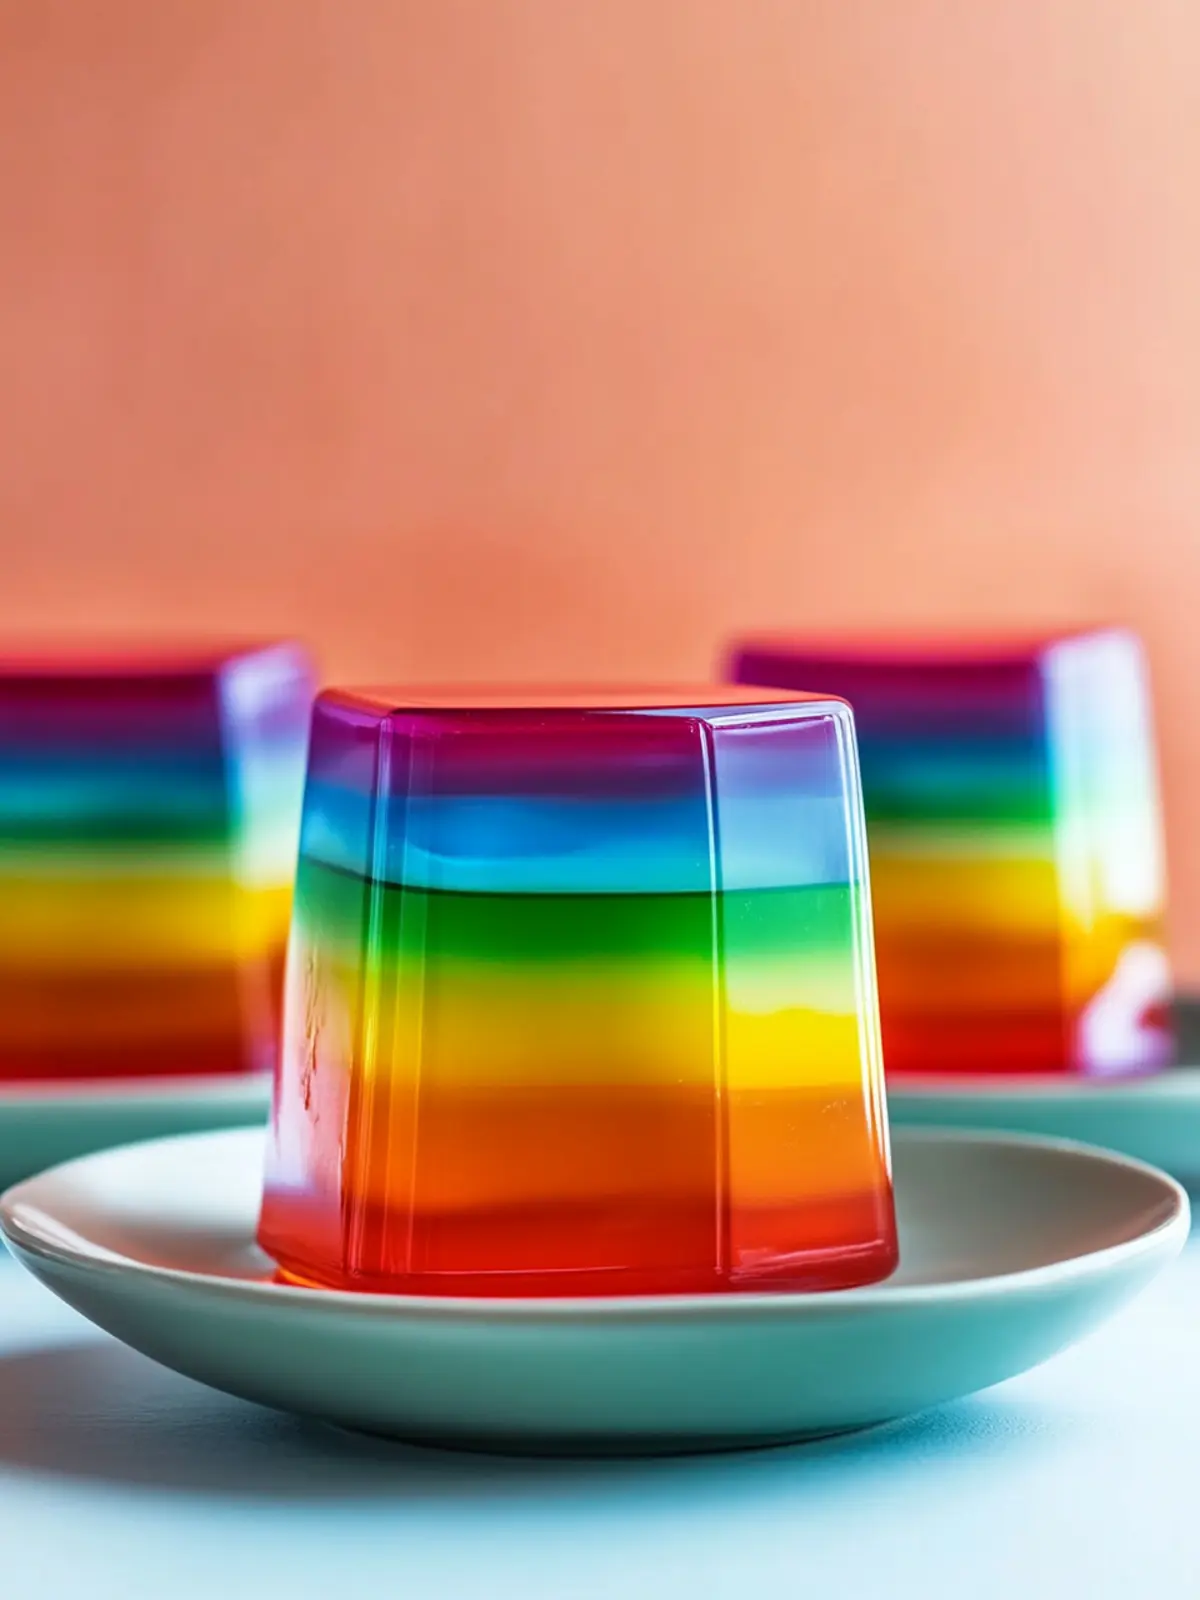
Why is Layered Rainbow Jello a Must-Try?
Vibrant colors: Each layer of this Layered Rainbow Jello pops with color, making it visually stunning and perfect for any event.
Easy to prepare: With straightforward steps, even novice cooks can create this delightful dessert quickly.
Kid-friendly: The fruity flavors and fun appearance make it a hit among children and adults alike, sparking joy at gatherings.
Customizable options: You can tailor the flavors and ingredients, including sugar-free alternatives, to suit your guests’ preferences.
A nostalgic treat: This dessert evokes cherished childhood memories, bringing back the joy of summer picnics and birthday parties.
Add extra flair when you serve it with whipped cream for an unforgettable dessert experience!
Layered Rainbow Jello Ingredients
• Create this stunning dessert with ease!
For the Jello Layers
- Jello Flavors – 6 packages of various Jello flavors, such as Berry Blue, Lime, Lemon, Orange, Grape, and Raspberry, add vibrant colors and fruity bursts for your Layered Rainbow Jello.
- Unflavored Gelatin – 5.5 envelopes, essential for stabilizing the layers, ensuring a smooth and cohesive texture.
For the Creamy Layer
- Sweetened Condensed Milk – 1.5 cans; this rich ingredient brings a creamy contrast to the fruity layers—opt for alternatives for a lighter version.
- Water – 8.5 cups, needed to dissolve both the Jello and gelatin; using cold water can help speed up the setting process.
How to Make Layered Rainbow Jello
-
Boil Water: Start by boiling 4 cups of water in a pot. Once it’s bubbling, you’ll use this water to prepare your Jello flavors, ensuring a vibrant and delightful result.
-
Prepare Jello Flavors: In separate bowls, mix each of your 6 Jello packages with 1 cup of the boiling water. Stir well until fully dissolved, then set aside to cool for a few minutes.
-
Dissolve Gelatin: In a new bowl, combine 2.5 cups of hot water with 5.5 envelopes of unflavored gelatin. Stir until completely dissolved, then allow it to cool slightly before moving to the next step.
-
Make Creamy Layer: In a mixing bowl, whisk together 1.5 cans of sweetened condensed milk with 2 cups of cold water until smooth. This creamy layer beautifully complements the fruity colors.
-
Layer Dessert: Grab a large glass dish and pour in your first prepared layer of Jello. Set it in the refrigerator for about 2-4 hours, or until it’s fully set. Repeat this process by adding the creamy layer followed by another Jello layer, ensuring to cool and set each layer before adding the next.
-
Chill and Serve: Once all layers are set and the dessert is firm, remove it from the fridge. Slice into squares or use a scoop to serve, presenting the stunning layers to your guests.
Optional: Garnish with fresh mint leaves before serving for an extra pop of color and flavor!
Exact quantities are listed in the recipe card below.
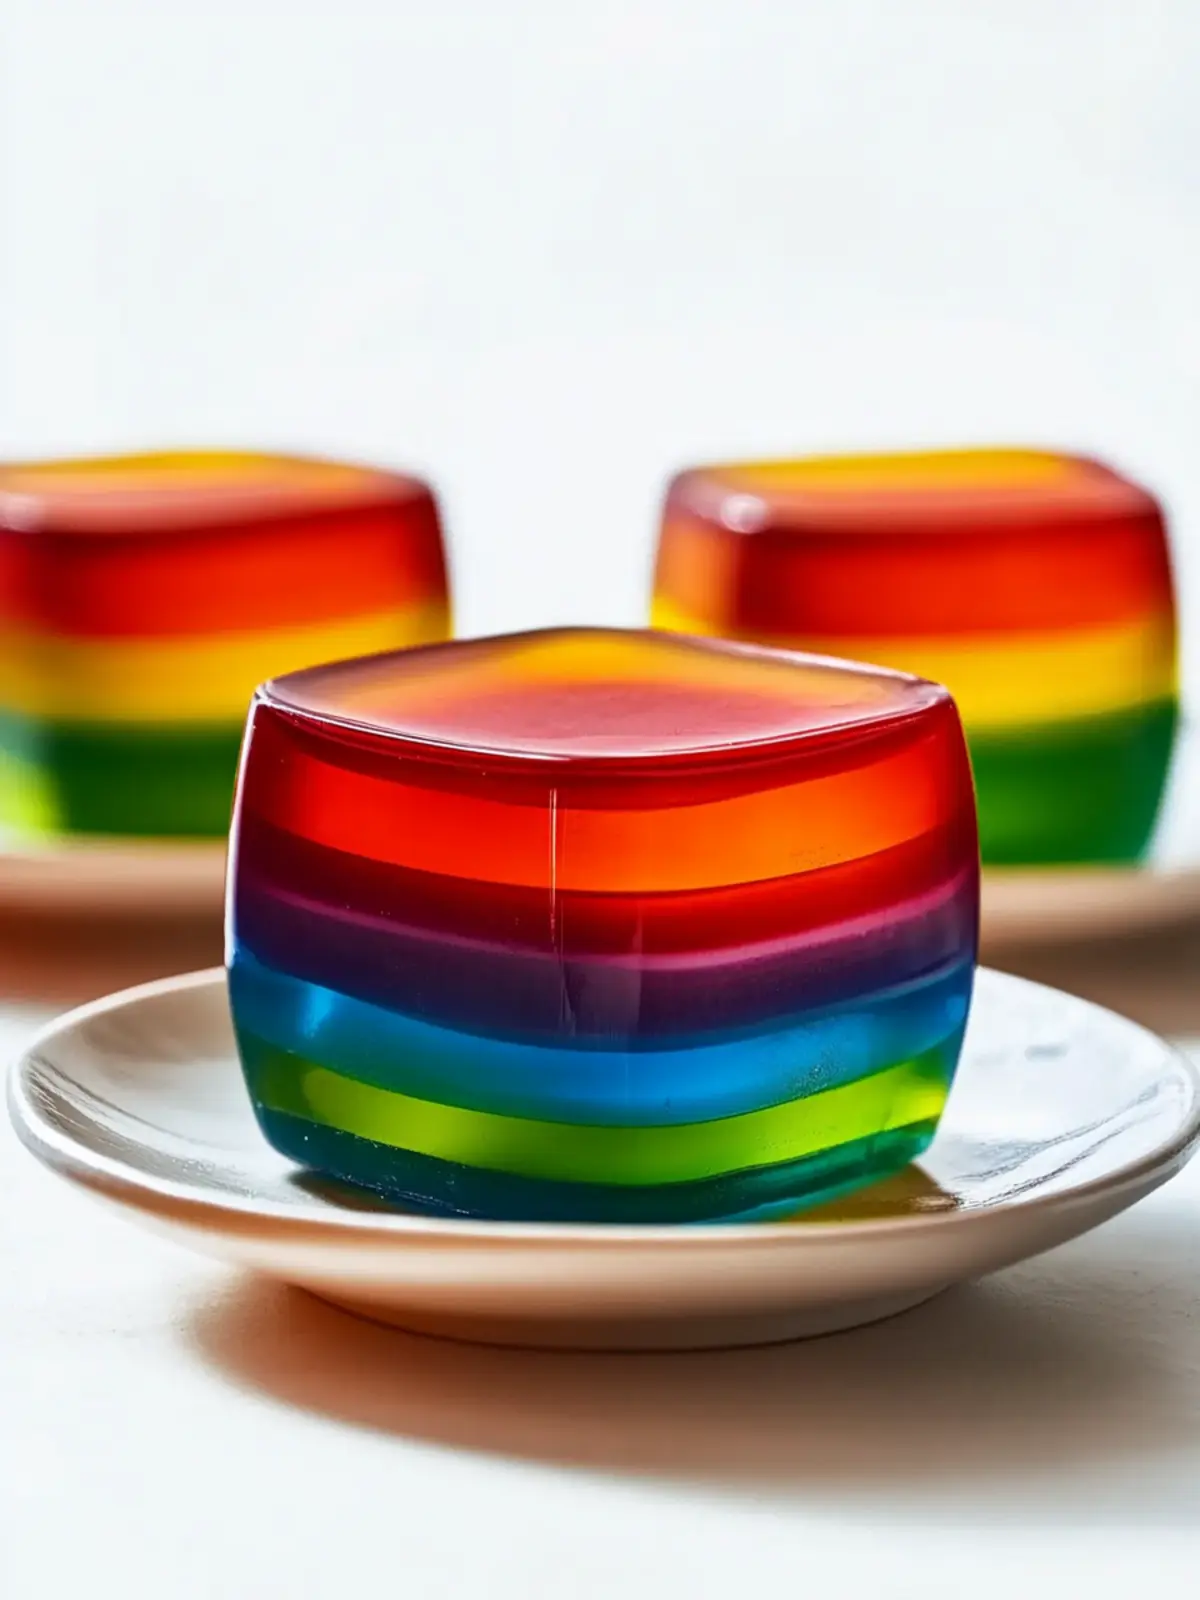
What to Serve with Layered Rainbow Jello?
Elevate your dessert experience with delicious pairings that enhance the joy of this colorful treat!
- Whipped Cream: A dollop of light and airy whipped cream adds a luscious texture, perfectly balancing the sweetness of the jello.
- Fresh Fruit Salad: Bright, juicy fruits freshen up each bite, and their natural sweetness complements the vibrant layers beautifully.
- Chocolate Sauce: Drizzle a bit of rich chocolate sauce for a delightful contrast; it adds a touch of decadence that kids and adults will love.
- Mint Leaves: Garnish with fresh mint for that extra pop of color and a refreshing taste that enhances the overall presentation.
- Creamy Vanilla Ice Cream: Serve it alongside a scoop of vanilla ice cream; the creaminess is a wonderful match for the fruity jello layers.
- Sparkling Water: A glass of chilled sparkling water or lemonade brightens up the dining experience, offering a refreshing sip between bites.
- Cupcakes: Colorful vanilla or lemon cupcakes create a fun, festive appeal, turning any gathering into a delightful celebration.
- Cheese Platter: For a savory twist, pair with a selection of cheeses that provide a savory contrast to the sweet jello.
- Chocolate-Covered Strawberries: Indulge in chocolate-covered strawberries; their sweetness and elegance make every serving feel special.
Make Ahead Options
These delightful Layered Rainbow Jello are perfect for meal prep and will save you time on busy days! You can prepare the individual Jello layers up to 24 hours in advance; simply follow the instructions to make each layer and refrigerate them separately until set. The creamy layer can also be made ahead and stored in the fridge for up to 3 days. To maintain the quality, ensure each layer is fully set before adding the next, preventing any mixing of colors. When it’s time to serve, assemble your layers into a large dish, and chill until firm. Your guests will enjoy a stunning dessert that tastes just as delightful, with minimal effort required on the day of your gathering!
How to Store and Freeze Layered Rainbow Jello
Fridge: Store your Layered Rainbow Jello in an airtight container for up to 5 days to maintain its freshness and texture.
Freezer: Freeze sliced portions of the Jello for up to 2 months. Wrap each piece tightly in plastic wrap and then place in a freezer-safe container.
Thawing: To enjoy frozen slices, thaw them overnight in the fridge before serving for the best texture and taste.
Shelf Life Tip: Always check for any signs of spoilage before serving if stored for extended periods, especially if you haven’t used airtight packaging.
Expert Tips for Layered Rainbow Jello
-
Set Layers Properly: Ensure each layer of your Layered Rainbow Jello is completely set before adding the next. This will keep your colors distinct and beautiful.
-
Use Cold Water: When preparing Jello, using cold water speeds up the setting process. It’s a simple trick to minimize waiting time!
-
Monitor Temperature: If your layers begin blending together, it indicates they weren’t set long enough. Ensure proper cooling between layers by checking the consistency.
-
Creative Garnishes: Top your Jello with fresh mint leaves or berries for a refreshing touch. It not only enhances flavor but adds to the presentation!
-
Consider Sugar-Free Options: Don’t hesitate to mix in sugar-free Jello and alternatives for the creamy layer. It’s a great way to cater to different dietary needs without sacrificing taste!
Layered Rainbow Jello Variations
Feel free to play around with this dazzling dessert to make it your own and delight your guests even more!
- Sugar-Free Version: Swap regular Jello and condensed milk for sugar-free alternatives to create a guilt-free indulgence.
- Fruit-Infused: Add your favorite fruit juice to the creamy layer for a fresh burst of flavor that will elevate the sweetness.
- Coconut Twist: Replace sweetened condensed milk with coconut cream for a tropical delight that will whisk you away to the tropics.
- Fruit Layering: Introduce fresh fruits like sliced strawberries or blueberries between the Jello layers for a refreshing texture and added nutrients. Imagine crunchy bites nestled among the vibrant layers!
- Vegan Delight: Use plant-based gelatin and coconut milk instead of the traditional ingredients to whip up a vegan-friendly version everyone will enjoy.
- Flavored Cream: Experiment with flavored yogurts instead of sweetened condensed milk to add a tangy twist while keeping the creamy consistency.
- Matcha Layer: Add a layer of matcha or green tea gelatin for a unique flavor and a delightful green surprise within the rainbow.
- Chocolate Drizzle: For those who adore chocolate, drizzle some melted chocolate over each serving for an elegant touch that pairs beautifully with fruity flavors.
Let your culinary creativity shine through as you explore these variations!
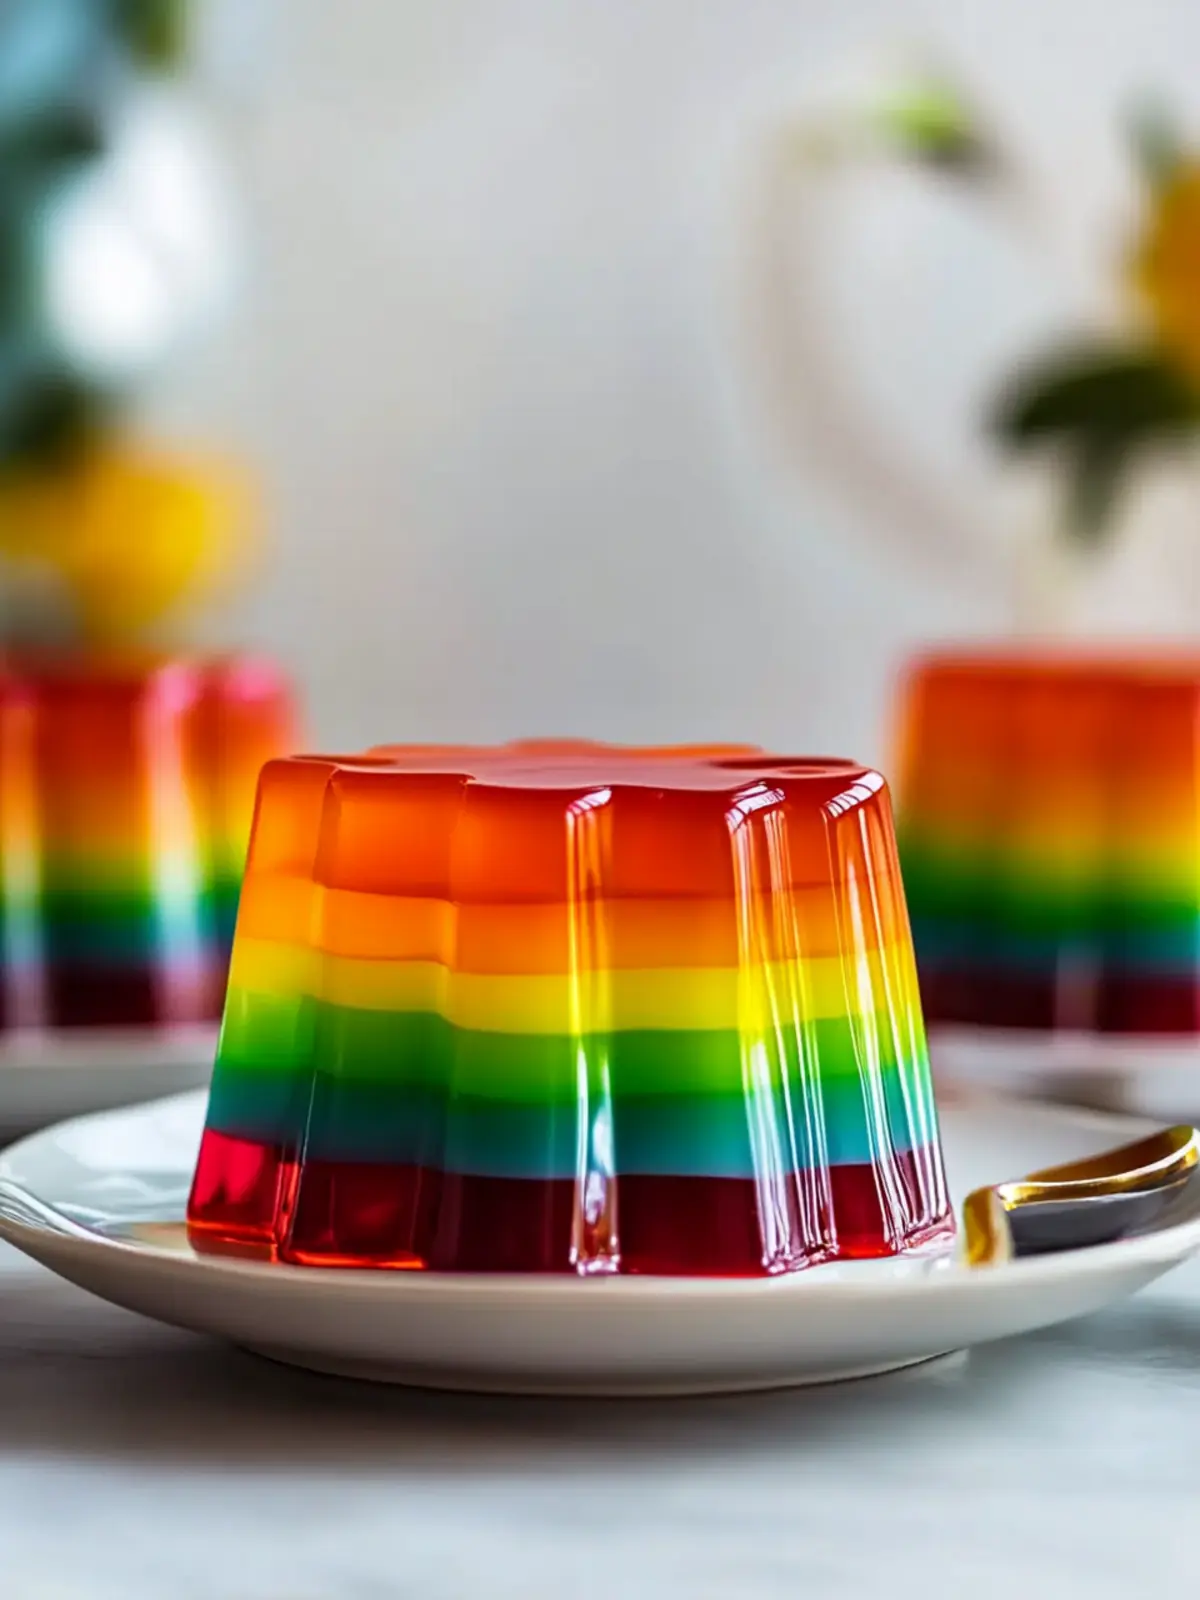
Layered Rainbow Jello Recipe FAQs
What type of Jello flavors work best for Layered Rainbow Jello?
Absolutely! I recommend using a variety of vibrant Jello flavors to create a stunning rainbow effect. Classics like Berry Blue, Lime, Lemon, Orange, Grape, and Raspberry not only provide eye-catching colors but also distinct fruity flavors. Feel free to mix and match based on your preferences!
How should I store my Layered Rainbow Jello once it’s made?
To keep your delicious Layered Rainbow Jello fresh, store it in an airtight container in the refrigerator for up to 5 days. This method will help maintain its delightful texture and prevent it from absorbing any unwanted odors from the fridge.
Can I freeze Layered Rainbow Jello? If so, how?
Very! You can freeze sliced portions of Layered Rainbow Jello for up to 2 months. Here’s how: Wrap each slice tightly in plastic wrap to avoid freezer burn, then place them in a freezer-safe container. When you’re ready to enjoy, simply thaw the slices overnight in the refrigerator.
What should I do if the layers of my Jello start to blend together?
If your layers are blending, it usually means they weren’t set long enough. Ensure each layer is completely firm before adding the next. After pouring a layer, allow it to set in the refrigerator for 2-4 hours—or even longer if needed—until it feels solid to the touch. If you’re unsure, you can let it chill for a little longer to avoid unwanted mixing.
Are there any dietary considerations with Layered Rainbow Jello?
Absolutely! If you or your guests have dietary restrictions, consider using sugar-free Jello and alternatives for the creamy layer, like coconut milk instead of sweetened condensed milk. Additionally, for a vegan version, you can substitute the gelatin with plant-based options. Always double-check ingredient labels to ensure everything fits dietary needs!
How long does homemade Layered Rainbow Jello last in the fridge?
Homemade Layered Rainbow Jello will generally last for about 5 days in the fridge when stored properly. Just make sure to keep it in an airtight container to maintain its freshness, and enjoy this delightful dessert within this timeframe for the best flavor and texture!
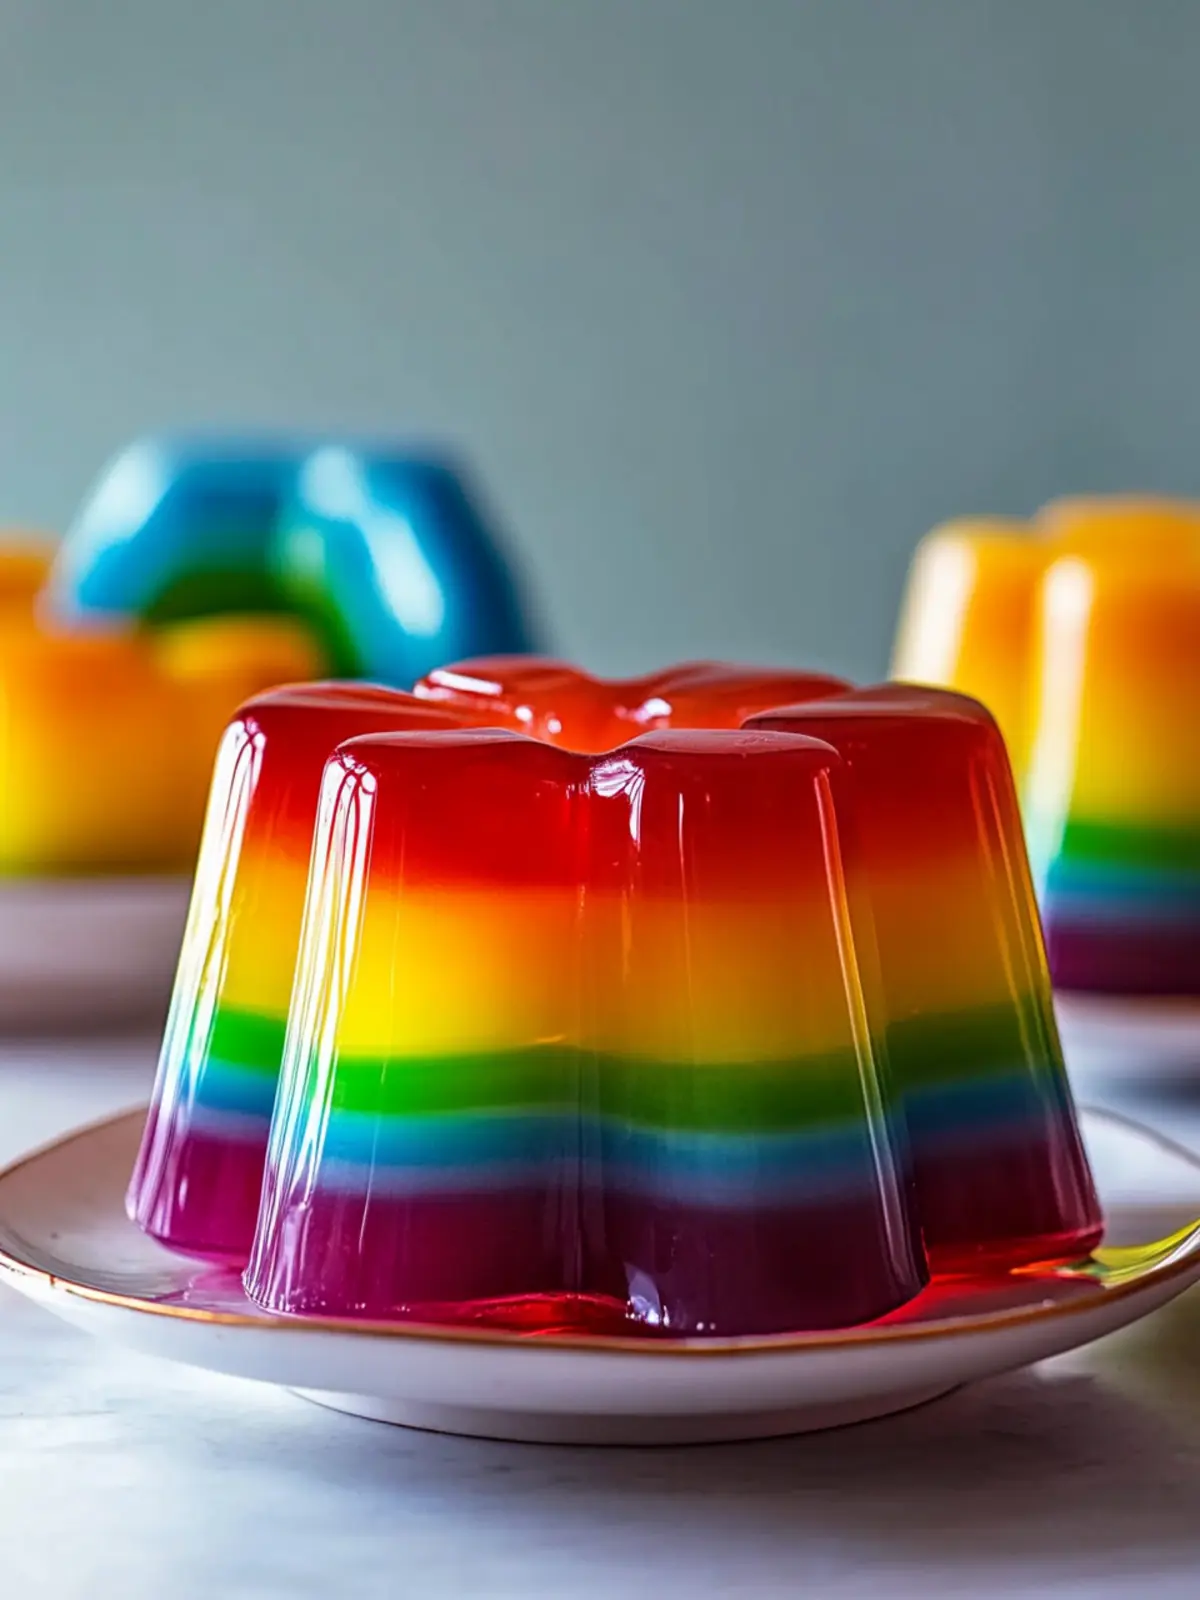
Delightful Layered Rainbow Jello: Easy Nostalgic Treat
Ingredients
Equipment
Method
- Start by boiling 4 cups of water in a pot. Once it’s bubbling, you’ll use this water to prepare your Jello flavors.
- In separate bowls, mix each of your 6 Jello packages with 1 cup of the boiling water. Stir well until fully dissolved, then set aside to cool for a few minutes.
- In a new bowl, combine 2.5 cups of hot water with 5.5 envelopes of unflavored gelatin. Stir until completely dissolved, then allow it to cool slightly before moving to the next step.
- In a mixing bowl, whisk together 1.5 cans of sweetened condensed milk with 2 cups of cold water until smooth.
- Grab a large glass dish and pour in your first prepared layer of Jello. Set it in the refrigerator for about 2-4 hours, or until it’s fully set. Repeat this process by adding the creamy layer followed by another Jello layer.
- Once all layers are set and the dessert is firm, remove it from the fridge. Slice into squares or use a scoop to serve, presenting the stunning layers to your guests.