
There’s a certain comfort that comes from the warm embrace of a hearty meal, especially one that pays homage to tradition. The moment I stumbled upon the recipe for Jewish Kasha Varnishkes, it was like rediscovering a family heirloom long tucked away in the corner of the kitchen. The rich aroma of toasted buckwheat mingling with the sizzling schmaltz brought memories of cozy family gatherings flooding back.
Perfect for those evenings when fast food just doesn’t cut it, this dish is a delightful mix of flavors and textures. Combining nutty kasha with delicate bow tie pasta and sweet sautéed onions creates a meal that is not only delicious but incredibly versatile. It whispers stories of my grandmother’s kitchen while inviting me to create my own culinary legacy. Whether you’re looking to impress at a dinner party or simply want something comforting on a weeknight, Jewish Kasha Varnishkes is the answer. Join me as we explore the simple steps to whip up this nourishing delight!
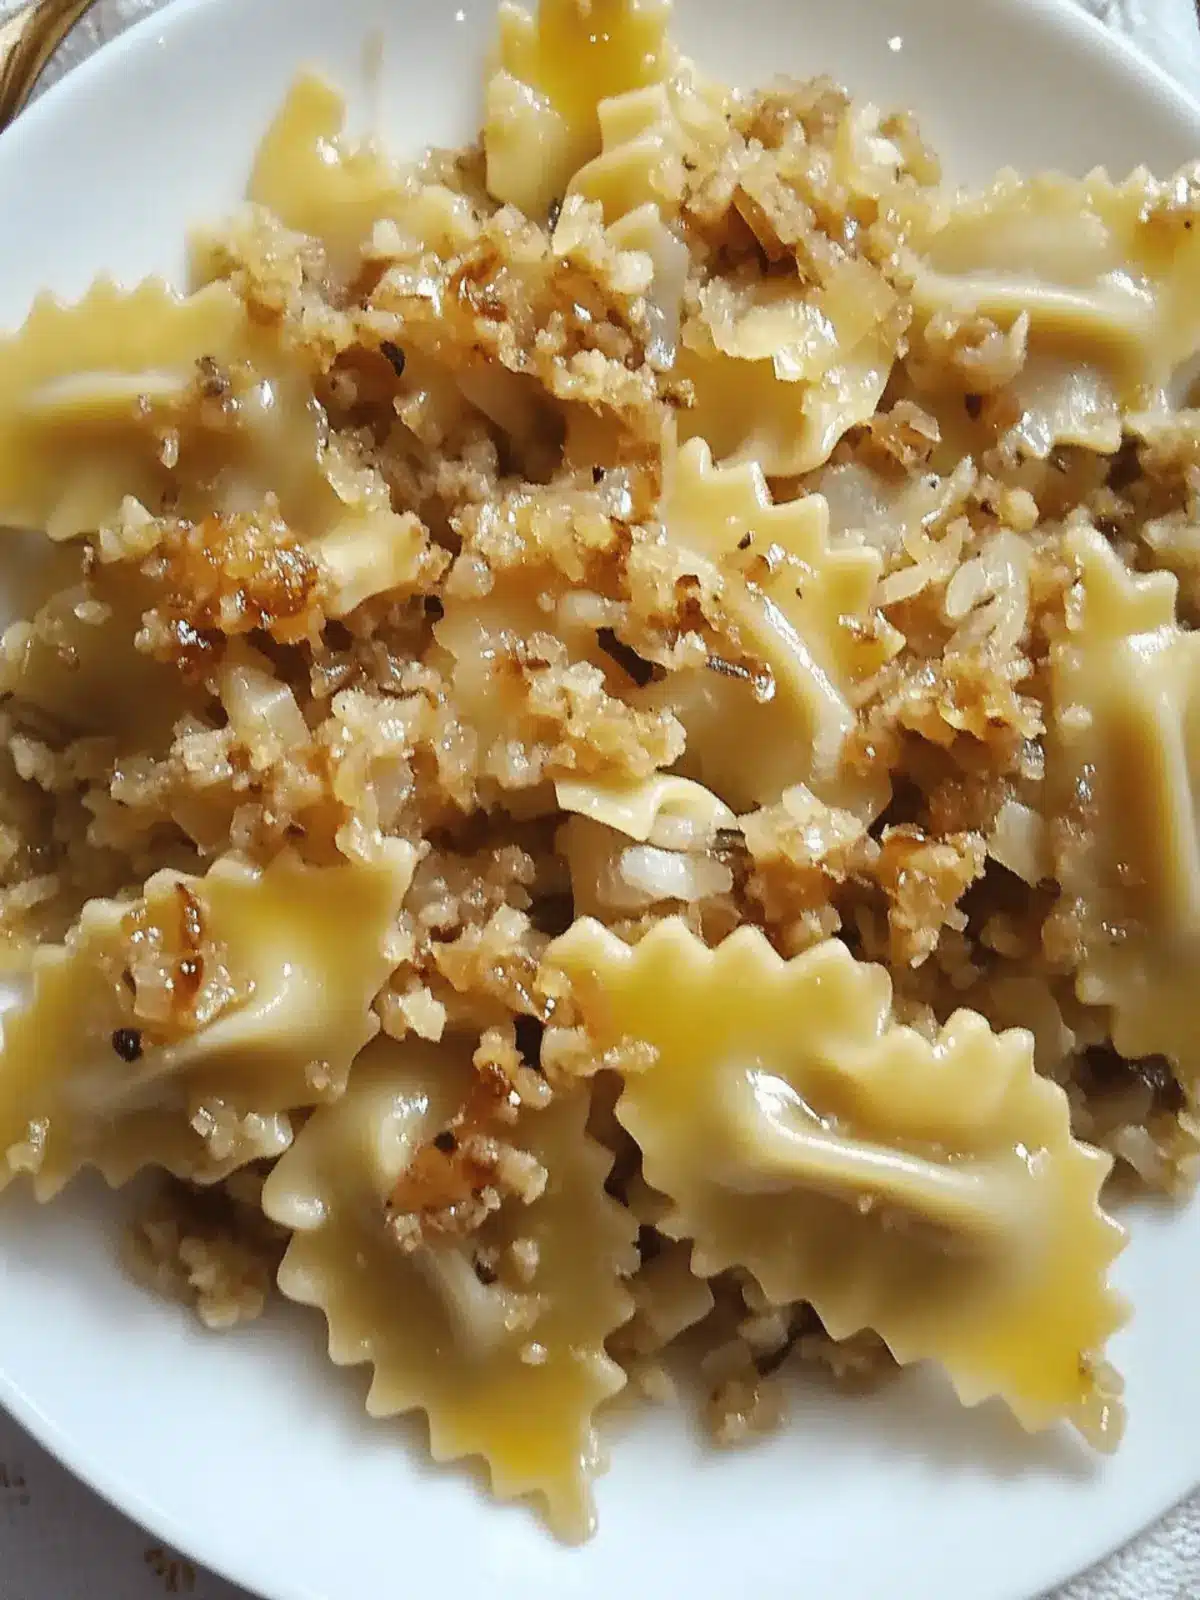
Why is Jewish Kasha Varnishkes so beloved?
Comforting warmth: This dish wraps you in nostalgia with every bite.
Flavor-packed ingredients: The combination of nutty kasha, tender bow tie pasta, and caramelized onions create an unforgettable taste.
Easy to make: Even novice cooks can master this recipe with minimal effort.
Versatile delight: Perfect as a side dish or a main course, it fits any dining occasion.
Crowd-pleaser: Your family and friends will be clamoring for seconds! Embrace the comfort and tradition of Jewish Kasha Varnishkes today, and for more delightful recipes, don’t forget to check out my easy family dinners.
Jewish Kasha Varnishkes Ingredients
For the Pasta
- Bow tie pasta – 4 ounces of uncooked pasta adds a fun shape and texture to the dish.
For the Kasha
- Kasha – 1 cup of toasted buckwheat groats gives a nutty flavor and a hearty texture classic to Jewish Kasha Varnishkes.
- Large egg – 1 egg, beaten lightly, helps bind the kasha together for a delightful heartiness.
For the Onions
- Schmaltz – 4 tablespoons lend a rich, comforting flavor; feel free to substitute with oil or margarine for a vegetarian version.
- Onions – 2 large, sliced into thin rounds, providing a sweet caramelized contrast to the nuttiness of the kasha.
For Cooking Liquid
- Chicken stock – 2 cups will elevate the dish’s flavor, or use salted water for a simpler alternative.
Seasonings
- Salt – To taste, ensures all the flavors pop beautifully.
- Freshly ground black pepper – To taste, adds a warm and aromatic kick to each bite.
How to Make Jewish Kasha Varnishkes
-
Heat schmaltz, oil, or margarine in a large pan over medium heat. This will create a flavorful base for our onions, inviting those delightful aromas to fill your kitchen.
-
Sauté the sliced onions until they are soft and golden brown, about 8-10 minutes. Their sweet, caramelized goodness is key to contrasting the nuttiness of the kasha.
-
Cook the bow tie pasta according to package instructions, using the chicken stock or salted water for extra flavor. Aim for al dente texture; it’ll help the pasta hold its shape when combined.
-
Toast the kasha: In a separate pot, combine the kasha and the beaten egg. Toast lightly over low heat for about 5 minutes until the grains are warm and aromatic.
-
Combine: Add the cooked bow tie pasta to the kasha mixture, gently stirring to incorporate. This harmonious union of flavors is what makes Jewish Kasha Varnishkes so special!
-
Season with salt and freshly ground black pepper to taste. This is where the flavors truly come alive, so taste and adjust to your preference before serving hot.
Optional: Garnish with fresh herbs for a pop of color and flavor.
Exact quantities are listed in the recipe card below.
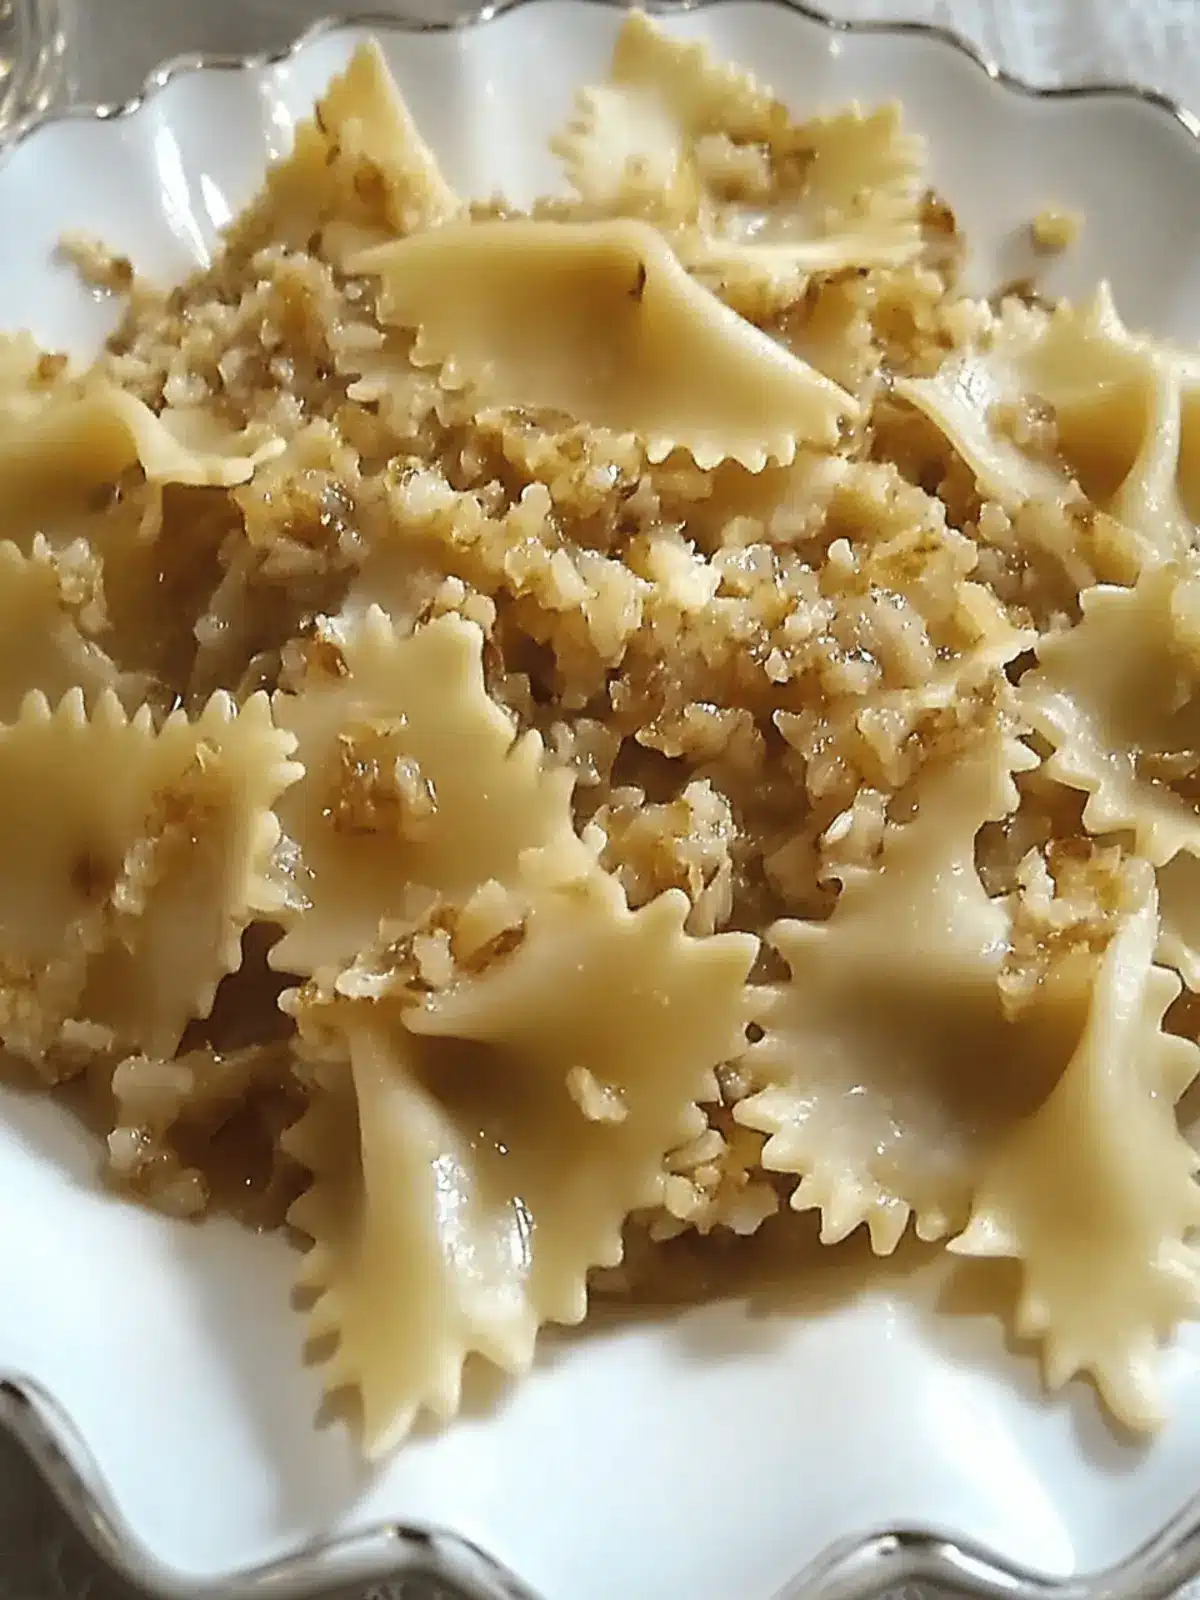
How to Store and Freeze Jewish Kasha Varnishkes
Fridge: Store your Jewish Kasha Varnishkes in an airtight container in the refrigerator for up to 3 days. This keeps the flavors fresh and ready to enjoy!
Freezer: For longer storage, freeze the dish in a sealed, freezer-safe container for up to 3 months. Portion it out for easy meal prep!
Reheating: When you’re ready to enjoy, thaw in the fridge overnight, then reheat on the stovetop over low heat, adding a splash of chicken stock or water as needed to restore moisture.
Jewish Kasha Varnishkes Variations
Feel free to explore different ways to make this dish your own; it’s a delightful canvas for creativity!
-
Gluten-Free: Substitute the bow tie pasta with gluten-free pasta for a dish that everyone can enjoy without compromising flavor. This can open the door for those who have dietary restrictions.
-
Vegetable-Loaded: Toss in sautéed vegetables like bell peppers, carrots, or zucchini for a nutritional boost without losing the comforting essence of the dish. The vibrant colors add both charm and health!
-
Herb-Infused: Add fresh herbs such as dill or parsley at the end for an aromatic twist that lifts the heartiness of the kasha. This simple touch will elevate the dish to new heights of flavor.
-
Creamy Addition: Stir in a dollop of sour cream or Greek yogurt right before serving for a creamy richness that complements the nutty kasha. It’s a delightful surprise for each bite!
-
Spicy Kick: Sprinkle chili flakes or add a dash of hot sauce to satisfy those who crave a hint of heat in their meals. The balance of spicy and nutty creates an interesting depth.
-
Nuts & Seeds: Toasted walnuts or sunflower seeds can add crunch and a robust flavor to the dish, perfectly contrasting with the tender pasta and kasha. Plus, it boosts the dish’s nutritional profile!
-
Cheesy Goodness: Grate a bit of your favorite cheese, like Parmesan or feta, over the top for a savory finish that enhances every mouthful. It’s like a warm hug from your dish!
-
Smoke Infusion: Use smoked chicken stock in place of regular chicken stock for a deep, smoky flavor that adds a unique twist to this classic comfort food. It’s like discovering hidden layers in a familiar melody.
Make Ahead Options
Jewish Kasha Varnishkes is a fantastic meal that’s perfect for prepping ahead, saving you precious time during busy weeknights. You can sauté the onions and toast the kasha up to 24 hours in advance, allowing those rich flavors to develop beautifully. Simply refrigerate them in airtight containers until you’re ready to finish your dish. Cook the bow tie pasta and cool it before adding it to the kasha mixture. When it’s time to serve, just reheat everything together, season again if needed, and enjoy a comforting meal that’s just as delicious as when freshly made!
What to Serve with Jewish Kasha Varnishkes?
Elevate your dining experience with delightful sides and drinks that perfectly complement the rich flavors of this beloved dish.
-
Roasted Vegetables: A medley of seasonal vegetables brings a pop of color and enhances the meal’s comforting essence. The natural caramelization beautifully contrasts the nuttiness of kasha.
-
Crispy Green Salad: A refreshing salad with a zesty vinaigrette wipes away the richness of the kasha, balancing each bite. Try including crunchy cucumbers and tangy feta for extra allure.
-
Braised Brisket: Tender, slow-cooked brisket adds a savory, melt-in-your-mouth element that pairs wonderfully with the earthy tones of kasha. Ideal for special family gatherings!
-
Creamy Mushroom Sauce: This silky sauce drizzled over the dish infuses rich umami flavors, enhancing the overall taste. It’s a luxurious touch without much effort!
-
Pickled Beets: Their tangy sweetness provides a delightful contrast against the warm flavors of Jewish Kasha Varnishkes. Plus, these vibrant roots can brighten up your plate!
-
Apple Strudel: For dessert, this flaky pastry filled with spiced apples complements the meal’s warmth, leaving everyone with a sweet, comforting concluding note.
-
Sparkling Cider: Opt for a sparkling apple or pear cider to bring a refreshing finish to your dining experience. Its bubbly nature cleanses the palate between bites, making each mouthful a treat!
Expert Tips for Jewish Kasha Varnishkes
-
Perfectly Toast Kasha: Toasting the kasha in a pan with the beaten egg helps release its nutty flavor and prevents it from becoming mushy.
-
Caramelize Carefully: When sautéing the onions, keep an eye on them! You want a rich golden color without burning, so stir occasionally.
-
Pasta Precision: Cooking your bow tie pasta al dente is essential; it will hold up better when mixed with the kasha and not turn mushy.
-
Seasoning Matters: Taste as you go! Adjust the salt and pepper to ensure the flavors balance beautifully. Too little seasoning can make a dish flat.
-
Versatile Variations: Feel free to add vegetables like mushrooms or bell peppers for added flavor and nutrition in your Jewish Kasha Varnishkes.
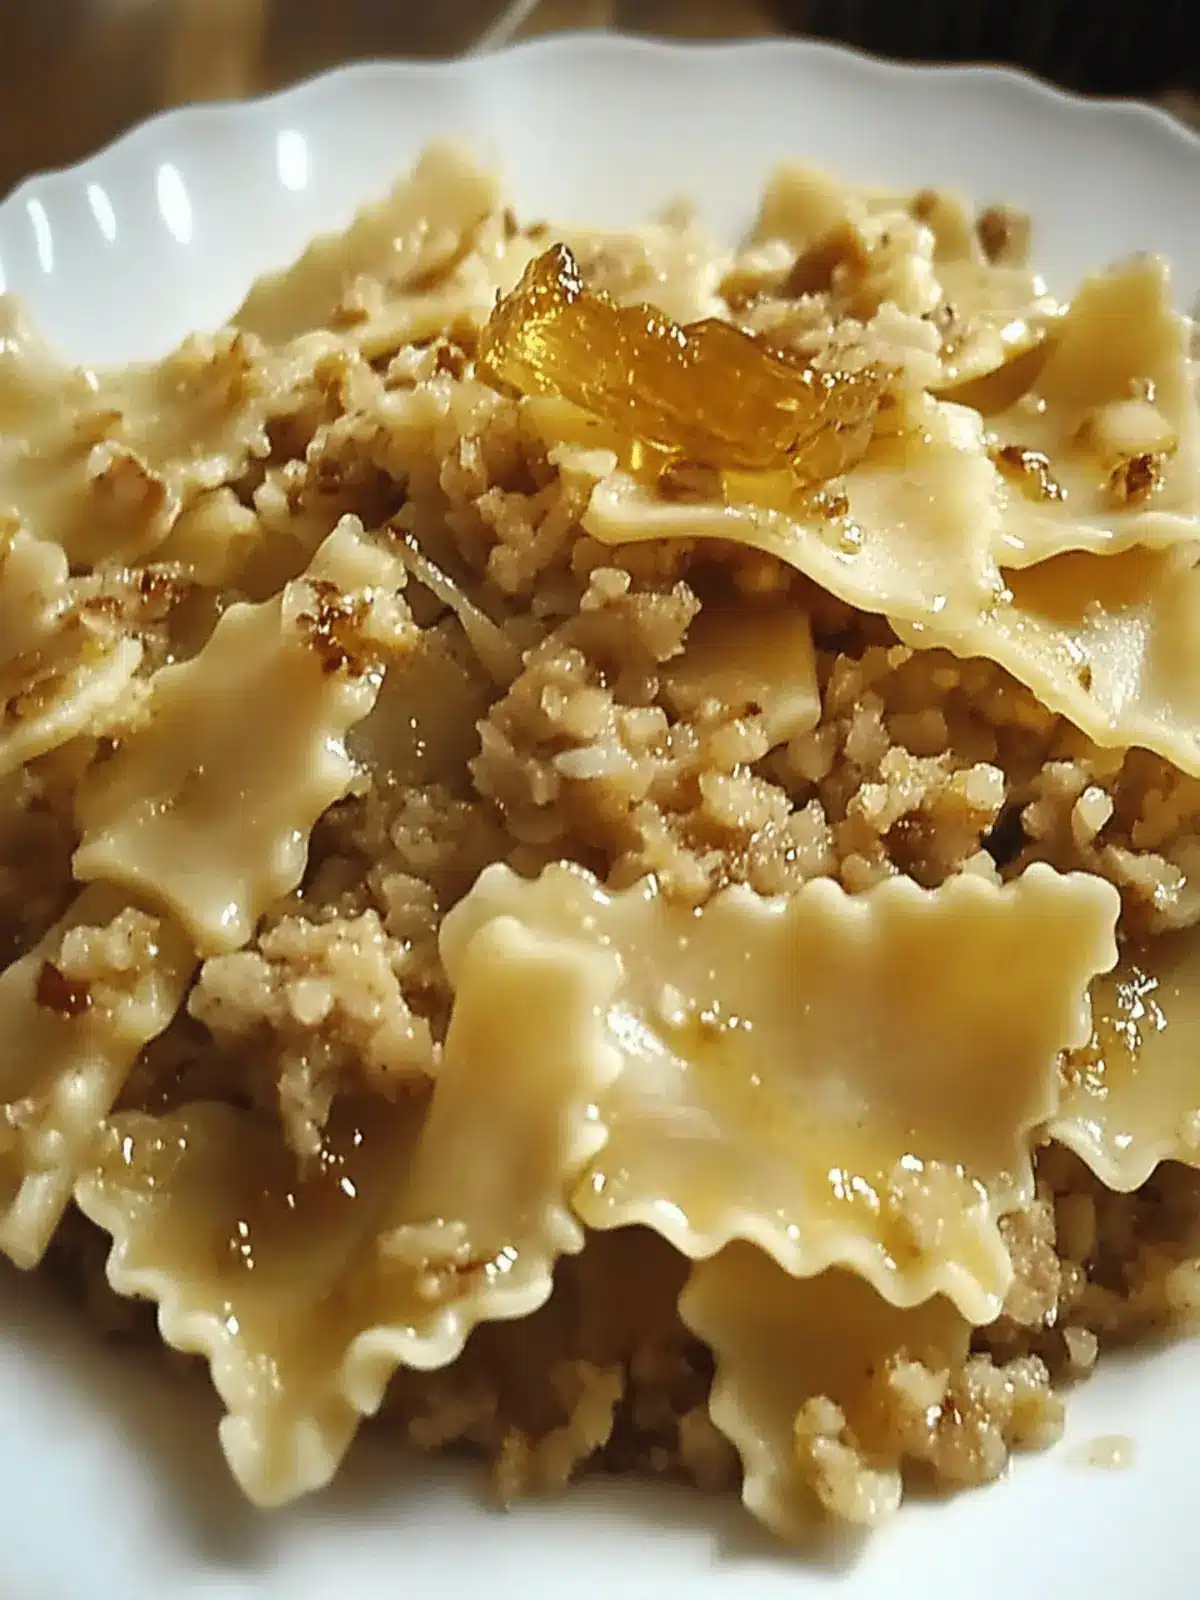
Jewish Kasha Varnishkes Recipe FAQs
How do I choose the right kasha?
Absolutely! When selecting kasha, look for toasted buckwheat groats that are a light brown color. Avoid any packages with dark spots or unpleasant odors, as these can indicate staleness. Fresh kasha will have a nutty scent that excites your senses!
What’s the best way to store leftovers?
Very! Store your Jewish Kasha Varnishkes in an airtight container in the fridge for 3 to 4 days. If you want to keep it longer, opt for freezing. Just make sure to let it cool completely before sealing it up to prevent freezer burn.
Can I freeze Jewish Kasha Varnishkes?
Absolutely! To freeze, place your cooled Kasha Varnishkes in a freezer-safe container, making sure to leave some space for expansion. It can last in the freezer for up to 3 months. When ready to enjoy, simply thaw it overnight in the fridge before reheating—it’s that easy!
What if my kasha turns mushy?
No worries! If your kasha becomes mushy, it might be from overcooking or not toasting it correctly. Next time, make sure to toast the kasha with the beaten egg for about 5 minutes until fragrant. Cook it in just enough liquid to absorb without being submerged—this will yield a perfect fluffy texture!
Are there any dietary considerations I should be aware of?
Definitely! If you’re preparing Jewish Kasha Varnishkes for someone with gluten intolerance, be sure to use certified gluten-free buckwheat, as traditional kasha may not always be gluten-free. And if you’re feeding pets, remember that onions can be toxic to them, so keep the leftovers out of their reach!
Can I substitute the schmaltz for a vegetarian version?
Very much so! You can substitute schmaltz with olive oil or any plant-based margarine for a deliciously vegetarian version. The flavors will still shine through beautifully, making it a versatile delight that everyone can enjoy!
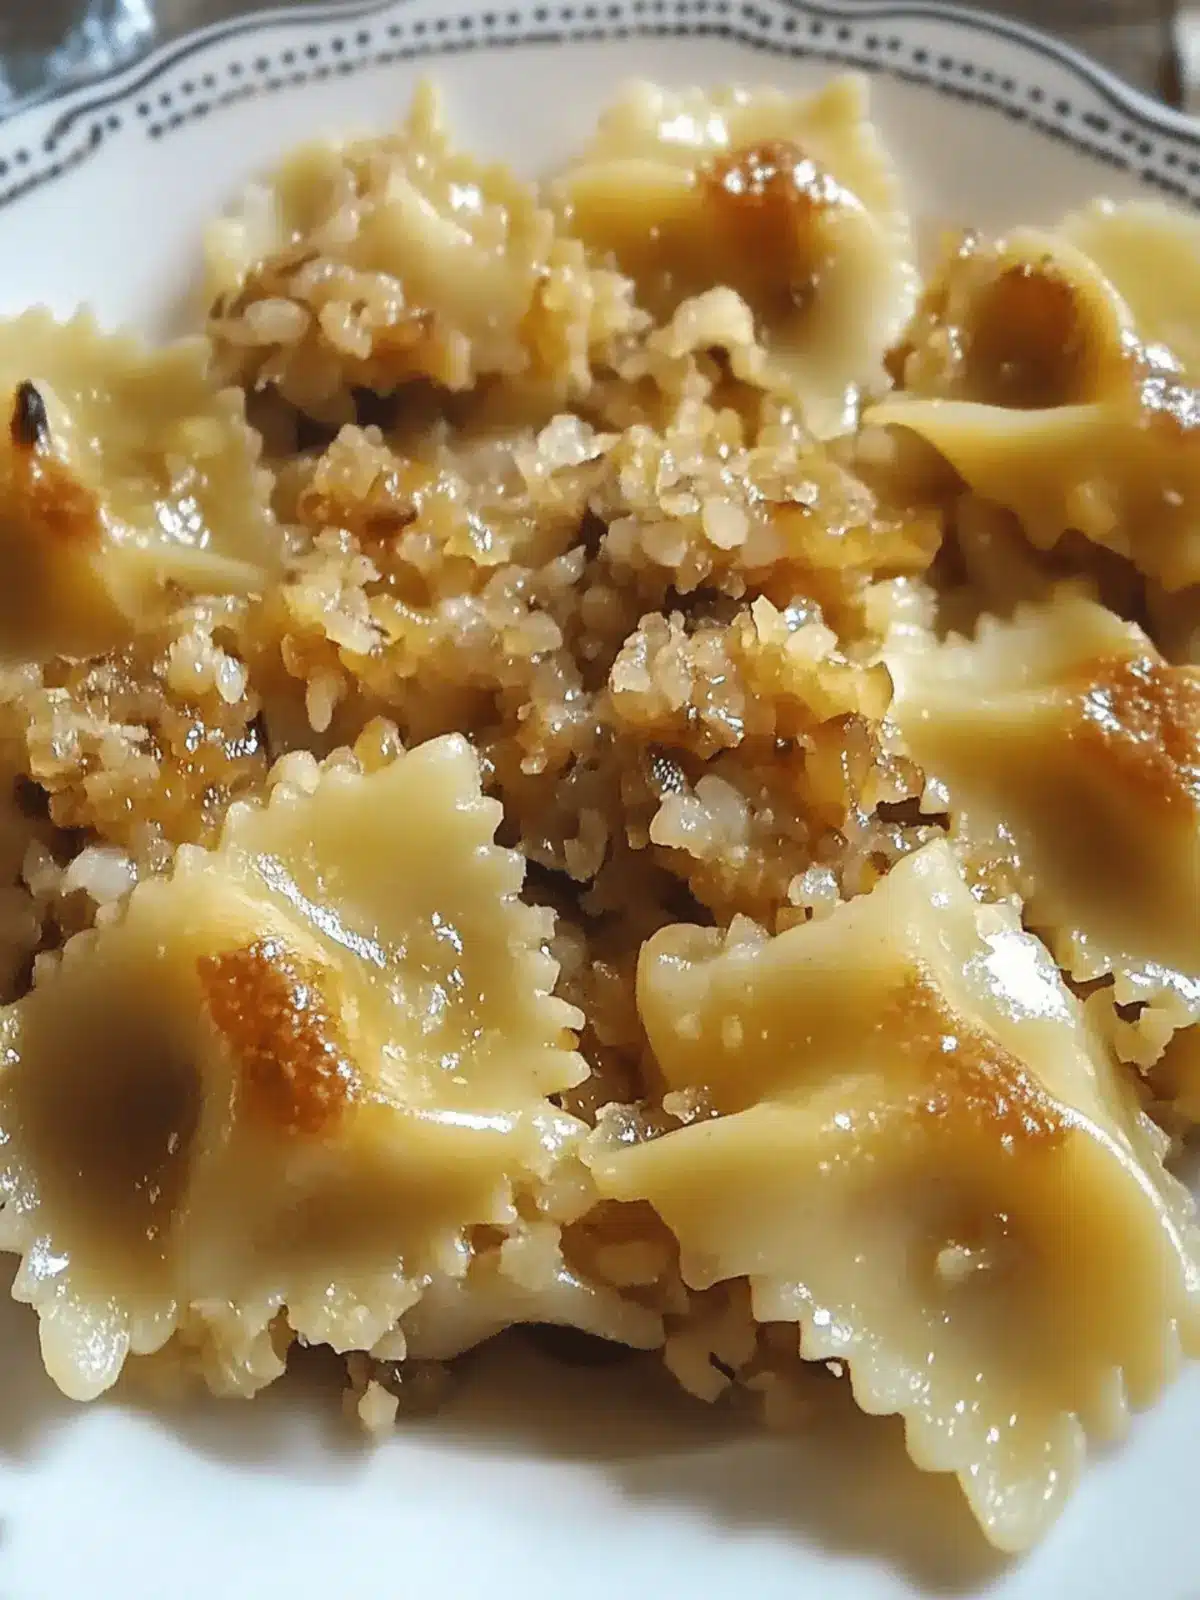
Savor the Comfort of Jewish Kasha Varnishkes Tonight
Ingredients
Equipment
Method
- Heat schmaltz, oil, or margarine in a large pan over medium heat.
- Sauté the sliced onions until they are soft and golden brown, about 8-10 minutes.
- Cook the bow tie pasta according to package instructions, using chicken stock or salted water for extra flavor.
- In a separate pot, combine the kasha and the beaten egg. Toast lightly over low heat for about 5 minutes.
- Add the cooked bow tie pasta to the kasha mixture, gently stirring to incorporate.
- Season with salt and freshly ground black pepper to taste.