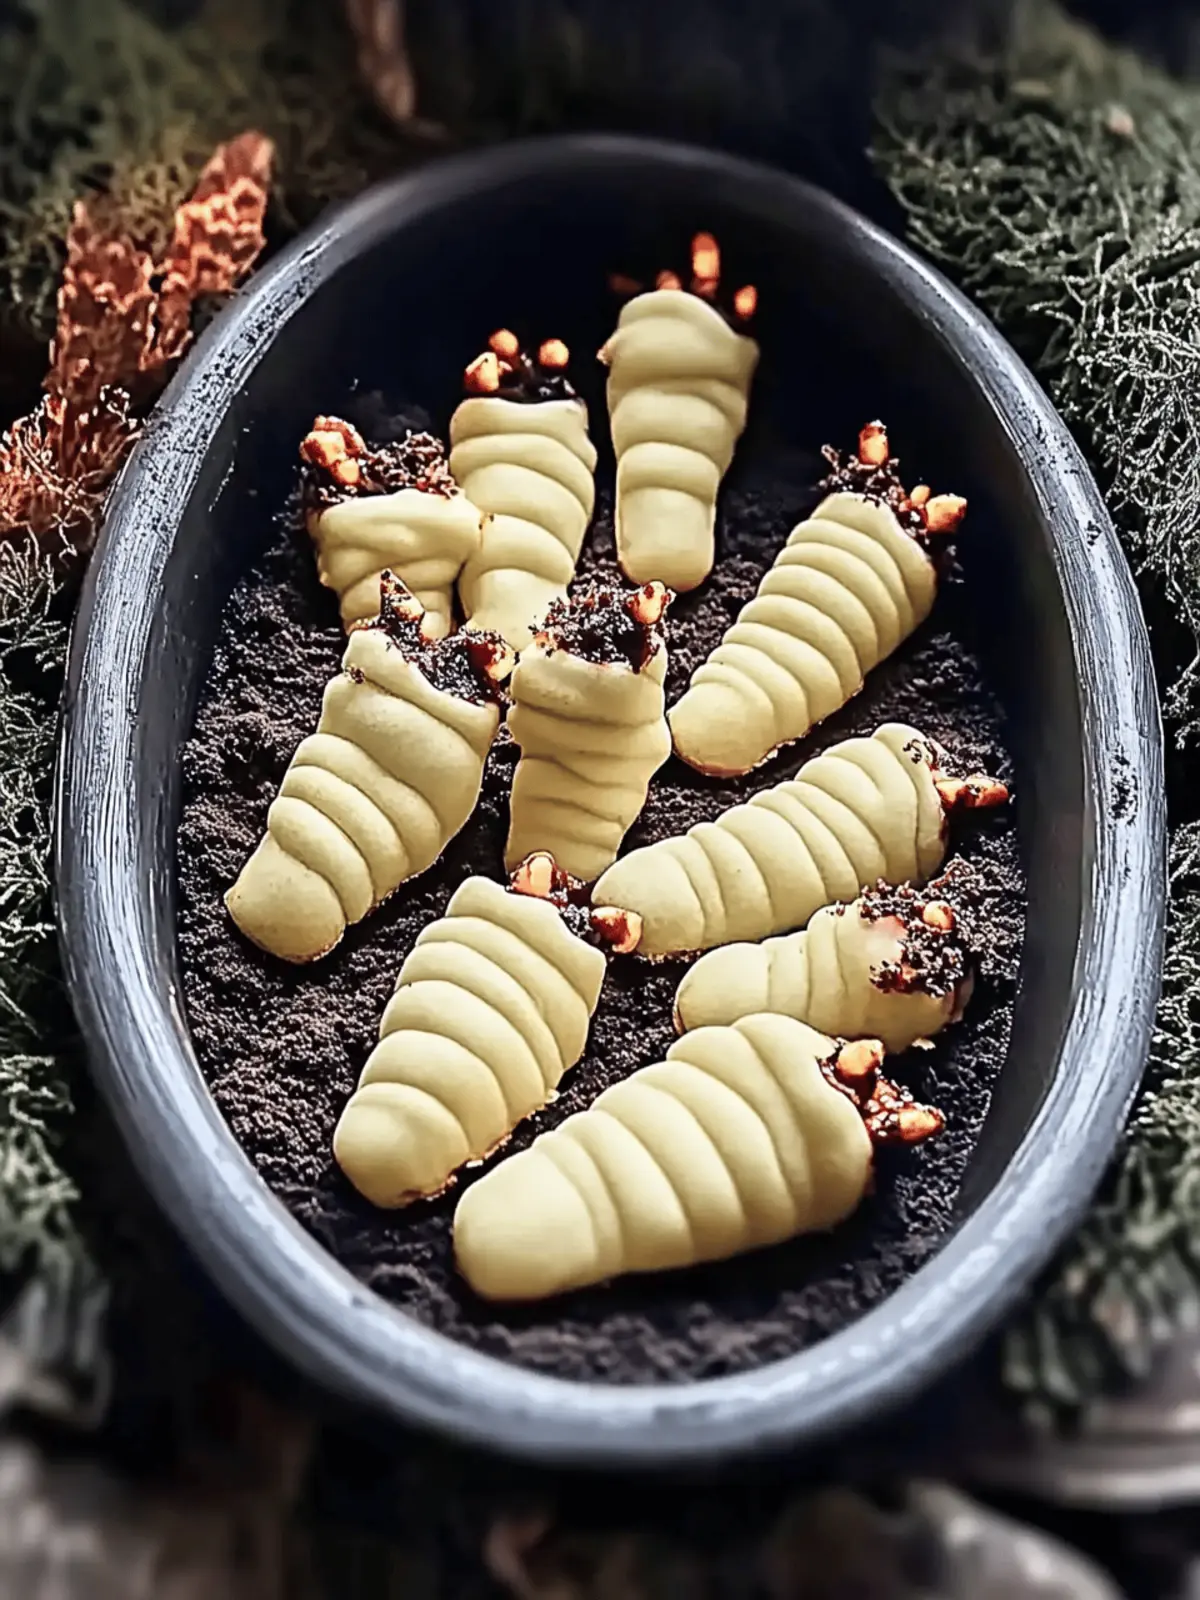
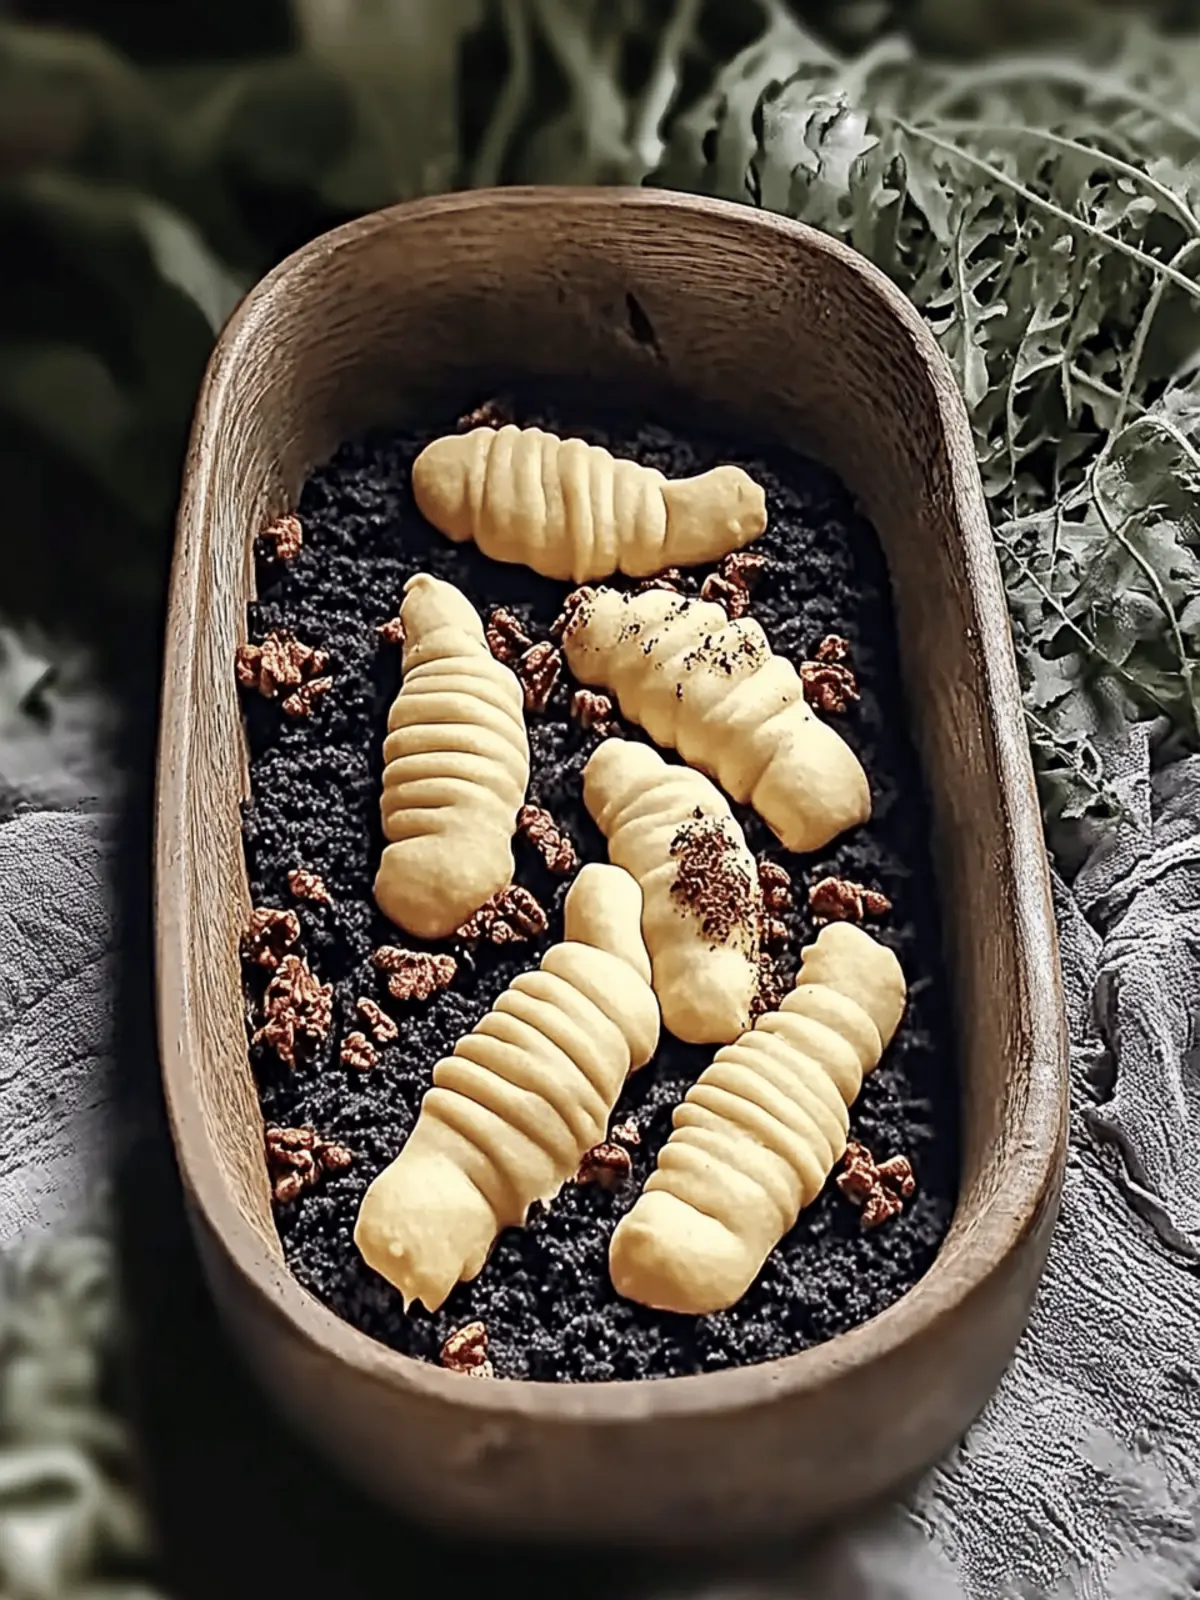
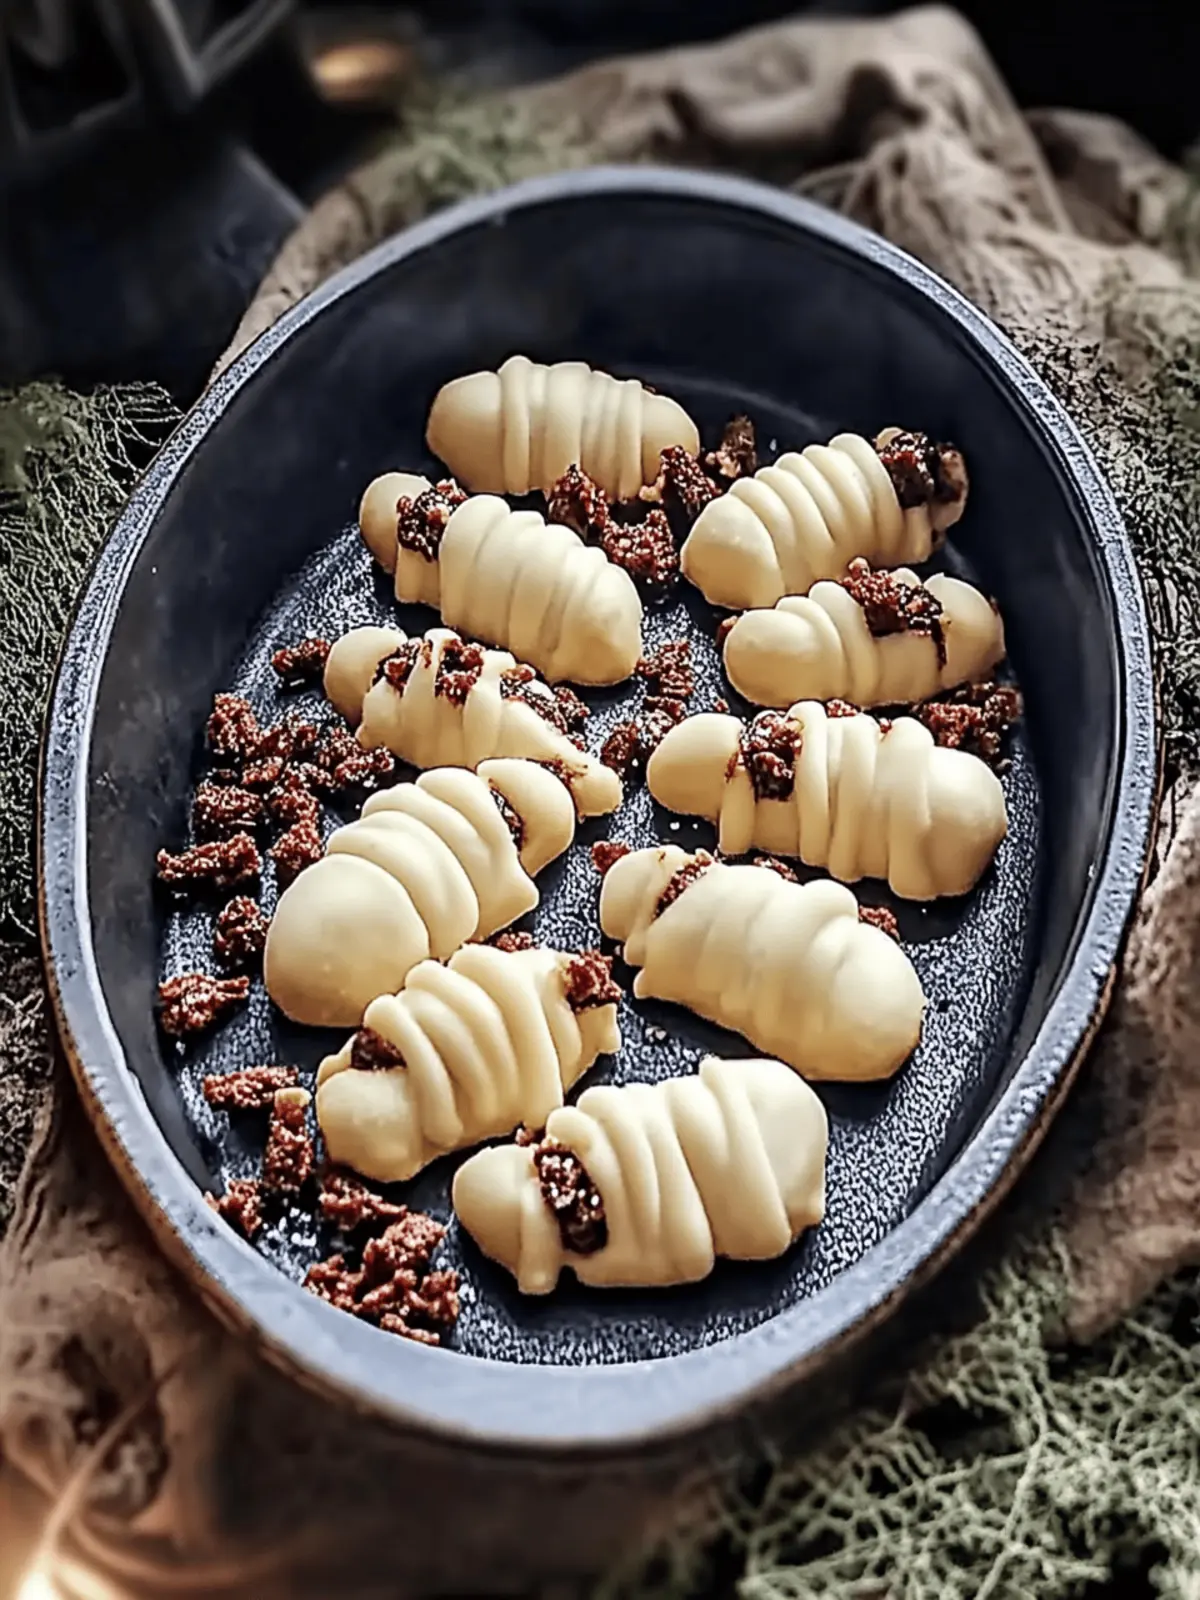
There’s a certain thrill that comes with cooking during the Halloween season, and what better way to embrace the spooky spirit than with irresistibly creepy Witch Finger Cookies? Picture this: your kitchen filled with the enchanting scent of buttery sweetness mingled with zesty lemon, as you craft these delightfully ghoulish treats that look like they’ve crawled right out of a storybook.
I first discovered this recipe during a festive gathering when a friend brought these whimsical cookies to share. Their spooky appearance sparked joy and laughter, instantly transforming the atmosphere into something magical. What I love most about these cookies is their melt-in-your-mouth texture and the delightful surprise of gooey strawberry jelly peeking from beneath an almond “fingernail.”
With just a quick 10 minutes of prep and simple ingredients, you can conjure up these treats that will amaze friends and family alike—perfect for Halloween parties or cozy nights in. Get ready to enchant your guests with flavors that are as memorable as their hauntingly fun appearance!
Why are Witch Finger Cookies a must-try?
Spooktacular Fun: These cookies are the perfect blend of creepy and delicious, guaranteed to be a hit at any Halloween gathering.
Easy to Make: With only 10 minutes of prep time, you’ll have these whimsical treats ready in no time.
Melt-in-Your-Mouth Texture: The buttery dough combined with a gooey jelly surprise creates a taste that lingers delightfully.
Customizable Options: Adapt the recipe for dietary needs by using nut-free or gluten-free substitutes, ensuring everyone can join in on the fun.
Impressive Presentation: Shaped like fingers with almond “nails,” they’re sure to spark conversation and laughter among guests.
Family-Friendly Activity: Get everyone involved in the fun of shaping and decorating these cookies for a memorable baking experience!
Witch Finger Cookie Ingredients
For the Cookie Dough
- Butter (125 grams) – Adds richness and moisture; substitute with margarine for a dairy-free option.
- Granulated Sugar (240 grams) – Provides sweetness and contributes to the cookie’s delightful texture; no substitutions recommended.
- Egg Yolks (5) – Acts as a binder, enriching the dough; do not substitute, but use leftover whites for other recipes.
- Vanilla Extract (2 teaspoons) – Enhances flavor; opt for pure vanilla extract for the best results.
- Lemon Extract (¾ teaspoon) – Brightens up flavors; can swap with additional vanilla if lemon is unavailable.
- All-Purpose Flour (400 grams) – Forms the structure of the cookies; for gluten-free, use a 1:1 gluten-free flour blend.
- Salt (1 teaspoon) – Balances sweetness and enhances flavor; should always be included.
- Lemon Zest (from 1 lemon) – Adds fresh citrus notes; can use orange zest for a twist.
For the Filling and Topping
- Strawberry Jelly (3 tablespoons) – Sweet filling that adds flavor; raspberry or other red preserves work too.
- Almonds (48) – Used for “fingernails” on the cookies; substitute with pecans or maraschino cherries for a fun variation.
How to Make Witch Finger Cookies
-
Prepare Baking Sheet: Line a baking sheet with parchment paper to prevent sticking and ensure even baking.
-
Mix Dry Ingredients: In a bowl, whisk together the all-purpose flour and salt; this will help distribute the salt evenly throughout the dough.
-
Cream Butter and Sugar: Using a stand mixer, cream the butter and sugar for about 3 minutes until it’s light and fluffy, creating a lovely base for your cookies.
-
Incorporate Egg Yolks and Extracts: Add the egg yolks one at a time, ensuring each one is well mixed in before adding the vanilla and lemon extracts for a burst of flavor.
-
Combine Mixtures: Gradually mix in the dry ingredient mixture along with the lemon zest until just combined, avoiding overmixing for tender cookies.
-
Shape Cookies: Scoop out small portions of dough to form logs about 3-4 inches long. Pinch the logs for knuckles, then place almonds on top for “fingernails.”
-
Preheat Oven: Preheat your oven to 375°F (190°C) while you finalize the cookie shapes.
-
Chill if Needed: If the dough feels too warm, chill for about 15 minutes to prevent spreading during baking.
-
Bake Cookies: Bake in the preheated oven for about 20 minutes, until lightly browned on the bottoms for that perfect golden color.
-
Add Jelly: Once cooled, gently remove the almonds, place a dollop of jelly into the nail cavity, and replace the almonds for a creepy finishing touch.
Optional: Drizzle with white chocolate for an extra spooky flair!
Exact quantities are listed in the recipe card below.
Expert Tips for Witch Finger Cookies
• Chill Out: If your dough is too warm, chill it for 15 minutes before shaping. This prevents the cookies from spreading too much while baking.
• Don’t Overmix: Be careful not to overwork the dough when combining ingredients; it can lead to tough cookies instead of tender Witch Finger Cookies.
• Spacing Matters: Arrange cookies evenly on the baking sheet to ensure they bake uniformly. Crowding the sheet can result in uneven textures.
• Check for Doneness: Keep an eye on the cookies while baking; they should be lightly browned on the bottoms but not overly dark.
• Customize with Care: Remember, substitutes can affect taste and texture, especially with fillings; stick to proven swaps for best results.
What to Serve with Witch Finger Cookies?
Create a hauntingly delightful Halloween feast that will leave everyone spellbound! These eerie cookies can be complemented with a range of spooky treats and refreshing drinks.
- Witch Brew Punch: A vibrant, fruity punch filled with floating “eyeballs” made from lychee fruit and blueberries; it’ll enchant your guests with every sip.
- Ghostly Vanilla Ice Cream: Creamy and smooth, this ice cream serves as a perfect balance to the cookies, cooling down the sugary burst of jelly.
- Spooky Fruit Platter: Arrange an assortment of seasonal fruits like grapes and kiwi ghosts for a refreshing yet thematic touch, enticing health-conscious guests.
- Ghoulish Hot Chocolate: Warm, rich flavors with whipped cream topped with marshmallow “ghouls” create a cozy contrast to the crispness of the cookies.
- Pumpkin Spice Cupcakes: These moist cupcakes topped with cream cheese frosting are a festive treat that will delight every pumpkin lover, perfectly enchanting for the season.
- Candy Corn Cookies: Elevate the spooky theme with colorful candy corn cookies, adding a fun sweetness that pairs wonderfully with the buttery Witch Finger Cookies.
- Creepy Cocktails: Serve colorful layered cocktails with spooky garnishes for the adults, providing a grown-up twist to your Halloween gathering.
- Caramel Apples: Treat your guests to the classic fall favorite with crunchy apples dipped in caramel and sprinkled with nuts or candies for a delightful crunch.
- Frozen Berry Yogurt Parfaits: Light and refreshing, these parfaits packed with berries add a healthy touch to the party while keeping the festive spirit alive.
Witch Finger Cookies Variations
Feel free to sprinkle your magic into the kitchen by customizing these creepy cookies!
- Nut-Free: Substitute almonds with sunflower seeds or crushed pretzels for a fun twist that everyone can enjoy.
- Berry-Filled: Swap out the strawberry jelly for delicious blueberry or blackcurrant jelly, adding a delightful depth of flavor.
- Chocolate Lovers: Fold in mini chocolate chips into the dough for a surprising burst of chocolate in every bite.
- Spiced Up: Add a pinch of cinnamon or cayenne pepper for a warm kick that dances on your taste buds.
- Decorative Touches: Enhance the spookiness with Halloween sprinkles or a drizzle of white chocolate over the cookies for a festive flair.
- Citrus Twist: Experiment using orange or lime zest instead of lemon for a zesty punch that brightens the cookies.
- Gluten-Free: Use a 1:1 gluten-free flour blend in place of all-purpose flour, ensuring everyone can enjoy these ghostly treats.
Make Ahead Options
These Witch Finger Cookies are perfect for meal prep enthusiasts who wish to save time during the spooky season! You can make the cookie dough up to 24 hours in advance; simply wrap it tightly in plastic wrap and refrigerate to maintain freshness. Additionally, you can shape the cookies into logs and refrigerate for up to 3 days before baking. When you’re ready to serve, all that’s left to do is preheat your oven, bake the cookies for about 20 minutes, and finish with the gooey strawberry jelly and almond nails. By prepping ahead, you’ll have deliciously creepy treats that are just as delightful as freshly baked!
Storage Tips for Witch Finger Cookies
-
Room Temperature: Store cookies in an airtight container at room temperature for up to one week, ensuring they stay fresh and delicious for all your Halloween festivities.
-
Fridge: For longer freshness, refrigerate Witch Finger Cookies in an airtight container for up to two weeks; this will maintain their delightful texture.
-
Freezer: Freeze cookies for up to three months in a freezer-safe container. Thaw them at room temperature before serving, and enjoy their spooky charm!
-
Reheating: If you prefer warm cookies, reheat in the microwave for about 10-15 seconds for a delightful treat that’s almost fresh-from-the-oven!
Witch Finger Cookies Recipe FAQs
What should I look for in ripe ingredients?
Absolutely! When it comes to baking cookies, the freshness of your ingredients can make a huge difference. For butter, choose unsalted that is firm but not overly cold; it should be slightly softened but still hold its shape. As for eggs, select ones that are fresh with no cracks. When using lemon zest, you want lemons that are bright and firm, preferably with a fragrant aroma. These little details ensure your Witch Finger Cookies turn out perfectly!
How should I store Witch Finger Cookies?
To maintain their delightful texture and flavor, store your cookies in an airtight container at room temperature for up to one week. If you’d like to keep them fresher for longer, you can refrigerate them for up to two weeks. However, for really extended freshness, freeze them in a freezer-safe container or zip-top bag for up to three months. Just don’t forget to thaw them at room temperature when you’re ready for a spooky treat!
Can I freeze Witch Finger Cookies? If so, how?
Absolutely! Freezing your Witch Finger Cookies is easy and will keep them tasting fresh. Here’s how to do it: First, allow the baked cookies to cool completely. Next, arrange them in a single layer on a baking sheet and place them in the freezer for about an hour until they’re firm. Afterward, transfer them to a freezer-safe bag or container, separating layers with parchment paper to prevent sticking. They can be stored this way for up to three months! When you’re ready to enjoy them, thaw at room temperature for a sweet surprise whenever you want!
What should I do if my cookies spread too much while baking?
Very! Generally, a warm dough leads to more spread during baking. If you notice your Witch Finger Cookies spreading too much, don’t worry! Simply let the dough chill in the refrigerator for about 15-30 minutes before shaping them. It’s also important not to overwork the dough; mix until just combined to keep them tender. Lastly, ensure they’re spaced evenly on the baking sheet so they have room to rise without merging together.
Are there any dietary considerations I should be aware of?
Of course! Witch Finger Cookies can easily accommodate various dietary needs. For nut allergies, feel free to swap out almonds with sunflower seeds or maraschino cherries for a fun twist! If you need them to be gluten-free, use a 1:1 gluten-free flour blend instead of all-purpose flour. Always make sure to check labels on your ingredients to avoid hidden allergens, ensuring all your ghoulish guests can dig in worry-free!
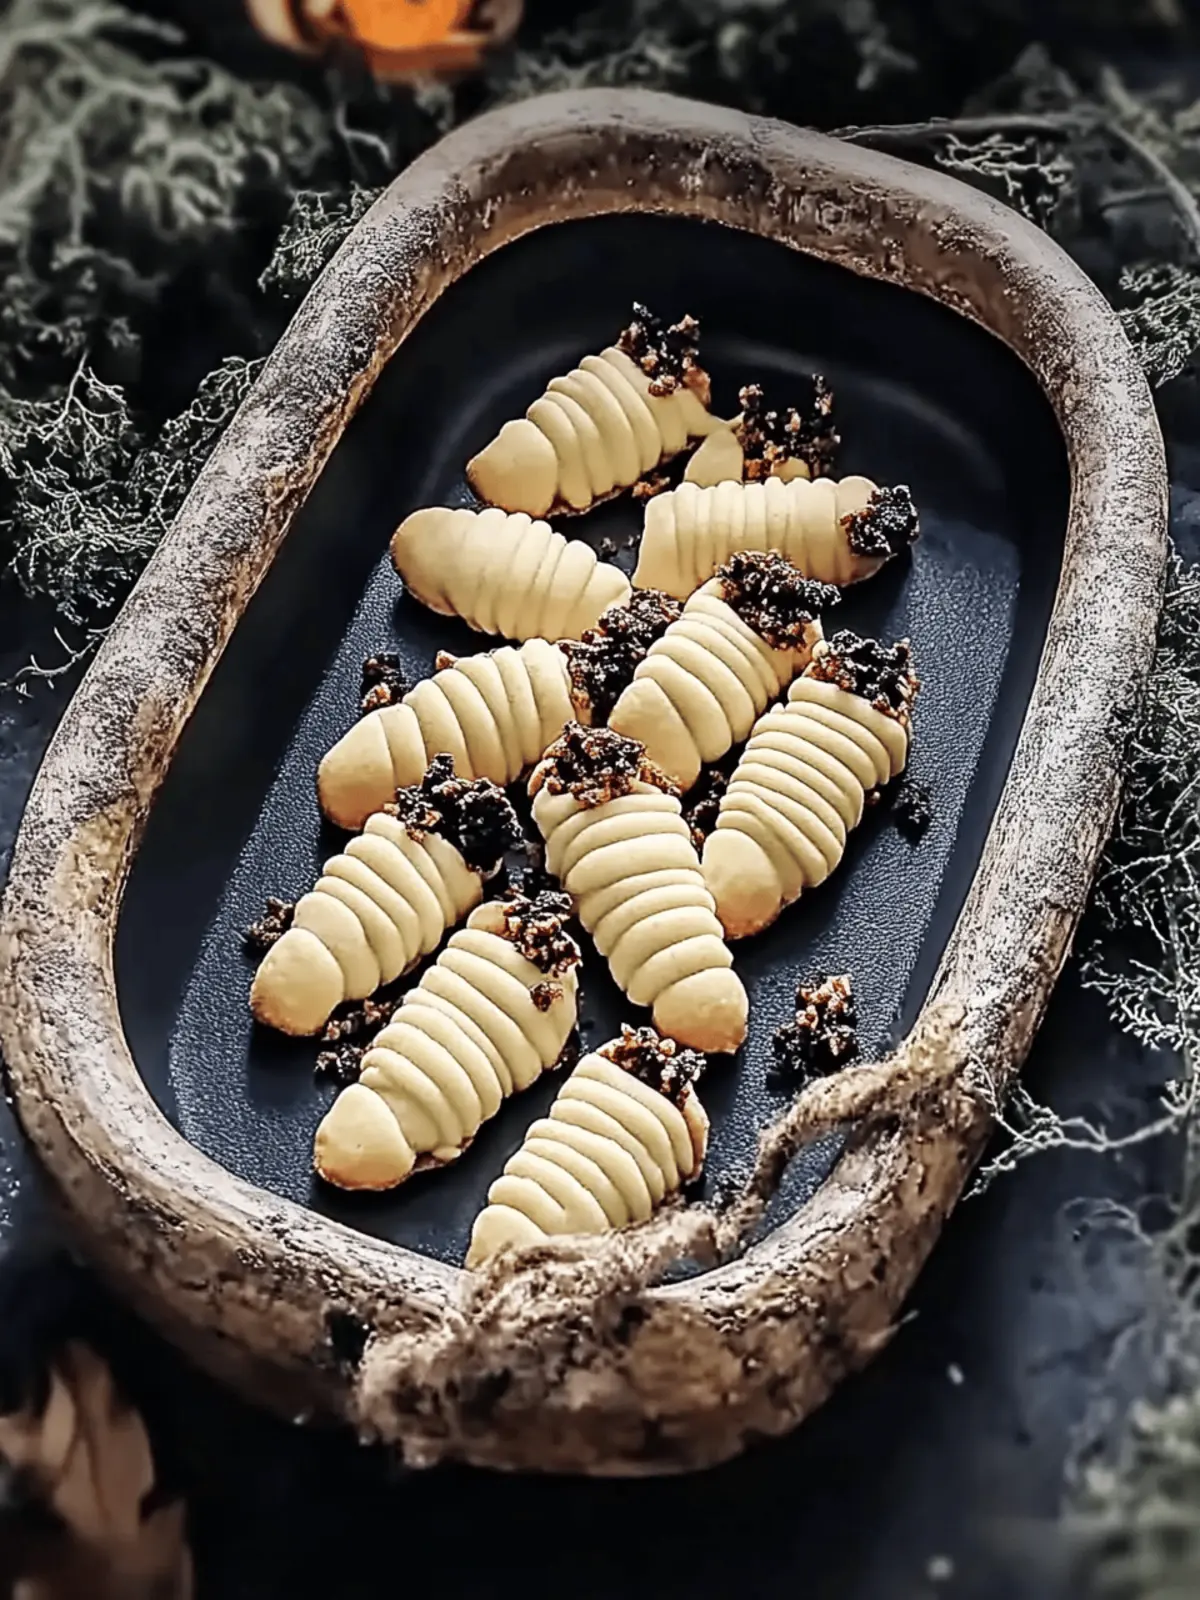
Spooktacular Witch Finger Cookies Perfect for Halloween Fun
Ingredients
Equipment
Method
- Line a baking sheet with parchment paper to prevent sticking and ensure even baking.
- In a bowl, whisk together the all-purpose flour and salt; this will help distribute the salt evenly throughout the dough.
- Using a stand mixer, cream the butter and sugar for about 3 minutes until it’s light and fluffy, creating a lovely base for your cookies.
- Add the egg yolks one at a time, ensuring each one is well mixed in before adding the vanilla and lemon extracts for a burst of flavor.
- Gradually mix in the dry ingredient mixture along with the lemon zest until just combined, avoiding overmixing for tender cookies.
- Scoop out small portions of dough to form logs about 3-4 inches long. Pinch the logs for knuckles, then place almonds on top for 'fingernails.'
- Preheat your oven to 375°F (190°C) while you finalize the cookie shapes.
- If the dough feels too warm, chill for about 15 minutes to prevent spreading during baking.
- Bake in the preheated oven for about 20 minutes, until lightly browned on the bottoms for that perfect golden color.
- Once cooled, gently remove the almonds, place a dollop of jelly into the nail cavity, and replace the almonds for a creepy finishing touch.

