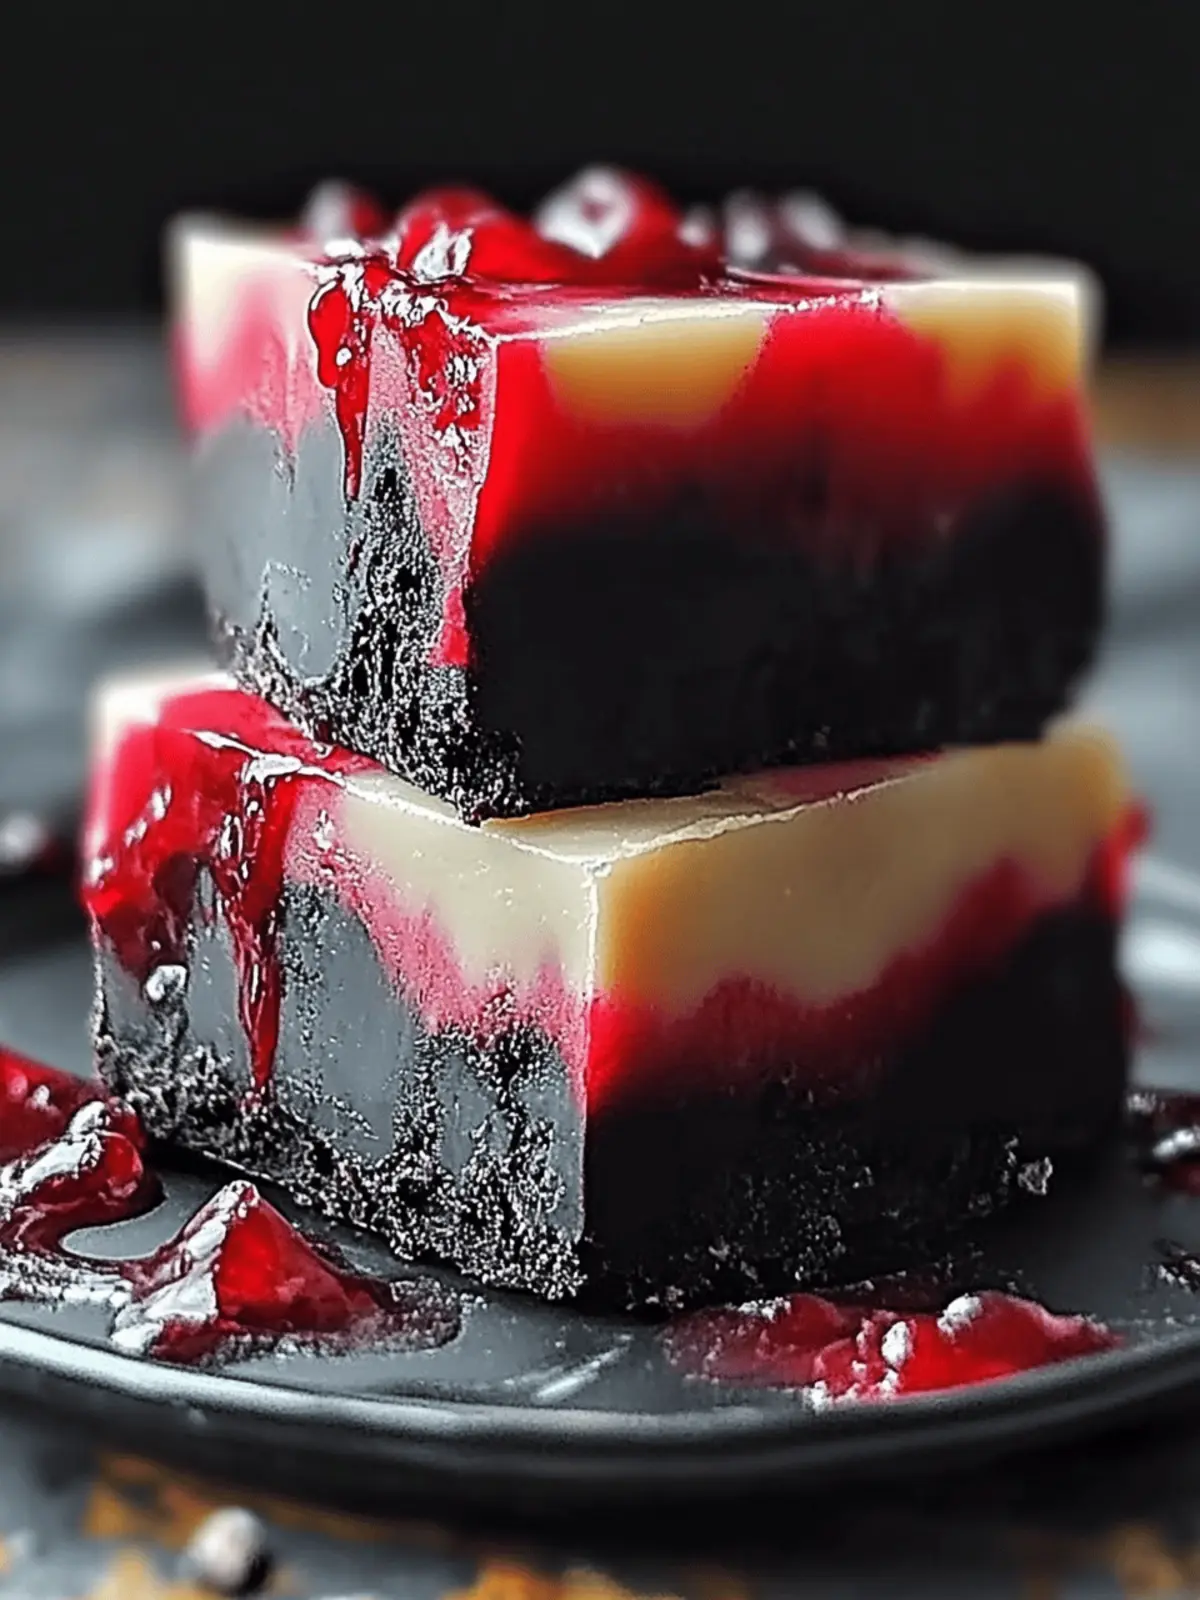
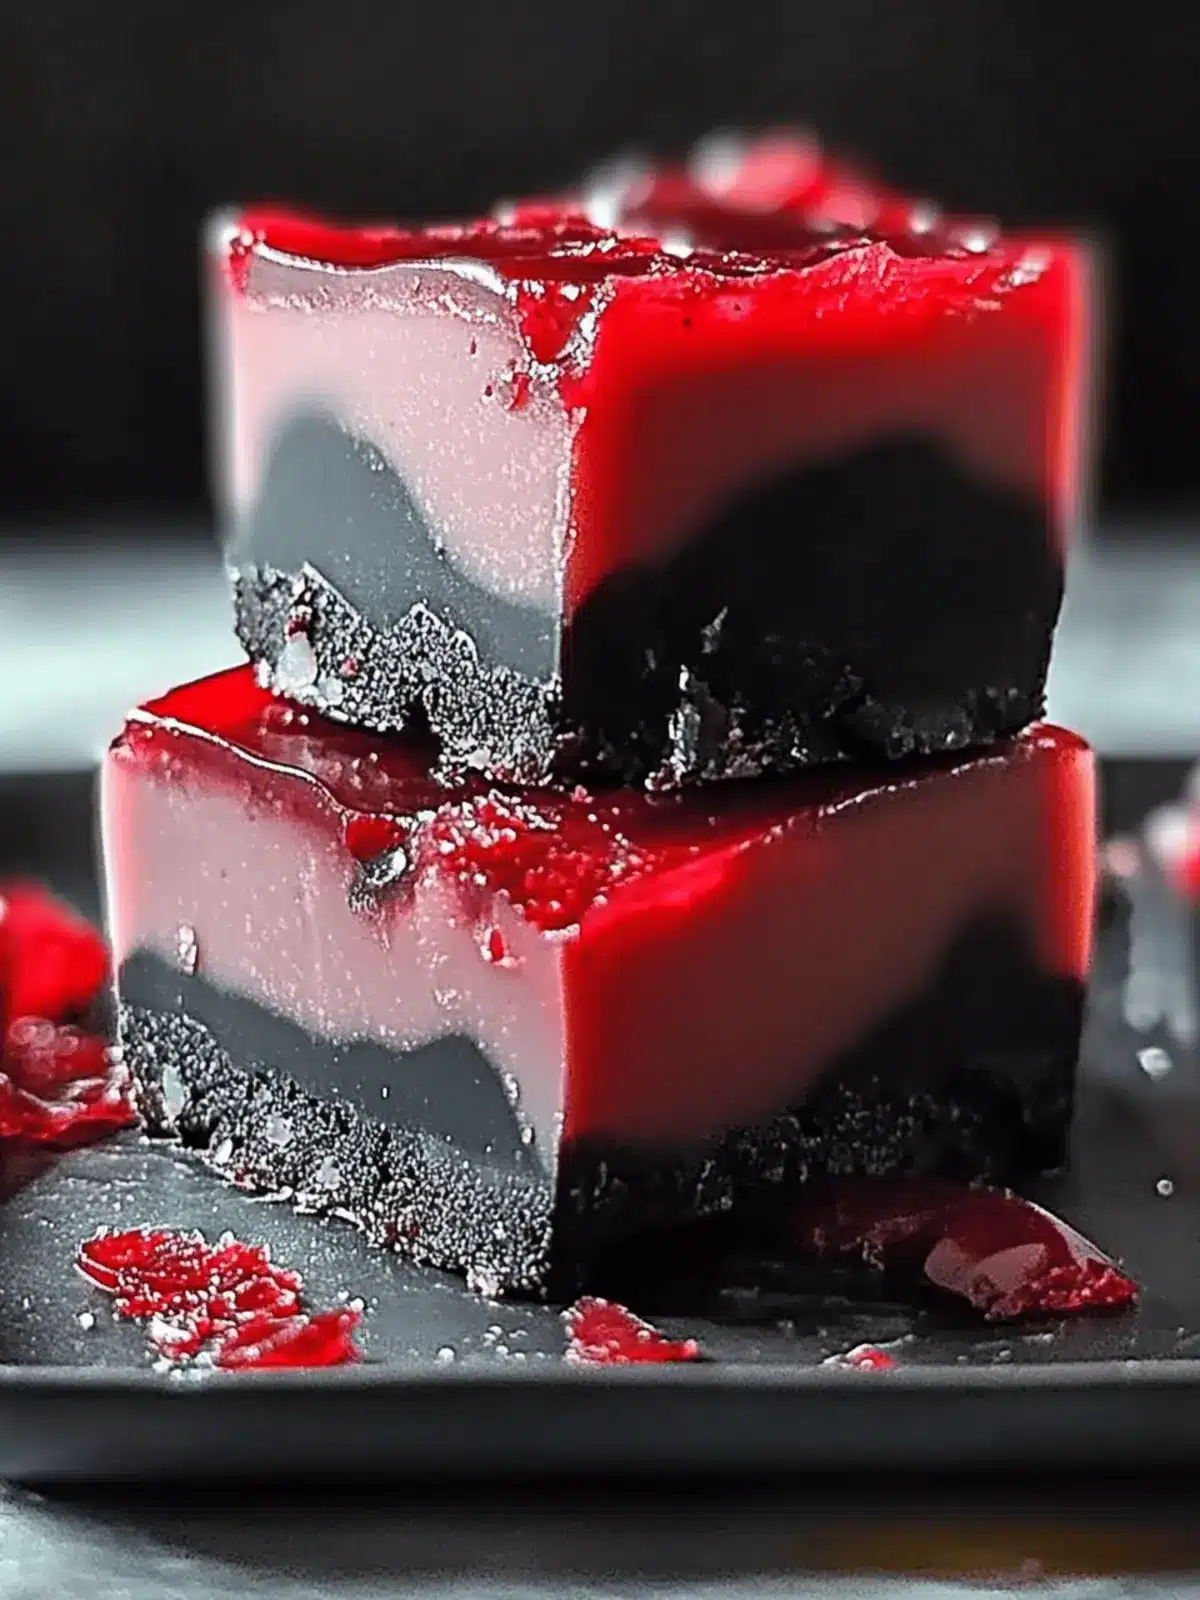
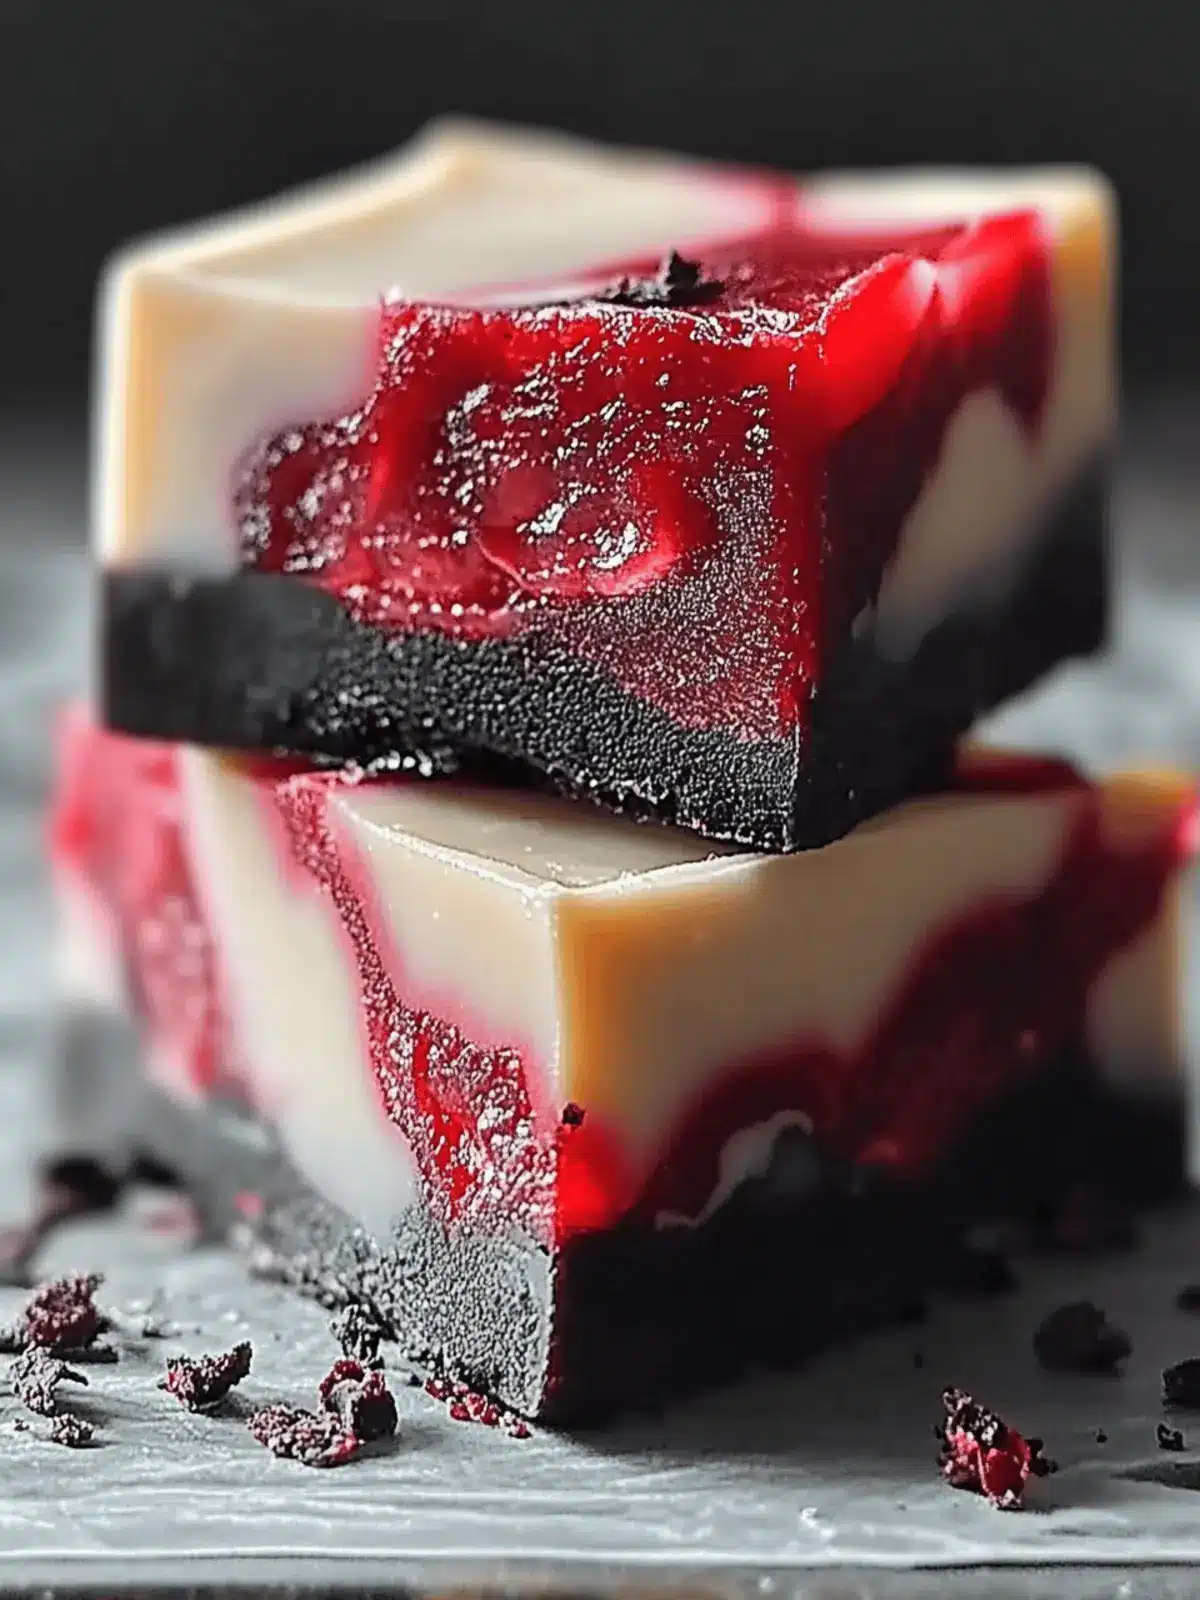
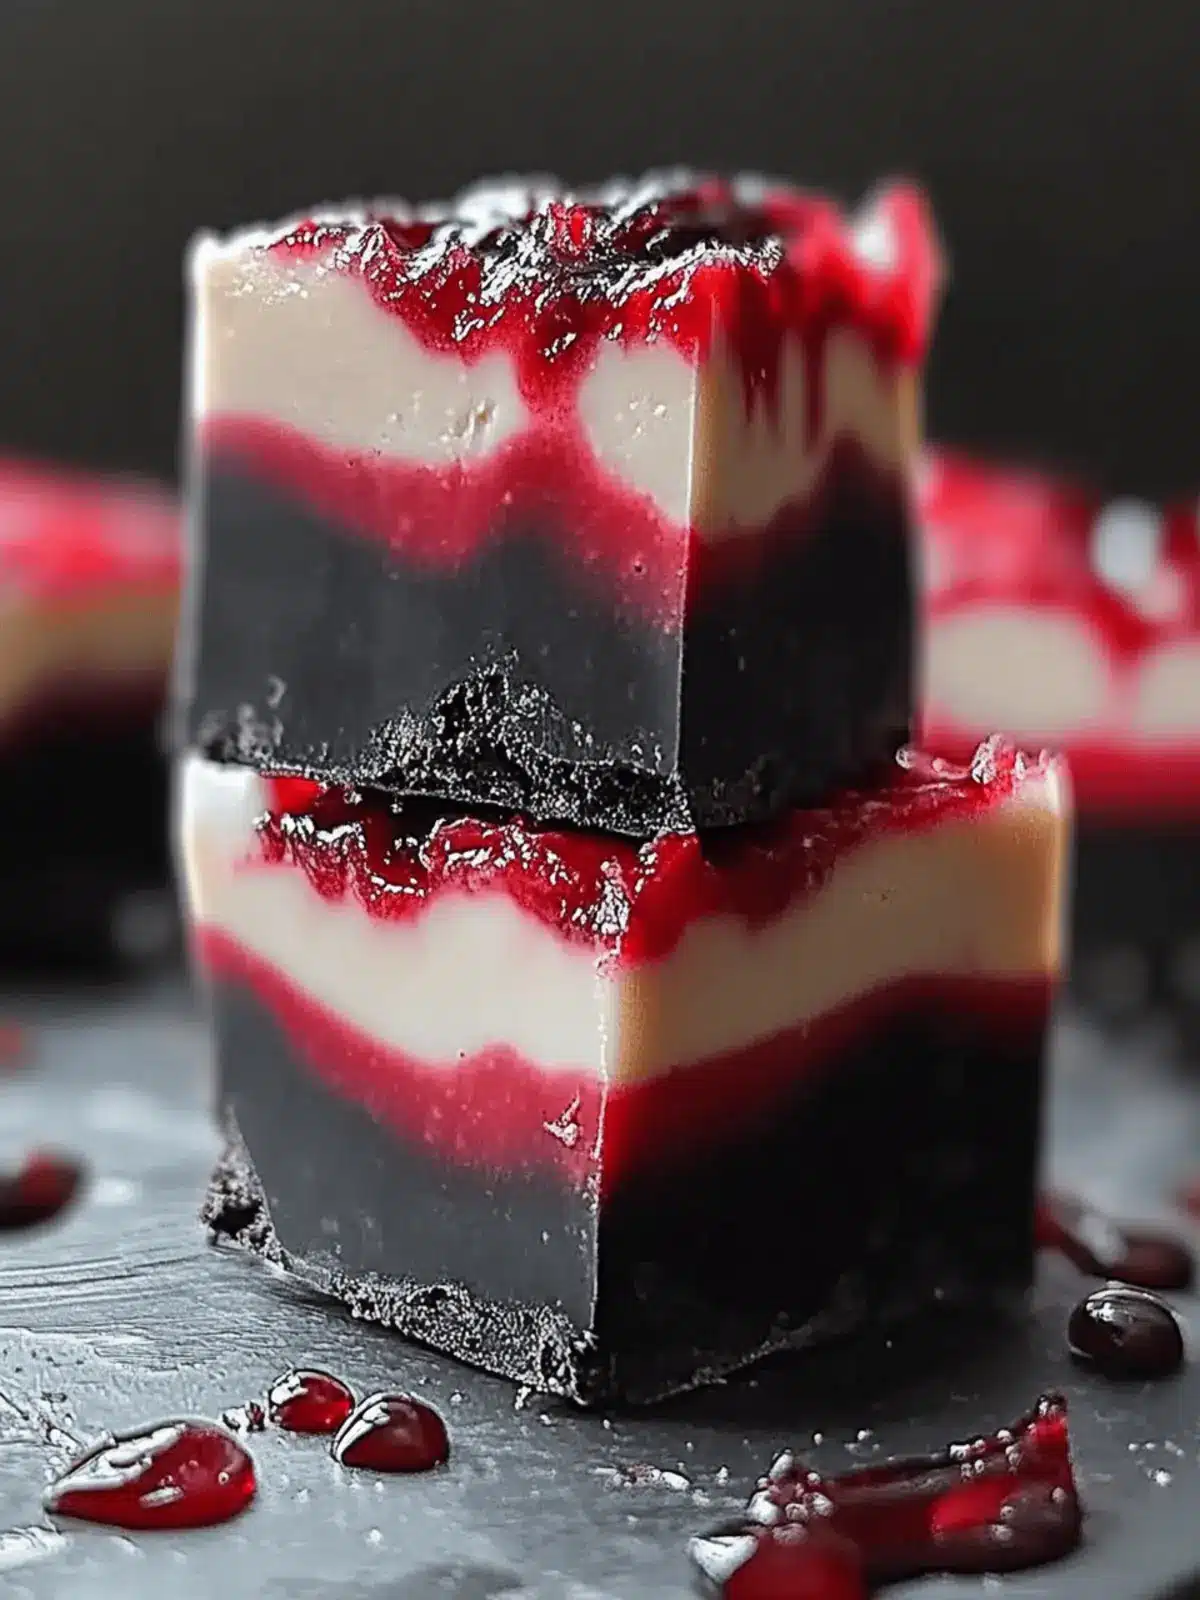
There’s nothing quite like the thrill of creating a treat to match the spine-tingling excitement of Halloween. As the crisp autumn air sets in and spooky decorations fill the streets, I found myself craving something that captures both the playful spirit of the season and the creamy delight of homemade indulgence. Enter Vampire Fudge—a whimsical dessert that not only dazzles with its striking black and red swirls but also offers a deliciously rich flavor that appeals to all ages.
This no-bake recipe is a breeze to whip up, making it perfect for last-minute gatherings or festive parties. With a base of smooth cream cheese frosting melded with vibrant candy melts, each bite is a joyful experience that’s sure to impress family and friends. Whether you choose to nestle it among creepy crawly snacks or serve it solo, this Vampire Fudge will steal the show with its irresistible appearance and flavor. Are you ready to conjure up some magic in your kitchen? Let’s dive into this spooktacular recipe!
Why is Vampire Fudge a Must-Make?
Eye-Catching Appeal: With its striking swirls of black and red, this fudge is a showstopper that elevates any Halloween gathering.
No-Bake Convenience: Skip the oven! This quick and easy recipe is perfect for busy times, letting you whip up delightful treats effortlessly.
Child-Friendly Fun: Kids and adults alike will be enchanted by this playful dessert, making it a favorite choice for family celebrations.
Customizable Options: Switch up colors and toppings to suit your theme—think witchy green and purple or spooky sprinkles for an extra festive touch!
Crowd-Pleasing Flavor: The creamy, rich taste will satisfy any sweet tooth, ensuring it disappears from dessert tables in no time!
Ready to bake this up? Don’t forget to check out my tips for serving suggestions that pair perfectly with your Vampire Fudge!
Vampire Fudge Ingredients
• Get ready to create a delightfully spooky treat!
For the Base
• Cream Cheese Frosting – Adds a creamy texture and sweetness, but feel free to substitute with thick vanilla or buttercream frosting for variety.
• Black Candy Melts – Provides the striking dark color essential for the fudge’s enchanting look.
• Red Candy Melts – Offers vibrant color, creating stunning swirls that make your Vampire Fudge a visual delight.
Optional Toppings
• Halloween-themed Sprinkles – Sprinkle them on top for an extra festive touch that brings your fudge to life!
• Crushed Nuts – Add some crunch to your Vampire Fudge for a surprising twist in texture.
• Salted Caramel Drizzle – Drizzle for an indulgent flavor boost that pairs beautifully with the sweetness.
This delightful Vampire Fudge is sure to charm your guests and become a staple at your Halloween parties!
How to Make Vampire Fudge
-
Prepare the Pan: Start by greasing an 8″ x 8″ cake pan, then line it with parchment paper in a cross shape for easy removal of the fudge once set.
-
Melt the Black Candy Melts: Microwave the black candy melts in a bowl for about 2 minutes. Stir every 30 seconds until completely smooth and glossy—this should be a rich black color!
-
Melt the Red Candy Melts: In a separate bowl, repeat the melting process with the red candy melts until you achieve a vibrant, luscious red hue.
-
Warm the Frosting: Warm the cream cheese frosting in the microwave for 45 seconds until glossy and easy to mix. This makes it easier to blend with the melted candy melts!
-
Combine the Frosting and Candy Melts: Divide the warmed frosting between the bowls of melted candy. Stir until fully combined, creating two colorful mixtures.
-
Layer in the Pan: Pour the black and red mixtures alternately into the prepared pan, creating layers that will form those spooky swirls when you cut into it!
-
Smooth the Mixture: Tap the pan gently on the counter to even out the mixture, ensuring there are no air bubbles. Then, refrigerate it for about 4 hours until fully set.
-
Cut the Fudge: Once set, lift the fudge out using the parchment paper, and slice it into squares, revealing the striking swirls of color inside!
Optional: Drizzle with salted caramel for an extra touch of indulgence.
Exact quantities are listed in the recipe card below.
Helpful Tricks for Vampire Fudge
• Smooth Melting: Make sure to microwave the candy melts in short intervals. Stir frequently to avoid scorching and achieve a silky texture.
• Patience is Key: Let the Vampire Fudge set completely in the fridge for the best sliceable texture. Rushing can lead to a gooey mess!
• Presentation Matters: Use tiered trays or festive platters for serving. This not only enhances the visual appeal but also makes it easy for guests to enjoy!
• Customization Tips: Feel free to play with flavors! Adding flavored extracts or using different candy colors can create truly unique Vampire Fudge variations.
What to Serve with Vampire Fudge?
Create the ideal dessert spread to complement your spooky treat! Layer on the fun and festive elements that make your Halloween gatherings unforgettable.
- Spooky Popcorn Balls: These sweet, crunchy treats add playful texture and whimsy, balancing the creamy fudge with a delightful crunch.
- Gummy Worms: Their chewiness and colorful appearance make them a perfect spooky touch that kids adore, adding fun to any Halloween party.
- Creepy Chocolate-Covered Strawberries: These deliciously dipped fruits bring freshness and elegance to your dessert table, enhancing the overall flavor experience.
- Monster Cake Pops: Cake pops decked out in vibrant colors and fun monster designs will charm guests of all ages while providing a bite-sized treat.
- Witch’s Brew Punch: A fruity, fizzy punch with floating eyeball gummies creates a festive drink to wash down the sweetness of Vampire Fudge.
- Mummy Cookies: These adorable cookies wrapped in white icing add festive flair, creating harmony with the visual theme of your food spread.
- Caramel Apples: The crisp apples paired with rich caramel offer a seasonal contrast; their crunchy texture complements the smooth fudge perfectly.
- Black Cat Cupcakes: Top them with distinctive designs that tie together the Halloween spirit, ensuring your dessert table remains cohesive and exciting.
- Ghostly Fruit Salad: A refreshing medley of fruits, artfully arranged to resemble spooky ghosts, adds a light and vibrant touch to balance out the richer sweets.
- Pumpkin Spice Hot Chocolate: A warm, comforting drink that complements the sweet treat with its rich flavors and spices, perfect for chilly autumn evenings.
How to Store and Freeze Vampire Fudge
Room Temperature: Store Vampire Fudge in an airtight container at room temperature for up to 3 days. Make sure to keep it away from direct sunlight and heat.
Fridge: For longer freshness, keep your Vampire Fudge in the refrigerator where it will last up to 1 week. Use an airtight container to prevent it from drying out or absorbing other flavors.
Freezer: To freeze, wrap each square of Vampire Fudge in plastic wrap and place them in an airtight container. They can be stored for up to 3 months.
Reheating: Thaw your frozen fudge in the fridge overnight before serving. Enjoy it chilled or allow it to come to room temperature for a delightful treat!
Vampire Fudge Variations
Feel free to let your creativity flourish and customize this treat with delightful twists that cater to your tastes!
-
Witchy Colors: Swap black/red candy melts for purple/green for a magical vibe perfect for any Halloween gathering. The playful hues will add the right touch of enchantment!
-
Crunch Factor: Incorporate crushed nuts or cookie crumbles for an added crunch. This texture contrast makes each bite a little surprise, enhancing the overall experience.
-
Festive Sprinkles: Top with Halloween-themed sprinkles for an extra festive pop. These bright additions will bring joy and a celebratory feel to every square, captivating both kids and adults.
-
Decadent Drizzle: Drizzle with salted caramel or rich chocolate for an indulgent flavor boost. This extra layer of sweetness elevates the fudge from fabulous to truly phenomenal!
-
Seasonal Spice: Add pumpkin spice or cinnamon to the frosting for a seasonal twist. The warm, comforting flavors will make your treat feel even cozier for fall celebrations.
-
Chili Kick: Sprinkle a bit of cayenne pepper into the mix for a spicy surprise. The unexpected heat will tantalize adventurous taste buds and create a memorable flavor fusion!
-
Nutty Delight: Try using flavored nut butters like almond or hazelnut in place of cream cheese frosting for a unique base. This swap adds depth and a delightful nuttiness to your fudge.
-
Fruit Fusion: Fold in pieces of dried fruit like cranberries or cherries for a burst of tangy sweetness. The fruity notes will bring an unexpected freshness to this rich dessert.
Make Ahead Options
These delightful Vampire Fudge squares are perfect for busy home cooks looking to save time during the Halloween season! You can prepare the fudge up to 24 hours in advance by following these simple steps: Melt the black and red candy melts and mix them with the warmed cream cheese frosting, then layer them in the pan as directed. Once you’ve tapped the pan to settle the mixture, refrigerate it for the full 4 hours until set. To maintain quality, keep the fudge stored in an airtight container in the refrigerator. When you’re ready to serve, simply cut it into squares and enjoy just as deliciously spooky as when first made!
Vampire Fudge Recipe FAQs
How do I choose the best candy melts?
Absolutely! When selecting candy melts, look for brands that offer vibrant coloring and smooth melting properties. Check for freshness by looking at the expiration date on the packaging. If you notice any dark spots or clumps, it’s best to choose a different pack. Always aim for high-quality candy melts for the best flavor and presentation in your Vampire Fudge.
How should I store leftover Vampire Fudge?
Very! To keep your Vampire Fudge fresh, store it in an airtight container at room temperature for up to 3 days. For longer storage, refrigerate it in an airtight container, where it can last up to 1 week. Just remember to keep it away from any strong odors, as fudge can absorb those flavors!
Can I freeze Vampire Fudge, and if so, how?
Absolutely! You can freeze Vampire Fudge by wrapping each square tightly in plastic wrap and placing them in an airtight container. This will help prevent freezer burn and keeps them tasting fresh. They can be stored for up to 3 months. When you’re ready to enjoy them, simply transfer the fudge to the fridge overnight to thaw. Enjoy chilled or let them come to room temperature before serving.
What should I do if my fudge is too soft when set?
Don’t worry! If your fudge turns out too soft, it may not have chilled long enough or could be due to not enough melting mix used. To fix this, try placing it back in the refrigerator for another hour. If it’s still too soft, you can melt it down again, add a bit more candy melts, then pour it back into the pan and let it set completely. This modification should give you firmer fudge.
Are there any dietary considerations for Vampire Fudge?
Very! While Vampire Fudge is gluten-free and vegetarian, it’s always important to check the labels of your candy melts and frosting for allergens, especially if serving guests. If you have any nut allergies, be sure to use toppings and ingredients that are certified nut-free, and let your guests know. This ensures everyone enjoys this spooky treat without concern!
Can I use other flavors or colors for my fudge?
Absolutely! The beauty of this recipe lies in its versatility. You can swap out the black and red candy melts for purple and green if you want a witch-themed version. Additionally, feel free to add flavored extracts like peppermint or cinnamon to the mix for a unique twist. I often find that crushed nuts or cookie crumbs make delightful additions too!

Freakishly Delicious Vampire Fudge That Wows Every Crowd
Ingredients
Equipment
Method
- Prepare the Pan: Grease an 8" x 8" cake pan, then line it with parchment paper in a cross shape.
- Melt the Black Candy Melts: Microwave in a bowl for about 2 minutes, stirring every 30 seconds until smooth.
- Melt the Red Candy Melts: Repeat the melting process in a separate bowl until vibrant and smooth.
- Warm the Frosting: Microwave cream cheese frosting for 45 seconds until glossy.
- Combine the Frosting and Candy Melts: Divide the frosting between the bowls of melted candy and stir until fully combined.
- Layer in the Pan: Pour the black and red mixtures alternately into the prepared pan.
- Smooth the Mixture: Tap the pan on the counter and refrigerate for about 4 hours until set.
- Cut the Fudge: Lift the fudge out using parchment paper, and slice into squares to reveal swirls.
- Optional: Drizzle with salted caramel for extra indulgence.


