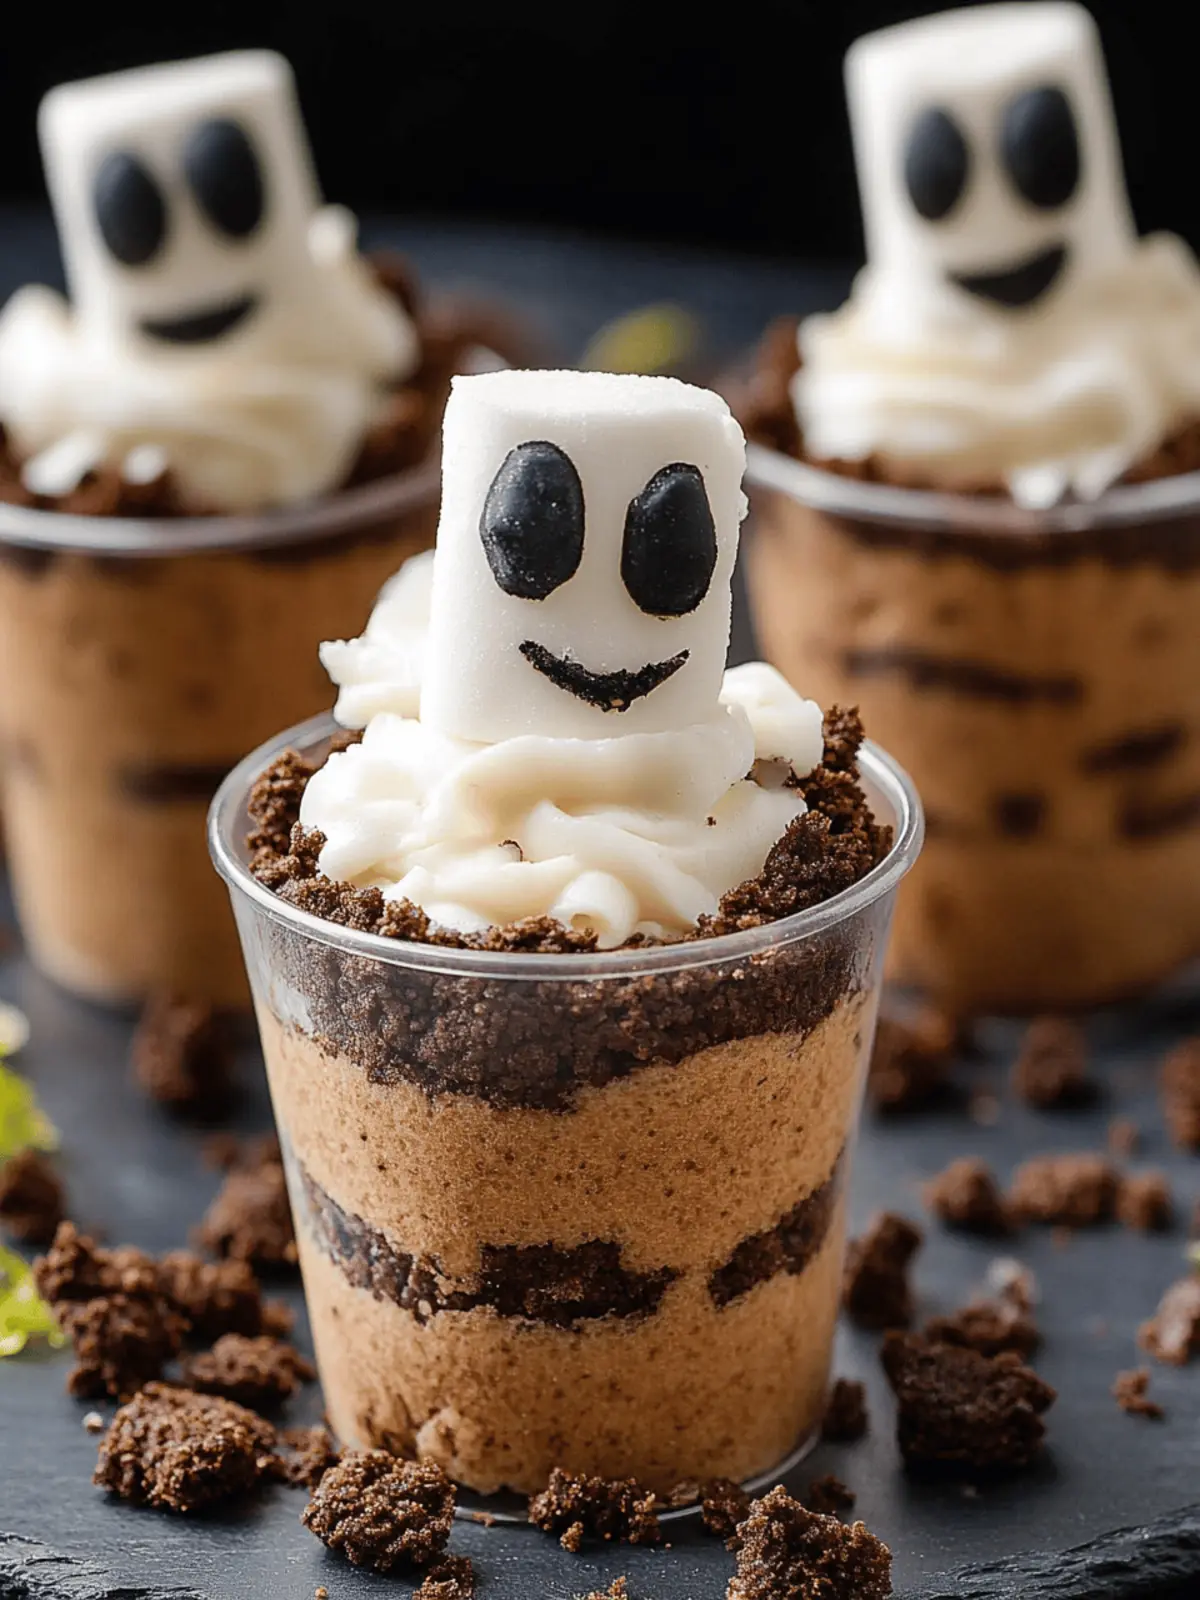
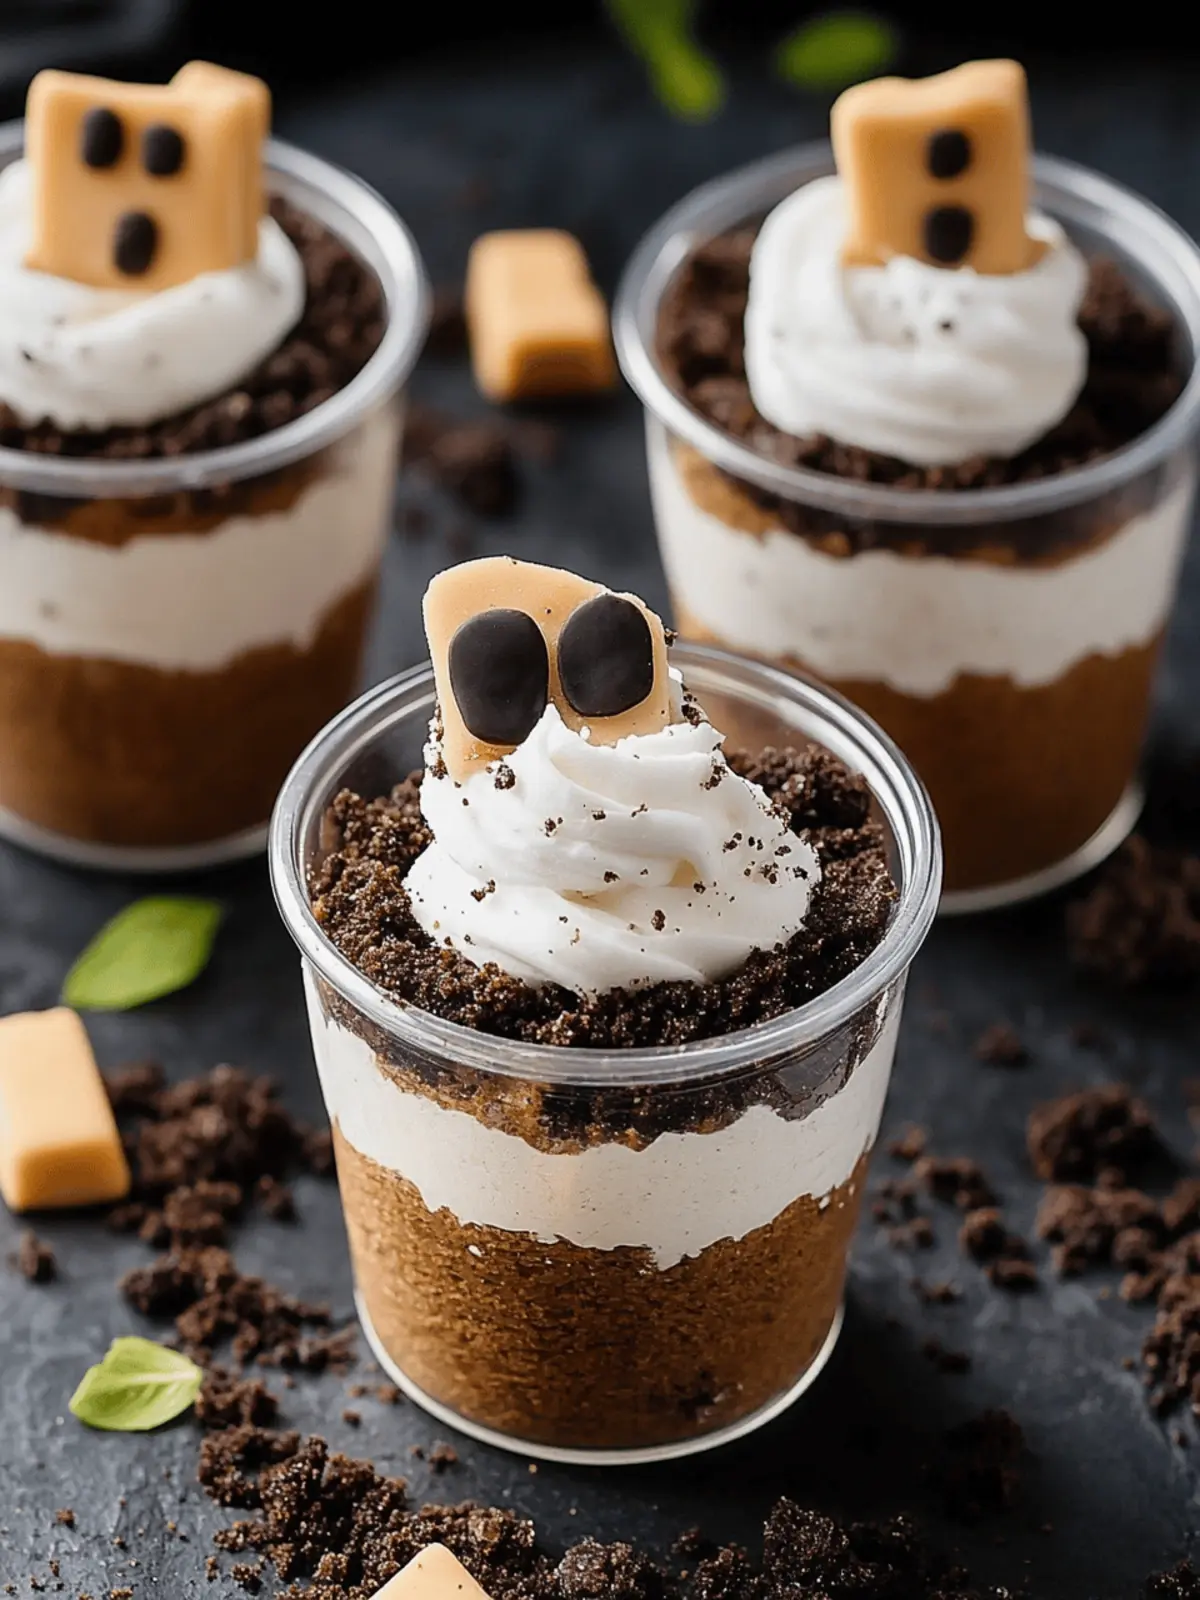
As the leaves turn crispy and the air carries a hint of chill, my kitchen becomes a playground for spooky creativity. Halloween isn’t just about costumes and candy; it’s the perfect opportunity to whip up something both delicious and delightfully eerie. Enter the Mummy’s Tomb Dirt Cups, a playful twist on the classic dirt cup dessert that brings a bit of whimsy to your festivities. Picture layers of creamy chocolate pudding, crunchy crushed Oreos, and gummy worms crawling atop—it’s all fun and games until you take the first bite! These treats are not only easy to assemble but will thrill guests of all ages with their ghoulish appeal. With eight unique variations to explore, you’re in for a hauntingly good time in the kitchen this Halloween! So gather your ingredients and get ready to wow your friends and family with a dessert that’s spook-tacularly delicious.
Why are Mummy’s Tomb Dirt Cups a must-try?
Creativity Unleashed: These dirt cups let your imagination run wild with spooky decorations and flavors.
Easy Assembly: With minimal prep, you can whip up a crowd-pleaser in no time!
Family-Friendly Fun: From kids to adults, everyone will love the playful presentation and delicious taste.
Versatile Variations: Experiment with up to eight unique twists on this classic treat for endless Halloween joy.
Visual Appeal: The clear cups showcase luscious layers, making them as delightful to look at as they are to eat.
Memorable Gatherings: These treats are sure to steal the show at your Halloween parties or family get-togethers, ensuring everyone leaves with a smile!
Mummy’s Tomb Dirt Cups Ingredients
For the Pudding Layer
• Chocolate Pudding – Provides a rich, creamy texture essential for the dirt cup base; you can easily substitute with vanilla pudding for a lighter taste.
For the ‘Dirt’ Layer
• Crushed Oreos – Mimics the appearance of dirt and adds a delightful crunch; consider using crushed chocolate graham crackers for a unique twist.
For the Topping
• Gummy Worms – A spooky must-have that enhances the Halloween theme; switch them out for gummy spiders or other Halloween-themed candies for a fun variation.
• Whipped Cream – Adds a fluffy, sweet touch that lightens the dessert; for a healthier alternative, whipped coconut cream works beautifully.
• Chocolate Sprinkles – Optional but definitely recommended for an additional crunchy texture and to boost the ‘dirt’ effect.
For Decorative Elements
• Edible Eyes or Halloween Candy – These fun accessories elevate the spooky factor of your Mummy’s Tomb Dirt Cups; they can turn an already delightful treat into a haunting experience!
How to Make Mummy’s Tomb Dirt Cups
-
Prepare the pudding: Begin by whipping up the chocolate pudding according to the package instructions. Once mixed, chill it in the fridge for 10-15 minutes until it thickens nicely and is ready to layer.
-
Layer the pudding: Once set, grab your clear cups or containers. Spoon the chocolate pudding in, filling them halfway to showcase those glorious layers to your guests.
-
Add the ‘dirt’ layer: Sprinkle a generous layer of crushed Oreos over the pudding. This crunch not only mimics dirt but adds a delightful sweetness that contrasts with the creaminess below.
-
Repeat the layers: If desired, repeat the layers of pudding and crushed Oreos to create a taller, more visually striking dessert. The more layers, the more fun!
-
Top with cream: Add a fluffy dollop of whipped cream on top of your layers. This gives a light finish and creates a perfect ‘tomb’ for the worms!
-
Decorate: Finish off your Mummy’s Tomb Dirt Cups with gummy worms and a sprinkle of chocolate sprinkles. Let your creativity shine; you can add edible eyes or spooky candy for extra charm!
-
Chill before serving: To enhance the texture and flavors, pop the cups in the refrigerator for at least 30 minutes. It gives the dessert a refreshing touch that’s perfect for Halloween.
Optional: Drizzle some chocolate syrup over the top for an extra touch of sweetness.
Exact quantities are listed in the recipe card below.
Expert Tips for Mummy’s Tomb Dirt Cups
• Proper Pudding Setting: Allow the pudding to chill adequately to avoid a runny consistency, ensuring your Mummy’s Tomb Dirt Cups maintain a delightful structure.
• Clear Containers: Opt for clear cups or jars; they not only look appealing but showcase the delicious layers for an eye-catching presentation.
• Layering Technique: Layer gently to keep your pudding and ‘dirt’ distinct. This visual contrast makes the dessert much more appealing!
• Creative Decor: Consider using different candies like gummy spiders instead of worms for a unique twist—mixing things up enhances the Halloween theme!
• Chill for Best Flavor: Don’t skip refrigerating your cups for at least 30 minutes before serving; chilling enhances the flavors and provides a refreshing texture.
• Presentation Matters: Dress up your cups with edible eyes or spooky sprinkles for that extra fun—your guests will be charmed by the creativity!
How to Store and Freeze Mummy’s Tomb Dirt Cups
Fridge: Store prepared Mummy’s Tomb Dirt Cups in the refrigerator for up to 3 days. This keeps the pudding creamy and the Oreos crunchy while maintaining their spooky appeal.
Wrapping: Cover the cups with plastic wrap to protect them from absorbing fridge odors and keep them fresh. Avoid adding decorative elements until you’re ready to serve for the best presentation.
Freezer: While it’s not recommended to freeze the assembled dirt cups, you can freeze the pudding layer separately for up to 2 months. Thaw it in the fridge before layering with Oreos and toppings.
Reheating: As these treats are best served cold, there’s no need for reheating. Enjoy straight from the fridge for a refreshing Halloween delight!
Make Ahead Options
These Mummy’s Tomb Dirt Cups are perfect for busy home cooks looking to save time during the Halloween rush! You can prepare the chocolate pudding layer up to 24 hours in advance and store it in the refrigerator. Additionally, crush the Oreos and keep them in an airtight container to maintain their crispness. When you’re ready to serve, simply layer the prepped pudding and Oreos, top with whipped cream, and add your ghoulish decorations like gummy worms and sprinkles. This approach not only keeps your dessert just as delicious but also allows you to whip up a spooky treat with minimal effort right before your gathering!
What to Serve with Mummy’s Tomb Dirt Cups?
Creating a thrilling spread for Halloween can elevate the excitement, making your festivities memorable and delicious.
- Witch’s Brew Punch: A refreshing, tangy drink that adds a splash of color and a thirst-quenching delight alongside your spooky desserts.
- Spider Deviled Eggs: These creepy appetizers share the spotlight, delivering a savory bite that contrasts beautifully with the sweetness of the dirt cups.
- Monster Mac and Cheese: Its creamy, cheesy goodness adds a hearty element to the table, showcasing a comforting dish that everyone will adore.
- Pumpkin Soup: This warm, velvety soup brings autumn vibes and balances the sweetness of the dirt cups with its earthy flavors.
- Ghostly Fruit Skewers: A fresh, healthy option made with seasonal fruits like apples and grapes, they offer a fun way to balance the rich dessert.
- Candy Corn Popcorn: This sweet and salty snack provides an additional layer of crunch and whimsy that pairs perfectly with your spooky treats.
- Mummy Meatballs: These fun, themed bites add a savory touch to your Halloween spread while ensuring a variety of flavors at your gathering.
- Chocolate Haunted House Cake: Keep the chocolate theme alive with a decadent cake that serves as a stunning centerpiece for your dessert table.
- Creepy Crawly Cupcakes: These themed treats amplify the spooky atmosphere, offering a touch of lightness and sweetness alongside the decadent dirt cups.
- Apple Cider: Serve this spiced drink warm or cold, and let its comforting aroma fill your home; it’s the perfect cozy companion to round off the spooky theme.
Mummy’s Tomb Dirt Cups Variations
Get ready to dive into a cauldron of creativity with these spooktacular twists that will make your Halloween dessert even more enchanting!
-
Pumpkin Spice: Substitute chocolate pudding with pumpkin spice pudding for a festive fall flavor. This sweet twist will infuse your cups with charming autumn vibes!
-
Gory ‘Bloody’ Layers: Use strawberry or raspberry puree between the layers to create a bloody effect. This not only intensifies the flavor but adds a fun surprise!
-
Nutty Crunch: Add a layer of crushed nuts like walnuts or almonds between the ‘dirt’ layers for an unexpected crunch. It brings a delightful texture and taste to each bite.
-
Minty Fresh: Swap the chocolate pudding for mint chocolate pudding. This refreshing flavor will give your dessert a cool twist perfect for Halloween!
-
Colorful Cream: Layer green-tinted whipped cream for a monstrous touch. This adds a pop of color, making your cups even more visually enticing for your spooky crowd!
-
Extra Creepy: Decorate with candy eyes—these little guys turn your Mummy’s Tomb Dirt Cups into a fun and frightful treat that will have everyone laughing!
-
Chocolate Lovers’ Delight: Add a drizzle of chocolate syrup between layers for an extra rich experience. This ensures every mouthful is decadently delicious and intensely chocolatey!
-
S’mores Style: Replace the Oreos with crushed graham crackers and mini marshmallows for a campfire-esque flavor. This twist brings a nostalgic taste to your Halloween festivities!
Mummy’s Tomb Dirt Cups Recipe FAQs
What type of chocolate pudding should I use?
Absolutely! You can use any brand of instant chocolate pudding for these treats. If you’re feeling adventurous, try substituting with vanilla pudding for a lighter flavor that pairs well with the crushed Oreos.
How should I store Mummy’s Tomb Dirt Cups?
You can store prepared Mummy’s Tomb Dirt Cups in the refrigerator for up to 3 days. Make sure to cover them with plastic wrap before storing to keep them fresh and prevent them from absorbing any fridge odors. I often prepare them a day in advance for parties!
Can I freeze Mummy’s Tomb Dirt Cups?
It’s best not to freeze the assembled Mummy’s Tomb Dirt Cups as the texture can change. However, if you wish to freeze the pudding, you can do so separately for up to 2 months. Just remember to thaw it in the fridge before layering it with the Oreos and toppings.
What if my pudding layer is runny?
If your pudding turns out runny, here’s a tip: make sure you’ve allowed it to chill for the full time specified on the package instructions—usually 10-15 minutes. If you run into a consistency issue, try mixing another small batch of pudding and gently fold it into the runny pudding for a smoother texture.
Can I use other toppings besides gummy worms?
Very! You can absolutely mix it up by using gummy spiders or even fruit-based candies to enhance the spooky theme. Edible eyes or Halloween-themed chocolate can also add a fun twist and make your Mummy’s Tomb Dirt Cups even more visually appealing!
Are these treats safe for children with allergies?
Please be cautious! These Mummy’s Tomb Dirt Cups contain dairy (in the pudding and whipped cream) and gluten (in the Oreos). If making them for kids with allergies, consider alternatives like dairy-free pudding and gluten-free cookies to ensure everyone can enjoy these festive delights.

Mummy’s Tomb Dirt Cups: Spooky Treats for Halloween Fun
Ingredients
Equipment
Method
- Prepare the pudding by whipping up the chocolate pudding according to the package instructions and chill for 10-15 minutes.
- Layer the pudding in clear cups, filling them halfway.
- Add a layer of crushed Oreos over the pudding.
- Repeat the layers if desired to create more height.
- Top the layers with a dollop of whipped cream.
- Decorate with gummy worms and chocolate sprinkles, and add edible eyes for extra charm.
- Chill in the refrigerator for at least 30 minutes before serving.
