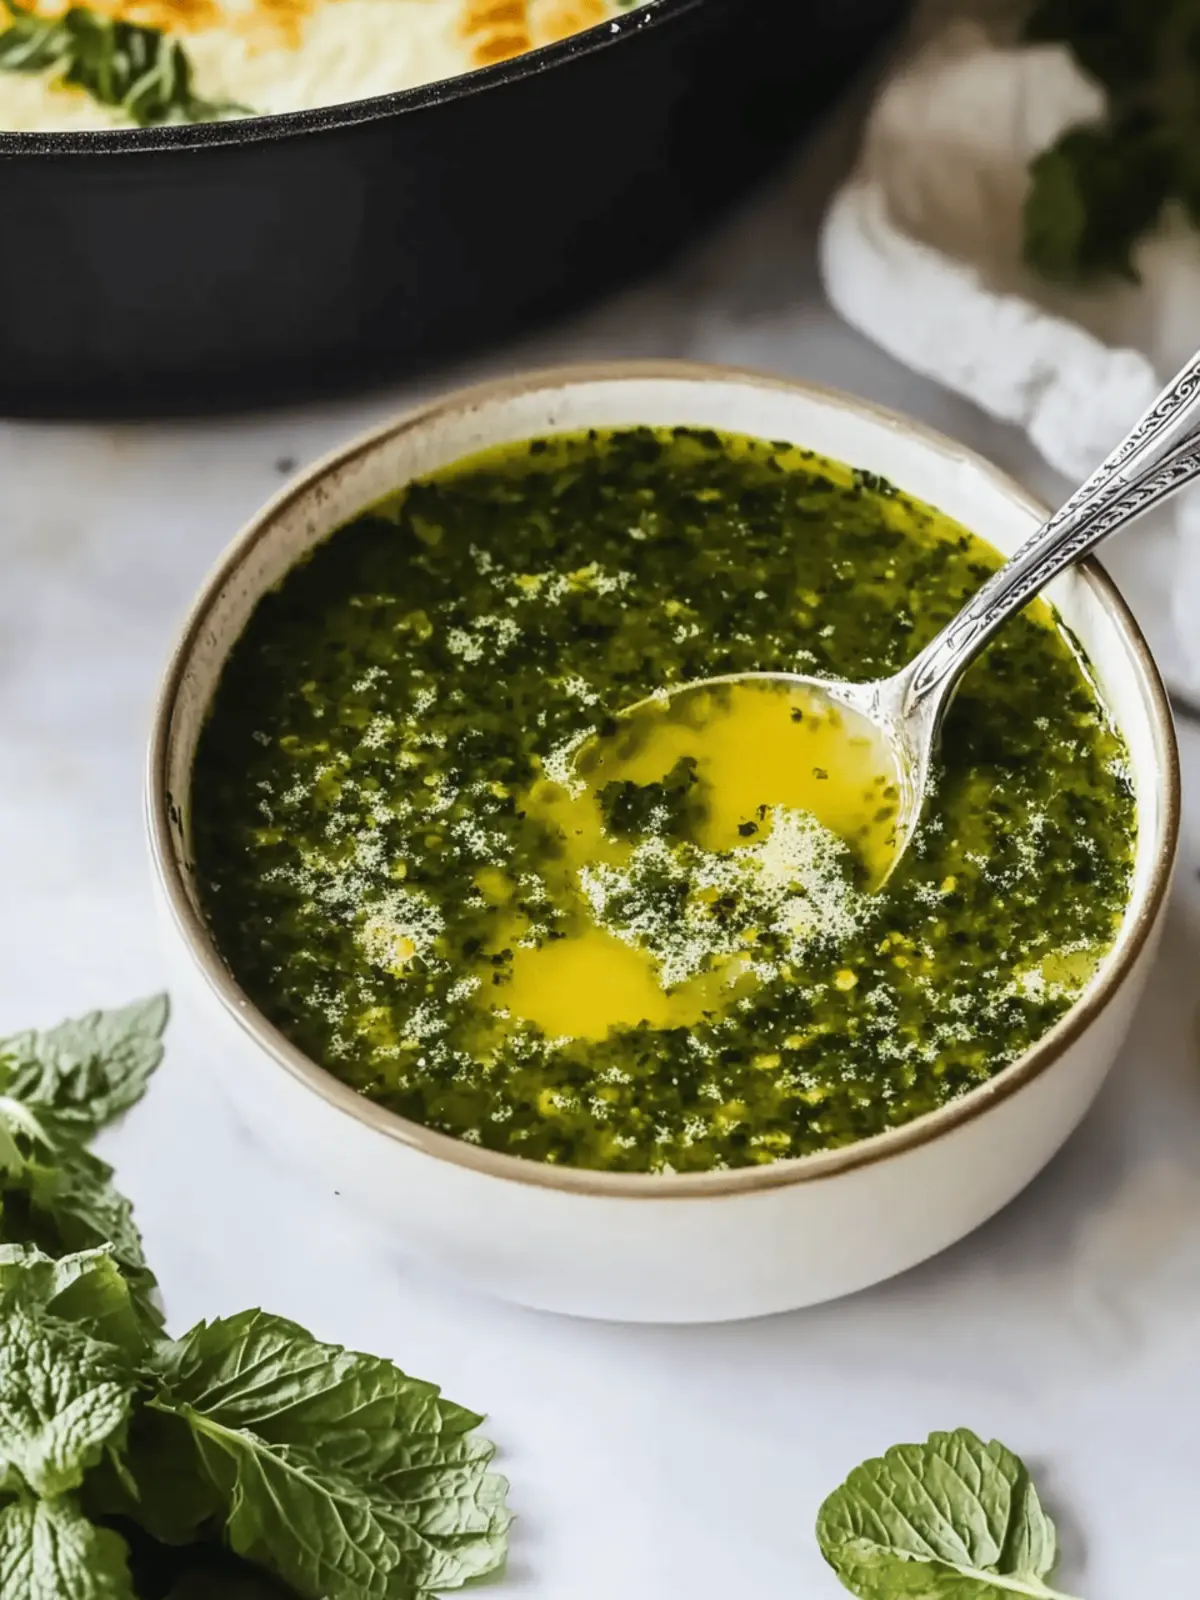
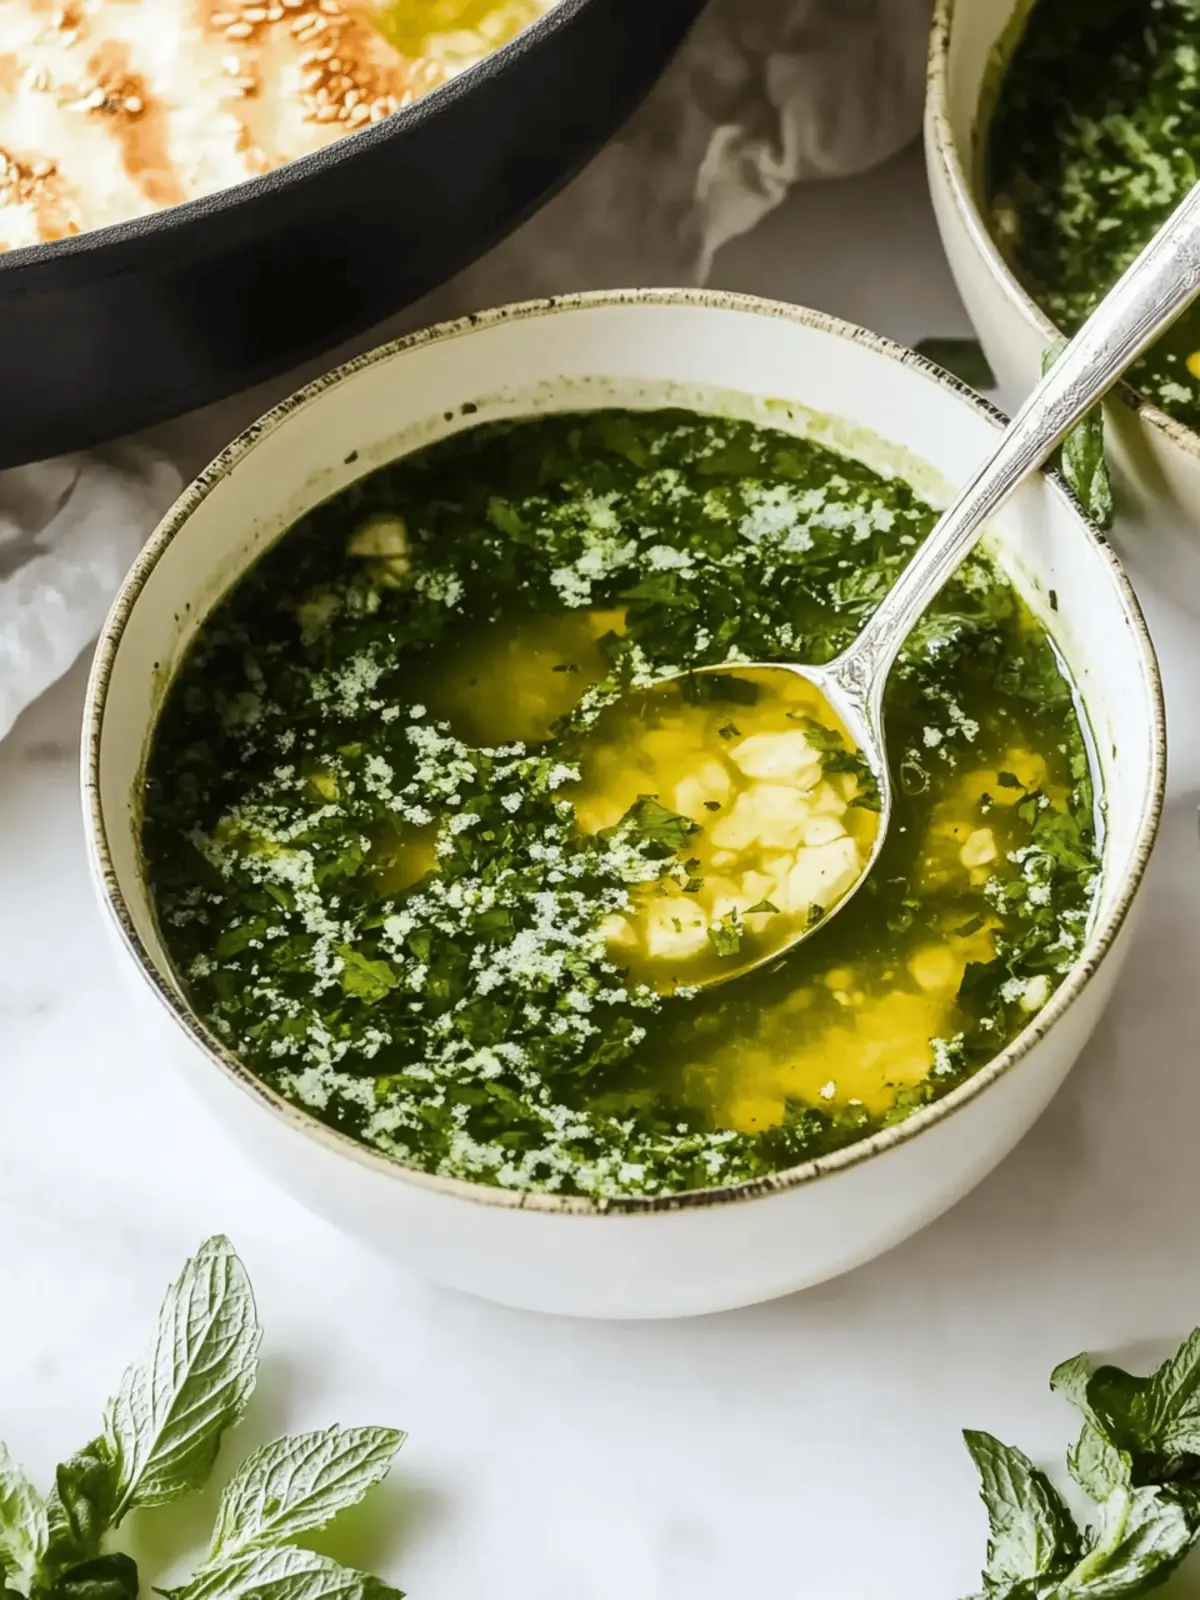
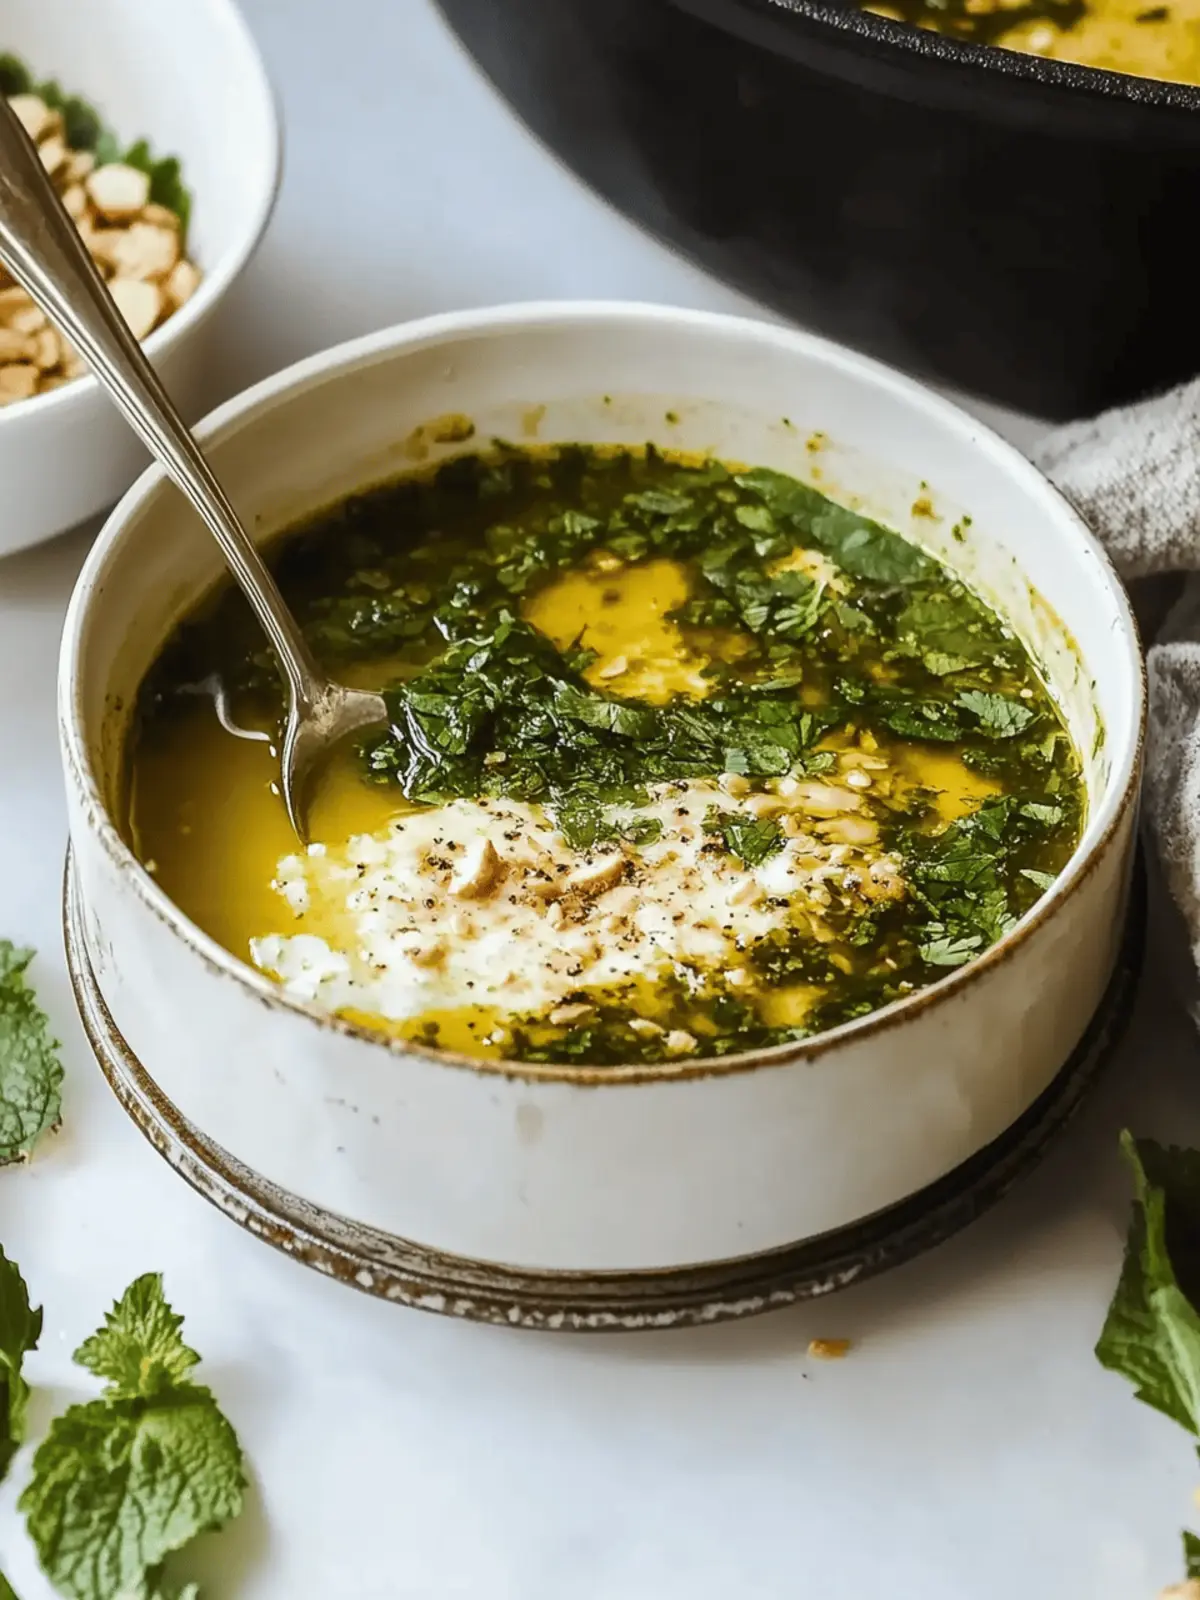
There’s something incredibly comforting about the vibrant, earthy aroma of molokhia wafting through the kitchen. As the garlic sizzles gently in the pan, it evokes memories of family dinners shared around a table, where laughter and love are the main ingredients. This Middle Eastern classic is more than just a dish; it’s a warm embrace that nourishes the body and soul. Whether you’re looking for a quick weeknight meal or a cozy weekend indulgence, molokhia offers an effortless way to elevate your cooking game without the fuss.
Packed with nutrient-rich molokhia leaves, this recipe shines with its rich, garlicky broth that pairs beautifully with fluffy rice or warm bread. Even better, it has vegan-friendly adaptations, making it a versatile option for everyone. Join me on this culinary adventure and discover how easily you can recreate this beloved dish at home, filling your kitchen with delightful aromas and your heart with joy.
Why Will You Love This Mulukhiya?
Comforting warmth: This dish wraps you in a cozy hug, perfect for any family gathering.
Quick and easy: It’s a simple recipe, making it ideal for busy weeknights without compromising on flavor or nutrition.
Nutrient-rich goodness: Molokhia leaves are packed with vitamins and minerals, ensuring you serve a healthy meal without the fuss.
Vegan options: Adaptable to suit different dietary preferences, making it a versatile choice for everyone at the table.
Aromatic appeal: Infused with garlic and spices, it fills your home with mouthwatering scents that everyone will love.
Discover more comforting recipes like this that unite flavor and convenience, perfect for your next family dinner!
Mulukhiya Ingredients
For the Broth
• Chicken or Vegetable Broth – 3 cups; this is the base for your mulukhiya, enhancing the dish’s overall flavor.
• Salt and Black Pepper – To taste; essential for bringing out all the wonderful flavors in the broth.
For the Molokhia
• Molokhia Leaves – 1 pound, fresh or frozen; these nutrient-dense leaves are the star of the dish and add a lovely green hue.
• Butter – 3 tablespoons; this adds rich, creamy flavor, but can be swapped with olive oil for a vegan version.
For Aromatics
• Garlic – 5 cloves, minced; fresh garlic lends aromatic depth that elevates the taste of mulukhiya.
• Ground Coriander – 1 teaspoon; gives warmth and a slight citrus note, but can be swapped with cumin if desired.
• Additional Coriander – 1/2 teaspoon; boosts the herbal essence that complements the molokhia leaves beautifully.
Enjoy crafting your comforting mulukhiya with these simple ingredients!
How to Make Mulukhiya
- Melt butter in a saucepan over medium heat until bubbling softly, filling your kitchen with a delicious aroma. This step is crucial for creating a rich base for your dish.
- Add minced garlic and sauté for about 2 minutes until fragrant, being careful not to let it burn. The golden color indicates it’s ready for the next step.
- Stir in ground coriander and cook for another minute to bloom the spices, releasing their full flavors and adding depth to the broth.
- Pour in the broth and additional coriander; bring everything to a gentle simmer. This allows the flavors to meld beautifully.
- Stir in the molokhia leaves and cook until tender, around 5–7 minutes, seasoning with salt and pepper to taste. The leaves should be vibrant and cooked through.
- Serve warm alongside fluffy rice or bread, creating a comforting meal that invites everyone to the table.
Optional: Garnish with a sprinkle of fresh herbs for a pop of color and added flavor.
Exact quantities are listed in the recipe card below.
Make Ahead Options
These mulukhiya are fantastic for busy weeknights! You can prep the molokhia leaves and garlic up to 24 hours in advance; simply wash and chop the leaves, then store them in an airtight container in the refrigerator. Additionally, you can sauté the garlic and spices ahead of time, allowing you to combine them with the broth quickly. When you’re ready to serve, just bring the broth to a gentle simmer, stir in the prepped molokhia leaves, and cook until tender (about 5–7 minutes). This way, you’ll have a delicious, comforting meal on the table with minimal effort, ensuring it’s just as delightful as when made fresh!
Expert Tips for Mulukhiya
- Freshness First: Use fresh molokhia leaves without dark spots for the best flavor and texture; this makes all the difference in your mulukhiya.
- Mind the Garlic: Sautéing garlic is crucial—cook just until fragrant to avoid bitterness; this enhances the warm aroma of your dish.
- Adjust Thickness: If your mulukhiya is too thick, add a splash of broth to reach your desired consistency; this ensures a silky texture.
- Herbal Twists: Feel free to experiment with herbs like mint or cilantro for a refreshing touch; it elevates the flavor and presentation.
- Make-Ahead Magic: Prep the molokhia leaves and garlic in advance to save time; this is a game changer for busy weeknights!
- Serving Suggestions: Pair with warm pita or a zesty salad; these complement the richness of mulukhiya beautifully.
Mulukhiya Variations & Substitutions
Feel free to get creative with this delightful dish; there are endless ways to customize your molokhia!
- Vegan Version: Use olive oil instead of butter and swap in vegetable broth to make it plant-based.
- Herbal Twist: Add fresh herbs like cilantro or dill for an aromatic lift that brightens the flavor profile.
- Spicy Addition: Toss in red pepper flakes or diced jalapeños to give your molokhia an exciting kick of heat.
- Protein Boost: Stir in shredded rotisserie chicken, chickpeas, or lentils for an extra dose of nutrition and heartiness.
- Citrus Zest: A squeeze of fresh lemon juice right before serving elevates flavors and adds a refreshing acidity.
- Nutty Flavor: Incorporate a tablespoon of tahini for a creamy texture and a nutty taste that pairs beautifully with the broth.
- Texture Variation: Blend half the molokhia leaves before cooking for a smooth, velvety broth, while leaving the rest whole for texture.
- Broth Swap: Experiment with different broths, such as chicken or beef, for a more robust flavor, perfect if that’s your preference.
What to Serve with Mulukhiya?
To create a beautifully balanced meal, consider these delightful pairings that enhance the comforting, garlicky goodness of molokhia.
-
Fluffy Rice: Serves as the perfect base, soaking up the rich broth and complementing the tender molokhia leaves. A warm, comforting classic!
-
Warm Pita Bread: Soft and chewy, pita is ideal for scooping up molokhia. Its mild flavor lets the main dish shine, adding that extra special touch.
-
Crispy Fried Eggplant: Offers a delicious contrast in textures; the crispy exterior pairs wonderfully with the silky molokhia for a satisfying bite.
-
Zesty Garlic Lemon Salad: The bright acidity cuts through the richness of the molokhia, refreshing the palate and adding a vibrant twist to the meal.
-
Spicy Chickpeas: Packed with flavor and protein, these give an unexpected kick that complements the earthiness of the molokhia while making the dish even more filling.
-
Mint Yogurt Dip: A cool and creamy addition, this dip balances out the warm spices of the molokhia perfectly. The mint adds a pop of freshness that everyone will enjoy.
Storage Tips for Mulukhiya
-
Room Temperature: Serve fresh molokhia warm; avoid leaving it out for more than 2 hours to maintain safety and freshness.
-
Fridge: Store leftovers in an airtight container for up to 3 days. Make sure to cool the dish to room temperature before sealing to prevent condensation.
-
Freezer: Mulokhiya can be frozen for up to 2 months. Portion it into freezer-safe containers, allowing for easy reheating.
-
Reheating: Thaw overnight in the fridge and gently reheat on the stove over low heat, adding a splash of broth if needed to restore its silky texture.
Mulukhiya Recipe FAQs
What type of molokhia leaves should I use?
I recommend using fresh molokhia leaves if you can find them; they provide the best flavor and texture. When selecting fresh leaves, look for vibrant greens without dark spots or wilting. If fresh is unavailable, frozen molokhia is a great alternative and can be found in many grocery stores.
How long can I store leftover mulukhiya?
Leftover mulokhia can be stored in an airtight container in the fridge for up to 3 days. Make sure you cool it to room temperature before sealing to prevent moisture build-up. This way, you’ll keep that lovely texture intact for your next meal!
Can I freeze mulokhia? If so, how?
Absolutely! You can freeze mulokhia for up to 2 months. First, let it cool completely, then portion it into freezer-safe containers or bags. Make sure to label them with the date. When you’re ready to enjoy it again, thaw it overnight in the fridge and reheat gently on the stove, adding a splash of broth to restore its deliciously silky consistency.
What if my mulokhia turns out too thick?
If you find your molokhia is thicker than you’d like, don’t fret! Simply add a splash of broth or water while reheating until you reach your desired consistency. Stir it well and let it simmer on low heat for a few minutes, which should help loosen it up beautifully.
Is mulokhia safe for pets or those with allergies?
While the ingredients in mulokhia are generally safe for human consumption, I advise against feeding it to pets, especially due to the garlic content, which can be harmful to them. Additionally, if you’re serving this dish to someone with allergies, ensure that all ingredients, such as butter or potassium in broth, are allergy-free to keep everyone safe and happy!
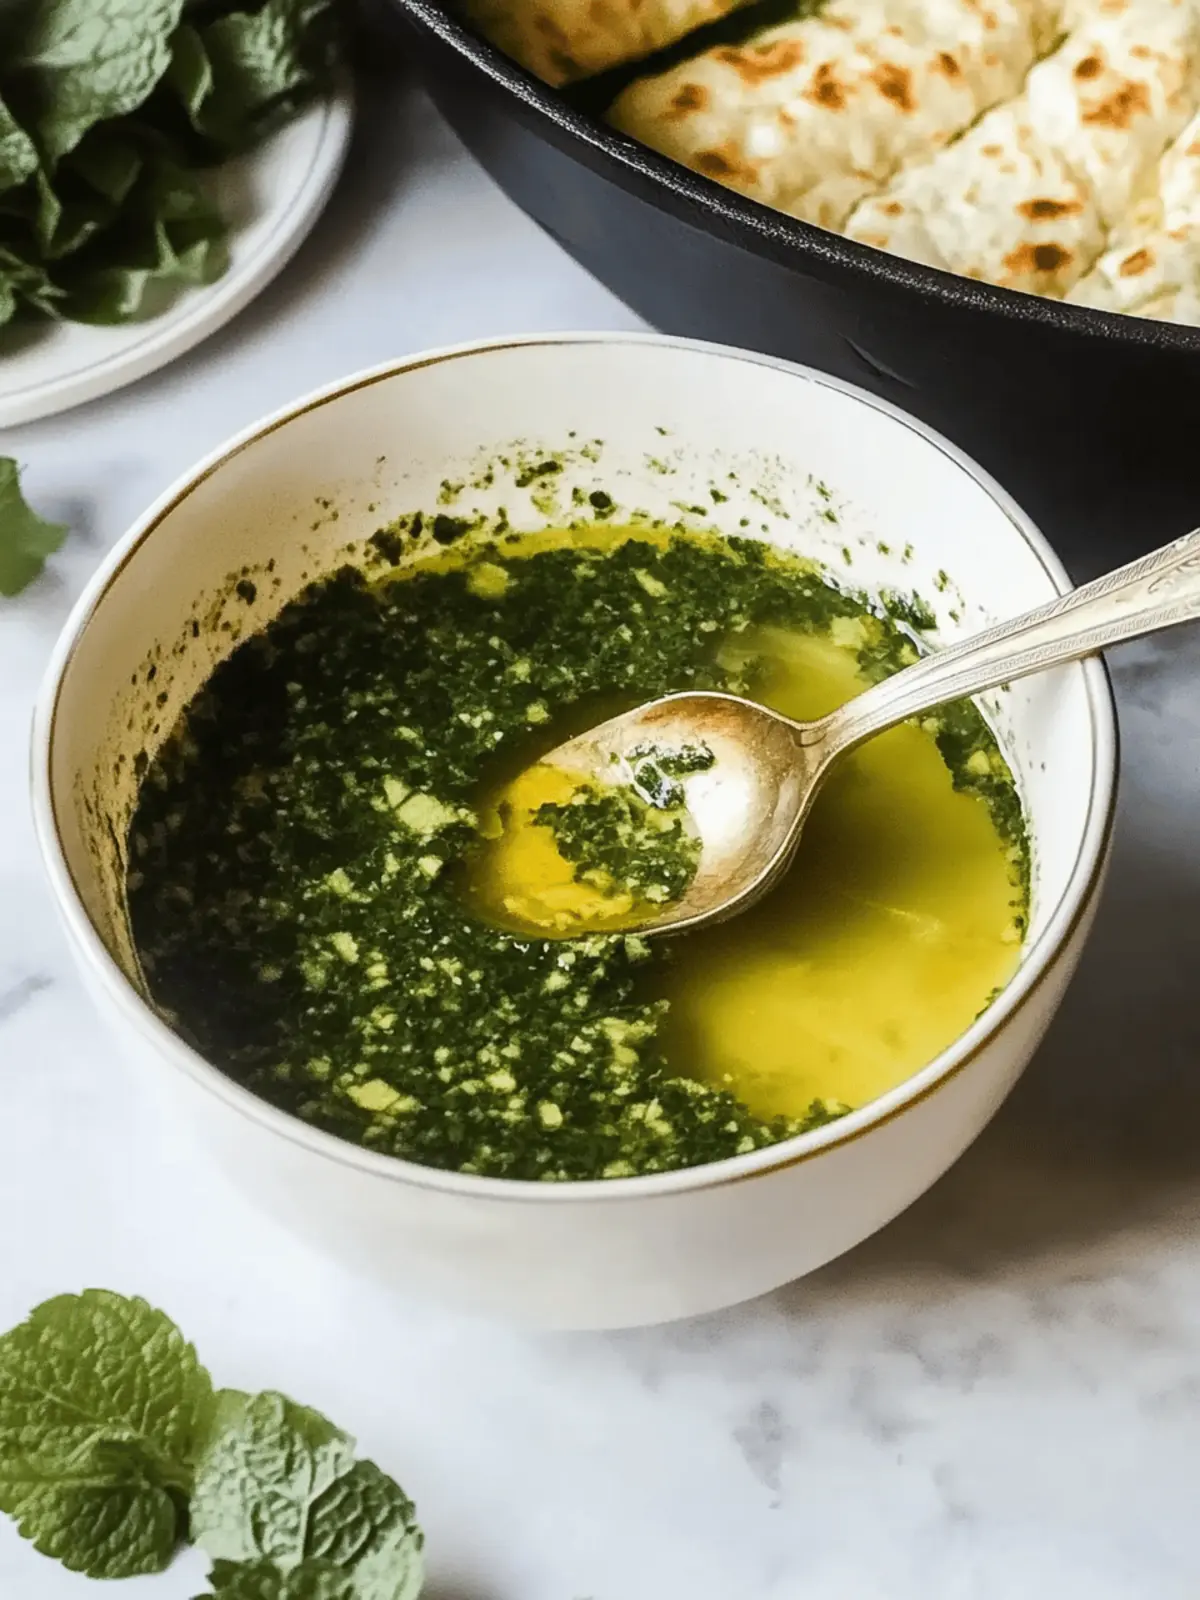
Mouthwatering Mulukhiya: Quick Comfort for Your Family Dinner
Ingredients
Equipment
Method
- Melt butter in a saucepan over medium heat until bubbling softly.
- Add minced garlic and sauté for about 2 minutes until fragrant.
- Stir in ground coriander and cook for another minute.
- Pour in the broth and additional coriander; bring everything to a gentle simmer.
- Stir in the molokhia leaves and cook until tender, around 5–7 minutes.
- Serve warm alongside fluffy rice or bread.

