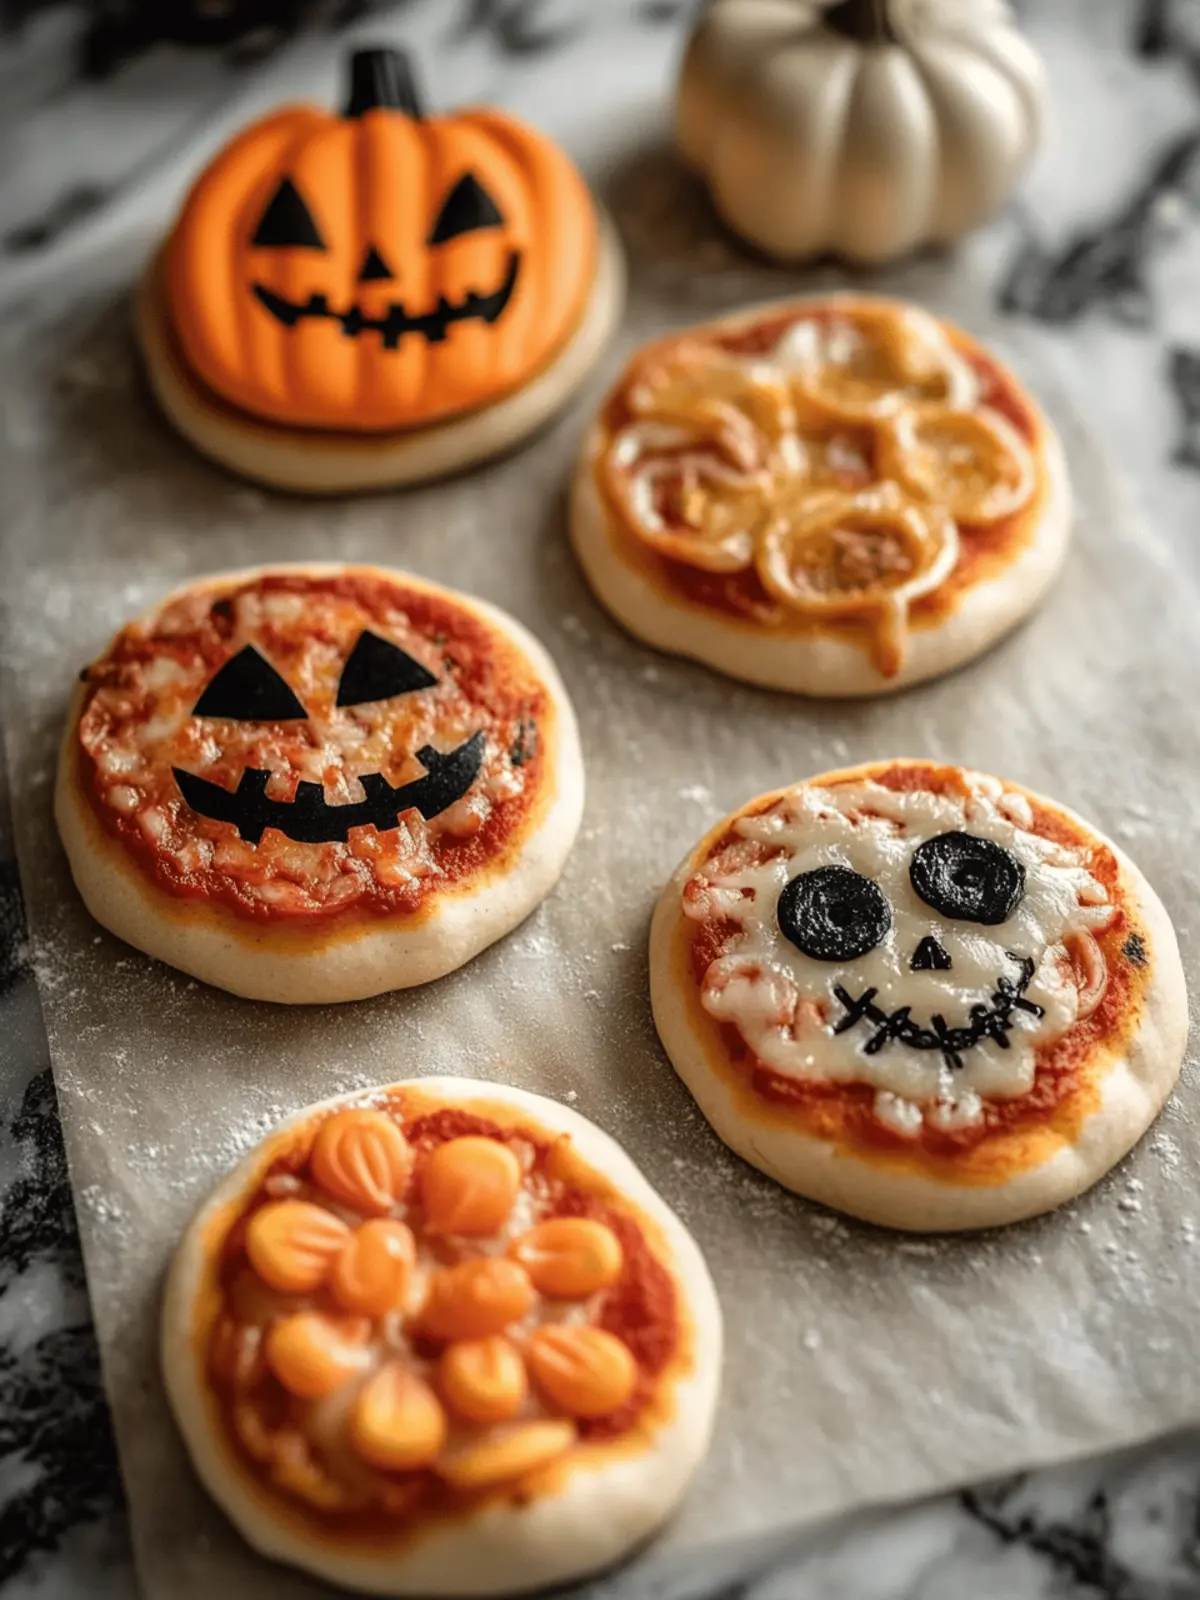
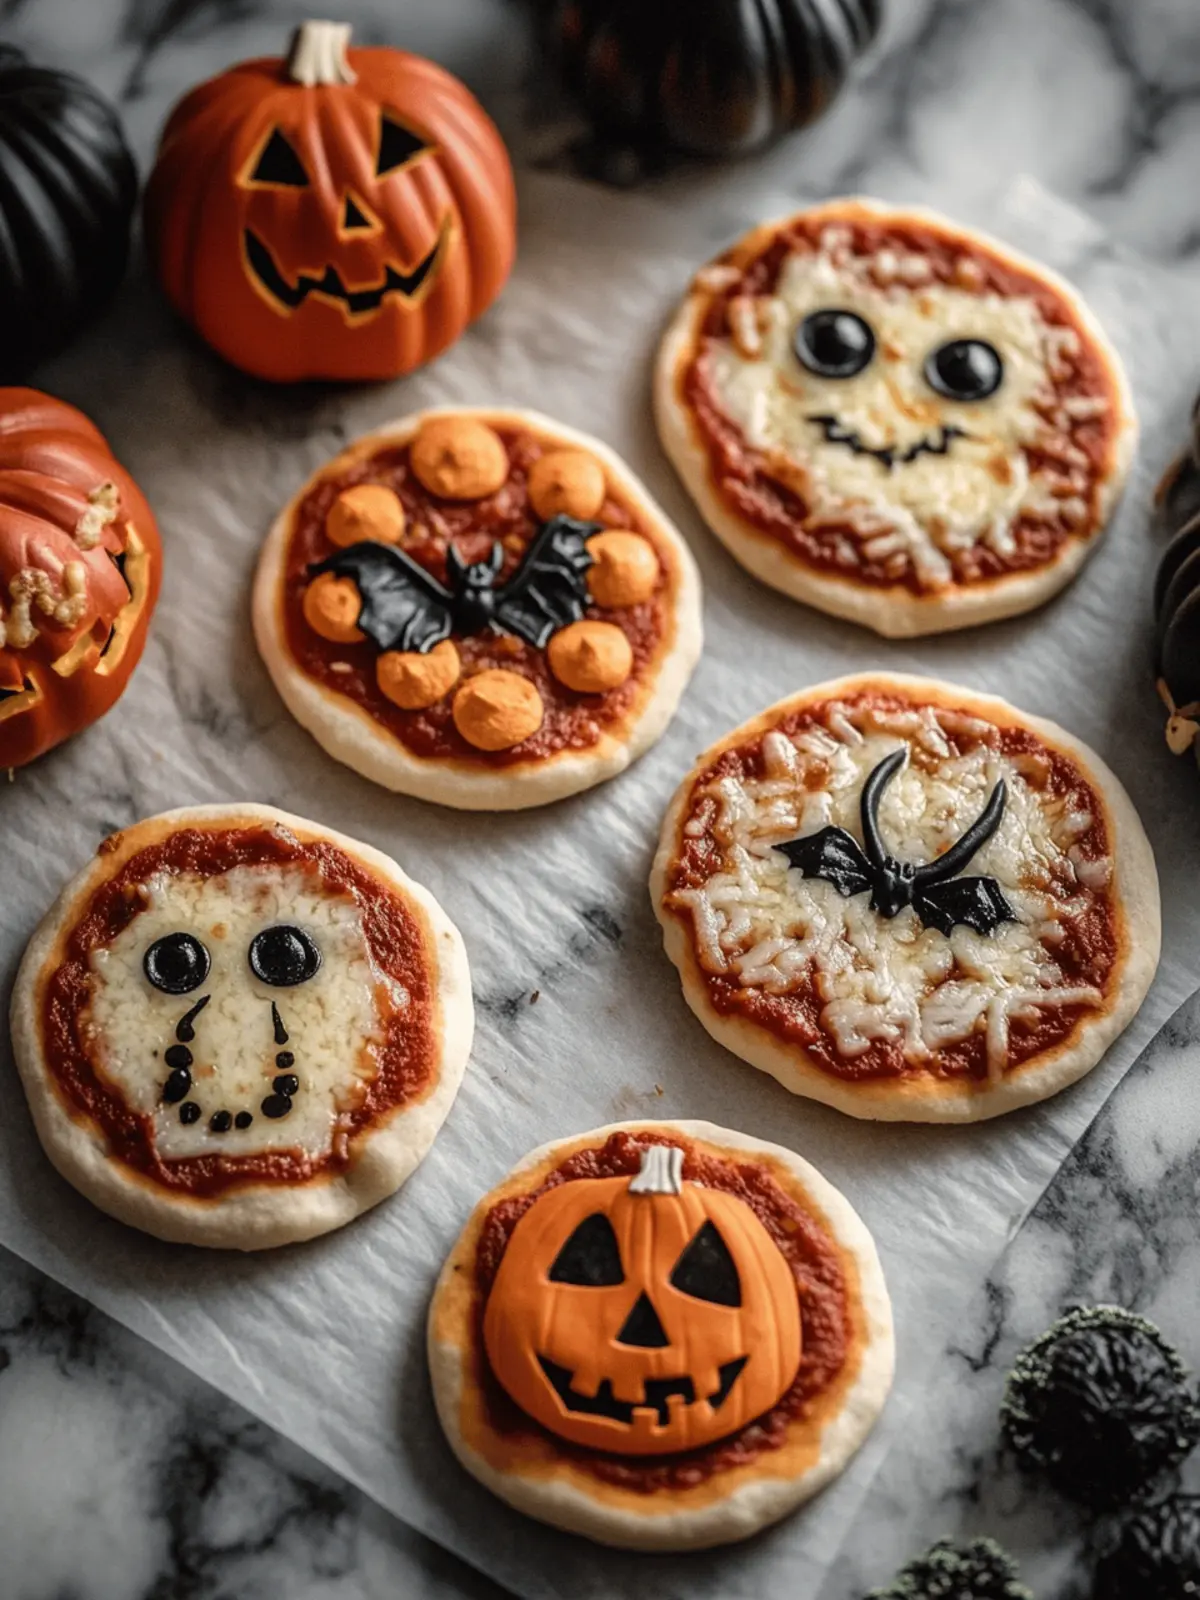
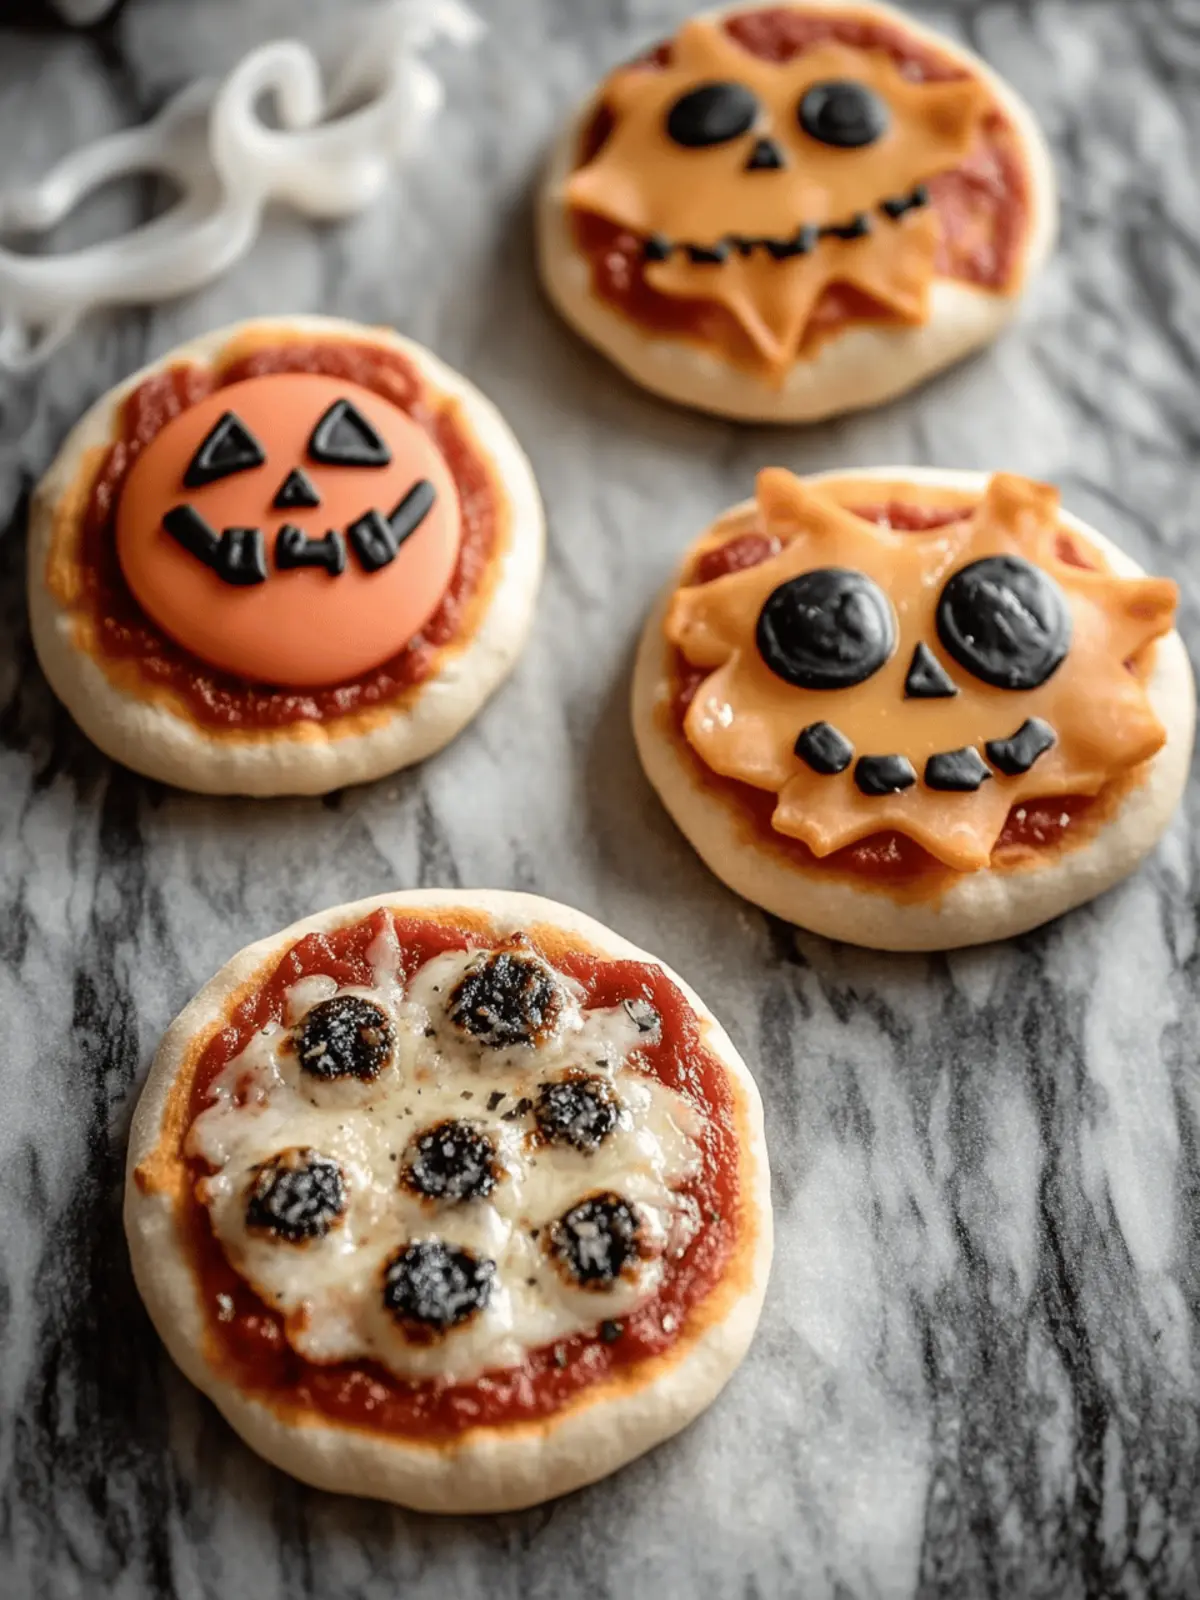
When the leaves begin to change and the crisp autumn air sets in, I find myself in the kitchen, ready to conjure up some spooky delights. These Easy Mini Halloween Pizzas are not just a treat; they’re a playful activity perfect for the whole family! Each little pie transforms into whimsical characters—think goofy ghosts, wiggly spiders, and charming jack-o’-lanterns—using just a handful of simple ingredients you probably already have in your pantry.
With a prep time of only 25 minutes, these delightful bites are ideal for lively gatherings, after-school fun, or even on those busy Halloween evenings when you need something quick yet spectacular for the kids. Plus, the best part? They’re completely customizable—let your creativity soar as every family member designs their own unique mini pizza masterpiece. Get ready for a hauntingly good time that’s sure to satisfy everyone’s cravings while adding a festive dash to your dinner table!
Why are Mini Halloween Pizzas the Perfect Treat?
Interactive Fun: These Mini Halloween Pizzas are not just about eating; they’re an engaging activity! Your family can unleash their creativity by choosing toppings and designs.
Quick to Make: With a prep time of just 25 minutes, you can whip these up in a flash, even on busy nights.
Customizable Flavors: Tailor each pizza to your individual tastes. Whether it’s adding extra cheese or creating unique toppings, the options are limitless!
Kid-Friendly Appeal: Kids will love the playful shapes and spooky designs, ensuring a meal that’s fun and nutritious.
Perfect for Parties: Ideal for Halloween gatherings, these pizzas are a hit with guests of all ages, making your festive celebrations memorable.
For more tasty ideas that the kids will love, try our delicious DIY Pizza Recipes.
Mini Halloween Pizzas Ingredients
For the Crusts
• Mini Pizza Crusts – Use English muffins, naan, or small tortillas for a sturdy base that holds all the delicious toppings.
For the Sauce
• Pizza Sauce – About ¾ to 1 cup, whether homemade or jarred, this adds moisture and a burst of flavor to your Mini Halloween Pizzas.
For the Cheese
• Shredded Mozzarella Cheese – 1½ cups, ensuring gooey cheesiness that binds your toppings together.
• Mozzarella/Provolone Slices – 4-6 slices for crafting ghosts and mummies; these add creative character shapes for your spooky designs.
• Grated Parmesan – ¼ cup optional, a delightful flavor boost that you can swap with nutritional yeast for a vegan twist.
For the Toppings
• Mummy Toppings – Use mozzarella strips as bandages and olives or mini pepperoni for the eyes.
• Ghost Toppings – Add mozzarella ghost shapes and tiny olive pieces for spooky eyes.
• Spider Web Toppings – Create with a drizzle of pizza sauce, ranch or sour cream, and embellish with black olives for the spider’s body and legs.
• Jack-O’-Lantern Toppings – Opt for orange cheese and use olives or bell pepper bits to form facial features.
Optional Add-Ins
• Bell Peppers, Mushrooms, Sausage, Spinach – Get creative with additional flavors or nutrition options to personalize each mini pizza.
For Seasoning
• Italian Seasoning – Just 1 tsp to bring all those flavors together; a pinch of red pepper flakes can add a nice kick!
To Enhance Crispness
• Olive Oil – Lightly mist the crusts before baking to achieve that perfect crispy finish.
These Mini Halloween Pizzas are all about fun, creativity, and deliciousness—perfect for a festive meal together!
How to Make Mini Halloween Pizzas
-
Preheat the Oven: Set your oven to 425°F (220°C) and line a baking sheet with parchment paper to prevent sticking and ensure easy cleanup.
-
Prepare the Crusts: Lightly mist each mini pizza crust with olive oil—it’ll help achieve that crispy, golden finish that makes these pizzas irresistible.
-
Assemble the Pizzas:
- Spread 1-2 tablespoons of pizza sauce on each crust, ensuring it covers the surface evenly for flavor.
- Add Cheese: Sprinkle a light layer of shredded mozzarella, which will help hold your toppings in place.
- Decorate with Toppings:
- Mummy: Layer mozzarella strips like bandages and add olive eyes.
- Ghost: Position a ghost-shaped mozzarella piece in the center, and add two olive bits for eyes.
- Spider Web: Create a mozzarella web design; place black olives on top as the spider.
- Jack-O’-Lantern: Use orange cheese slices and decorate with olive or bell pepper bits for the face.
-
Sprinkle Seasoning: Optionally, add a touch of Italian seasoning and grated Parmesan over the assembled pizzas for extra flavor.
-
Bake: Place the pizzas in the preheated oven and bake for 8-12 minutes until the cheese is bubbly and the crust is crispy. Keep an eye to avoid over-browning!
-
Serve Warm: Once done, remove the pizzas from the oven and serve them warm, arranging the pizzas by character for a fun presentation!
Optional: Garnish with fresh herbs or additional cheese for a delightful finishing touch.
Exact quantities are listed in the recipe card below.
Make Ahead Options
These Easy Mini Halloween Pizzas are perfect for meal prep, saving you time on busy evenings! You can assemble the pizzas up to 4 hours in advance. Simply prepare your mini pizza crusts, spread the pizza sauce, and sprinkle the cheese before adding your themed toppings. Once assembled, cover them tightly and refrigerate until you’re ready to bake. To maintain that delightful texture, avoid overloading the toppings, which can make the crust soggy. When it’s time to enjoy, preheat your oven and bake them straight from the fridge for about 8-12 minutes, ensuring a cheesy, crispy finish just like when they’re freshly made!
How to Store and Freeze Mini Halloween Pizzas
Fridge: Store leftover Mini Halloween Pizzas in an airtight container for up to 2-3 days. This keeps them fresh and ready to enjoy later!
Freezer: For longer storage, freeze assembled pizzas before baking. Wrap each pizza tightly in plastic wrap and foil; they can stay good for up to 2 months.
Reheating: To reheat, bake frozen mini pizzas at 425°F (220°C) for 12-15 minutes, or until heated through and crispy. Enjoy the fresh, cheesy goodness all over again!
Mini Halloween Pizzas Variations & Substitutions
Feel free to get creative and make these Mini Halloween Pizzas uniquely yours with these fun variations!
-
Gluten-Free Crust: Substitute traditional crusts with gluten-free pizza bases or cauliflower crusts for a gluten-free option everyone can enjoy.
-
Dairy-Free Delight: Use dairy-free cheese alternatives, ensuring those with lactose intolerance can join in the spooky fun!
-
Vegan Twist: For a complete vegan pizza, swap out the cheese for a cashew or almond-based cheese. This adds a rich flavor without any animal products.
-
Savory Seasoning: Enhance flavors by adding a dash of garlic powder or Italian herbs to your pizza sauce for a flavor boost that will have everyone raving!
-
Spicy Kick: Mix in some sliced jalapeños or crushed red pepper flakes for those who love a little heat with their Halloween treat!
-
Roasted Veggies: Add roasted vegetables like zucchini or bell pepper for an extra layer of nutrition and a burst of flavor.
-
Sweet Treat: Turn your mini pizza into a dessert with a sweet cream cheese base, topped with fruit like sliced strawberries or bananas for a fun twist!
-
Character Swaps: Feel free to change the character designs based on your family’s favorite spooky themes—what about a creepy crawly centipede or a friendly witch!
Let your imagination run wild as you create these festive delights that will surely become a Halloween tradition!
Expert Tips for Mini Halloween Pizzas
-
Uniform Sizes: Ensure your pizza crusts are similar in size for even baking. This will help each mini pizza crisp up perfectly.
-
Less is More: Avoid overloading toppings; too much can weigh down your creations and make the designs harder to maintain.
-
Chill for Easy Cutting: Pop your cheese slices in the fridge briefly before cutting; this makes shaping your ghosts and mummies a breeze.
-
Prep Ahead: You can assemble the pizzas up to 4 hours in advance. Store them in the refrigerator, then just pop them in the oven when you’re ready to serve.
-
Check Baking Time: Keep a close eye while baking. You want them bubbly and golden but avoid over-browning those precious cheese faces on your Mini Halloween Pizzas!
What to Serve with Mini Halloween Pizzas?
When it comes to creating the perfect meal, balancing delightful flavors and playful presentations can leave everyone at the table smiling with joy.
-
Crispy Garden Salad: A fresh mix of greens, cucumbers, and cherry tomatoes adds a refreshing crunch that complements the cheesy pizzas beautifully.
-
Warm Tomato Soup: The rich, savory soup creates a comforting pairing, perfect for dipping your Halloween creations and warming up on a cool evening.
-
Garlic Breadsticks: Soft, buttery, garlic-infused breadsticks offer a heavenly, aromatic experience that pairs perfectly with the playful pizzas.
-
Fruit Skewers: Colorful skewers of seasonal fruits like grapes, oranges, and strawberries provide a sweet contrast, refreshing the palate with vibrant flavors.
-
Spooky Smoothies: Blend together spinach, banana, and yogurt for a green, nutrient-packed smoothie that’s as fun as it is healthy, enticing kids to enjoy their greens!
-
Pumpkin Spice Hot Chocolate: This creamy, decadent drink brings seasonal flavors right to your cup, guaranteeing cozy moments after enjoying your mini pizzas.
-
Cheesy Nachos: Crispy tortilla chips topped with a melty cheese blend and jalapeños create a delightful snacking option that’s sure to satisfy the savory cravings.
Mini Halloween Pizzas Recipe FAQs
How do I choose the best ingredients for my Mini Halloween Pizzas?
Absolutely! When selecting your ingredients, opt for fresh vegetables that are brightly colored and firm, like bell peppers, as they will add both flavor and a visual pop to your pizzas. For cheese, pick freshly grated mozzarella over pre-shredded varieties for a gooier melt. If using pre-sliced cheese for ghosts or mummies, ensure it’s cold for easier cutting into shapes.
How should I store leftover Mini Halloween Pizzas?
To maintain their freshness, store any leftover Mini Halloween Pizzas in an airtight container in the refrigerator for up to 2-3 days. They make a great quick snack or meal option later!
Can I freeze Mini Halloween Pizzas?
Yes, you can! To freeze assembled Mini Halloween Pizzas, wrap each one tightly in plastic wrap and then in foil. They should retain their quality for up to 2 months. When you’re ready to enjoy them, simply bake from frozen by placing them in a preheated oven at 425°F (220°C) for about 12-15 minutes until heated through and crispy.
What if my Mini Halloween Pizzas get soggy?
If you’re finding that your Mini Halloween Pizzas are turning out soggy, it could be due to too many wet toppings or sauce. To fix this, use a lighter hand with sauces and opt for drier toppings like cooked meats or roasted vegetables. Additionally, ensure to bake them long enough to allow moisture to evaporate, achieving that crispy crust you want.
Are Mini Halloween Pizzas suitable for kids with allergies?
Absolutely! For a kid-friendly option, customize the toppings and dough to accommodate dietary restrictions. You can use gluten-free or cauliflower crusts and opt for dairy-free cheese alternatives if lactose intolerant. Always double-check the ingredient labels for allergens like gluten or dairy, especially if thinking about serving these to a group of kids.
Can I make Mini Halloween Pizzas ahead of time?
Yes! You can assemble your Mini Halloween Pizzas up to 4 hours in advance. Just cover them and store in the refrigerator until it’s time to bake. This makes it easy to enjoy fresh, fun pizzas without any last-minute prep when guests arrive!
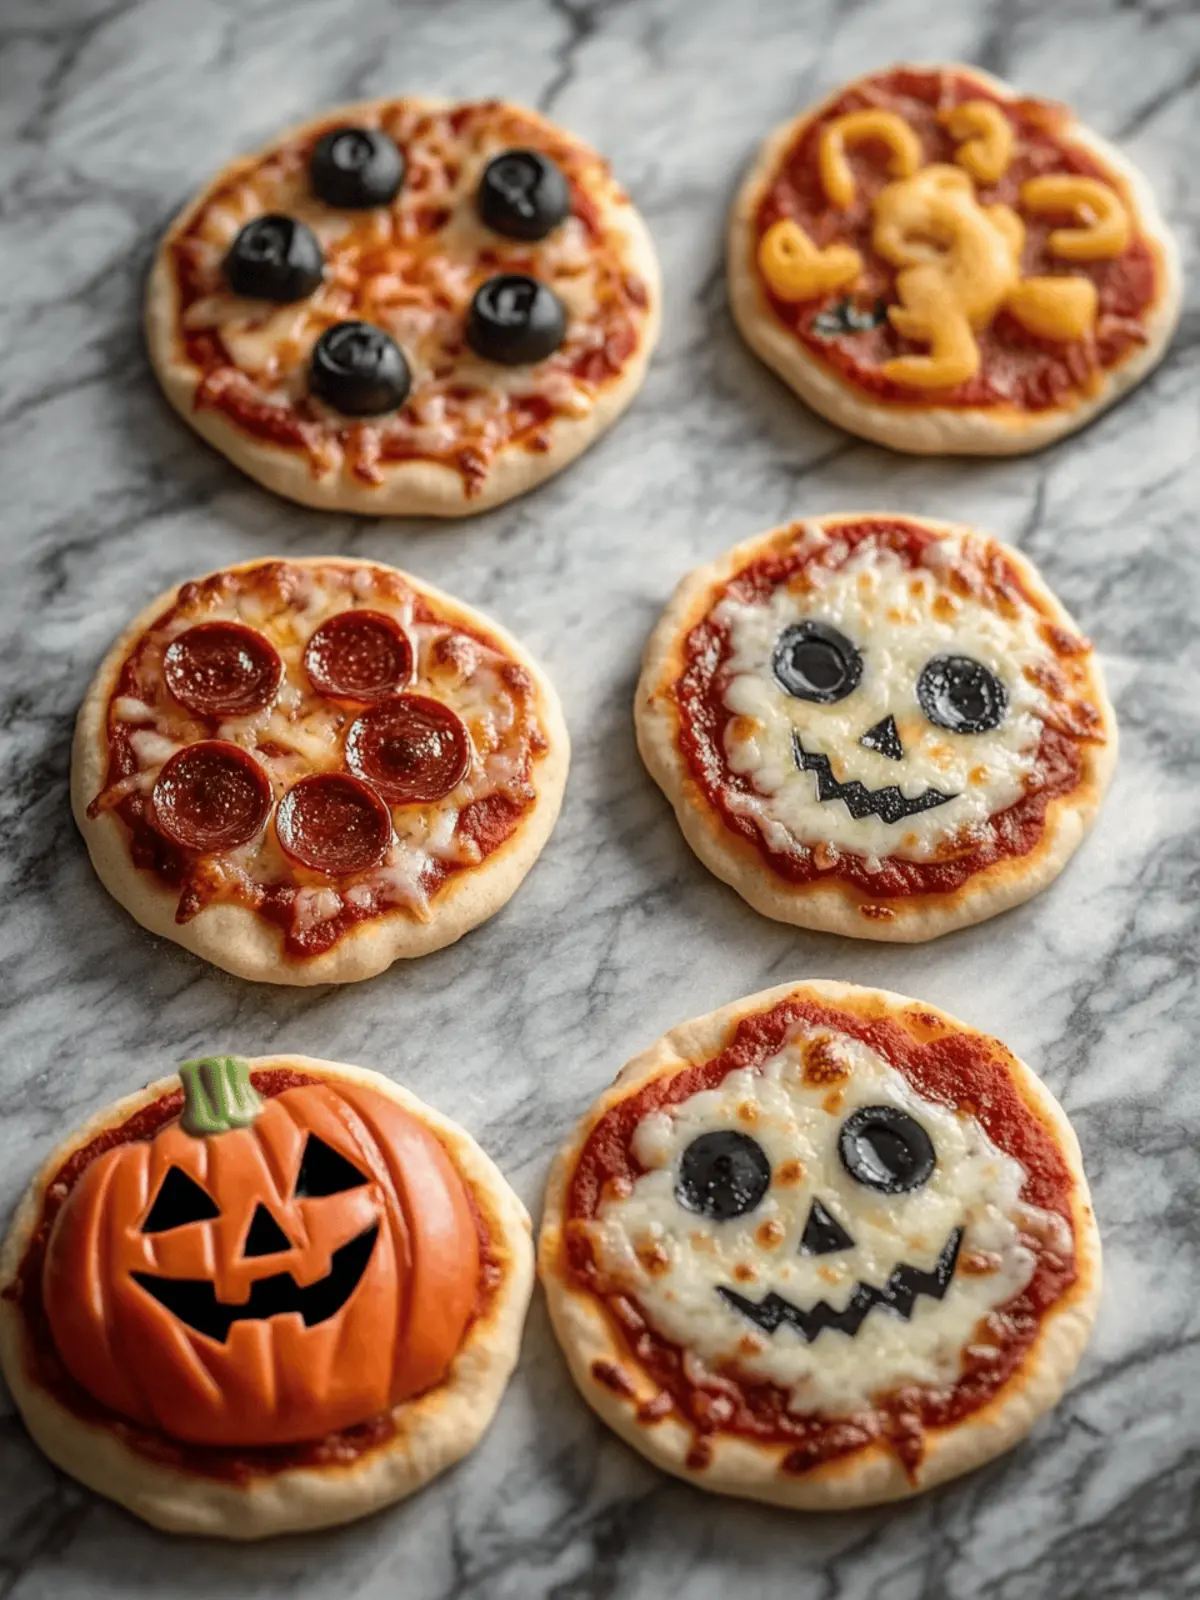
Mini Halloween Pizzas: Spooky Snacks for Creative Chefs
Ingredients
Equipment
Method
- Preheat the Oven: Set your oven to 425°F (220°C) and line a baking sheet with parchment paper.
- Prepare the Crusts: Lightly mist each mini pizza crust with olive oil.
- Assemble the Pizzas: Spread pizza sauce on each crust, sprinkle shredded mozzarella, and decorate with toppings.
- Sprinkle Seasoning: Add Italian seasoning and grated Parmesan if desired.
- Bake: Place pizzas in the oven and bake for 8-12 minutes until cheese is bubbly.
- Serve Warm: Remove from oven and serve warm, arranged by character.

