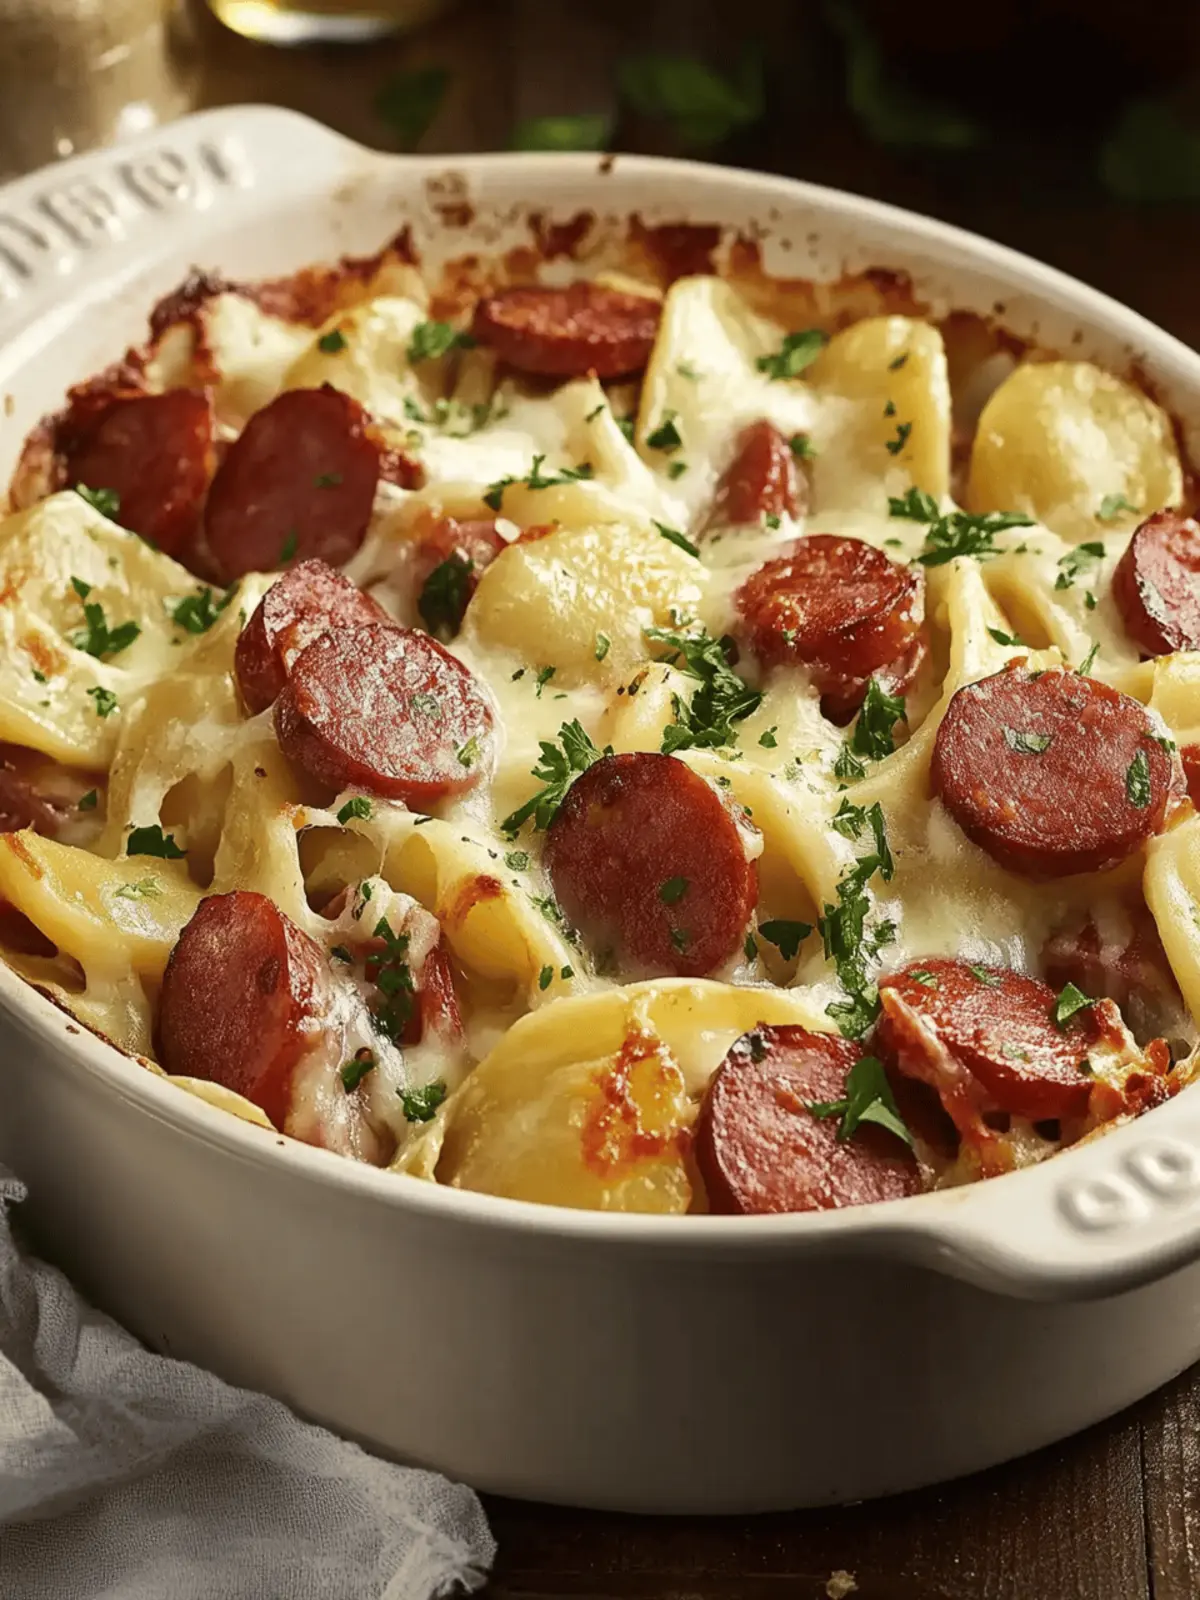
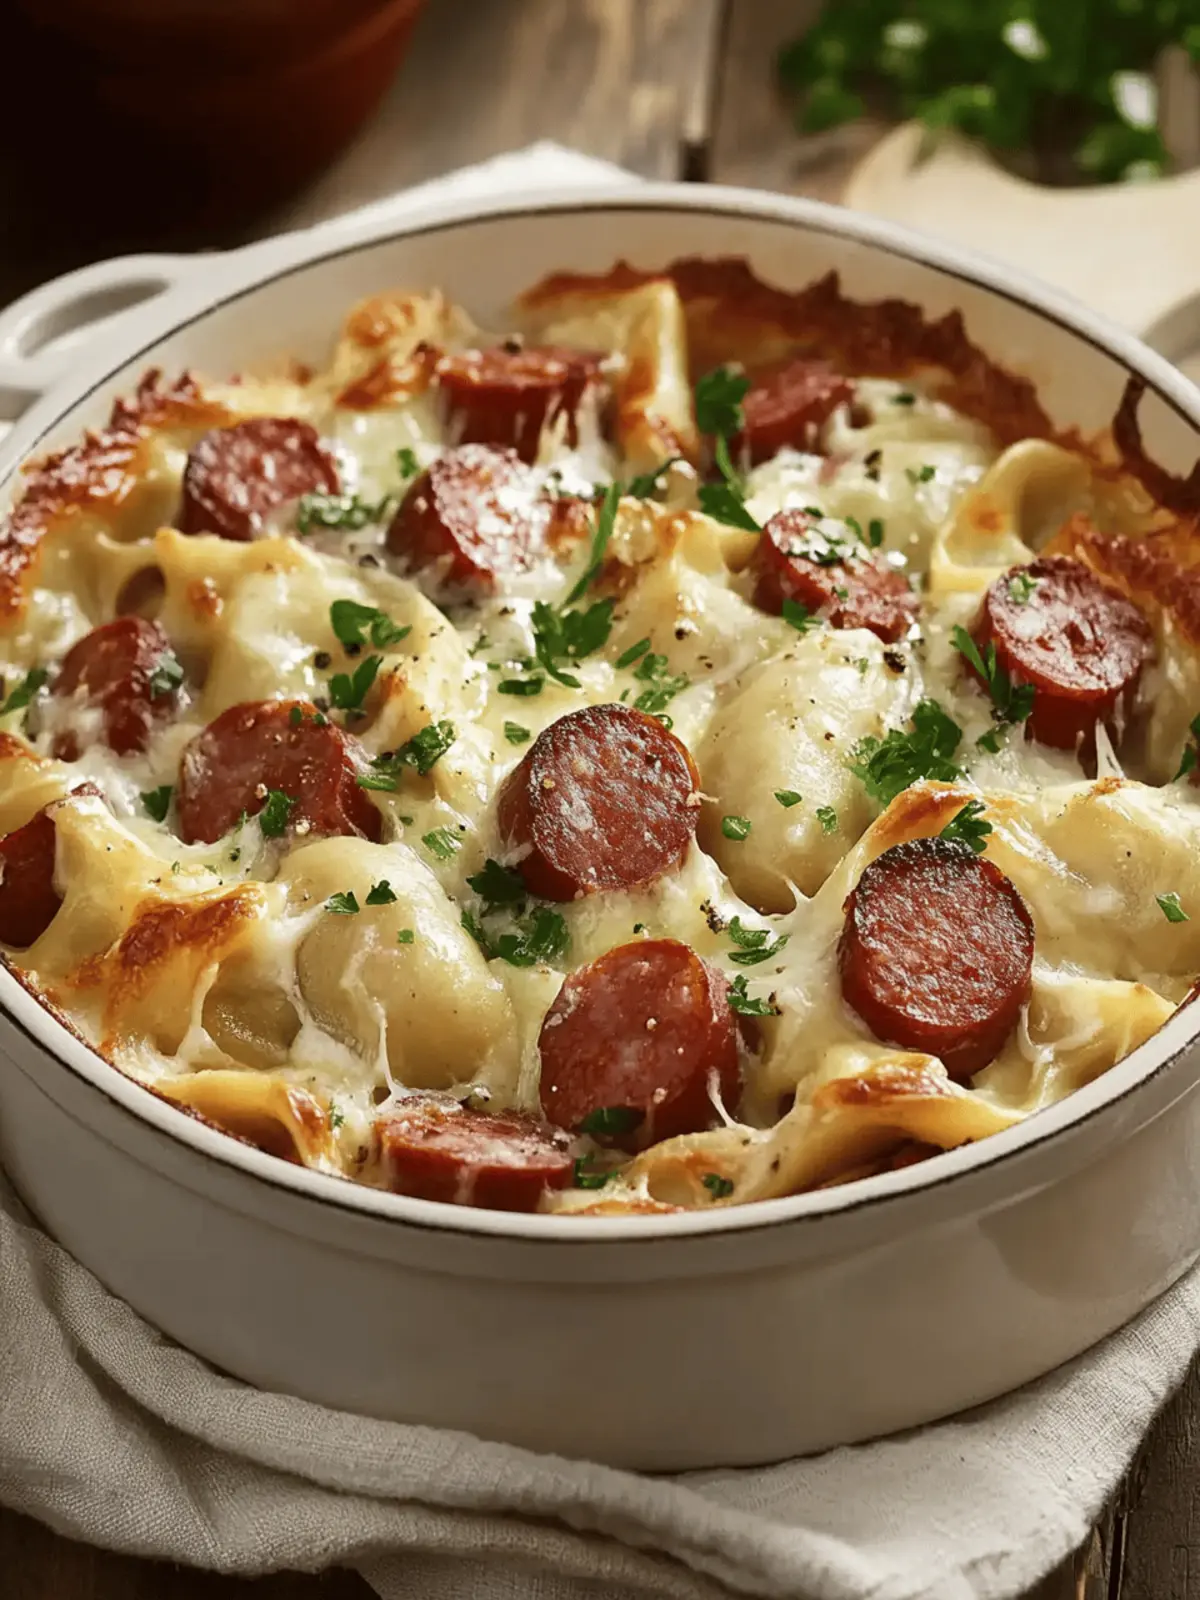
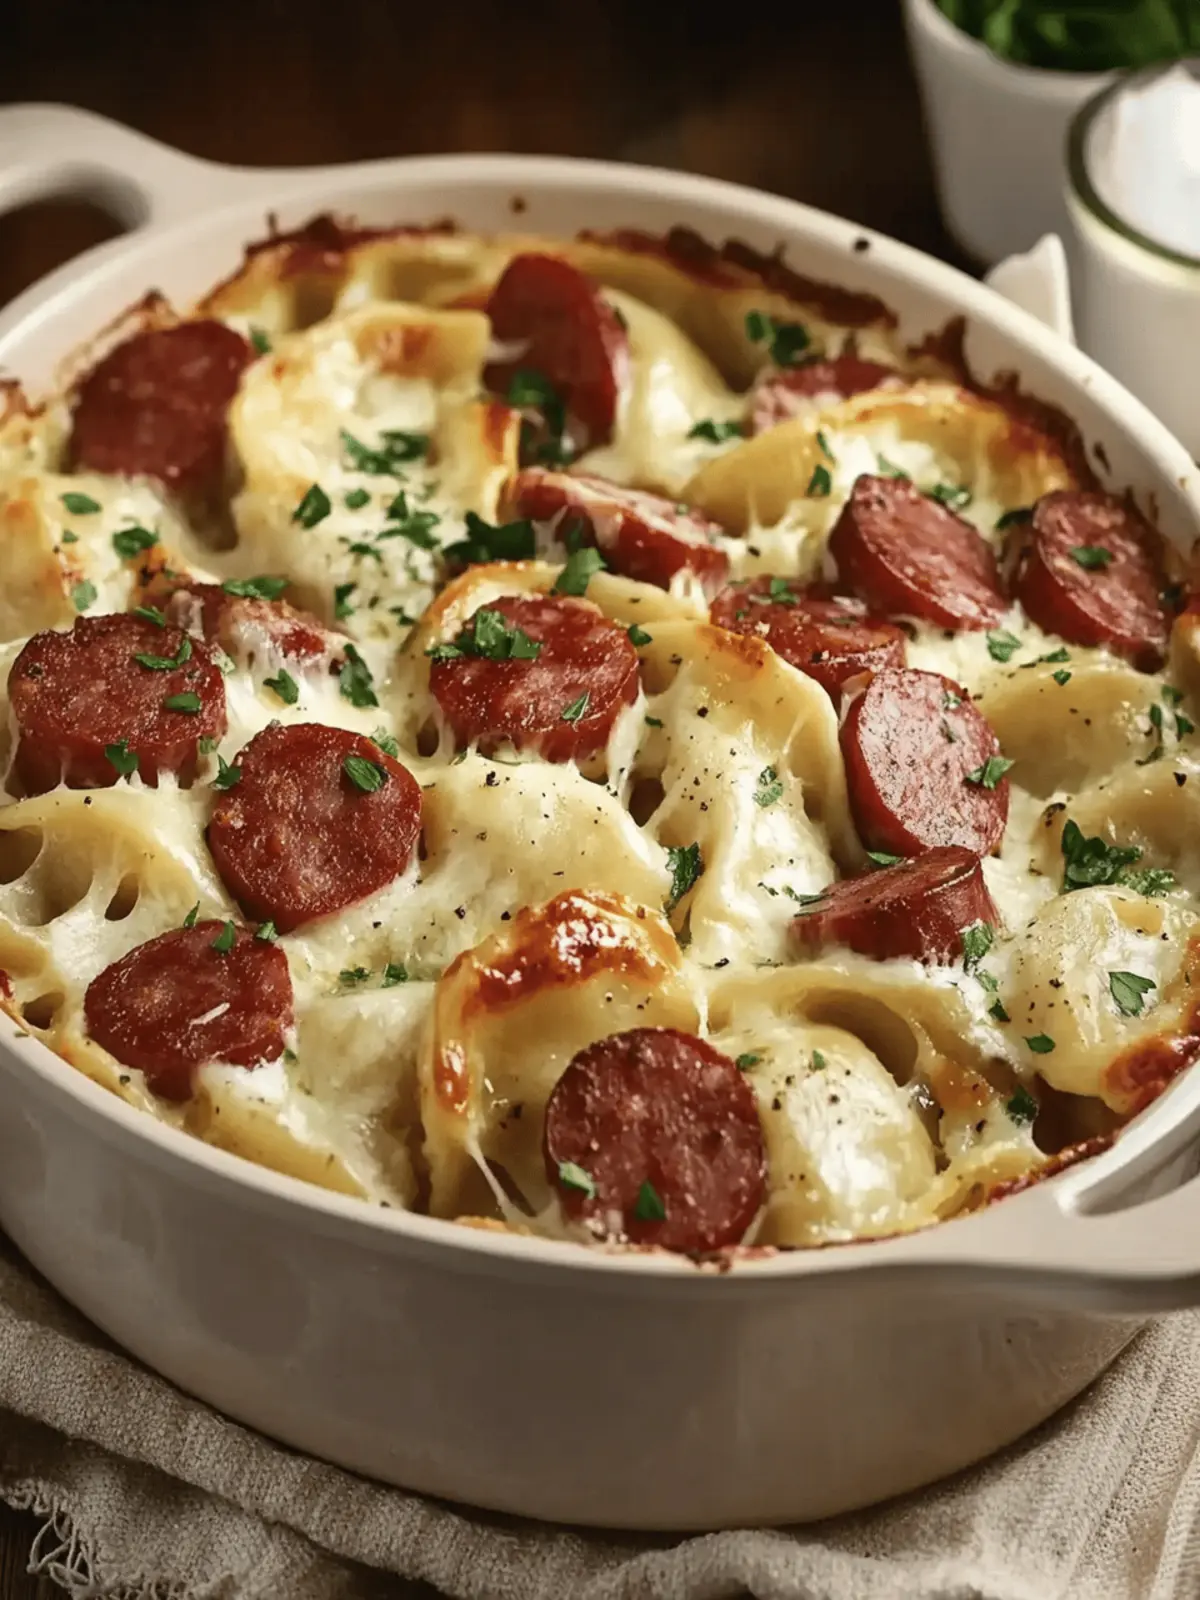
There’s something truly comforting about the bubbly aroma wafting from the oven as this Kielbasa and Pierogi Bake cooks to perfection. Imagine tender, golden pierogies nestled amongst smoky kielbasa, all blanketed in a creamy, tangy sauce that brings warmth to even the busiest weeknights. I first stumbled upon this gem during a chilly fall evening, grappling with what to whip up for dinner when I had a hodgepodge of ingredients to work with.
Little did I know, this one-dish meal would not only become a staple in my home but also the shining star at casual family gatherings. Versatile and forgiving, it’s easy to customize with seasonal veggies or different cheese options, ensuring everyone at the table finds something to love. Whether you’re looking to soothe a hungry crowd or simply indulge in a bite of nostalgia, this hearty dish makes mealtime feel special, leaving both your taste buds and your soul satisfied.
Why is Kielbasa and Pierogi Bake special?
Comforting and hearty, this Kielbasa and Pierogi Bake warms the soul with every bite. Easy to make, it’s perfect for busy weeknights, allowing you to create a delicious dinner without spending hours in the kitchen. Versatile options mean you can personalize it with your favorite cheeses or added veggies. Crowd-pleasing and family-friendly, it’s a dish that brings everyone together. Don’t forget to try the delightful pairing with a crisp green salad for a complete meal!
Kielbasa and Pierogi Bake Ingredients
For the Bake
- Kielbasa – Provides a smoky flavor and protein; for a vegetarian option, use sautéed mushrooms or meat-free sausage.
- Frozen Pierogies – The main component with a creamy filling; opt for a brand that you love for convenience.
- Sour Cream – Adds creaminess and a slight tang; consider Greek yogurt as a lighter alternative.
- Cream Cheese – Enhances the richness of the sauce; you can use low-fat cream cheese for a healthier version.
- Onions – Offer sweetness and depth; caramelize them for an extra flavor boost.
- Cheddar Cheese – Delivers a gooey finish with a salty kick; swap for smoked gouda or blue cheese for a unique twist.
- Parsley – Gives a fresh garnish; always use fresh parsley for the brightest flavor.
- Seasoning (salt, pepper, and optional crushed red pepper flakes) – Enhance overall flavor; adjust according to your taste preferences.
How to Make Kielbasa and Pierogi Bake
-
Preheat the oven to 375°F (190°C), ensuring your kitchen is warmed up and ready for this comforting dish. A well-heated oven ensures even cooking and a perfect finish.
-
Layer half of the frozen pierogies in a baking dish, creating a comforting base. Spread them out evenly for the best texture, ensuring every bite is filled with creamy goodness.
-
Sauté onions in a pan over medium heat until they become caramelized and golden. This process takes about 10 minutes and adds a deep sweetness that enhances the overall flavor.
-
Top the pierogies with the caramelized onions, creating a delightful flavor combination that will melt in your mouth.
-
Arrange the sliced kielbasa evenly across the onion layer, allowing its smoky essence to seep into the other ingredients.
-
Mix the sour cream and cream cheese in a bowl until smooth and creamy. Spread this mixture generously over the kielbasa for added richness.
-
Add the remaining frozen pierogies on top, and then sprinkle with shredded cheddar cheese. This cheesy layer will bubble up beautifully in the oven.
-
Cover the baking dish with foil and place it in the oven. Bake for 25-30 minutes, allowing all the flavors to meld beautifully.
-
Broil for an additional 2-3 minutes after removing the foil, until the top is golden brown and bubbly. Keep an eye on it, as broiling can go quickly!
-
Garnish with freshly chopped parsley before serving to brighten the flavors and add a pop of color to your dish.
Optional: Serve with a side of tangy sauerkraut for an extra flavor boost.
Exact quantities are listed in the recipe card below.
Expert Tips for Kielbasa and Pierogi Bake
-
No Sogginess: Ensure pierogies are well-spaced in the dish to prevent overcrowding, which can lead to a soggy texture in your Kielbasa and Pierogi Bake.
-
Browning Matters: Lightly brown the kielbasa in a skillet before adding it to the dish. This simple step enhances the overall flavor and adds a delightful texture.
-
Perfectly Crispy Top: For a golden, crispy topping, remove the foil in the last few minutes of baking and switch to broil. Watch closely to avoid burning!
-
Make Ahead: Assemble your Kielbasa and Pierogi Bake a day in advance. Just remember to adjust the baking time based on whether it’s going in the oven fresh or chilled from the fridge.
-
Flavor Variations: Don’t hesitate to add chopped veggies like spinach or broccoli. They not only boost nutrition but also add a fresh layer of flavor and color to the dish.
What to Serve with Kielbasa and Pierogi Bake?
Imagine welcoming friends and family with a meal that feels like a warm hug, and this dish can certainly shine at the center of your table.
-
Crispy Green Salad: A refreshing salad with mixed greens and a tangy vinaigrette can balance the richness of the bake, providing a light crunch with every bite.
-
Roasted Brussels Sprouts: The slight bitterness and crispy texture of roasted Brussels sprouts contrast beautifully against the creamy pierogies, adding depth to your meal.
-
Tangy Sauerkraut: This classic side brings a zesty element that enhances the dish with fermented goodness while adding a delightful crunch.
-
Garlic Bread: Warm, buttery garlic bread makes a cozy addition, perfect for soaking up any creamy sauce left on your plate.
-
Baked Apples: For dessert, consider baked apples stuffed with cinnamon and nuts. They complement the savory flavors with a comforting hint of sweetness.
-
Light Lager or Dry Riesling: Quench your thirst with a refreshing drink. A light lager works well to cleanse the palate, while a dry Riesling adds a fruity, aromatic touch.
-
Steamed Broccoli: Nutritious and vibrant, steamed broccoli not only boosts health but also adds a splash of color, making it a delightful cohesive part of your meal.
-
Coleslaw: A slightly sweet and tangy coleslaw can add a crispy, crunchy texture that contrasts wonderfully with the creamy bake, creating a balanced and satisfying spread.
Make Ahead Options
This Kielbasa and Pierogi Bake is perfect for meal prep! You can easily prepare the layers of pierogies, kielbasa, and caramelized onions up to 24 hours in advance. Just assemble everything in your baking dish and cover tightly with foil before refrigerating. This helps maintain the quality and flavor, ensuring your dish stays just as delicious. When you’re ready to serve, pull it out of the fridge, let it sit at room temperature for about 30 minutes, then bake as instructed, covering with foil for the first 25-30 minutes. After broiling for that golden top, you’ll enjoy a hassle-free dinner that brings comforting flavors to your table!
How to Store and Freeze Kielbasa and Pierogi Bake
- Fridge: Store leftovers in an airtight container for up to 4 days, ensuring they remain fresh and delicious for your next meal.
- Freezer: Freeze portions of the Kielbasa and Pierogi Bake in freezer-safe containers for up to 3 months. Be sure to label with the date for easy reference.
- Reheating: Thaw overnight in the fridge before reheating. For best results, reheat in the oven at 350°F (175°C) until warmed through, approximately 20-30 minutes, to maintain texture.
- Make-Ahead Tips: This dish can be assembled one day in advance—cover tightly and store in the fridge. Adjust baking time accordingly if baking from cold.
Kielbasa and Pierogi Bake Variations
Feel free to explore these delightful twists that will elevate your Kielbasa and Pierogi Bake, making it uniquely yours.
-
Vegetarian Swap: Substitute kielbasa with sautéed mushrooms or a meat-free sausage for a satisfying vegetarian option. The earthy flavors of mushrooms blend beautifully with the creamy sauce.
-
Cheese Excitement: Experiment with different cheeses like smoked gouda or Monterey Jack for a flavor boost. Each cheese adds its own character, making every bake a new adventure.
-
Veggie Delight: Boost nutrition by adding chopped spinach, broccoli, or bell peppers before baking. Colorful veggies not only enhance the dish’s appeal but also add a fresh crunch.
-
Spicy Kick: Toss in some crushed red pepper flakes to the cream mixture for a hint of heat. The warmth will awaken your taste buds, making family dinner a bit more exciting.
-
Herb Infusion: Mix in fresh herbs like dill or thyme into the sour cream for a fragrant, herbal note. This little touch brings a garden-fresh flavor that pairs perfectly with the richness of the dish.
-
Creamy Upgrade: Swap sour cream for a mixture of ricotta and Greek yogurt for a lighter, yet creamy texture. This substitution boosts health benefits while keeping that indulgent feel.
-
Savory Layers: Add layers of caramelized leeks or shallots for a sweet, delicate flavor. Their caramelization process adds depth and elevates this dish to new heights.
-
Crunchy Topping: Finish with a crunchy topping by adding panko breadcrumbs mixed with melted butter before broiling. This crispy layer creates an irresistible contrast to the creamy pierogies.
With these variations, you can truly make this Kielbasa and Pierogi Bake your own, ensuring that every bite is a reflection of your personal taste!
Kielbasa and Pierogi Bake Recipe FAQs
How do I select the best kielbasa for my bake?
Absolutely! Look for kielbasa that is fresh and free from dark spots or an off smell. The best choices often come from local butchers or specialty stores where you can check for quality. If you’re opting for a meat-free version, choose a vegetarian sausage that suits your flavor preference.
What is the best way to store leftover Kielbasa and Pierogi Bake?
To keep your delicious creation fresh, store leftovers in an airtight container in the refrigerator for up to 4 days. It’s essential to let it cool completely before sealing to prevent condensation that could make it soggy.
Can I freeze Kielbasa and Pierogi Bake?
Very! You can freeze portions of the bake in freezer-safe containers for up to 3 months. Just ensure they’re well-sealed and labeled with the date. When you’re ready to enjoy, thaw overnight in the fridge and reheat in the oven at 350°F (175°C) until warmed through. This method maintains that lovely texture.
What can I do if my pierogies are soggy after baking?
No worries! If you find your pierogies are soggy, this can often be due to overcrowding in the baking dish. To remedy this in the future, make sure to layer your pierogies evenly and avoid over-packing the dish. Also, browning the kielbasa before baking can help, as it adds flavor and promotes a crispy texture!
Are there any dietary considerations I should keep in mind?
Absolutely! If serving kids or those with allergies, you might substitute sour cream with lactose-free yogurt or a dairy-free cream cheese option to make it suitable. Additionally, the recipe can easily adapt to be vegetarian by swapping kielbasa for sautéed mushrooms or a meat-free sausage, ensuring everyone at the table can enjoy!
Can I add vegetables to the Kielbasa and Pierogi Bake?
The more the merrier! You can enhance the nutritional value by adding chopped spinach, steamed broccoli, or any seasonal veggies before baking. Just ensure they’re chopped small enough to cook through and blend nicely with the pierogies and kielbasa.
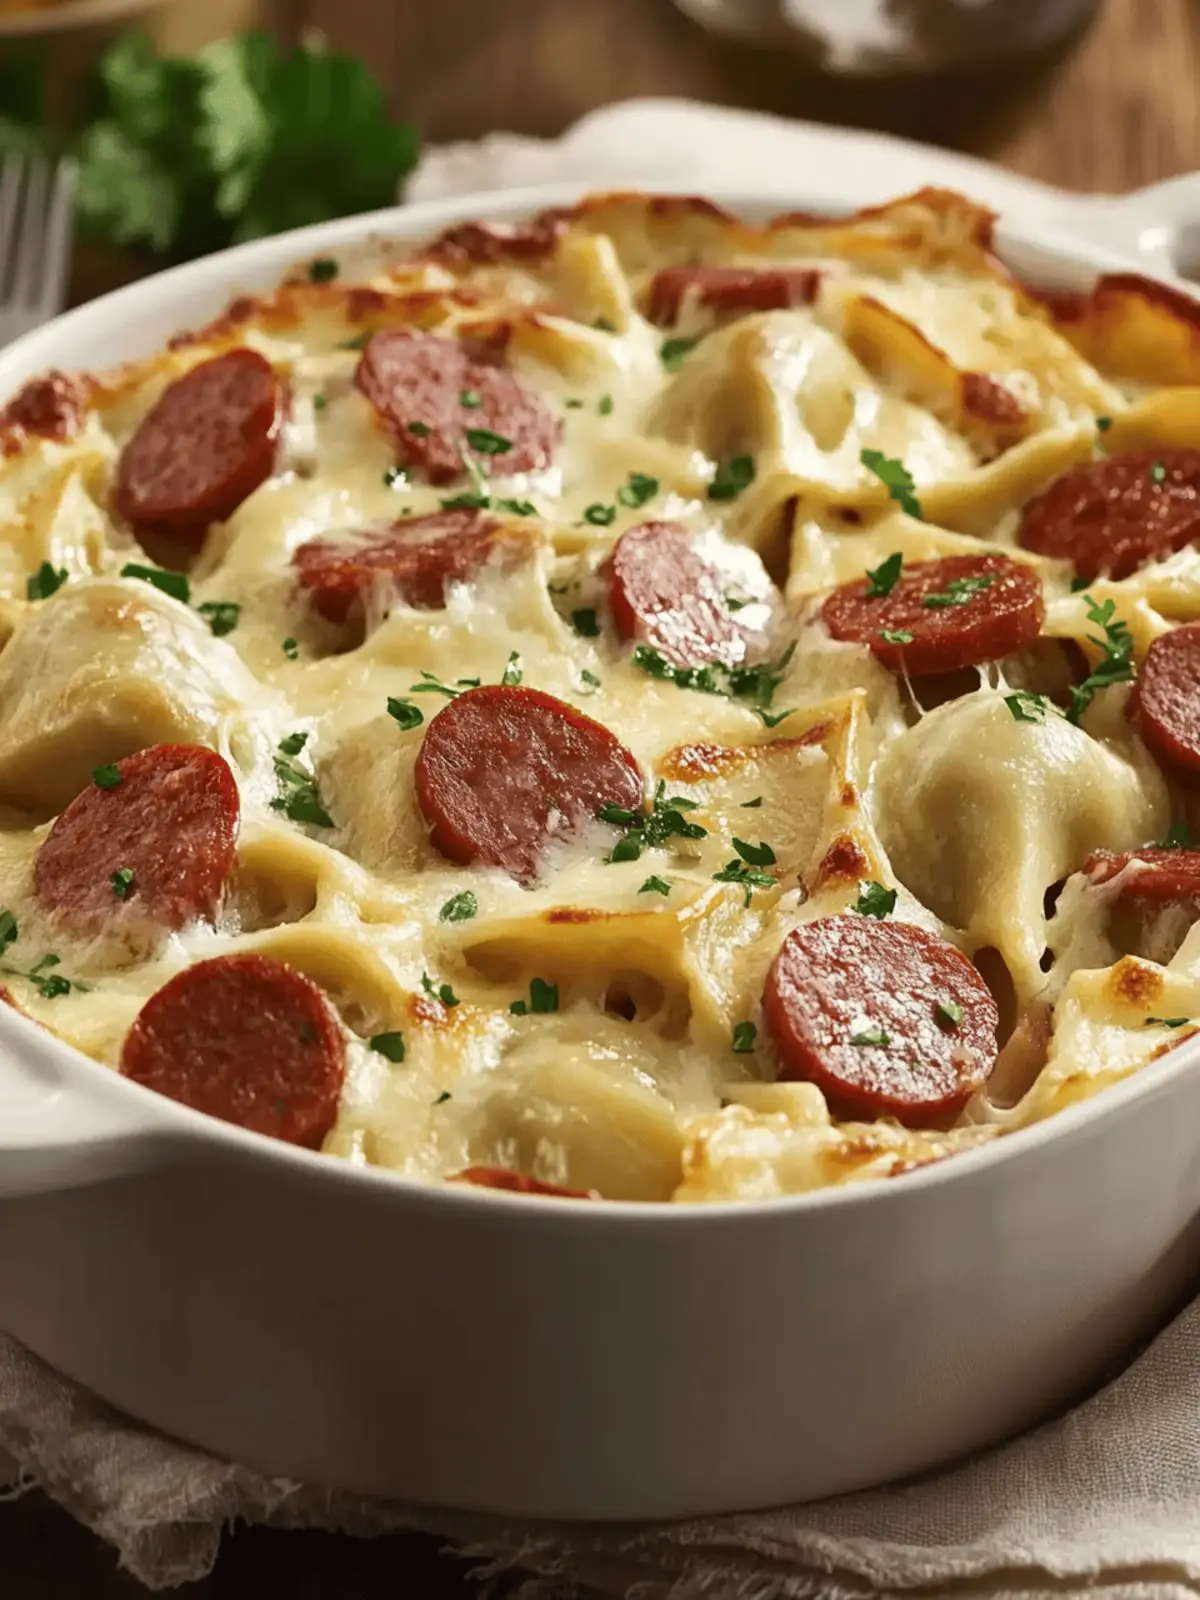
Kielbasa and Pierogi Bake: Your New Weeknight Comfort Meal
Ingredients
Equipment
Method
- Preheat the oven to 375°F (190°C).
- Layer half of the frozen pierogies in a baking dish.
- Sauté onions in a pan over medium heat until caramelized.
- Top the pierogies with the caramelized onions.
- Arrange the sliced kielbasa evenly across the onion layer.
- Mix the sour cream and cream cheese until smooth. Spread over kielbasa.
- Add the remaining frozen pierogies on top, sprinkling with cheddar cheese.
- Cover the baking dish with foil and bake for 25-30 minutes.
- Broil for an additional 2-3 minutes until the top is golden brown.
- Garnish with freshly chopped parsley before serving.

