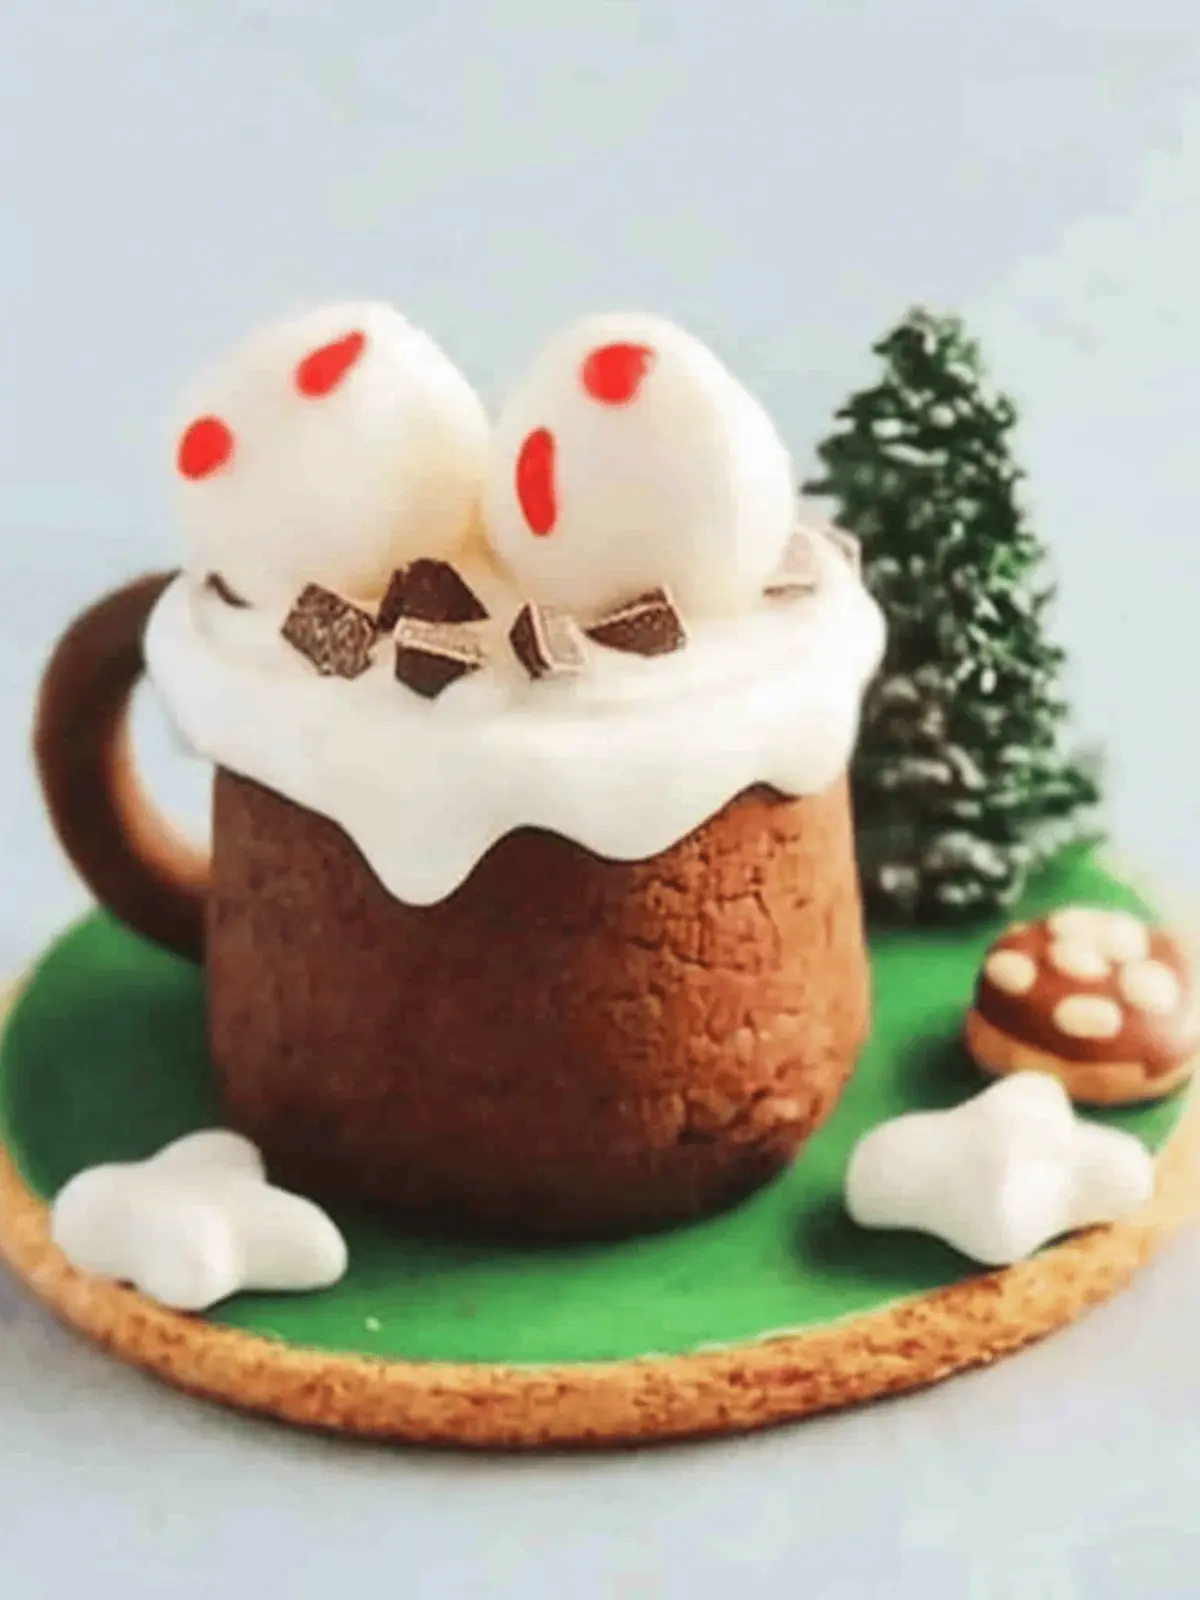
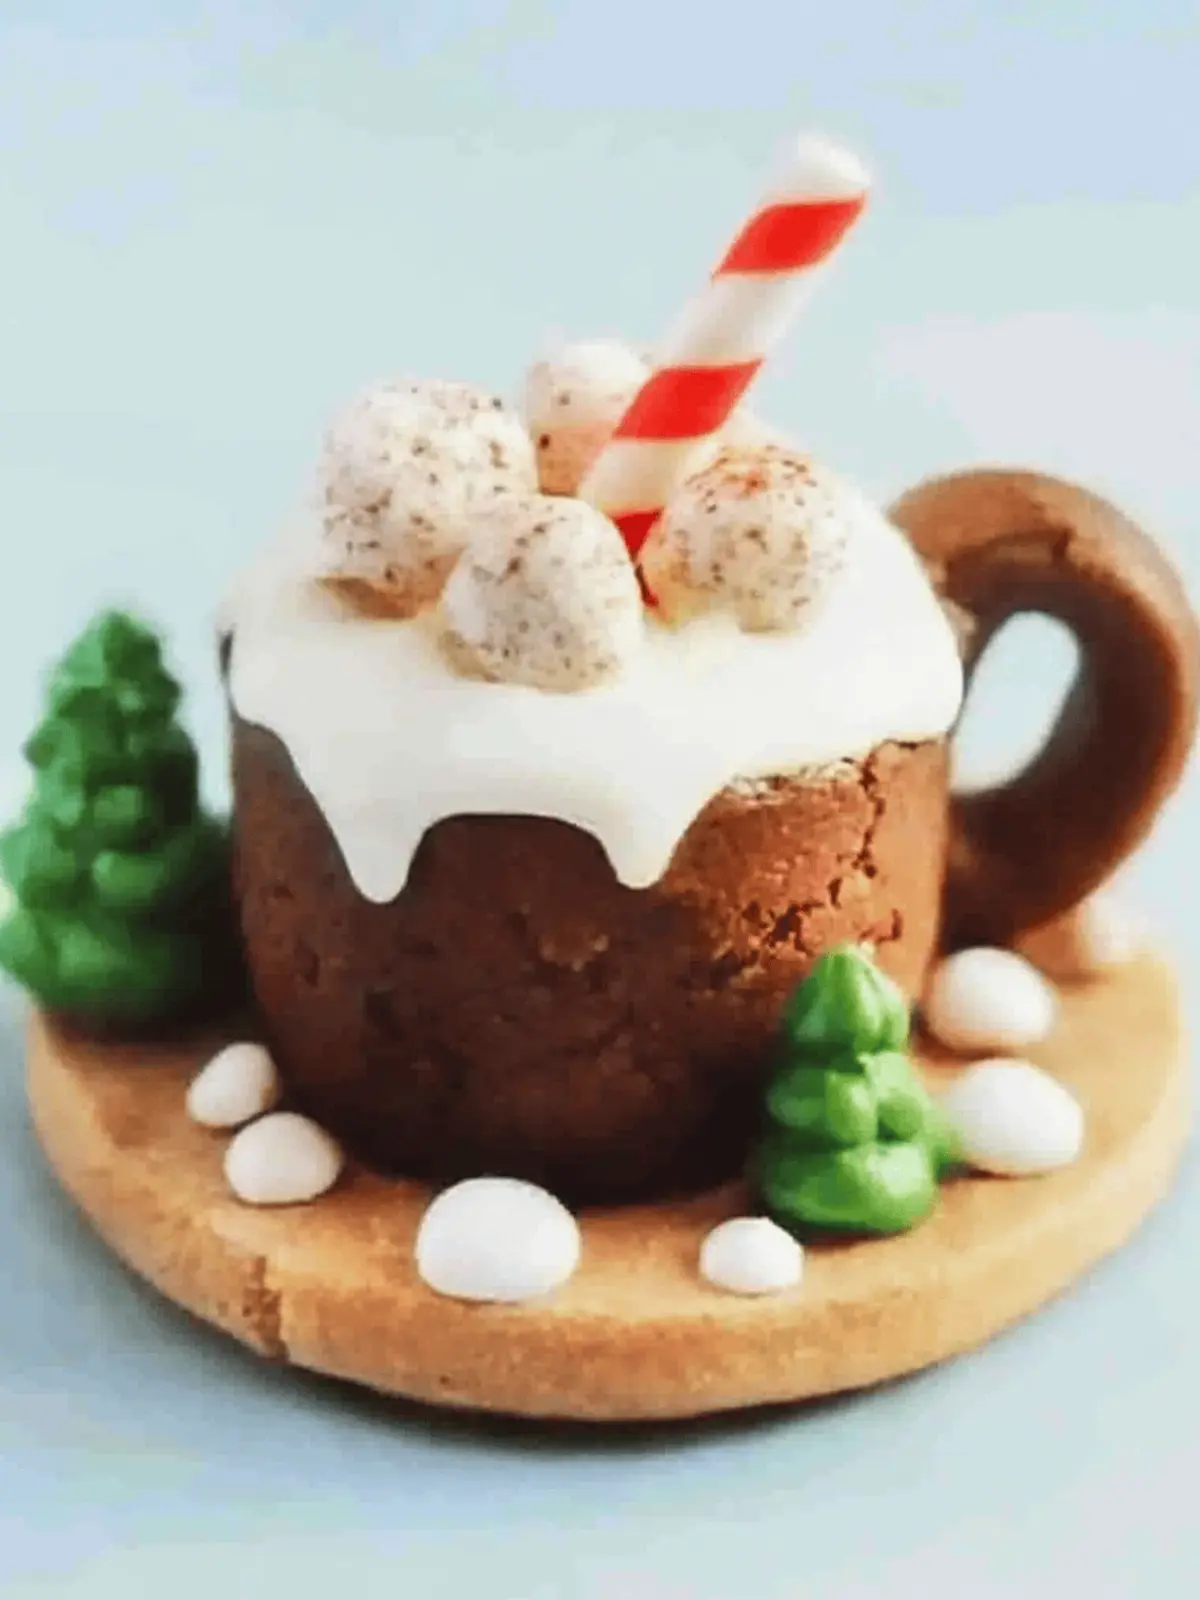
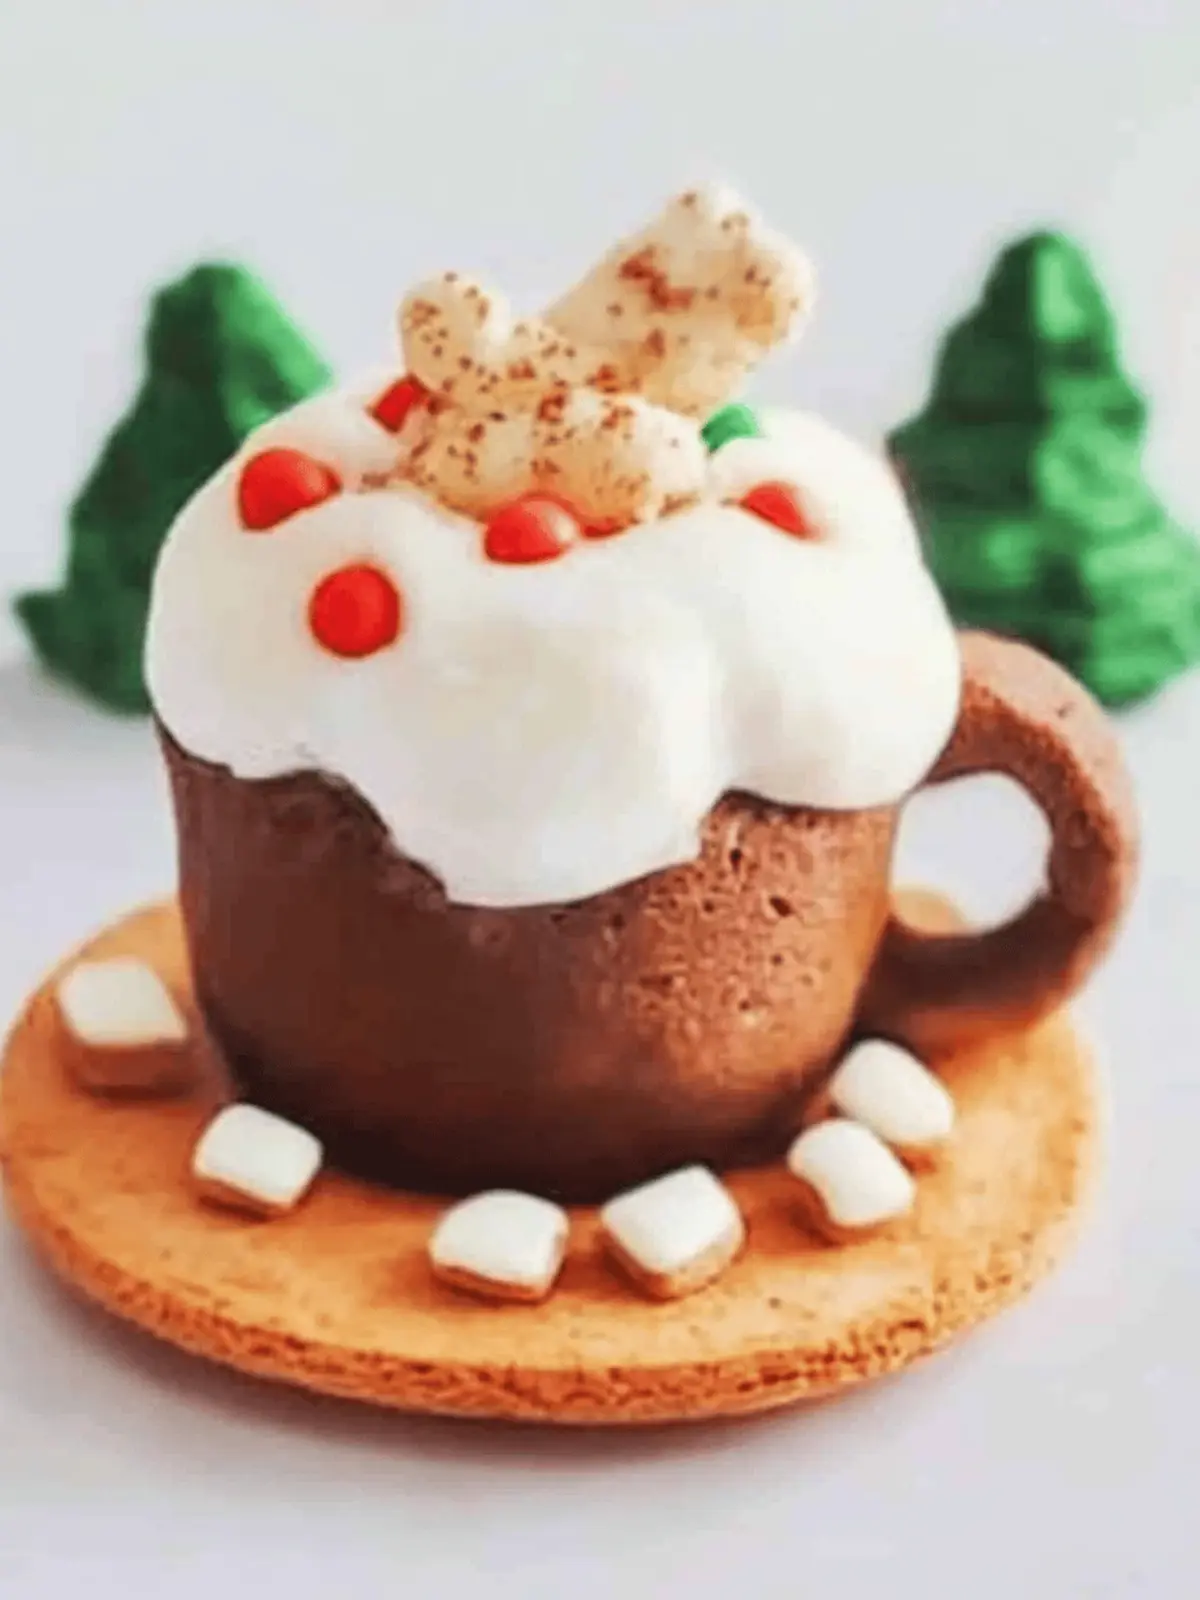
There’s something incredibly cozy about the combination of warm chocolate and marshmallows, especially on a chilly day. Picture this: you come home after a long day, and the first thing you want is a hug in a mug – enter Hot Cocoa Cookie Cups! These delightful treats take the essence of hot cocoa and transform it into a charming dessert that’s both fun to make and irresistible to eat.
I stumbled upon this idea while experimenting in my kitchen, hoping to recreate the warmth of my favorite winter drink in cookie form. Each bite is a blissful explosion of chocolate and marshmallow that feels like a festive embrace. With a dash of festive sprinkles and a touch of creativity, you’ll have a dessert that captivates both kids and adults. Trust me; these cookie cups won’t last long on the table! So, grab your ingredients, and let’s turn those cocoa dreams into a sweet reality.
Why are these Hot Cocoa Cookie Cups delightful?
Warm, Chocolatey Delight: The combination of cookie and hot cocoa creates a dessert that soothes the soul.
Festive Touch: Adorned with colorful sprinkles, these cookie cups bring joy to any gathering.
Easy to Make: With simple ingredients and straightforward steps, they are perfect for bakers of all levels.
Crowd Pleaser: Everyone will love the charming presentation and delightful taste, making them a hit at parties.
Versatile Flavors: Feel free to add your favorite toppings or variations, ensuring each bite is uniquely yours.
Transform your kitchen into a joyful baking haven and enjoy quality time with loved ones as you whip up these delightful treats!
Hot Cocoa Cookie Cups Ingredients
For the Cookie Base
• All-Purpose Flour – Adds the necessary structure for the cookie cups.
• Granulated Sugar – Sweetens the dough to balance out the rich chocolate.
• Cocoa Powder – Creates that deep, chocolate flavor reminiscent of hot cocoa.
• Baking Powder – Helps the cookie cups rise for a perfect bite.
• Salt – Enhances the sweetness and depth of the chocolate.
• Unsalted Butter – Ensures a rich, buttery texture that melts in your mouth.
• Egg – Binds the ingredients together for a cohesive dough.
• Vanilla Extract – Adds a warm, aromatic note to the classic chocolate flavor.
For the Hot Cocoa Filling
• Chocolate Chips – Brings an extra indulgent chocolate burst.
• Heavy Cream – Makes the chocolate silky and smooth, mimicking hot cocoa.
• Mini Marshmallows – These fluffy delights add sweetness and a fun texture.
For the Topping
• Whipped Cream – Lightens each bite and mirrors the classic hot cocoa topping.
• Chocolate Shavings – A decorative and flavorful touch to elevate your cookie cups.
• Festive Sprinkles – Personalize with colors and shapes suitable for any occasion.
These Hot Cocoa Cookie Cups are sure to bring warmth and joy to your baking table!
How to Make Hot Cocoa Cookie Cups
-
Preheat your oven to 350°F (175°C). This ensures a perfect baking temperature for your cookie cups, helping them rise nicely for a delightful texture.
-
Mix the flour, sugar, cocoa powder, baking powder, and salt in a large bowl. Combining these dry ingredients first helps distribute flavors evenly for a well-balanced cookie base.
-
Cream the butter in another bowl until light and fluffy. Adding air into the butter will create a tender texture, so take a few minutes to get it just right!
-
Blend in the egg and vanilla extract into the creamed butter. This mixture creates a rich, moist dough that holds the cookie cups together beautifully.
-
Combine the dry and wet ingredients, mixing until just combined. Avoid overmixing—this keeps them tender and ensures a soft bite!
-
Scoop the dough into a greased muffin tin, filling each cup about 2/3 full. These cookie cups will puff up while baking, creating the perfect shape for a warm filling.
-
Bake in the preheated oven for 10-12 minutes or until the edges look set but the centers remain slightly soft. This helps achieve a gooey center that mimics hot cocoa!
-
Cool the cookie cups in the tin for a few minutes before transferring them to a wire rack. This cooling step allows the cups to firm up slightly, making them easier to handle.
-
Prepare the hot cocoa filling by heating heavy cream in a small saucepan. Stir in the chocolate chips until melted and smooth. A gentle heat is key here to achieve that luscious, silky chocolate texture!
-
Fill each cooled cookie cup with the chocolate mixture and top with mini marshmallows. Watch these fluffies delightfully melt into the chocolate—it’s simply irresistible!
-
Decorate your cookie cups with whipped cream, chocolate shavings, and festive sprinkles. This final touch not only looks appealing but adds to the flavor experience.
Optional: For an extra chocolatey kick, drizzle some melted chocolate over the toppings!
Exact quantities are listed in the recipe card below.
What to Serve with Marshmallow Cookie Treats?
Indulging in these delightful treats isn’t just about the cookies; it’s a chance to create a cozy and festive atmosphere.
-
Hot Chocolate: The perfect companion, sipping warm chocolate alongside these cookies enhances the holiday spirit with every sweet bite.
-
Fresh Fruit Salad: A light and refreshing contrast to the sweetness, adding a burst of color and freshness to your dessert table.
-
Vanilla Ice Cream: Rich, creamy ice cream creates a delightful temperature contrast and adds a velvety counter to these chewy cookies.
-
Chai Latte: The spiced warmth of chai complements the marshmallow’s sweetness, making for a cozy pairing that feels like a hug in a cup.
-
Caramel Dipping Sauce: Drizzling warm caramel over your cookie treats adds another layer of decadence, delighting everyone at the dessert table.
-
Chocolate Espresso: Elevate your cookie experience with a rich chocolate espresso. The bitterness cuts through the sweetness brilliantly.
Treat yourself to a delightful baking adventure while pairing these charming marshmallow treats with delicious accompaniments!
Expert Tips for Hot Cocoa Cookie Cups
-
Measure Accurately: Use a kitchen scale or standard measuring cups to ensure perfect ratios—this is key for achieving the right texture in your cookie cups.
-
Don’t Overmix: When combining wet and dry ingredients, mix until just incorporated. Overmixing can lead to tough cookie cups instead of soft, melt-in-your-mouth goodness!
-
Watch the Bake Time: Keep an eye on your cups; they should be set at the edges and slightly soft in the center for that gooey filling.
-
Customize Your Fillings: Feel free to swap out toppings—try caramel bits or nuts alongside chocolate chips for a unique twist on the classic hot cocoa cookie cups!
-
Cooling is Crucial: Let the cookie cups cool in the muffin tin for a few minutes before transferring. This will help them hold their shape and prevent them from breaking.
Hot Cocoa Cookie Cups Variations
Feel free to elevate your Hot Cocoa Cookie Cups with these fun and delicious twists!
-
Gluten-Free: Use a gluten-free flour blend to create cookie cups that are safe for those avoiding gluten. They’ll taste just as heavenly!
-
Peppermint Twist: Add crushed peppermint candies to the filling for a refreshing holiday flavor that rejuvenates your taste buds. The crisp peppermint complements the chocolate beautifully.
-
Nutty Flavor: Incorporate finely chopped nuts, like walnuts or pecans, into the cookie base for a satisfying crunch and rich nuttiness. It’s a great way to add texture!
-
Spiced Cocoa: Blend in a pinch of cinnamon or nutmeg to the filling for an aromatic warmth that’s reminiscent of a cozy winter evening. This subtle addition creates a comforting spice layer.
-
Dairy-Free: Substitute the butter with coconut oil and use dairy-free chocolate chips to transform these delights into a dairy-free treat. You won’t miss a beat in flavor!
-
Stuffed Cookie Cups: Before baking, add a spoonful of peanut butter or Nutella inside the cookie cups for an unexpected and indulgent surprise in every bite. They’ll love the gooey center!
-
Elevated Toppings: Instead of just whipped cream, add a drizzle of caramel or caramel sauce for an extra layer of sweetness that compliments the chocolate. It’s pure decadence!
-
Fruity Filling: Toss in a few fresh berries along with the mini marshmallows for a burst of freshness and color. Strawberries or raspberries work wonderfully here!
Experiment and create your dream dessert—these variations will ensure everyone gets a bit of personal touch in each delicious Hot Cocoa Cookie Cup!
Make Ahead Options
These Hot Cocoa Cookie Cups are perfect for busy home cooks looking to save time during the hustle and bustle of the week! You can prepare the cookie dough up to 24 hours in advance, storing it tightly wrapped in the refrigerator to maintain its freshness. Additionally, the hot cocoa filling can be made up to 3 days ahead; simply reheat it gently before filling the cooled cookie cups. When you’re ready to serve, just bake the cookie cups as directed, fill them with the warm chocolate mixture, and top with mini marshmallows and festive sprinkles. This way, you’ll enjoy delightful, homemade treats with minimal effort, making your gatherings even sweeter!
How to Store and Freeze Hot Cocoa Cookie Cups
Room Temperature: Keep the cookie cups in an airtight container for up to 3 days. This helps maintain their softness and prevents any staleness.
Fridge: If you prefer them chilled, store the cookie cups in the refrigerator for up to a week. Just ensure they are covered to avoid drying out.
Freezer: These delightful treats can be frozen for up to 2 months. Wrap each cookie cup individually in plastic wrap and place them in a freezer-safe bag.
Reheating: When ready to enjoy, thaw the cookie cups at room temperature, then reheat briefly in the oven at 350°F (175°C) for about 5 minutes. This will refresh their warm, gooey center!
Hot Cocoa Cookie Cups Recipe FAQs
What type of chocolate is best for the cookie cups?
I recommend using semi-sweet or dark chocolate chips for an indulgent flavor. Semi-sweet chips provide a nice balance of sweetness, while dark chocolate gives a richer taste that complements the marshmallows perfectly.
How should I store the Hot Cocoa Cookie Cups?
Absolutely! To keep your cookie cups fresh, store them in an airtight container at room temperature for up to 3 days. If you want to enjoy them longer, refrigerate for up to a week. For even longer storage, you can freeze them! Wrap each cookie cup tightly in plastic wrap and place them in a freezer-safe bag for up to 2 months.
Can I use different types of sprinkles for decoration?
Very! You can customize your Hot Cocoa Cookie Cups with any sprinkles you like. Whether it’s holiday-themed shapes, colorful rainbow sprinkles, or even chocolate sprinkles, they’ll all add a fun touch to your treats. Just make sure they’re non-toxic and safe for any guests you might have!
What should I do if my cookie cups come out too dry?
If your cookie cups turn out dry, don’t worry! Here are a couple of tips for next time: Make sure you measure your flour accurately and try not to overmix the dough, as this can lead to a tougher texture. Additionally, reduce the baking time slightly; you want them to be set around the edges but still soft in the center. If you’re in a pinch, consider serving them warm with a scoop of ice cream—this will add moisture back into the experience!
Are these cookie cups pet-friendly?
No, it’s best to keep these cookie cups away from pets, especially the chocolate components. Chocolate is toxic to dogs and cats, so if you’re sharing these treats, make sure to set aside a pet-friendly snack for your furry friends!

Hot Cocoa Cookie Cups: Sweet Treats to Cozy Up Your Day
Ingredients
Equipment
Method
- Preheat your oven to 350°F (175°C).
- Mix the flour, sugar, cocoa powder, baking powder, and salt in a large bowl.
- Cream the butter in another bowl until light and fluffy.
- Blend in the egg and vanilla extract into the creamed butter.
- Combine the dry and wet ingredients, mixing until just combined.
- Scoop the dough into a greased muffin tin, filling each cup about 2/3 full.
- Bake in the preheated oven for 10-12 minutes or until the edges look set but the centers remain slightly soft.
- Cool the cookie cups in the tin for a few minutes before transferring them to a wire rack.
- Prepare the hot cocoa filling by heating heavy cream and stirring in the chocolate chips until melted and smooth.
- Fill each cooled cookie cup with the chocolate mixture and top with mini marshmallows.
- Decorate your cookie cups with whipped cream, chocolate shavings, and festive sprinkles.
