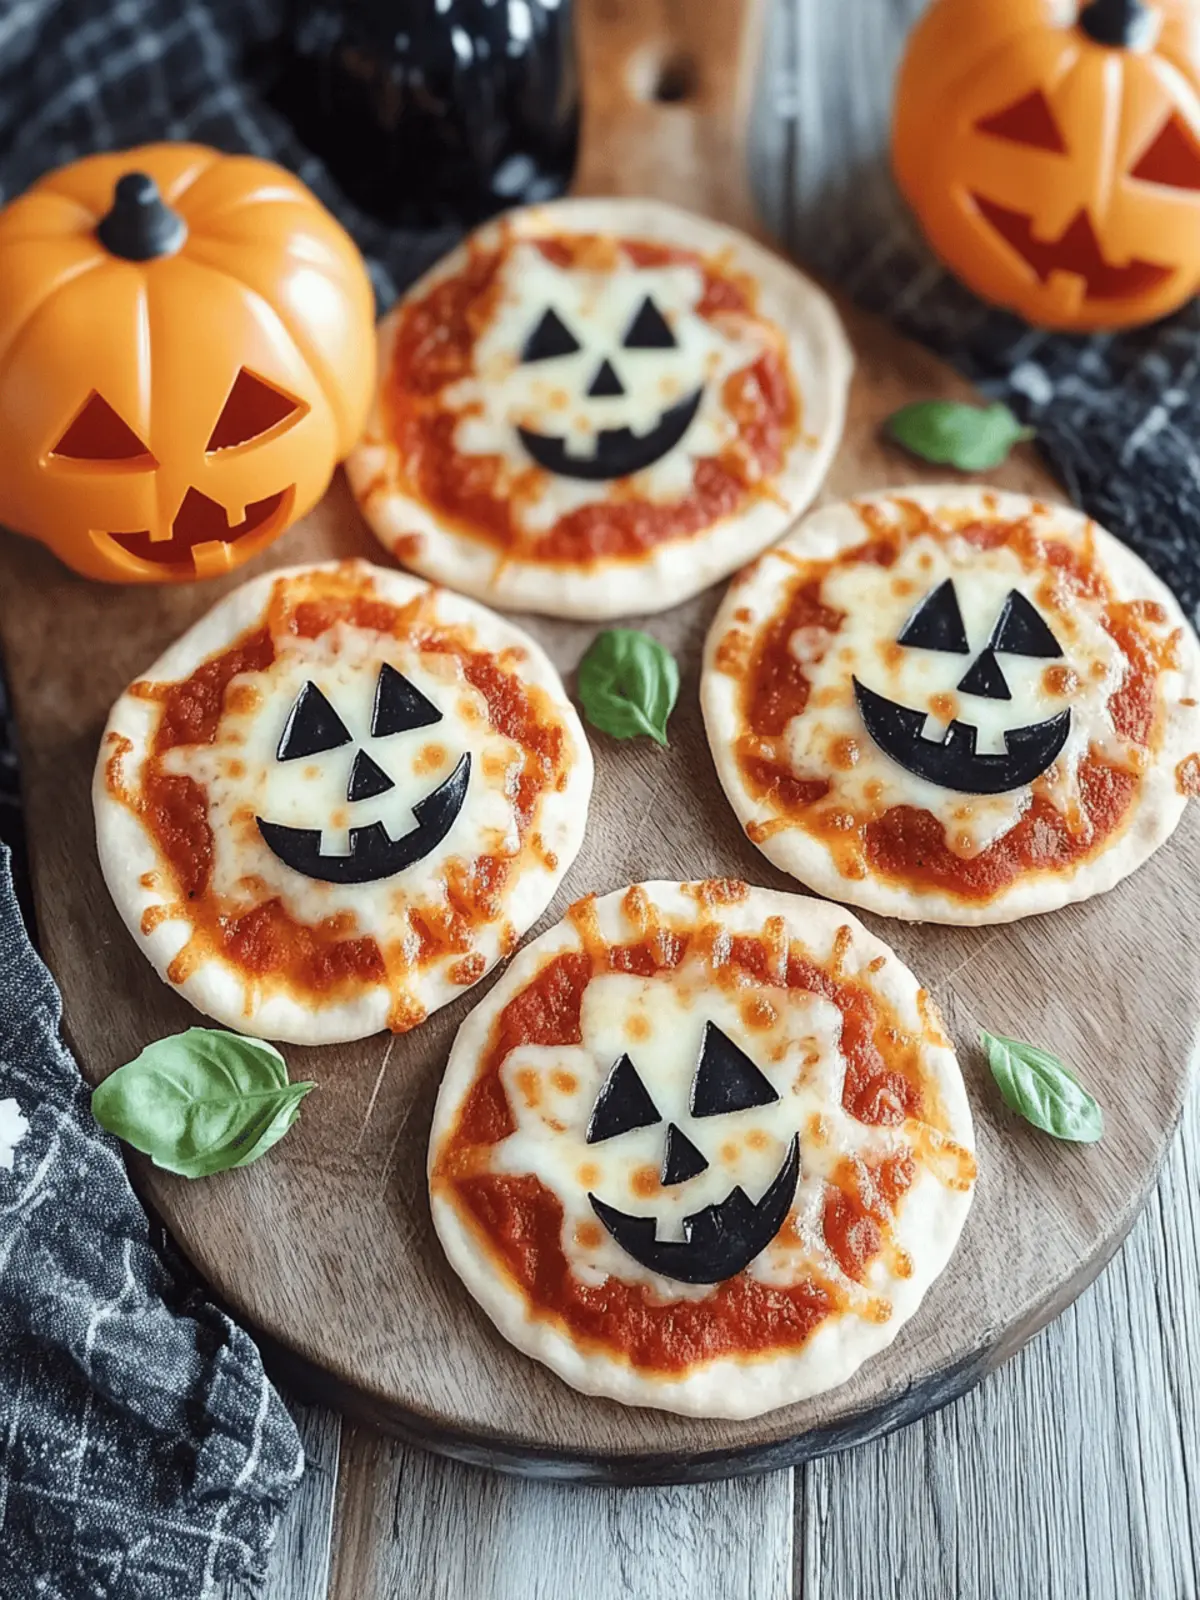
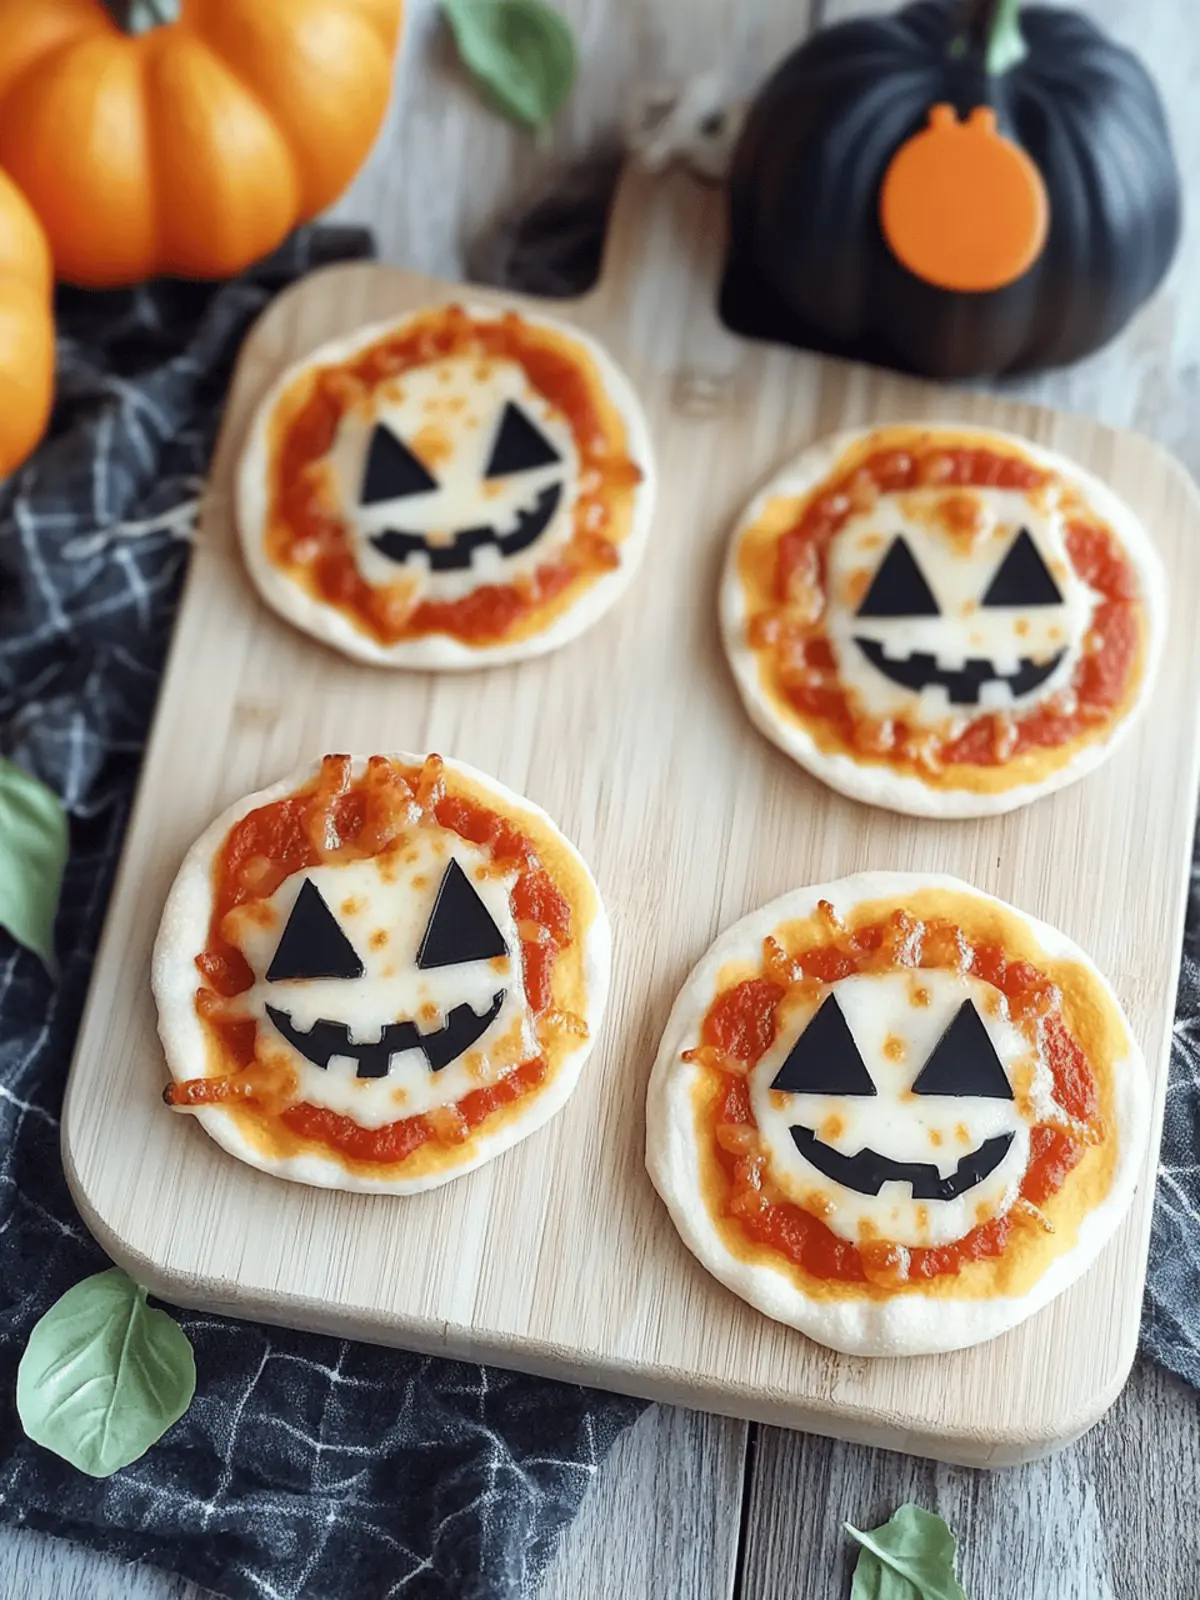
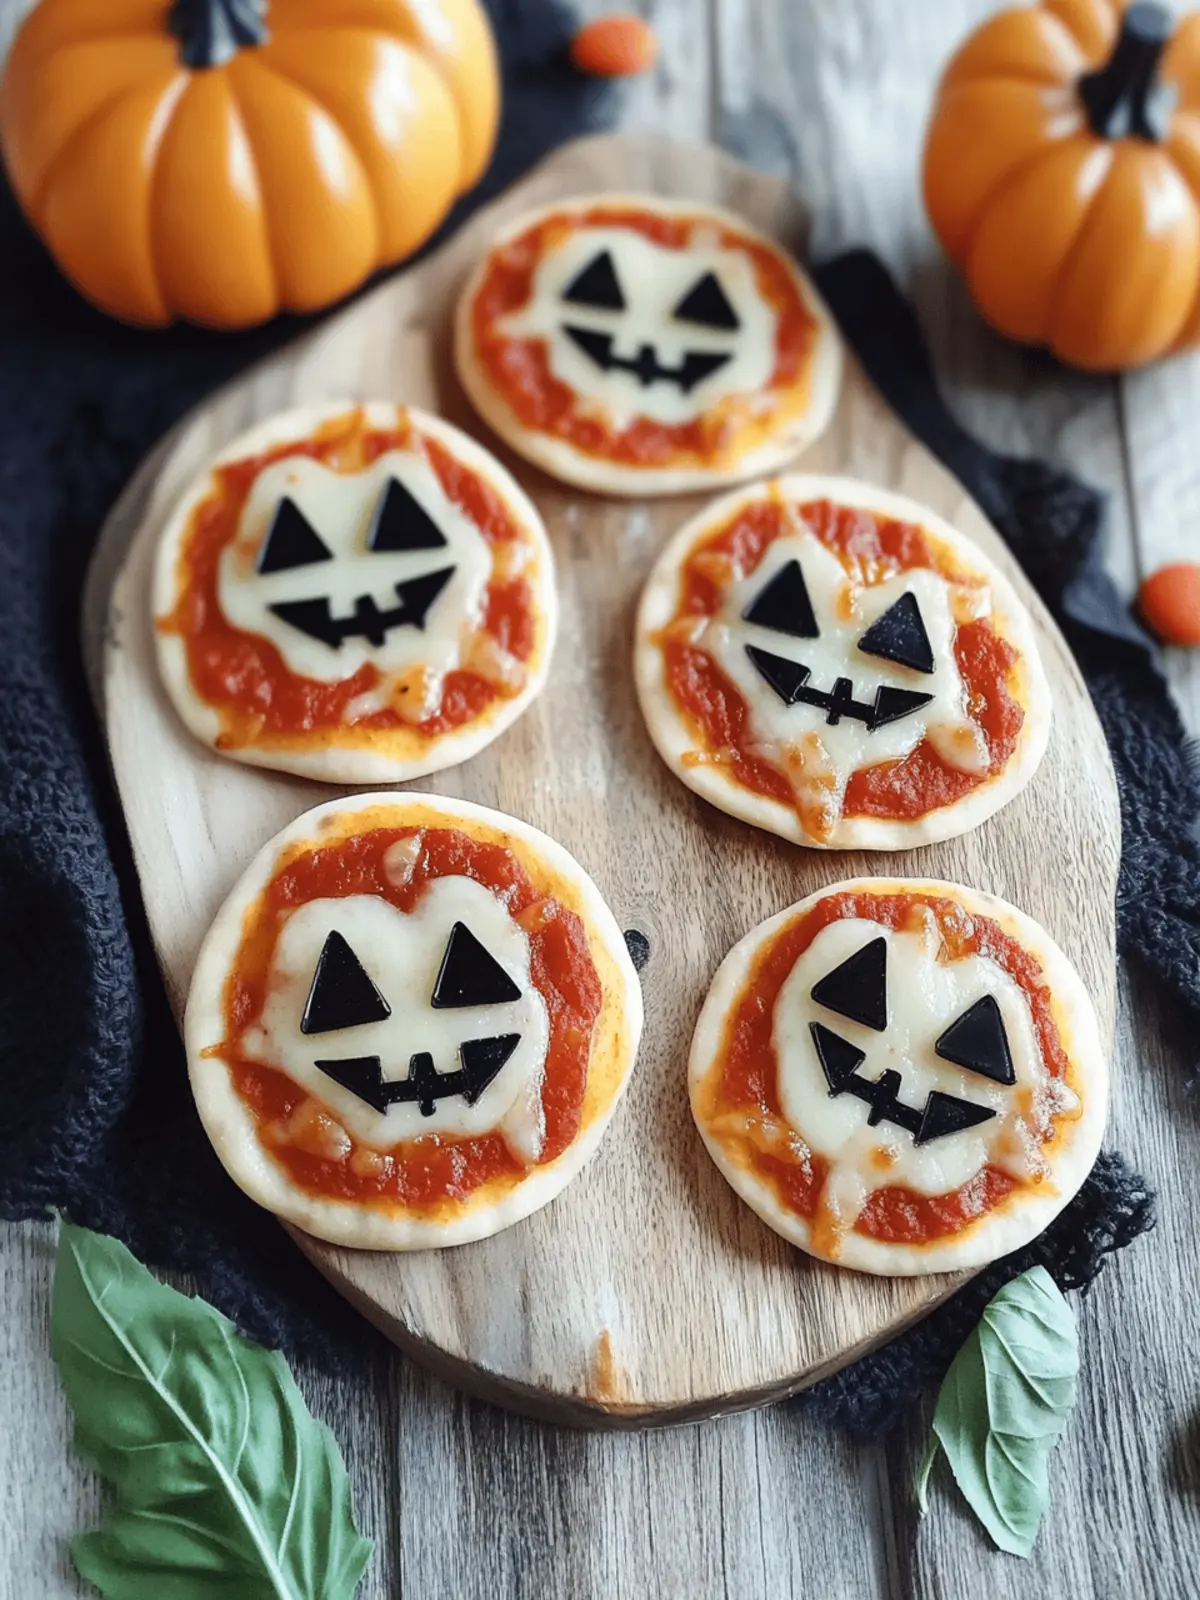
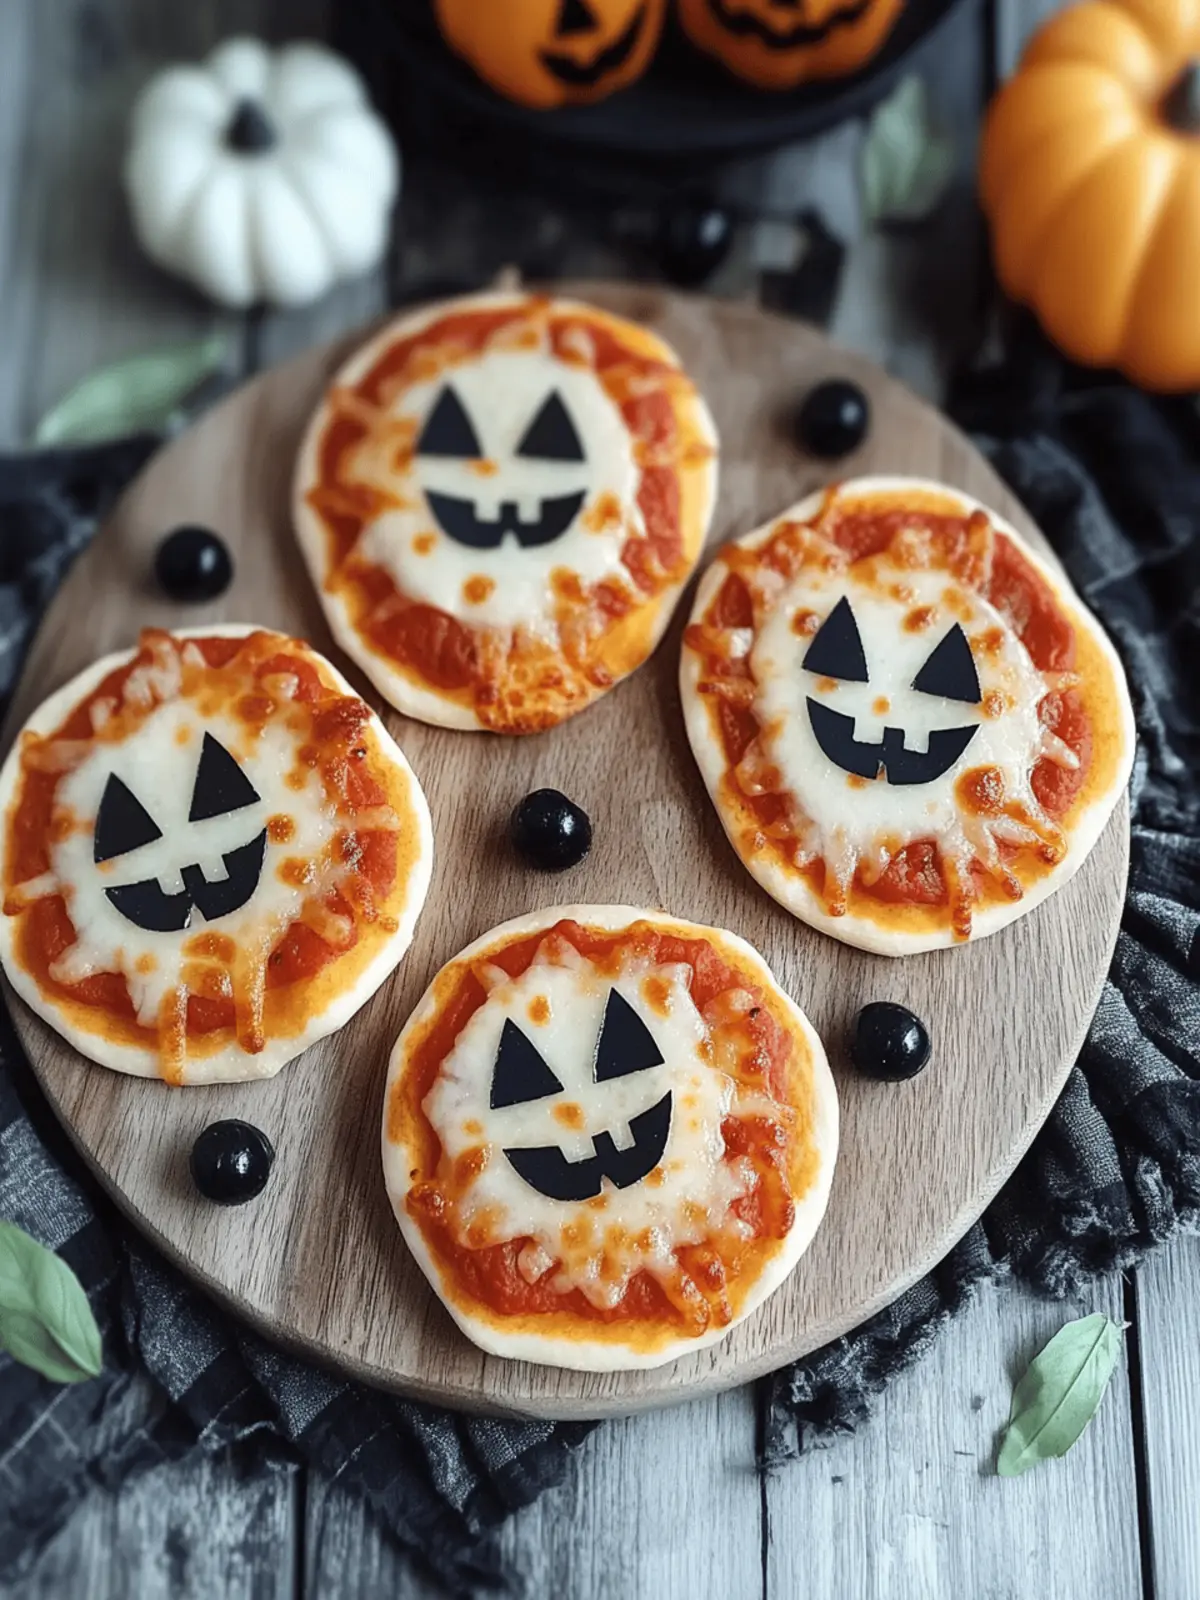
As Halloween approaches, the excitement in the air is palpable—carving pumpkins, choosing costumes, and indulging in spooky treats! This year, I was inspired to whip up something that would delight the whole family: Halloween Mini Pizzas. Imagine little hands eagerly arranging their favorite toppings, transforming gooey cheese and crispy crusts into creepy creatures and festive faces. These bite-sized pizzas not only pack a punch of flavor but also invite creativity at the dinner table. It’s the perfect opportunity for a fun-filled cooking session that brings everyone together, making memories—and delicious treats—along the way. Whether you’re hosting a Halloween party or looking for a quick family dinner, these customizable mini pizzas are sure to be an enchanting hit. So, let’s get started on crafting these delightful, spooky snacks that are as much fun to make as they are to eat!
Why are Halloween Mini Pizzas a crowd favorite?
Kid-friendly fun: These mini pizzas are the ultimate canvas for creativity, allowing kids to decorate with their chosen toppings.
Quick to prepare: With just a few ingredients, you can whip these up in no time—perfect for last-minute Halloween gatherings.
Endless customization: From spooky spiders to playful pumpkin faces, the topping options are limited only by your imagination!
Flavor-packed delight: Gooey mozzarella and fresh toppings create a savory experience that’s irresistible for both kids and adults.
Perfect for parties: They make great finger food that even the pickiest eaters will love, letting everyone join in on the Halloween fun!
Ready for more delicious ideas? Check out our guide on creating fun Halloween treats to elevate your spooky celebrations!
Halloween Mini Pizzas Ingredients
For the Pizza Base
- Mini Pizza Crusts – Use store-bought for a quick option, or make your own for a customized flavor.
- Olive Oil Spray – Prevents sticking and ensures a beautifully baked, golden crust.
For the Sauce and Cheese
- Pizza Sauce – A flavorful moisture base; marinara works as a tasty alternative.
- Mozzarella Cheese – Essential for that melty goodness everyone loves in Halloween Mini Pizzas.
- Part-Skim String Cheese – Great for transforming into spooky mummy decorations by pulling apart for texture.
For the Toppings
- Black Olives – Sliced to create playful spider shapes, adding a salty bite.
- Mini Pepperoni – Optional for those who crave a meaty flavor boost.
- Orange & Green Bell Peppers – Decorative and crunchy, perfect for creating festive pizza faces.
- Fresh Basil – A fresh garnish that enhances the aroma and adds a splash of color.
Get ready to gather your ingredients and let your creativity flow as you craft these delightful Halloween Mini Pizzas!
How to Make Halloween Mini Pizzas
-
Preheat the Oven: Start by preheating your oven to 425°F (220°C). This ensures your mini pizzas bake evenly and achieve that perfect golden color!
-
Prepare the Baking Sheet: Grease a baking sheet with olive oil spray. This step helps to prevent sticking and makes for easier cleanup later on.
-
Spread the Sauce: Take 1-2 tablespoons of pizza sauce and spread it evenly on each mini crust, leaving a little border around the edges for the crust to rise.
-
Add the Cheese: Generously sprinkle shredded mozzarella cheese on half of the pizzas. For those creative mummies, pull apart string cheese and place pieces on top to mimic bandages!
-
Decorate with Toppings: Get creative! Decorate your mini pizzas with black olives for spiders and orange and green bell pepper strips to form festive faces. Add optional mini pepperoni if desired.
-
Bake to Perfection: Place the mini pizzas in the oven and bake for about 10-12 minutes. They’re ready when the crusts are golden brown and the cheese is bubbly and melted. Don’t forget to rotate the pan halfway for even baking!
-
Cool and Garnish: Once done, let them cool for 2 minutes. Garnish with fresh basil for a pop of color and aroma before serving.
Optional: Serve with a sprinkle of extra cheese or a side of your favorite dipping sauce!
Exact quantities are listed in the recipe card below.
Make Ahead Options
These Halloween Mini Pizzas are perfect for busy weeknights or spontaneous gatherings! You can prep the toppings up to 3 days in advance; simply slice the black olives, bell peppers, and any other desired toppings, then store them in airtight containers in the refrigerator. Additionally, you can assemble the mini pizzas without baking them and refrigerate them for up to 24 hours; just cover them tightly with plastic wrap. When you’re ready to enjoy, bake them directly from the fridge for 10-12 minutes. This makes for a quick and easy way to whip up these fun treats while ensuring they remain just as delicious!
How to Store and Freeze Halloween Mini Pizzas
-
Room Temperature: Enjoy Halloween Mini Pizzas fresh from the oven! If you have any leftovers, keep them at room temperature for no more than 2 hours to ensure safety.
-
Fridge: Store any remaining mini pizzas in an airtight container in the fridge for up to 3 days. Layer parchment paper between pizzas to prevent them from sticking together.
-
Freezer: Freeze assembled Halloween Mini Pizzas for a quick meal later. Wrap them tightly in plastic wrap or foil, and store in a freezer-safe bag for up to 2 months.
-
Reheating: Bake from frozen at 425°F (220°C) for 15-20 minutes when ready to eat. Ensure the cheese is melted and the crust is heated through!
What to Serve with Halloween Mini Pizzas?
Gather your family and friends for a spooky celebration with these delightful mini pizzas that spark creativity and excitement at the dinner table.
-
Crispy Veggie Platter: Fresh, crunchy vegetables like carrots, cucumbers, and bell peppers provide a refreshing contrast and healthy balance to the cheesy pizzas.
-
Apple Cider: This warm, spiced beverage enhances the festive spirit while adding sweetness that complements the savory flavors of your pizzas.
-
Spooky Punch: A fun, themed punch adds a playful touch, and can mix fruit juices with sparkling water or soda for a fizzy treat that all ages will enjoy.
-
Chocolate-Dipped Pretzels: These sweet and salty snacks are easy to make and add a delightful crunch, plus they can be decorated to fit the Halloween theme!
-
Mini Pumpkin Muffins: Moist and flavorful, these small treats can round out your meal with a taste of fall that’s perfect for Halloween gatherings.
-
Ghostly Frozen Fruit Bites: Blend yogurt with fruits like bananas and berries, freeze them into fun shapes, and serve for a cool, healthy dessert that echoes the Halloween spirit.
These pairing ideas create a festive meal that not only satisfies hunger but also brings everyone together in seasonal spirit!
Halloween Mini Pizzas Variations
Get ready to unleash your creativity—these mini pizzas can be customized to suit every taste!
-
Veggie Delight: Swap black olives for cherry tomatoes or mushrooms, adding a fresh twist of flavor.
-
Halloween Shapes: Use cookie cutters to cut seasonal vegetables like zucchini into fun shapes; they’ll enchant kids and add colorful flair.
-
Spicy Kick: Add jalapeños or chili flakes to your mini pizzas for a fiery flavor that won’t leave your guests cooling down!
-
Dairy-Free: Substitute mozzarella and string cheese with dairy-free cheese options—delicious and accommodating for lactose-intolerant friends.
-
Sweet Twist: Top with a thin layer of pesto instead of traditional sauce for a unique, herbaceous treat—perfect for adventurous eaters.
-
Herbaceous Boost: Experiment by adding fresh herbs like oregano or thyme before baking, giving a fragrant aroma and depth to your mini pizzas.
-
Savory Surprises: Incorporate cooked sausage or shredded chicken as toppings to add a protein punch, transforming them into a heartier snack.
-
Crunch Factor: For a crunchy texture, sprinkle crushed tortilla chips or breadcrumbs on top before baking—an unexpected yet delightful crunch.
Expert Tips for Halloween Mini Pizzas
-
Prep Toppings in Advance: Organizing your toppings ahead of time saves stress and makes assembling your Halloween Mini Pizzas a breeze.
-
Watch the Bake Time: Keep a close eye on your mini pizzas while they’re baking; they can quickly go from perfect to burnt if neglected!
-
Ensure Even Cooking: If you notice uneven baking, simply rotate the baking pan halfway through cooking to promote consistent results.
-
Dietary Substitutions: Don’t hesitate to swap out ingredients; use dairy-free cheese or gluten-free crust to accommodate all dietary needs without compromising on taste.
-
Experiment with Toppings: Get creative with different toppings each time; this way, your Halloween Mini Pizzas can remain exciting and unique at every gathering!
Halloween Mini Pizzas Recipe FAQs
What type of mini pizza crusts should I use?
Absolutely! You can use store-bought mini pizza crusts for convenience, which are generally readily available in most grocery stores. If you’re feeling adventurous, a homemade crust can add extra flavor and a personal touch. Just make sure they are about 4-5 inches in diameter for the perfect bite-sized pizzas!
How should I store leftover Halloween Mini Pizzas?
Great question! Leftover Halloween Mini Pizzas should be stored in an airtight container in the refrigerator and are best enjoyed within 3 days. I recommend layering parchment paper between each pizza to prevent them from sticking together. This way, they stay intact and are easy to reheat.
Can I freeze Halloween Mini Pizzas, and how?
Yes! Freezing these delightful treats is a breeze. To freeze, wrap each assembled mini pizza tightly in plastic wrap or aluminum foil. Place them all in a freezer-safe bag or container, and they’ll last for up to 2 months! When you’re ready to enjoy them, just bake from frozen at 425°F (220°C) for 15-20 minutes. The cheese should melt beautifully, and the crust will be crispy.
What if my mini pizzas are baking unevenly?
Don’t worry; it happens! If you notice uneven baking, simply rotate the baking pan halfway through the baking time. This ensures that all sides receive equal heat and helps to achieve that perfectly golden crust you’re looking for.
Are these Halloween Mini Pizzas suitable for dietary restrictions?
Definitely! One of the best aspects of these mini pizzas is their customization. If you or your guests have dietary restrictions, you can easily swap the cheese for dairy-free alternatives or choose gluten-free crusts for those with gluten sensitivities. You can still create delicious and spooky treats that cater to everyone’s needs!
How long can I keep the mini pizzas at room temperature?
Very important! You should not leave your mini pizzas at room temperature for more than 2 hours to ensure food safety. If they aren’t consumed right away, make sure to store them in the refrigerator within that timeframe. Enjoy those spooky treats safely!

Halloween Mini Pizzas: Easy, Spooky Fun for Everyone
Ingredients
Equipment
Method
- Preheat your oven to 425°F (220°C).
- Grease a baking sheet with olive oil spray.
- Spread 1-2 tablespoons of pizza sauce on each mini crust.
- Sprinkle shredded mozzarella cheese on half of the pizzas and add pieces of string cheese for mummies.
- Decorate with black olives and bell pepper strips, adding mini pepperoni if desired.
- Bake for about 10-12 minutes until golden brown and bubbly.
- Let cool for 2 minutes, then garnish with fresh basil.


