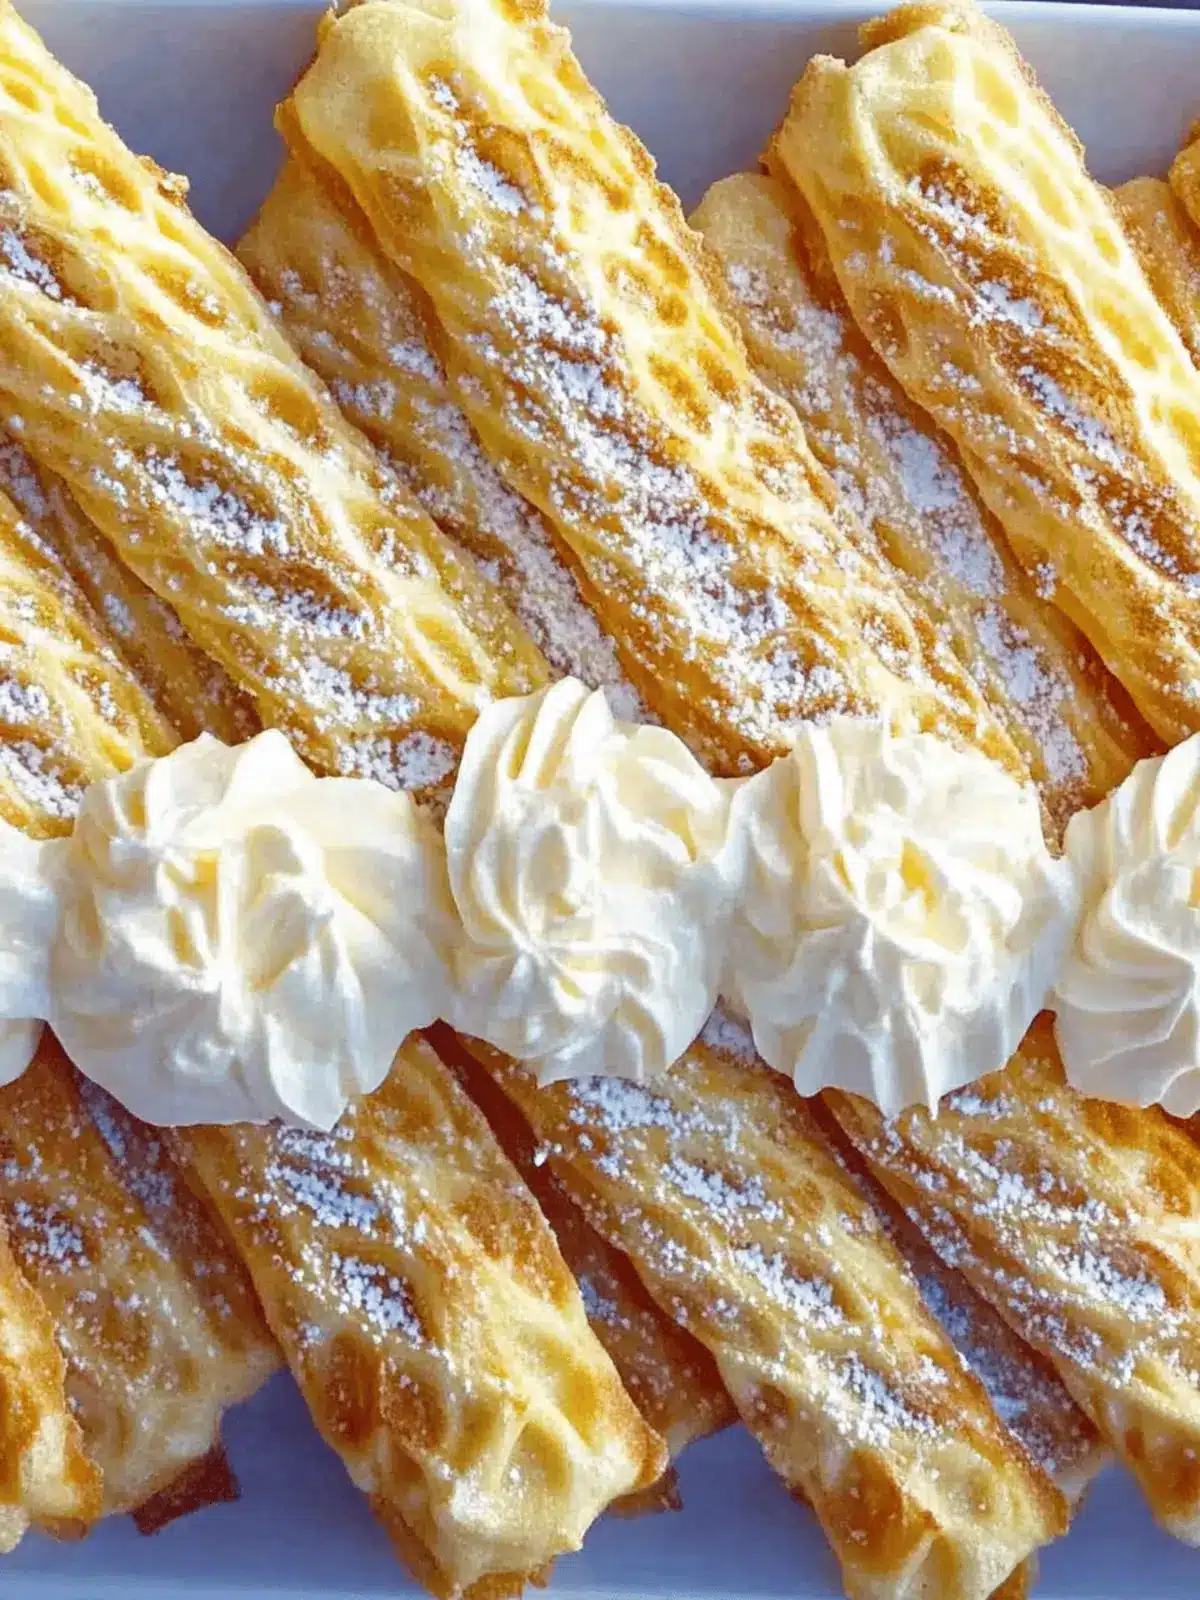
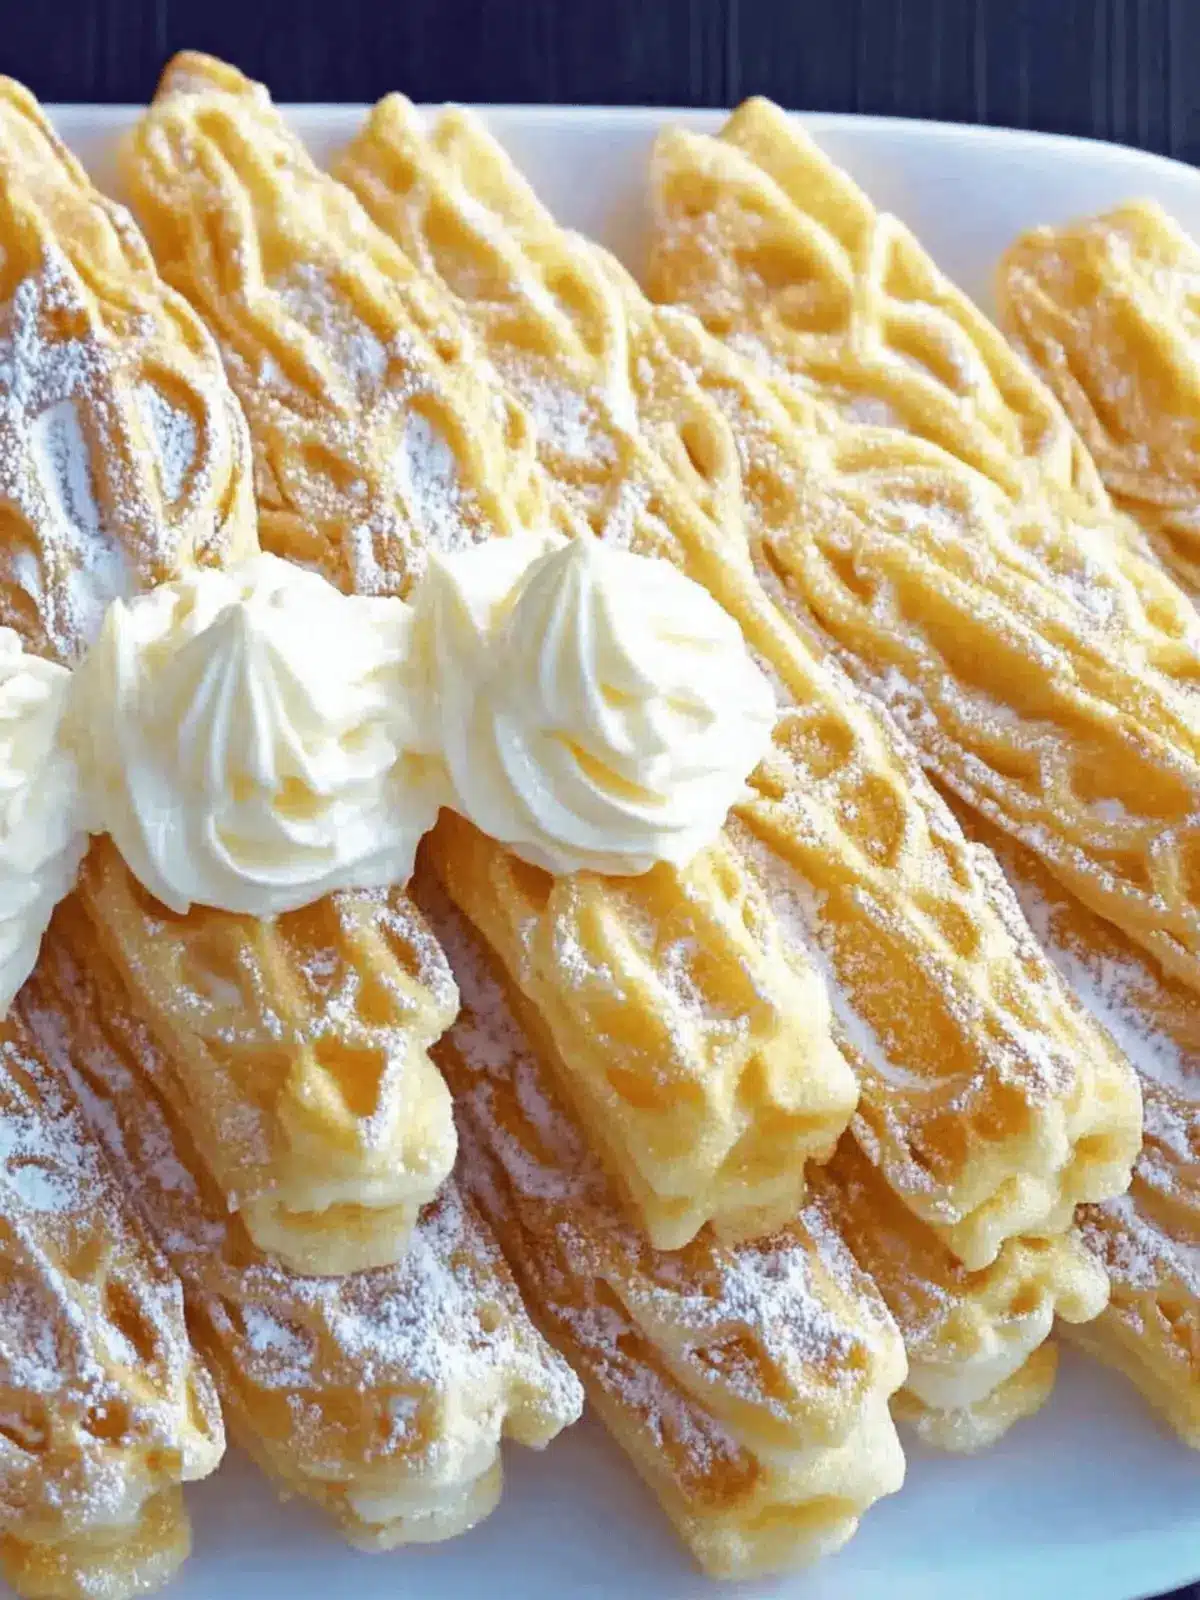
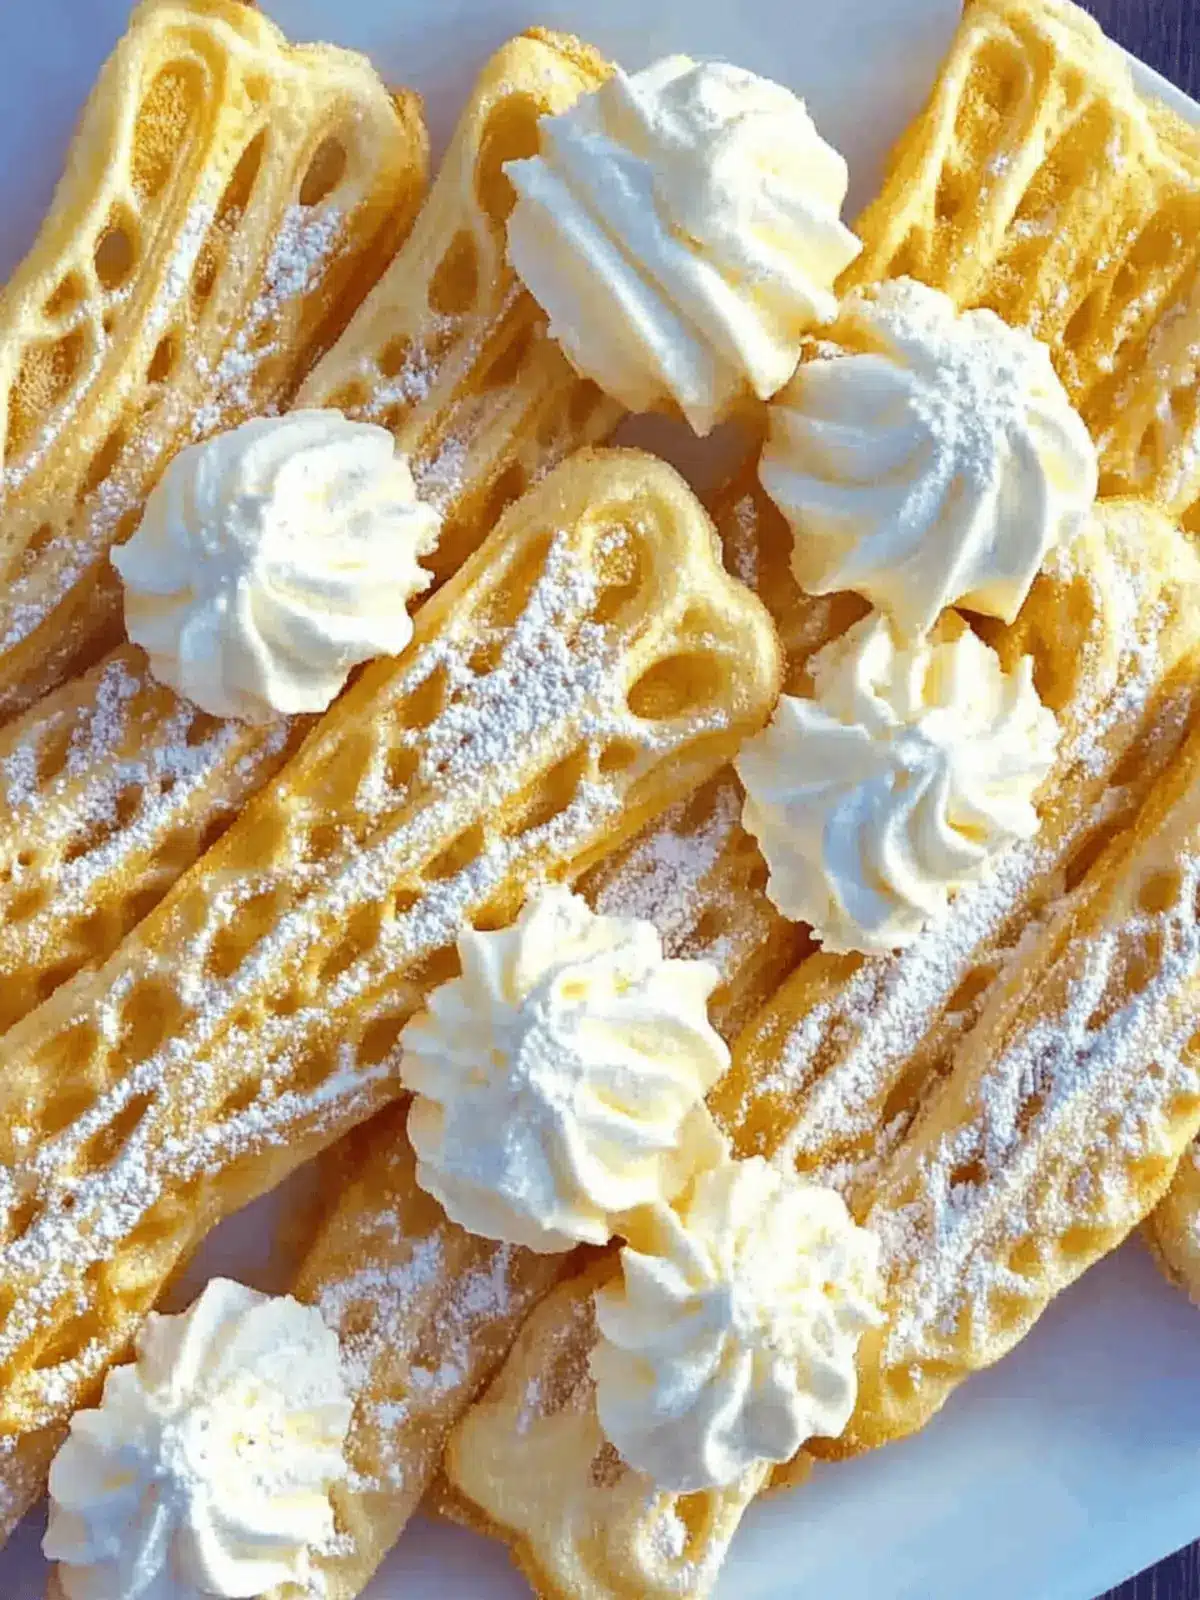
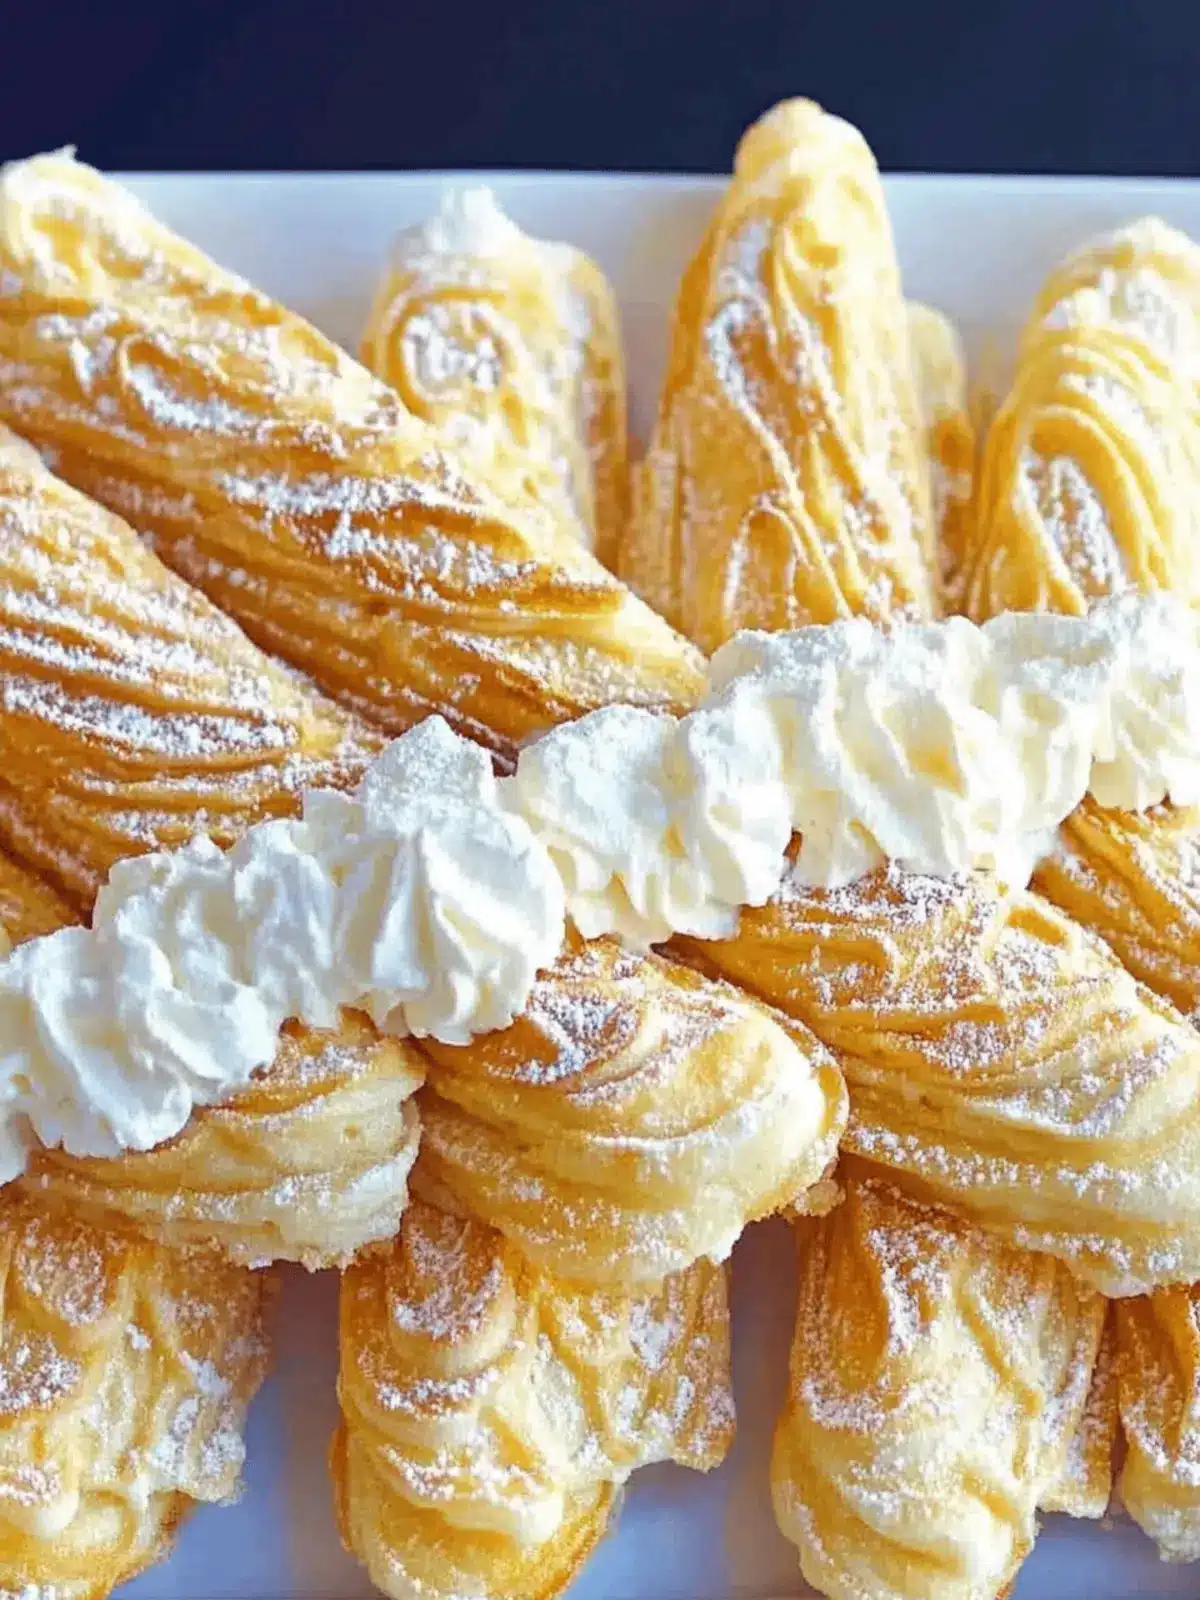
There’s a certain delight that fills the kitchen when you whip up a batch of Cream Filled Pizzelles. The scent of vanilla mingling with the warmth of freshly baked pastries transports me back to my grandmother’s bustling kitchen during the holidays. These enchanting waffle-like cookies, known as Trubochki, aren’t just a feast for the eyes; they bring a creamy, dreamy filling that dances on your palate, making them the perfect treat for celebrations or that special coffee break.
Imagine unwrapping these golden delights, their crisp exterior giving way to a luscious condensed milk filling that’s simply irresistible. Whether you’re hosting a festive gathering or just looking to indulge your sweet tooth, these elegantly crafted pizzelles are bound to impress your guests and become a beloved staple in your home. Join me in creating these delightful pastries that beautifully blend tradition with a touch of modern magic!
Why are Cream Filled Pizzelles so special?
Delightful in every bite, these pizzelles are not only visually stunning but also a taste sensation. Light and crispy, the texture is perfectly contrasted by the creamy filling. Versatile for occasions, they shine at holidays, weddings, or as a delightful treat any day. Quick preparation makes them an easy choice for home bakers, allowing you to impress guests in no time. For even more inspiration, check out my tips on how to achieve a perfect texture with these Cream Filled Pizzelles!
Cream Filled Pizzelles Ingredients
• For the Batter
- 4 large eggs – Provide structure and moisture to the batter; using room temperature eggs yields the best results.
- 1/4 cup granulated sugar – Adds sweetness and enhances browning; feel free to adjust for your taste.
- 1/4 teaspoon fine salt – A key enhancer that balances sweetness beautifully.
- 2 tablespoons grapeseed oil – Keeps the batter moist; for extra crispiness, substitute with melted unsalted butter.
- 1/2 teaspoon vanilla extract – Infuses depth and warmth into your batter’s flavor.
- 1 cup all-purpose flour – The foundation of your pizzelle, making sure to sift for even mixing is essential.
• For the Filling
- 8 oz cream cheese – The rich base for the filling; remember to use it chilled to achieve a smooth blend.
- 1/3 cup sweetened condensed milk – This ingredient brings wonderful sweetness and a creamy texture; use cold for better consistency.
- 8 oz cool whip – Lightens the filling; opt for extra creamy for a rich mouthfeel. Keep it frozen until you’re ready to use it.
- 1/4 teaspoon vanilla extract – Another hint of flavor that elevates the filling.
- 1 tablespoon powdered sugar – Optional dusting for a beautiful presentation that enhances visual appeal.
Elevate your next baking adventure with these Cream Filled Pizzelles and watch as they become the star of your dessert table!
How to Make Cream Filled Pizzelles
-
Preheat your pizzelle maker. This step ensures that the batter cooks evenly and achieves that beautiful golden color we all love.
-
Whisk together eggs, sugar, and salt in a medium bowl with an electric mixer. Mix for about 2 minutes until the mixture is lightened and thickened—this is where the magic begins!
-
Combine oil, vanilla, and sifted flour into the egg mixture. Gently mix until just combined—overmixing can affect the texture, so be gentle.
-
Scoop 1 tablespoon of batter into the preheated pizzelle maker for each design. Bake for 18-20 seconds, or until they’re dark golden brown—this means they’re perfectly cooked!
-
Wrap the baked pizzelles around a wooden stick to form tubes while they are still warm. Allow them to cool in a single layer on a tray to keep their shape.
-
Blend cream cheese in a bowl until smooth, then add in the sweetened condensed milk and vanilla. Finally, fold in the cool whip until your filling is thick and dreamy.
-
Pipe the chilled filling into your cooled pizzelles using a piping bag or a spoon. Dust with powdered sugar for that lovely finishing touch and refrigerate until you’re ready to serve.
Optional: Serve with a side of fresh fruit for a refreshing balance to the sweetness.
Exact quantities are listed in the recipe card below.
Cream Filled Pizzelles Variations & Substitutions
Feel free to take flight with your creativity in the kitchen by exploring these exciting variations!
-
Mascarpone Swap: Replace cream cheese with mascarpone for a lighter, more delicate filling. The flavor is subtle yet rich, bringing a luxurious twist to your pizzelles.
-
Lemon Zest Addition: Add the zest of one lemon to the filling for a bright, refreshing flavor. This zesty touch will awaken your taste buds and pair beautifully with coffee.
-
Cocoa Kick: Incorporate 2 tablespoons of cocoa powder into the batter for a chocolatey delight. This twist brings a deeper flavor profile that chocolate lovers will adore.
-
Almond Extract: Swap vanilla extract for almond extract in the batter for a nutty aroma. This simple change can elevate the pizzelles to a whole new level of deliciousness.
-
Berry Filling: Mix in crushed berries like strawberries or raspberries into your cream filling for a fruity burst. This adds a touch of freshness and summer vibe to your dessert.
-
Spicy Cinnamon: Dust your pizzelles with a pinch of cinnamon before serving for a warm, spicy kick. This comforting spice can turn an already delightful dessert into a cozy treat.
-
Nutty Crunch: Fold in crushed nuts, like pistachios or walnuts, into the filling for an added crunch. The contrast in textures makes each bite more interesting and flavorful.
-
Hot Pepper Infusion: For the daring, add a dash of finely chopped jalapeño to the filling for a surprising twist. The combination of creaminess with heat can create a uniquely delightful experience.
What to Serve with Cream Filled Pizzelles?
There’s something magical about these elegant desserts that pairs beautifully with delightful accompaniments, creating a full and satisfying experience.
-
Fresh Berries: Juicy strawberries or raspberries add a bright, tart contrast to the sweetness of the pizzelles, refreshing your palate with every bite.
-
Espresso or Coffee: A rich, bold cup complements the creamy filling wonderfully, making for a delightful coffee break or after-dinner treat.
-
Whipped Cream: A dollop of freshly whipped cream adds an extra layer of indulgence, enhancing the dessert’s creamy texture with a light and airy touch.
-
Chocolate Sauce: Drizzling warm chocolate sauce over your pizzelles introduces a decadent flavor twist, perfect for chocolate lovers seeking indulgence.
-
Zesty Citrus Salad: A citrus salad brightens up the plate and provides a refreshing burst of flavor that lightens the overall dessert experience.
-
Nutty Biscotti: Crunchy almond or hazelnut biscotti creates a delightful textural contrast, perfect for dipping into a warm mug of coffee.
-
Mint Tea: The refreshing herbs in mint tea make a lovely pairing, cleansing the palate and balancing the sweetness of your creamy treat.
-
Ice Cream: A scoop of vanilla or lemon ice cream transforms the pizzelles into a delightful sundae, adding cool creaminess to the warm pastries.
Each of these suggestions can elevate your experience with Cream Filled Pizzelles, turning dessert into an unforgettable affair!
Make Ahead Options
These Cream Filled Pizzelles are perfect for busy cooks looking to save time without sacrificing flavor! You can make the pizzelle shells up to 3 days in advance and store them wrapped in plastic wrap at room temperature to maintain their crispness. The filling can be prepared up to 24 hours ahead of time—just mix the cream cheese, sweetened condensed milk, and cool whip, then refrigerate it until you’re ready to assemble. When it’s time to serve, simply pipe the filling into the cooled pizzelles and dust with powdered sugar. This approach ensures that you can enjoy these delightful pastries with minimal last-minute effort, keeping your gatherings stress-free and delicious!
Tips for the Best Cream Filled Pizzelles
• Use Room Temperature Eggs: Always start with room temperature eggs for the batter, as they help to create a better emulsion, resulting in light, airy pizzelles.
• Don’t Overmix: Gently combine the wet and dry ingredients. Overmixing can lead to tough pizzelles instead of the delicate texture you want in your Cream Filled Pizzelles.
• Time Your Baking: Keep a close eye on the cooking time; pizzelles are done when they’re dark golden brown. Undercooking them may lead to a chewy texture.
• Cool Properly: Allow baked pizzelles to cool on a tray; this helps maintain their shape and prevents sogginess.
• Fill Just Before Serving: For the best texture, fill your pizzelles right before serving. This keeps the exterior crispy while the creamy filling maintains its heavenly texture.
How to Store and Freeze Cream Filled Pizzelles
Room Temperature: Store unfilled pizzelles in an airtight container at room temperature for up to 3 days to maintain their crispiness.
Fridge: If pre-filled, keep your cream filled pizzelles in a covered container in the refrigerator for up to 2 days. Remember, filling them too far in advance can make them soggy.
Freezer: For longer storage, freeze unfilled pizzelles in a single layer before transferring them to a freezer-safe bag or container. They’ll stay fresh for up to 2 months.
Reheating: To revive pizzelles from the freezer, let them thaw in the fridge overnight. Reheat in a warm oven (200°F) for a few minutes to restore crispness before serving.
Cream Filled Pizzelles Recipe FAQs
How do I choose the right eggs for my Cream Filled Pizzelles?
Absolutely! For the best results, use large eggs at room temperature. They create a better emulsion in your batter, which helps achieve light and airy pizzelles. This is especially important when you’re whisking the eggs with sugar and salt!
How should I store my Cream Filled Pizzelles?
For unfilled pizzelles, store them in an airtight container at room temperature for up to 3 days to keep them crispy. Once filled, keep them in a covered container in the refrigerator for up to 2 days; however, it’s best to fill them just before serving to avoid sogginess.
Can I freeze my Cream Filled Pizzelles?
Yes! To freeze unfilled pizzelles, lay them in a single layer on a baking sheet until solid. Then, transfer them to a freezer-safe bag or container. They can be frozen for up to 2 months. If you want to enjoy them later, just thaw overnight in the fridge and reheat briefly in a warm oven (200°F) to revive their crispiness.
What should I do if my pizzelles turn out soggy?
Oh no! If your pizzelles are soggy, it might be because they were filled too early or not dried properly. To fix this, make sure they cool completely on a tray after baking, and allow them to dry at room temperature for 4-5 hours. If necessary, you can also dry them in a preheated oven at 170°F for about an hour.
Are Cream Filled Pizzelles suitable for people with dietary restrictions?
While these delightful pizzelles aren’t gluten-free, they don’t contain any specific allergens except for dairy in the filling. If you’re baking for someone with allergies, consider options like using dairy-free cream cheese or whipped alternatives to customize the filling. Enjoy baking!
Cream Filled Pizzelles: A Dreamy Italian Dessert Adventure
Ingredients
Equipment
Method
- Preheat your pizzelle maker. This step ensures that the batter cooks evenly and achieves that beautiful golden color we all love.
- Whisk together eggs, sugar, and salt in a medium bowl with an electric mixer. Mix for about 2 minutes until the mixture is lightened and thickened—this is where the magic begins!
- Combine oil, vanilla, and sifted flour into the egg mixture. Gently mix until just combined—overmixing can affect the texture, so be gentle.
- Scoop 1 tablespoon of batter into the preheated pizzelle maker for each design. Bake for 18-20 seconds, or until they're dark golden brown—this means they’re perfectly cooked!
- Wrap the baked pizzelles around a wooden stick to form tubes while they are still warm. Allow them to cool in a single layer on a tray to keep their shape.
- Blend cream cheese in a bowl until smooth, then add in the sweetened condensed milk and vanilla. Finally, fold in the cool whip until your filling is thick and dreamy.
- Pipe the chilled filling into your cooled pizzelles using a piping bag or a spoon. Dust with powdered sugar for that lovely finishing touch and refrigerate until you're ready to serve.

