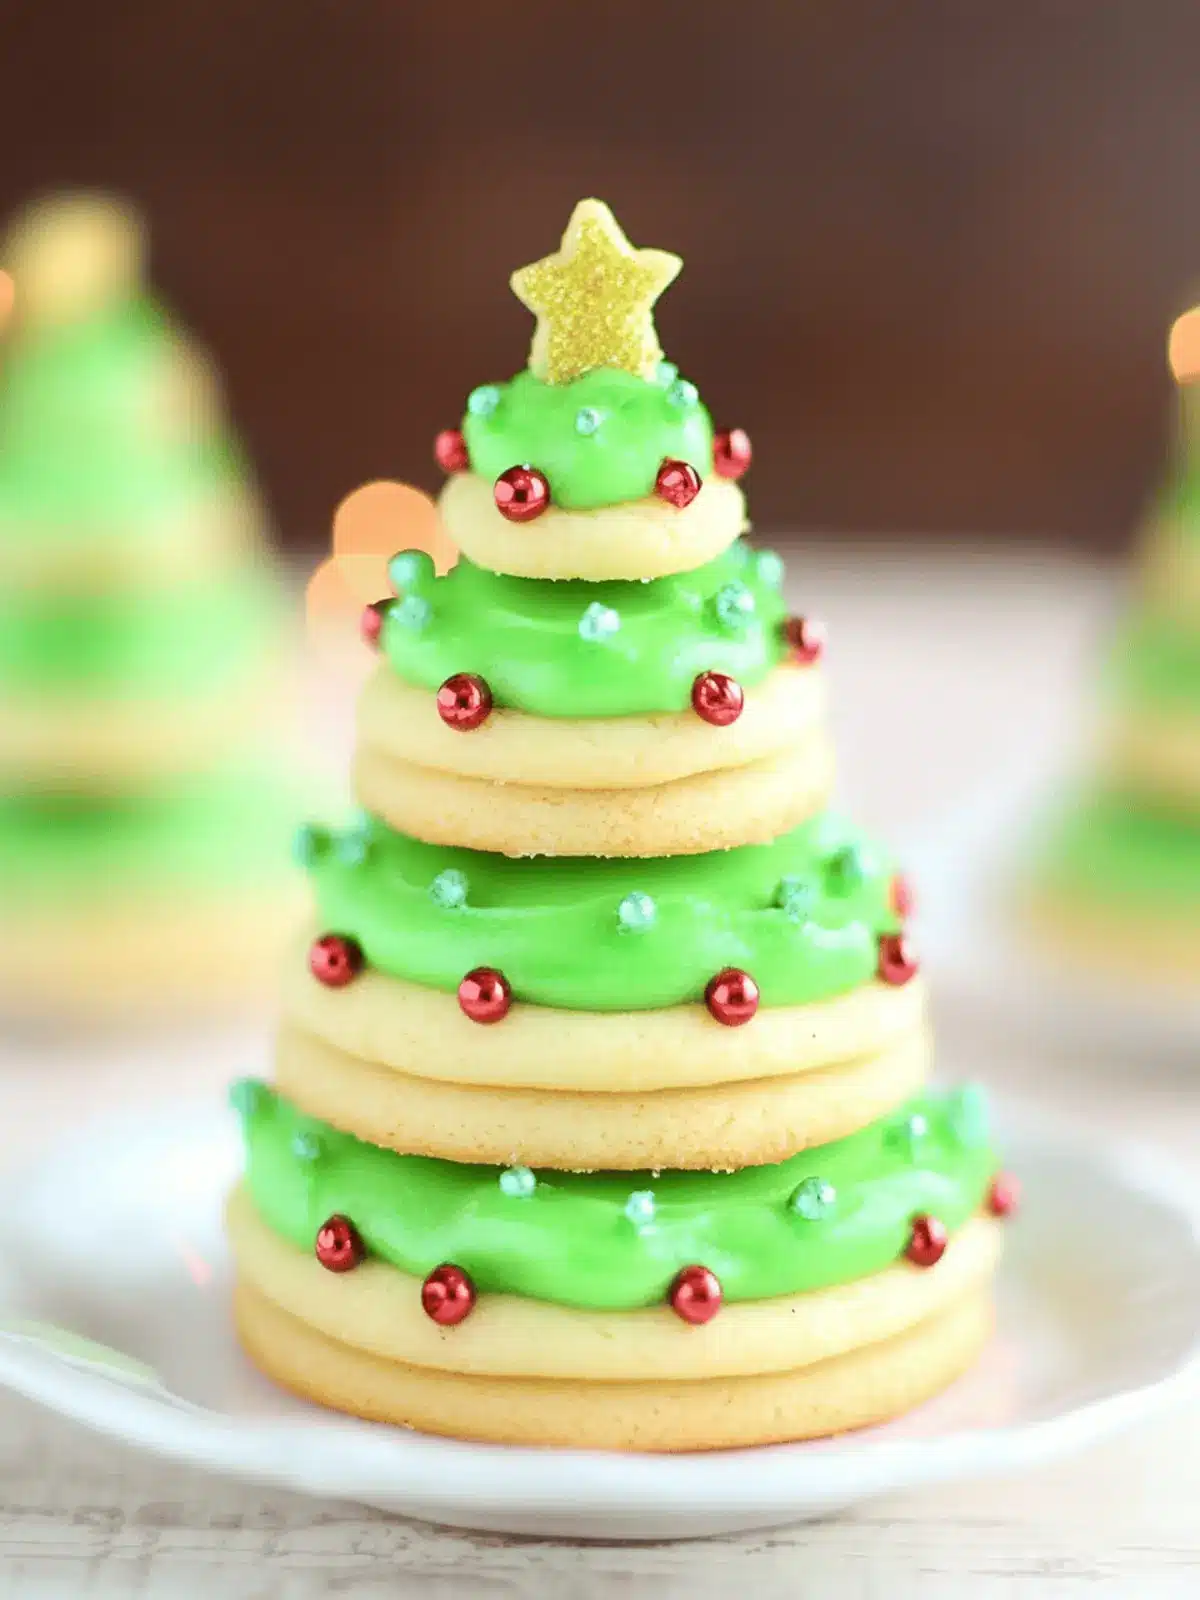
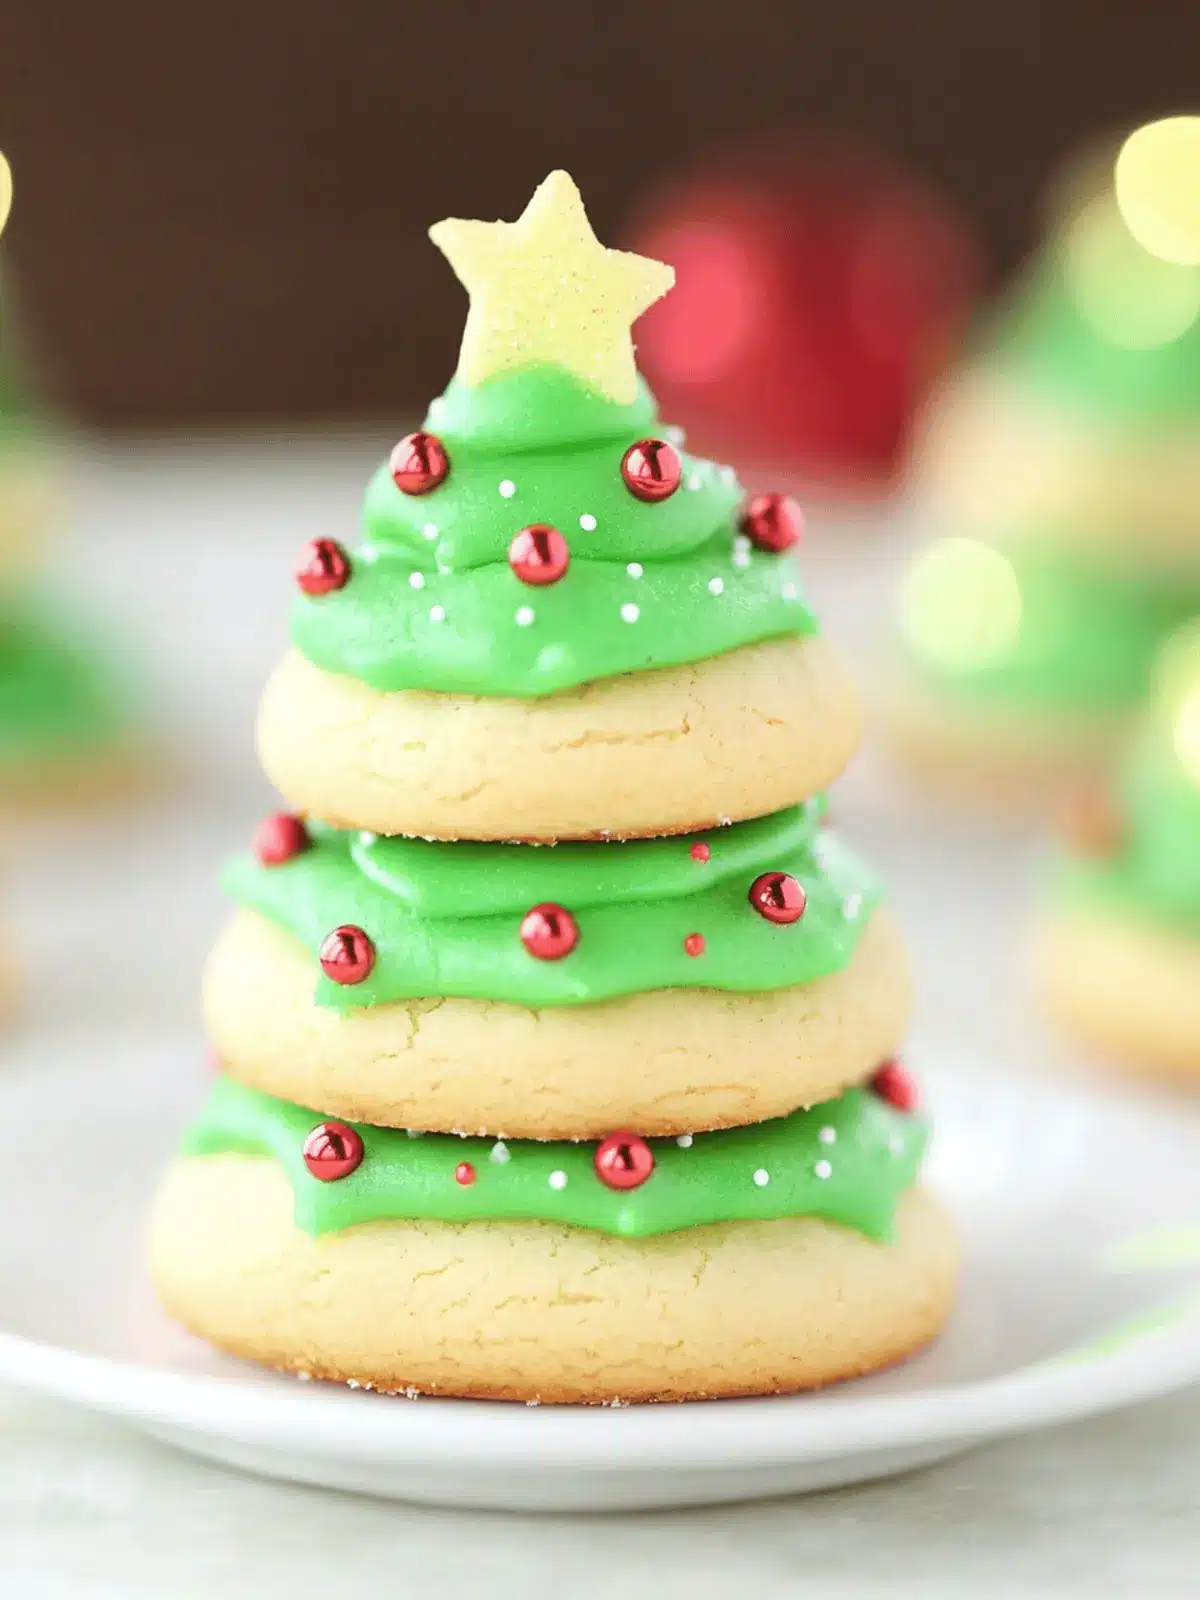
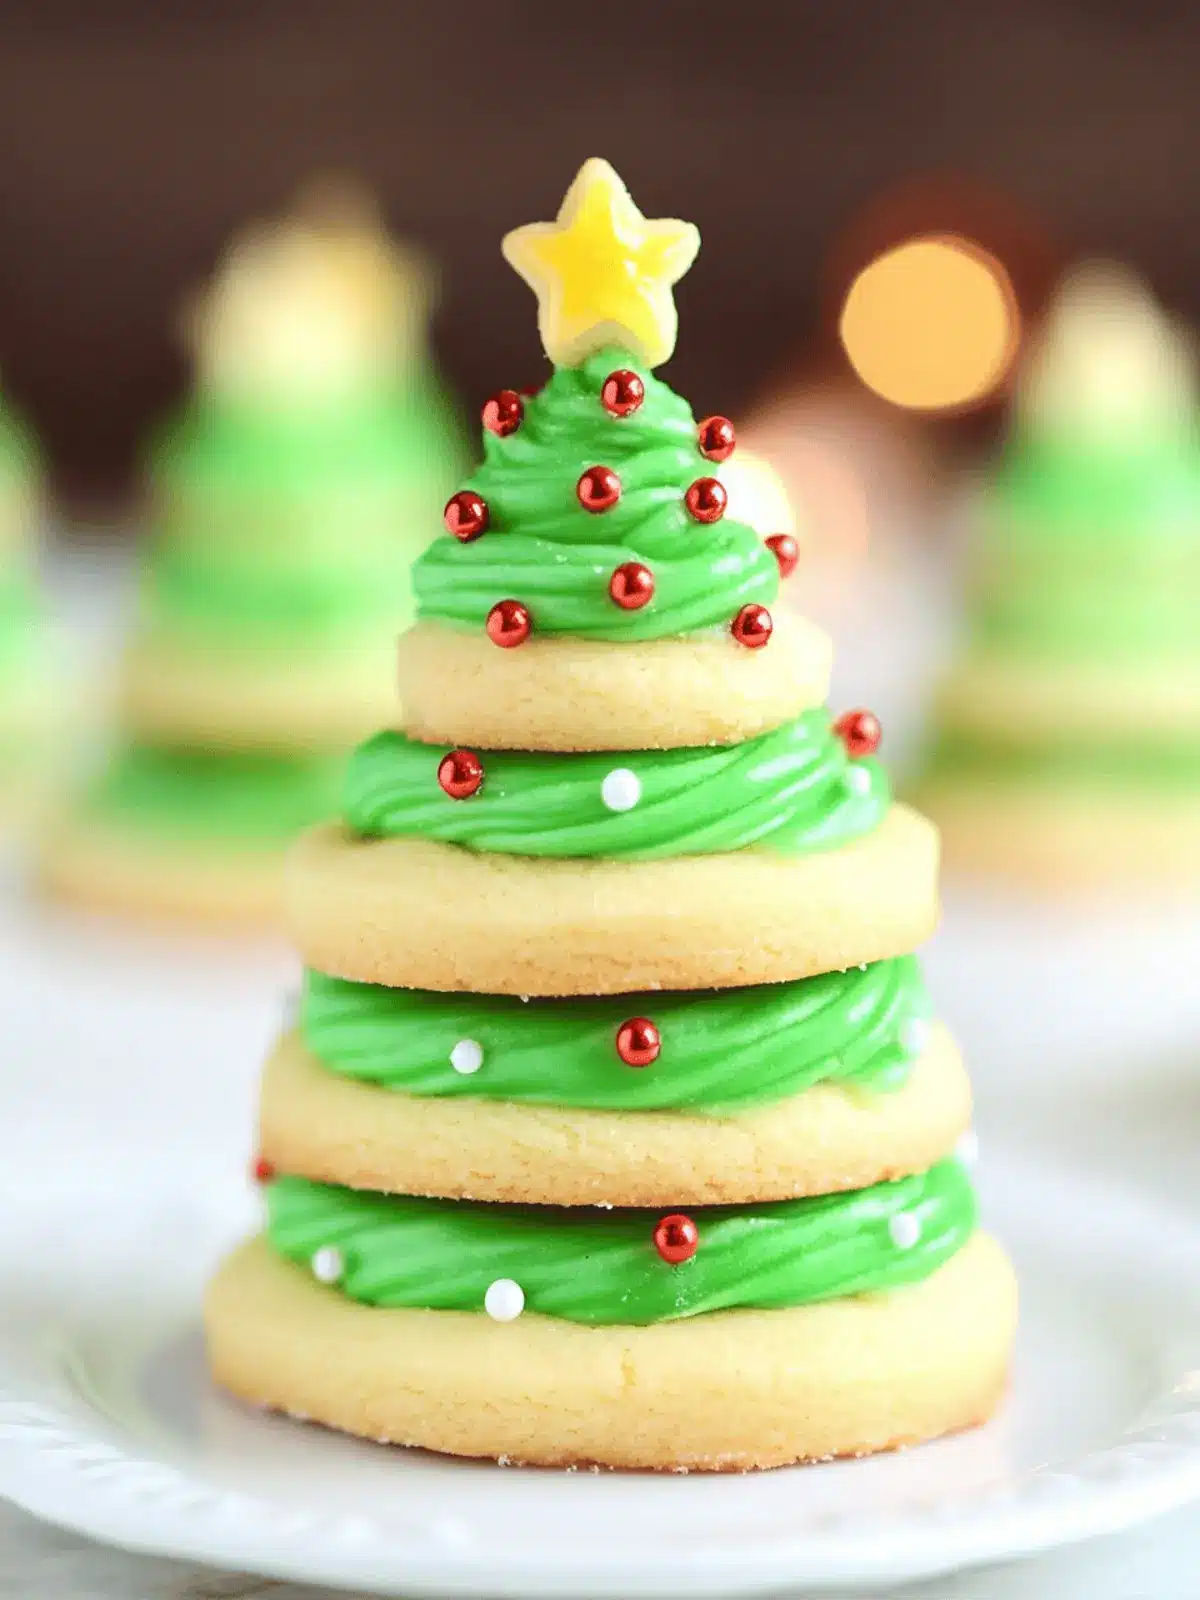
There’s a special kind of joy that dances in the air as the holiday season approaches. Picture this: warm, freshly baked cookies that resemble towering Christmas trees, decorated with vibrant icing and a sprinkle of festive cheer. My journey to these delightful Christmas Tree Cookie Stacks began one chilly evening when I felt the urge to bring a bit of magic into an otherwise ordinary day. As I mixed butter with sugar, the sweet aroma filled my home, instantly lifting my spirits and sparking nostalgia for childhood baking adventures.
This recipe is not just about satisfying a sweet tooth; it’s a playful twist on holiday traditions that invites both kids and adults to gather around the kitchen. Easy to whip up, these cookies can be a centerpiece at any festive gathering or simply enjoyed with a cup of cocoa after a long day. With their vibrant colors and delightful flavors, they’re sure to brighten your holiday celebrations. Let’s dive into the steps for creating these enchanting cookie stacks that are as fun to make as they are to eat!
Why are Christmas Tree Cookie Stacks a must-bake?
Joyful Experience: Baking these cookies is an enchanting way to bring friends and family together during the holidays.
Visual Appeal: Their vibrant colors and whimsical tree shape make them a showstopper at any festive gathering.
Easy Process: Featuring straightforward steps and simple ingredients, even novice bakers can join in the fun.
Creative Decorating: Each cookie can be personalized with fun sprinkles and icing, adding a magical touch.
Perfect Pairing: Serve them alongside hot cocoa for a delightful after-dinner treat that everyone will love.
This recipe promises an unforgettable baking experience, making it a wonderful addition to your holiday traditions!
Christmas Tree Cookie Stacks Ingredients
Get ready to bring the magic of Christmas into your kitchen with these festive cookie stacks!
For the Cookie Batter
- Unsalted butter – 3/4 cup; softened butter ensures a creamy texture and rich flavor.
- Sugar – 1 cup; the perfect sweetener to enhance the holiday spirit in your cookies.
- Egg – 1 large; binds the ingredients while adding moisture for tender cookies.
- Vanilla extract – 1 tsp; a classic flavor that adds warmth and sweetness to your batter.
- Almond extract – 1 tsp; brings a delightful nutty flavor that complements the vanilla beautifully.
- All-purpose flour – 2 1/4 cups; the foundation for your cookie stacks, providing structure.
- Baking soda – 1 tsp; helps your cookies rise and achieve that delightful chewy texture.
- Kosher salt – 1/4 tsp; balances the sweetness and enhances all the flavors in your cookies.
For the Frosting
- Butter – 1 cup; used to create a fluffy, rich frosting that envelops each cookie.
- Powdered sugar – 4 cups; key for a smooth, sweet frosting that’s easy to spread.
- Vanilla extract – 1 tsp (for frosting); a must for that delicious frosting flavor.
- Water or milk – 3 Tbsp; adjust the consistency of your frosting for easy applying.
For the Decoration
- Green gel icing color – to tint your frosting vibrant green for that festive tree look.
- Red and white pearl sprinkles – 3 Tbsp; add a touch of sparkle and festivity to your cookie stacks.
- Yellow star sprinkles – 18; the perfect finishing touch to top your trees with shining stars!
Gather these ingredients and let’s create stunning Christmas Tree Cookie Stacks that will light up your holidays!
How to Make Christmas Tree Cookie Stacks
-
Preheat your oven to 350°F (175°C). This ensures your cookies bake evenly, creating that perfect golden edge we all love!
-
Cream together the unsalted butter and sugar in a mixing bowl until light and fluffy. This process, about 2-3 minutes, creates a luscious base for your cookie batter.
-
Beat in the egg, vanilla extract, and almond extract. Mixing these ingredients well will add a delightful flavor that makes your cookies irresistible.
-
Combine the flour, baking soda, and kosher salt in a separate bowl. Gradually add this dry mix to the creamed mixture until fully incorporated, resulting in a soft dough.
-
Drop rounded tablespoons of dough onto ungreased baking sheets, spacing them apart. This step allows room for the cookies to spread as they bake.
-
Bake for 8-10 minutes or until the edges are lightly golden brown. The sweet smell will fill your kitchen and make your heart flutter with holiday cheer!
-
Cool completely on a wire rack before frosting. This step is crucial; warm cookies can ruin your beautiful frosting!
-
For the Frosting: Beat together the butter and powdered sugar until smooth and fluffy. This may take about 3-5 minutes to achieve that perfect consistency.
-
Add the vanilla extract and either water or milk, mixing until your frosting reaches a spreadable consistency, just right for adorning those cookies.
-
Frost your cooled cookies generously, then decorate with green gel icing, red and white pearl sprinkles, and top off each tree with a yellow star sprinkle!
Optional: For an extra festive touch, drizzle some melted chocolate over the frosted cookies.
Exact quantities are listed in the recipe card below.
Make Ahead Options
These delightful Christmas Tree Cookie Stacks are perfect for meal prep enthusiasts looking to save time during the busy holiday season! You can prepare the cookie dough up to 24 hours in advance by mixing all the ingredients, then chilling the dough in the refrigerator (this will help prevent the cookies from spreading too much while baking). If you’re looking to save even more time, you can frost the cookies up to 3 days ahead. Simply store frosted cookies in an airtight container at room temperature to keep them fresh and delicious. When ready to serve, just arrange your beautifully frosted cookie stacks on a festive platter for a show-stopping treat that’s just as delightful as when they were freshly baked!
What to Serve with Christmas Tree Cookie Stacks?
Indulge in a delicious holiday feast by complementing your festive cookie stacks with delightful treats that capture the spirit of the season.
-
Hot Cocoa: The classic pairing of velvety hot cocoa enhances the sweetness of the cookies, creating a cozy experience around the fireplace.
-
Peppermint Bark: With its rich chocolate and cooling mint flavors, this festive treat adds a crunch that contrasts beautifully with the soft cookies.
-
Eggnog: This rich, spiced beverage is a holiday favorite, making it the perfect companion to the sugary delights of your cookie stacks.
-
Fruit Salad: A refreshing burst of colorful fruits balances out the sweetness, adding brightness and a healthy twist to your dessert table.
-
Ice Cream: Serve a scoop of vanilla or peppermint ice cream alongside the cookies for a delightful dessert à la mode that’s sure to impress.
-
Cheese Platter: A selection of soft cheeses and dried fruits creates an elegant contrast, elevating your cookie experience and impressing your guests.
-
Holiday Punch: A festive, fruity punch can enhance your dessert table and keep the mood merry and bright as you celebrate together.
-
Gingerbread Houses: For extra fun, pair your cookies with gingerbread houses, encouraging creativity and delight during family and friend gatherings.
Elevate your holiday joy with these delightful pairings that bring warmth to your celebrations!
Christmas Tree Cookie Stacks Variations
Feel free to get creative and make these delightful cookies your own, adding flavors and ingredients that resonate with your taste!
-
Gluten-Free: Swap all-purpose flour with a gluten-free blend, ensuring a joyful treat for those with dietary restrictions.
-
Nut-Free: Omit almond extract and use additional vanilla for a nut-free version that everyone can enjoy, especially at gatherings.
-
Chocolate Lovers: Add 1/2 cup of mini chocolate chips to the cookie batter for a delightful gooey surprise in every bite!
-
Citrus Twist: Incorporate the zest of one orange or lemon into the dough for a fresh, vibrant flavor profile that shines through the sweetness.
-
Dairy-Free: Replace butter with coconut oil and use plant-based milk for frosting. These adjustments make for a delightful dairy-free treat!
-
Spiced Wonder: Add a teaspoon of ground cinnamon or ginger to the batter for a warm, aromatic flavor that will fill your kitchen with holiday cheer.
-
Colorful Sprinkles: Instead of traditional sprinkles, get creative with themed toppings like edible glitter or bright confetti sprinkles for a festive look!
-
Miniature Trees: Roll smaller balls of dough to create mini cookie trees, perfect for little hands and more bite-sized fun during dessert time.
Add your personal touch with these variations and enjoy a unique spin on your Christmas Tree Cookie Stacks!
Expert Tips for Christmas Tree Cookie Stacks
-
Cool Cookies First: Always let your cookies cool completely before frosting. Warm cookies can cause the frosting to melt and lose its shape.
-
Correct Consistency: For frosting, it’s key to achieve a smooth, spreadable texture. Be careful not to add too much liquid—start with less and adjust gradually.
-
Uniform Baking: Use an ice cream scoop for evenly shaped cookies; this helps them bake uniformly and look great as a tree stack.
-
Spice It Up: While the base recipe is fantastic, consider adding a pinch of cinnamon or nutmeg for a cozy twist to your holiday baking.
-
Decorate Creatively: Encourage the kids to design their own cookie trees! Different sprinkles and icing colors not only make it fun but add to the festive spirit.
With these tips, your Christmas Tree Cookie Stacks will be both visually stunning and delicious!
How to Store and Freeze Christmas Tree Cookie Stacks
Room Temperature: Keep your frosted Christmas Tree Cookie Stacks in an airtight container for up to 3 days. This retains their freshness and delightful softness.
Fridge: If you want to extend their shelf life, store the cookies in the fridge in an airtight container. They’ll last up to a week, although they may become a bit firmer.
Freezer: Frozen cookies can last up to 3 months. Wrap them individually in plastic wrap and then place them in a freezer-safe bag to prevent freezer burn.
Reheating: When you’re ready to enjoy your frozen cookies, simply thaw them in the fridge overnight or leave them at room temperature for a few hours. If desired, warm them in the oven at 350°F (175°C) for a couple of minutes to restore their softness.
Christmas Tree Cookie Stacks Recipe FAQs
What is the best way to select ripe ingredients for my cookie batter?
Absolutely! For the best flavor and texture in your Christmas Tree Cookie Stacks, choose unsalted butter that’s soft to the touch. This ensures easy creaming with sugar. The egg should be fresh and at room temperature to blend perfectly. If you can, opt for pure extracts instead of imitation for a more robust flavor.
How should I store my decorated cookies after baking?
To keep your lovely cookie stacks fresh, place them in an airtight container at room temperature for up to 3 days. If you need them to last longer, refrigerate them in the same manner for up to a week. Just remember, they may get a bit firmer in the fridge, so enjoy them fresh when possible!
Can I freeze my Christmas Tree Cookie Stacks?
Absolutely! You can freeze these delightful cookies for up to 3 months. Here’s how: First, wrap each cooled cookie individually in plastic wrap to prevent freezer burn. Then, place them in a freezer-safe bag and remove as much air as possible. When ready to enjoy, simply thaw them in the fridge overnight or let them sit at room temperature for a few hours.
What should I do if my cookie batter is too dry?
Very often, cookie batter can get a bit too firm. If you find that your Christmas Tree Cookie Stacks dough is too dry or crumbly, try adding a teaspoon of milk or water to the mixture. Mix it in gradually until you reach the desired consistency. Also, make sure you’re measuring flour correctly—too much flour can lead to dryness!
Are there any dietary considerations I should keep in mind for my cookies?
For individuals with nut allergies, it’s important to note that this recipe includes almond extract. You can simply substitute it with more vanilla extract or a nut-free flavor of your choice. If you’re baking for pets, remember that chocolate and certain sweeteners are toxic, so keep those ingredients away from your treats.
How can I make my cookies more festive during decoration?
The more the merrier! Encourage creativity when decorating. Use various shapes of sprinkles or even edible glitter for a magical effect. You could also add colored icing to enhance the festive look, making each cookie unique and special for your holiday celebrations!

Deliciously Fun Christmas Tree Cookie Stacks to Bake Together
Ingredients
Equipment
Method
- Preheat your oven to 350°F (175°C). This ensures your cookies bake evenly.
- Cream together the unsalted butter and sugar in a mixing bowl until light and fluffy.
- Beat in the egg, vanilla extract, and almond extract.
- Combine the flour, baking soda, and kosher salt in a separate bowl.
- Gradually add this dry mix to the creamed mixture until fully incorporated.
- Drop rounded tablespoons of dough onto ungreased baking sheets, spacing them apart.
- Bake for 8-10 minutes or until the edges are lightly golden brown.
- Cool completely on a wire rack before frosting.
- For the Frosting: Beat together the butter and powdered sugar until smooth and fluffy.
- Add the vanilla extract and either water or milk, mixing until your frosting reaches a spreadable consistency.
- Frost your cooled cookies generously and decorate with sprinkles.

