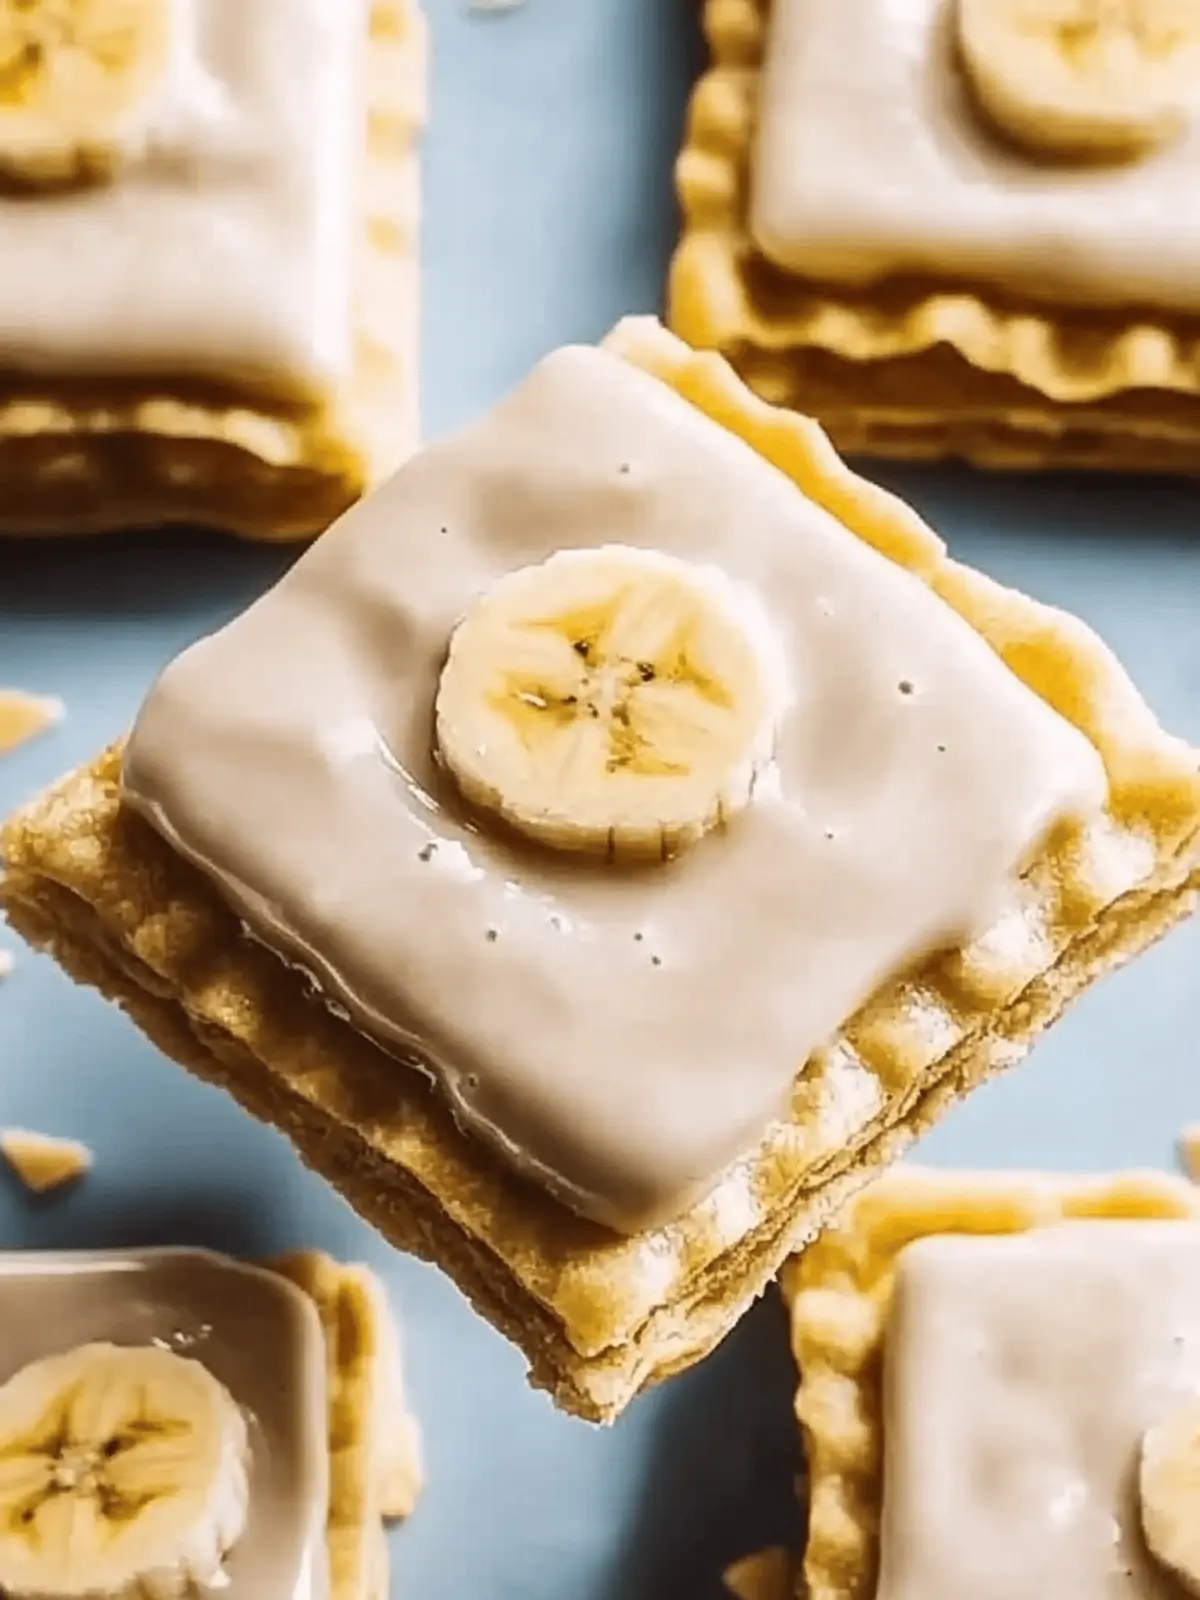
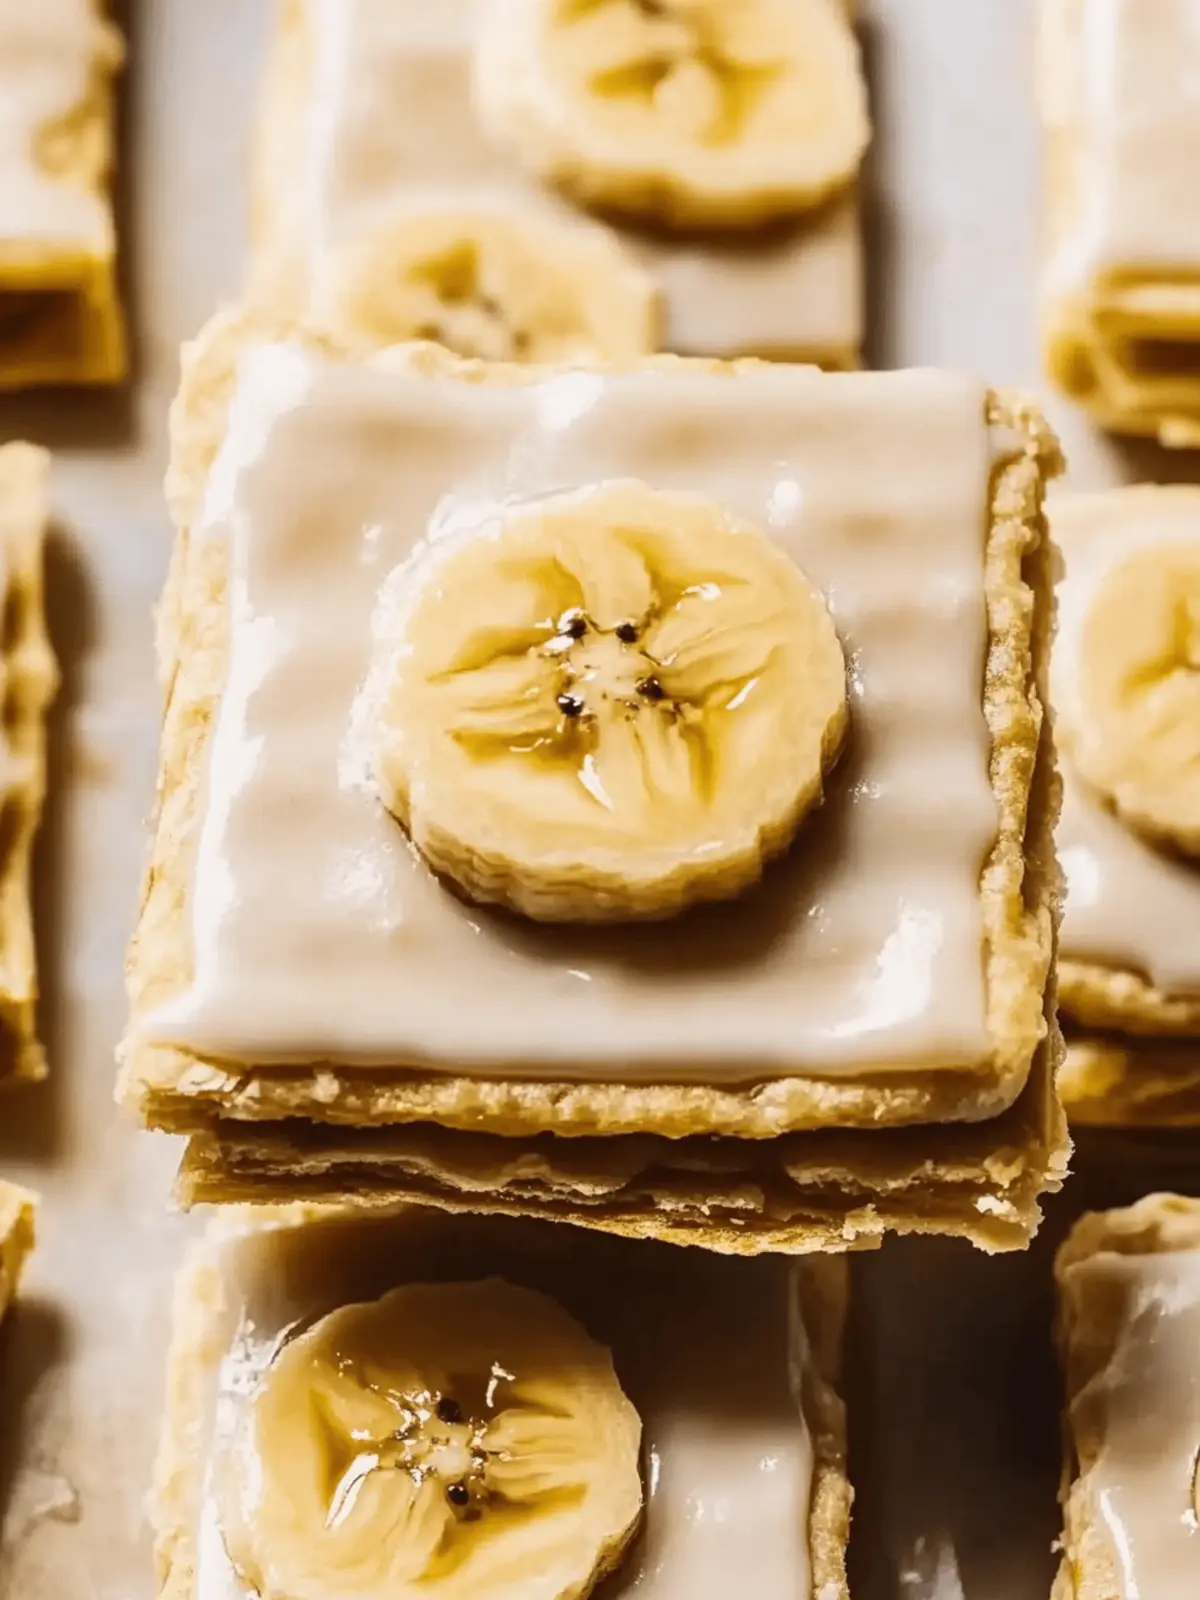
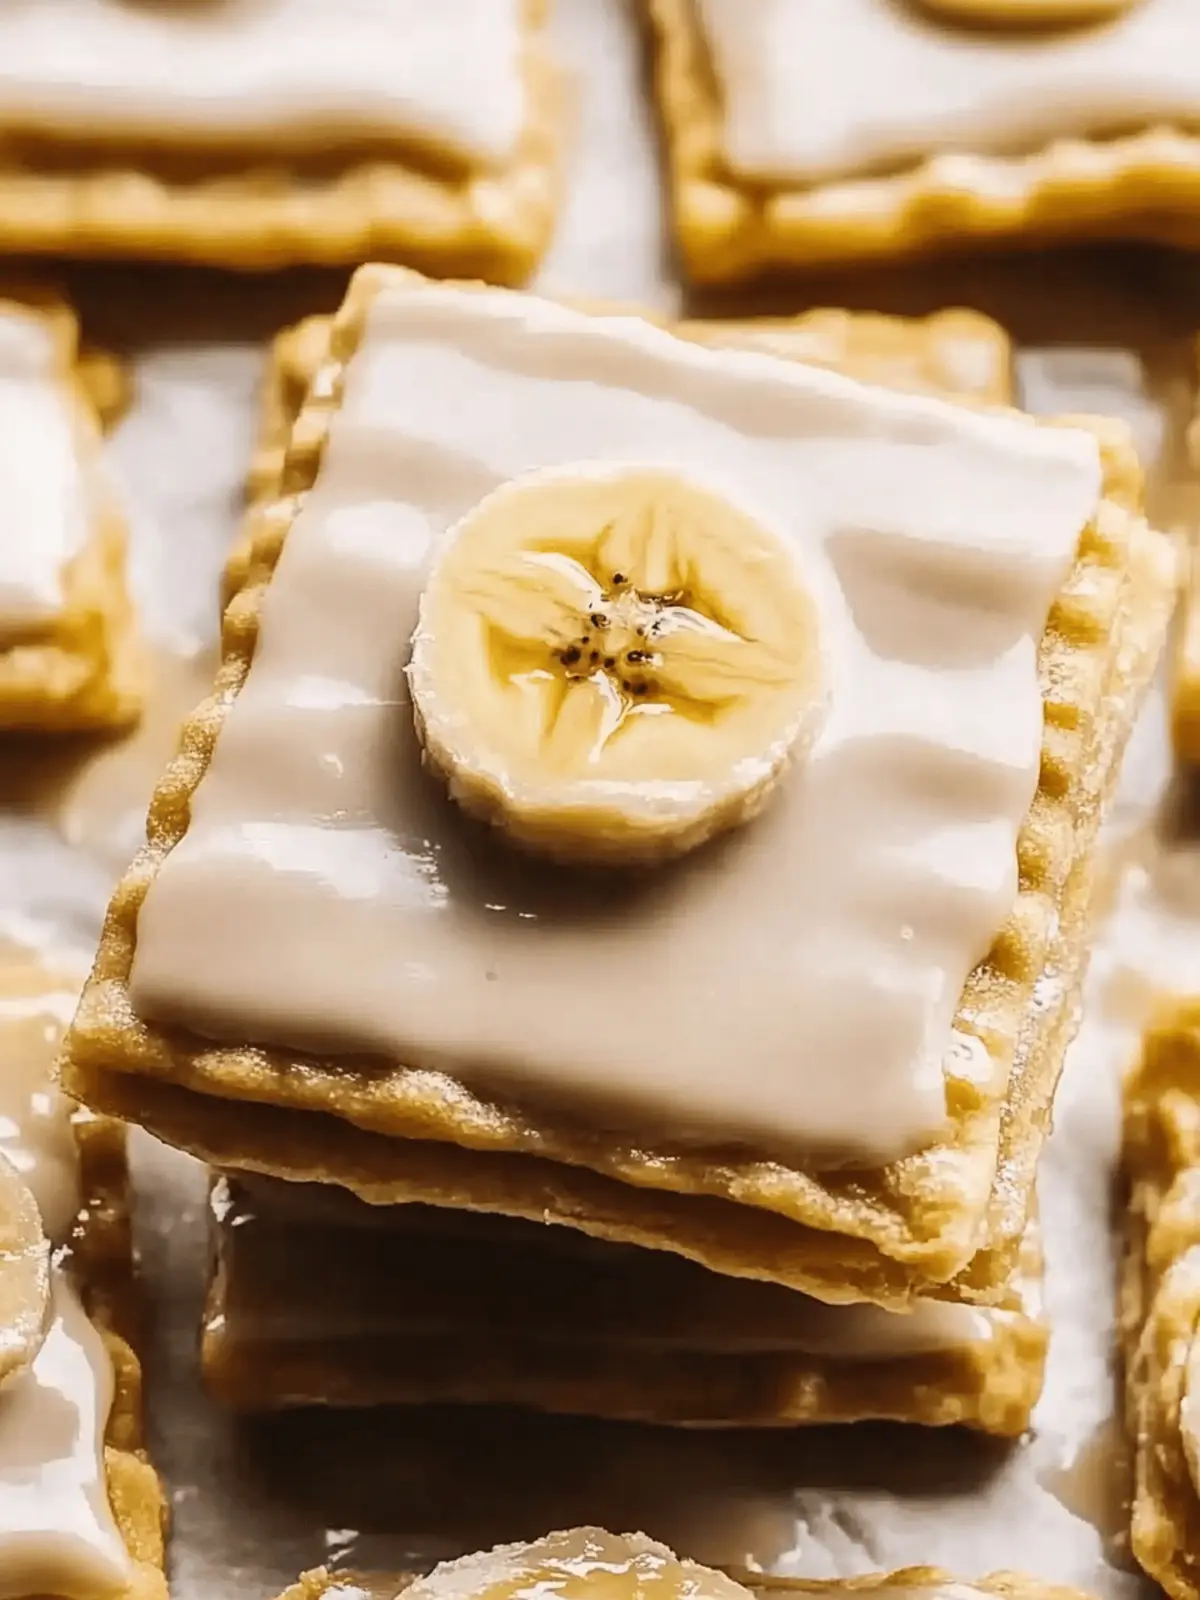
There’s something utterly comforting about the sight of warm pastries on a breakfast table, and these Gluten-Free Banana Pop Tarts bring back all those nostalgic morning vibes. I remember afternoons spent in the kitchen experimenting, and one rainy day, a simple idea turned into a delightful memory: a flaky pastry filled with sweet, ripe bananas. These homemade treats are incredibly easy to whip up, perfect for easing the chaos of busy mornings or indulging in an afternoon snack.
Topped with whipped peanut butter frosting, they’re not only a hit with kids but also a satisfying option for anyone eager to escape the fast-food cycle. You can customize them with your favorite fillings too, making them a fun and versatile choice for anyone who loves homemade goodness. So grab your ripe bananas and let’s create a deliciously sweet breakfast that’s as easy as it is delightful!
Why Banana Pop Tarts Will Impress You
Nostalgic Flavor: These homemade treats evoke fond childhood memories, bringing comfort with every bite.
Effortless Preparation: The straightforward steps make baking easy, perfect for busy mornings.
Customizable Options: With various fillings, you can tailor them to suit your taste preferences.
Gluten-Free Goodness: Enjoy all the deliciousness without the gluten, making everyone happy at the breakfast table.
Crowd Favorite: Their delightful sweetness and creamy frosting are sure to win over friends and family alike!
Banana Pop Tarts Ingredients
For the Pastry
- Gluten-Free Flour – Forms the base of the pastry; consider almond flour for a nutty flavor twist.
- Ripe Bananas – Provides natural sweetness and moisture; the riper, the better for flavor.
- Butter – Adds richness and a flaky texture; substitute with coconut oil for a vegan version.
For the Frosting
- Peanut Butter – Creates creamy richness in the frosting; almond butter can be swapped for a different flavor.
- Powdered Sugar – Sweetens the frosting; adjust based on your personal preference for sweetness.
- Vanilla Extract – Enhances the frosting’s flavor; use pure extract for best results.
For Filling & Toppings
- Chocolate Chips (optional) – Adds sweetness and makes for a lovely decoration; sprinkle inside or on top of the tarts.
- Sliced Bananas (optional) – Perfect for additional flavor and visual appeal; layer them inside for a delightful surprise.
These Gluten-Free Banana Pop Tarts are a nostalgic treat you won’t want to miss!
How to Make Banana Pop Tarts
-
Prepare Dough: In a mixing bowl, combine gluten-free flour, mashed ripe bananas, and softened butter. Mix until you achieve a cohesive dough, which should take about 3-5 minutes.
-
Chill Dough: Wrap your dough in plastic wrap and refrigerate for 30 minutes. This will help it firm up and be easier to roll out.
-
Roll Out: On a lightly floured surface, gently roll out the chilled dough to about 1/4 inch thickness. Aim for an even thickness to ensure uniform baking.
-
Cut Shapes: Use a pastry cutter or knife to cut the rolled dough into rectangular shapes. These will be your tarts, so make sure they’re evenly sized.
-
Bake: Place the cut rectangles on a parchment-lined baking sheet. Bake in a preheated oven at 350°F (175°C) for 15-20 minutes, or until they turn a lovely golden brown.
-
Make Frosting: While the tarts cool, whip together peanut butter, powdered sugar, and vanilla in a bowl until smooth and creamy. This should take about 2-3 minutes.
-
Decorate: Once the pop tarts are completely cool, spread or pipe the peanut butter frosting over the tops. For an extra touch, feel free to drizzle melted chocolate on top if desired.
Optional: Sprinkle with crushed nuts for added crunch and flavor.
Exact quantities are listed in the recipe card below.
How to Store and Freeze Banana Pop Tarts
- Room Temperature: Keep uneaten pop tarts in an airtight container for up to 3 days to maintain their flakiness and flavor.
- Fridge: If you’re not eating them right away, store the pop tarts in the refrigerator for up to 5 days, ensuring they’re wrapped or in an airtight container to avoid dryness.
- Freezer: For longer storage, wrap individual banana pop tarts in plastic wrap and then place them in a zip-top freezer bag. They’ll last up to 2 months in the freezer.
- Thawing: To enjoy frozen pop tarts, simply thaw them overnight in the fridge or reheat them in the microwave for a quick warm-up, and enjoy!
Expert Tips for Banana Pop Tarts
- Choose Ripe Bananas: Ensure your bananas are very ripe with brown spots for maximum sweetness and moisture in your pop tarts.
- Prevent Sticky Dough: If your dough is too sticky, lightly dust with additional gluten-free flour while rolling it out to make handling easier.
- Monitor Baking Time: Keep an eye on your pop tarts in the oven; they should be a golden brown. Overbaking can make them dry.
- Cool Completely: Allow the baked pastries to cool completely before applying the peanut butter frosting to prevent it from melting off.
- Store Smartly: To maintain freshness, store extra banana pop tarts in an airtight container for up to 3 days at room temperature or 5 days in the fridge.
Banana Pop Tarts Variations & Substitutions
Feel free to get creative and personalize these delightful pastries with your favorite flavor twists!
- Nut-Free: Swap peanut butter with sun butter or a nut-free alternative for a safe school snack.
- Coconut Bliss: Add shredded coconut to the filling for a tropical twist that complements the bananas beautifully.
- Fruit Medley: Replace bananas with other fruits like strawberries or blueberries to suit your seasonal cravings.
- Spiced Up: Incorporate a touch of cinnamon or pumpkin spice into the dough for a warm, festive touch.
- Chocolate Hazelnut: Use chocolate hazelnut spread in place of peanut butter for a decadent, chocolatey delight.
- Maple Drizzle: Mix a bit of maple syrup into your frosting for a sweet maple twist that brings autumn flavors to life.
- Savory Edge: Add a pinch of salt to the frosting for a delightful contrast to the sweetness, enhancing all flavors.
- Dairy-Free: Use coconut milk in the frosting to keep it creamy while maintaining a dairy-free profile.
These variations are not only easy to implement but also ensure your Banana Pop Tarts will always be an exciting and personalized treat!
Make Ahead Options
These Gluten-Free Banana Pop Tarts are perfect for meal prep enthusiasts! You can prepare the dough up to 24 hours in advance. Just mix the gluten-free flour, ripe bananas, and butter, then wrap the dough tightly in plastic wrap and refrigerate. You can also bake the pop tarts ahead of time, storing them in an airtight container for up to 3 days at room temperature. When you’re ready to enjoy them, simply frost with your peanut butter delight and warm in the microwave for about 10-15 seconds for that freshly-baked feel. This way, you can savor delicious homemade pop tarts even on the busiest mornings!
What to Serve with Banana Pop Tarts?
Pair these delightful pastries with complementary sides for a full breakfast experience that delights all the senses.
- Fresh Fruit: Crisp, juicy strawberries or a medley of berries bring a refreshing contrast to the sweetness of the pop tarts.
- Greek Yogurt: A dollop of creamy Greek yogurt adds tanginess, while its smooth texture balances out the flakiness of the tarts.
- Coffee or Tea: These warm beverages make the perfect companion, enhancing the comforting flavors and aromas of your breakfast table.
- Nut Butter Dippers: Serve almond or hazelnut butter alongside for an extra protein punch and deliciously nutty pairing; this invites a fun dip experience!
- Smoothie: A vibrant fruit smoothie can offer a refreshing sip, making the meal feel light yet satisfying.
- Whipped Cream: For an indulgent touch, a swirl of homemade whipped cream adds decadence and pairs beautifully with the peanut butter frosting.
- Granola: Crunchy, homemade granola can sprinkle over the top for added texture and a hint of earthy flavor.
- Coconut Flakes: Toasted coconut flakes bring a delightful crunch and a tropical twist that complements the banana flavor.
- Chocolate Milk: Creamy chocolate milk shines alongside the pop tarts, capturing that nostalgic sweet childhood experience.
Banana Pop Tarts Recipe FAQs
What type of bananas should I use for Banana Pop Tarts?
Absolutely, the riper the bananas, the better! Look for bananas that have brown spots on their skins, as these will provide the best natural sweetness and moisture for your pop tarts.
How do I store leftover Banana Pop Tarts?
For optimal freshness, store uneaten pop tarts in an airtight container at room temperature for up to 3 days. If you want to keep them longer, refrigerate them for up to 5 days; just ensure they’re well wrapped.
Can I freeze my Banana Pop Tarts?
Yes! To freeze your pop tarts, wrap each one individually in plastic wrap and place them inside a zip-top freezer bag. They can be stored for up to 2 months. When you’re ready to enjoy one, just thaw it overnight in the fridge or pop it in the microwave for a quick warm-up.
What if my dough is too sticky?
Very! If your dough feels sticky while rolling it out, don’t hesitate to sprinkle a little extra gluten-free flour on your work surface. This will help make it easier to handle without affecting the flavor.
Are there any dietary considerations for Banana Pop Tarts?
If allergies are a concern, consider using nut-free alternatives for the frosting, such as sunflower seed butter instead of peanut butter. Always double-check ingredient labels to ensure you’re catering to any dietary restrictions.
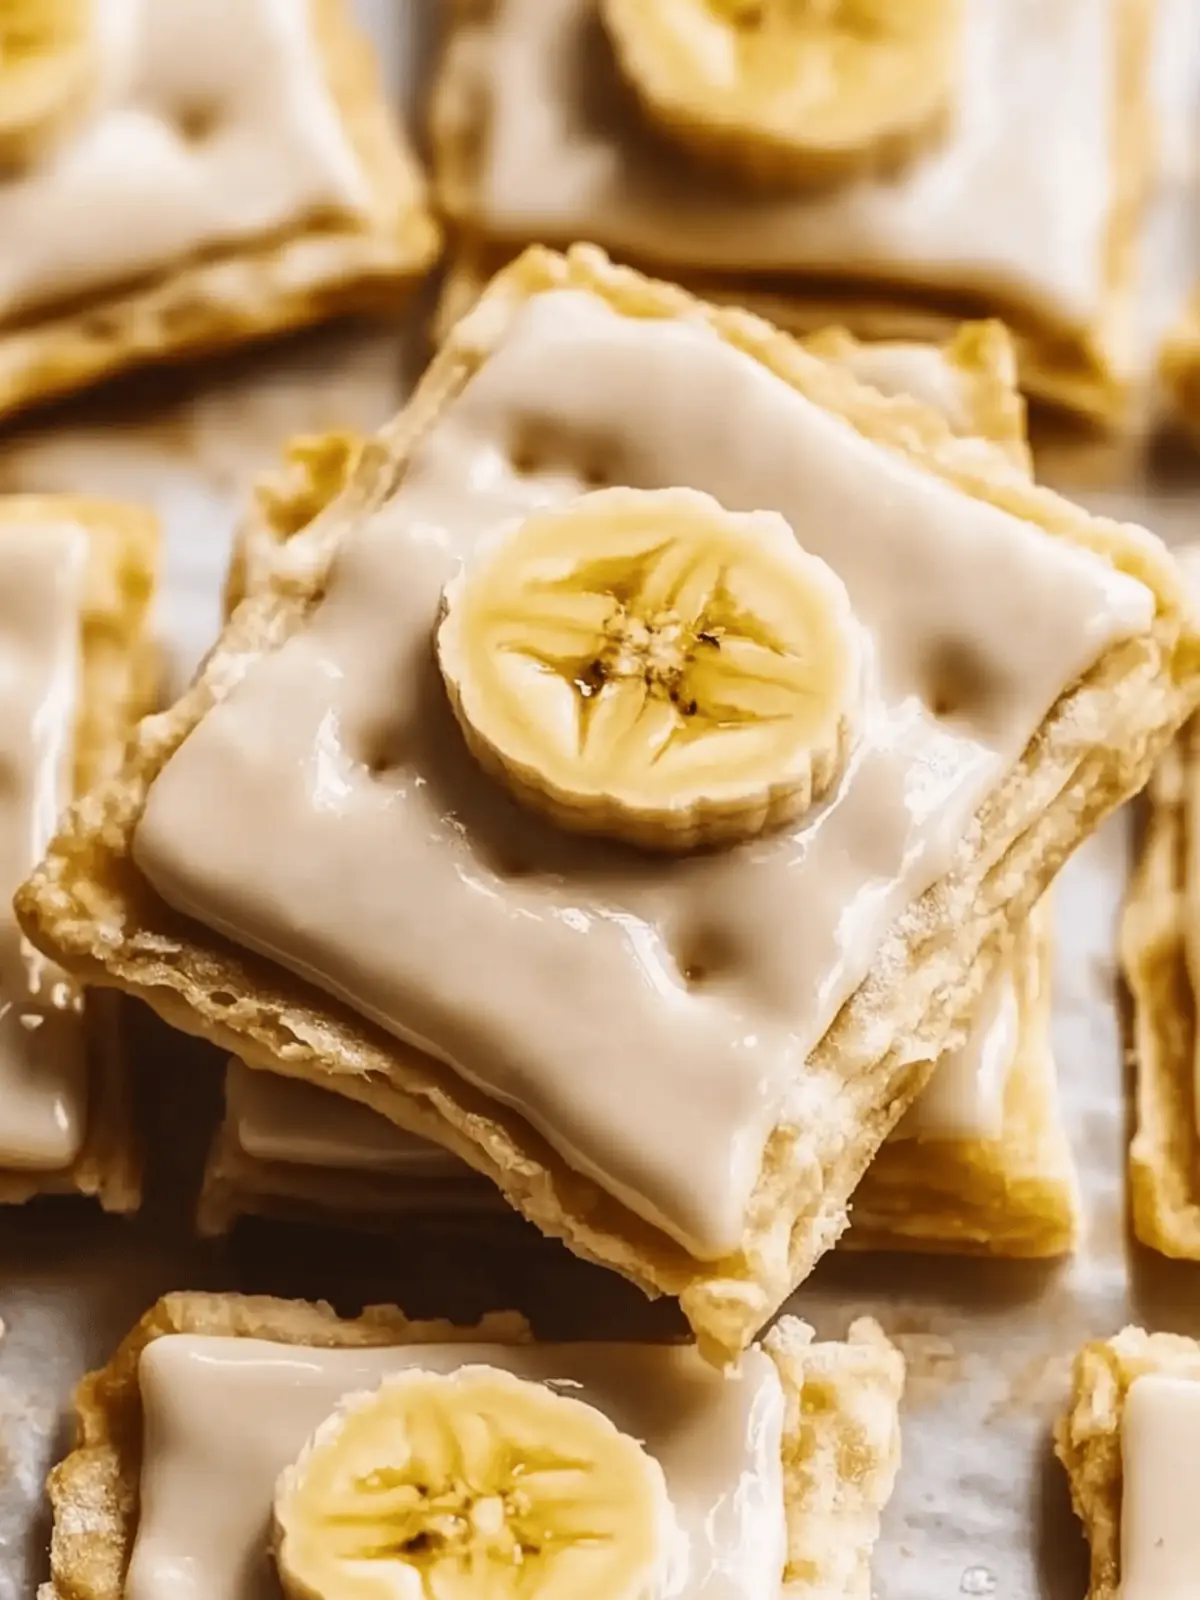
Gluten-Free Banana Pop Tarts with Peanut Butter Bliss
Ingredients
Equipment
Method
- In a mixing bowl, combine gluten-free flour, mashed ripe bananas, and softened butter. Mix until you achieve a cohesive dough, which should take about 3-5 minutes.
- Wrap your dough in plastic wrap and refrigerate for 30 minutes.
- On a lightly floured surface, gently roll out the chilled dough to about 1/4 inch thickness.
- Use a pastry cutter or knife to cut the rolled dough into rectangular shapes.
- Place the cut rectangles on a parchment-lined baking sheet. Bake in a preheated oven at 350°F (175°C) for 15-20 minutes, or until golden brown.
- While the tarts cool, whip together peanut butter, powdered sugar, and vanilla in a bowl until smooth and creamy.
- Once the pop tarts are completely cool, spread or pipe the peanut butter frosting over the tops. Optionally drizzle melted chocolate on top.

