
The moment you pull these Carmelitas from the oven, the tempting aroma of caramel and chocolate fills your kitchen, coaxing everyone closer for a taste. I first encountered this delightful recipe during an impromptu baking session with friends when we discovered an abundance of oats and chocolate chips in my pantry. What began as an experiment quickly turned into a favorite indulgence!
With the perfect balance of gooey caramel, melted chocolate, and a crunchy oat cookie base, these treats are as satisfying to make as they are to enjoy. You’ll find them ideal for special occasions, or simply as a sweet remedy for a long day. And the best part? This simple recipe comes together in no time, promising delicious results that will impress both family and friends. Ready to dive into decadence? Let’s whip up these irresistible Carmelitas!
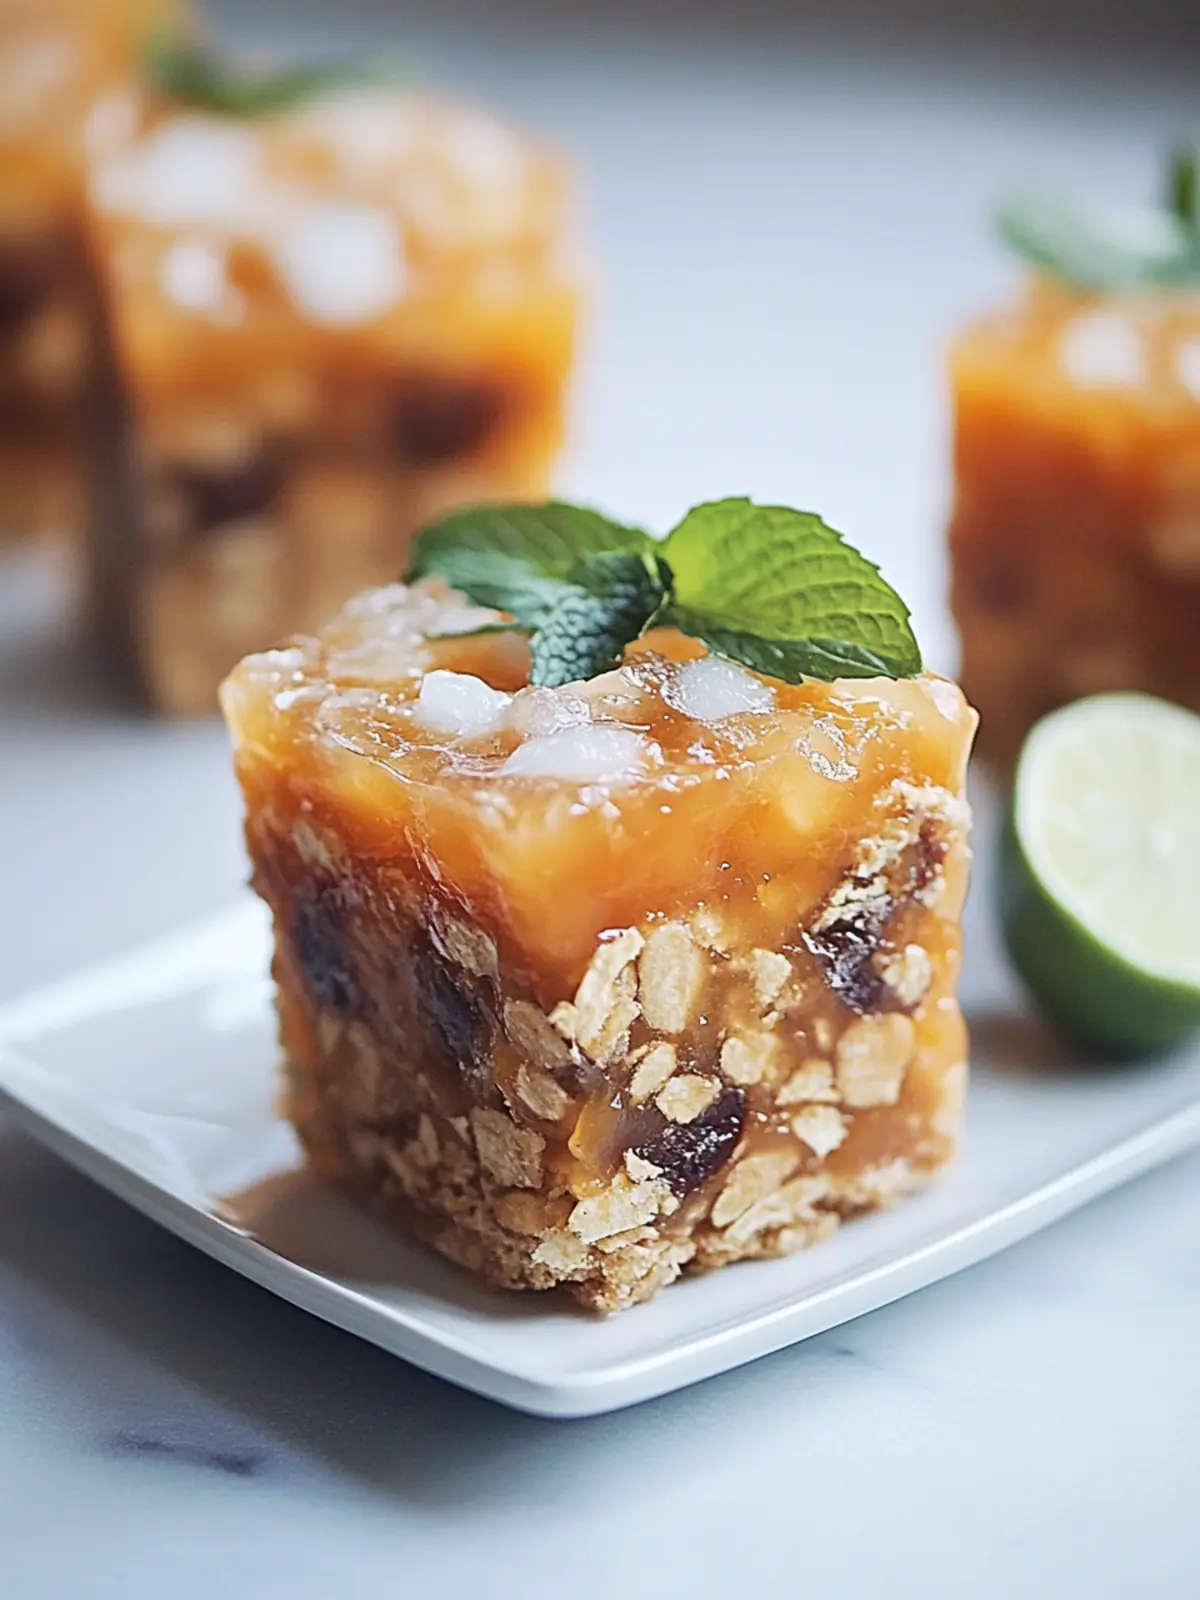
Why are Carmelitas your new favorite cookie?
Decadent Flavor: Each bite of these Carmelitas is a perfect harmony of smooth caramel and rich chocolate, creating an indulgent experience that’s hard to resist.
Easy Preparation: This recipe is friendly for bakers of all skills, requiring minimal cooking know-how and just a few essential ingredients.
Crowd-Pleaser: Whether it’s a family gathering or a cozy night in, these cookies are guaranteed to delight everyone with their gooey goodness.
Versatile Treat: Enjoy them as-is, or elevate the experience by serving warm with a scoop of ice cream or a drizzle of chocolate sauce.
Quick to Make: With a simple baking process, your delicious Carmelitas will be ready in just about 30 minutes, making it a go-to dessert for any occasion.
Carmelitas Ingredients
For the Caramel Filling
• Caramel Squares or Bits (11 ounces) – Gives the cookies their signature gooey texture; substitute with homemade caramel if preferred.
• Heavy Cream (1/2 cup) – Helps melt the caramels into a smooth sauce; can use half-and-half for a lighter option.
For the Cookie Base
• Butter (3/4 cup, melted) – Adds richness and moisture to the cookie base; can substitute with coconut oil for a dairy-free version.
• Brown Sugar (3/4 cup, packed) – Provides sweetness and depth of flavor; light brown works best for balanced taste.
• Flour (1 cup, all-purpose) – Provides structure; use gluten-free flour for a suitable substitute if needed.
• Rolled Oats (1 cup) – Contributes to texture and chewiness; quick oats can be used but will slightly change the structure.
• Baking Soda (1 teaspoon) – Helps cookies rise; ensure it’s fresh for best results.
• Semisweet Chocolate Chips (6 ounces) – Infuses rich chocolate flavor into the cookies; consider dark chocolate for a more intense treat.
These ingredients make your Carmelitas the sweet delight they were always meant to be! Enjoy crafting them and savoring each bite.
How to Make Carmelitas
-
Preheat the oven to 350°F (175°C). Prepare an 8 x 8 or 9 x 9 inch pan by lining it with foil or parchment paper to prevent sticking and make for easy removal.
-
Melt the caramel squares with the heavy cream in a saucepan over low heat. Stir constantly until the mixture is smooth and creamy, then set it aside to cool slightly.
-
Combine in a separate bowl the melted butter, brown sugar, flour, oats, and baking soda. Mix until everything is well incorporated and forms a sticky dough.
-
Press half of the oatmeal mixture into the bottom of the prepared pan, creating an even layer that serves as the base for your cookies.
-
Bake for 10 minutes. Remove the pan from the oven and sprinkle chocolate chips evenly over the crust before pouring the warm caramel mixture on top.
-
Crumble the remaining oatmeal mixture over the caramel layer to create a topping. Make sure to distribute it evenly for the best texture.
-
Return the pan to the oven and bake for an additional 15-20 minutes until the edges are lightly browned and the top is set. You should see some bubbly caramel around the edges.
-
Cool the Carmelitas completely in the pan before slicing into squares. This ensures they’ll hold their shape and gives the caramel time to set properly.
Optional: For a sweet and salty twist, sprinkle a pinch of sea salt on top before baking.
Exact quantities are listed in the recipe card below.
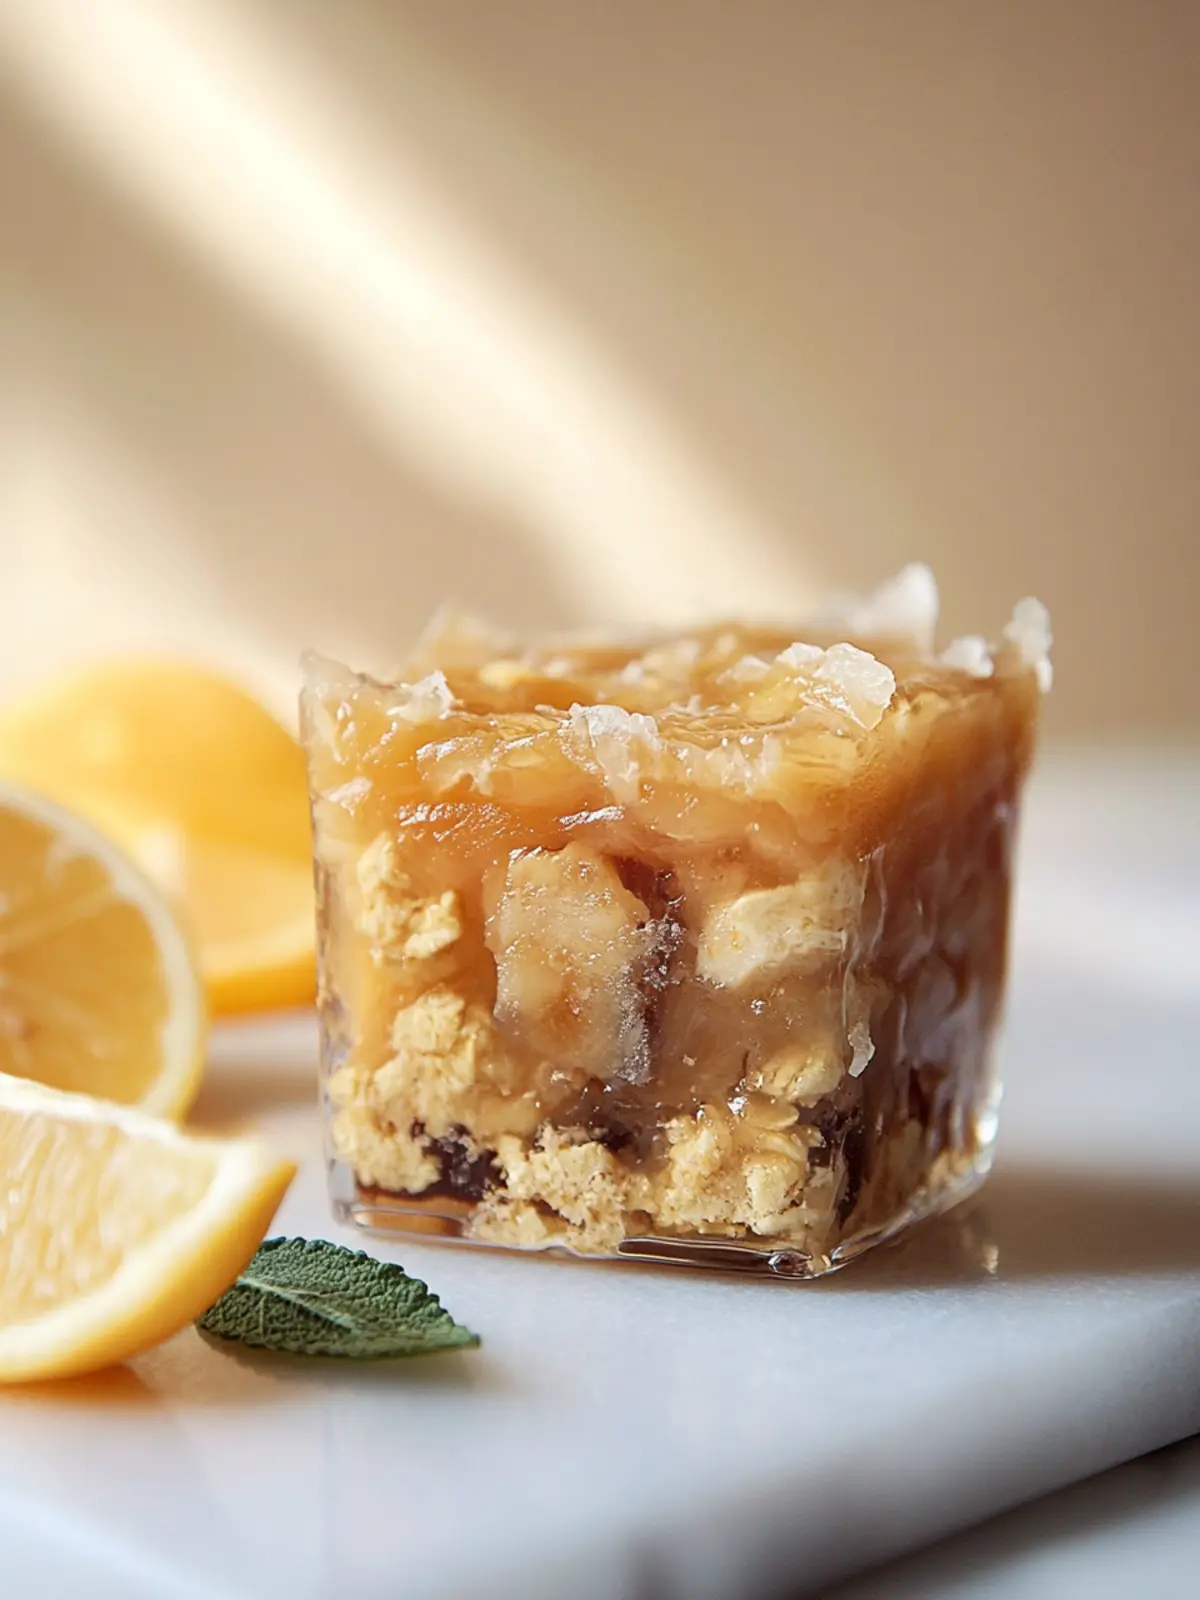
Make Ahead Options
These Carmelitas are perfect for meal prep, allowing you to indulge in their gooey goodness without the last-minute rush! You can prepare the oatmeal mixture and caramel filling up to 24 hours in advance. Simply refrigerate them separately in airtight containers. When ready to bake, press the oatmeal base into the pan, layer with chocolate chips and the caramel mixture, crumble the remaining oats on top, and bake as instructed. This method keeps the ingredients fresh, ensuring your finished Carmelitas are just as delicious and satisfying as when made from scratch. Enjoy the convenience while savoring this delightful treat!
Carmelitas Variations & Substitutions
Feel free to let your creativity shine by customizing these Carmelitas with delightful twists and substitutions!
-
Nutty Crunch: Add chopped pecans or walnuts to the oatmeal layer for a satisfying crunch. The nuttiness enhances the overall flavor and texture, making every bite even more enjoyable.
-
Peanut Butter Bliss: Swap semisweet chocolate chips for peanut butter chocolate chips for a deliciously nutty twist. It adds a rich, sweet nutty flavor that pairs beautifully with caramel!
-
Dairy-Free Delight: Substitute coconut oil for butter and replace heavy cream with almond or oat milk for a dairy-free version. You’ll still savor the lusciousness while catering to dietary needs.
-
Flavorful Extracts: Incorporate a teaspoon of vanilla or almond extract into the caramel mixture for an extra layer of flavor. These subtle notes will elevate your cookies to a whole new level of deliciousness!
-
Add Spice: Sprinkle in some cinnamon, nutmeg, or pumpkin spice to the oatmeal layer for a cozy, fall-inspired twist. These warm spices will envelop your cookies in comforting flavors.
-
Salted Caramel Boost: Drizzle additional caramel and sprinkle sea salt over the top before serving for an elevated sweet and salty experience. It’s the perfect finishing touch that everyone will love!
-
Fruit Fusion: Mix in some dried cranberries or chopped dried apricots to add a fruity dimension to the cookies. This creates a beautiful contrast and adds to the chewy texture.
-
Luxurious Layers: For an even richer experience, layer chocolate ganache on top after the cookies cool. It’ll be an indulgent treat that takes your Carmelitas straight to gourmet status!
What to Serve with Carmelitas?
Indulging in Carmelitas creates the perfect cozy moment, inviting warm flavors and a sweet atmosphere to your gathering.
- Vanilla Ice Cream: This classic pairing offers a creamy, cool contrast to the warm, gooey Carmelitas, enhancing their flavors beautifully.
- Chocolate Sauce: A drizzle of rich chocolate sauce adds an extra layer of decadence, making every bite even more indulgent and satisfying.
- Coffee: A piping hot cup of coffee complements the sweetness of the cookies, creating a delightful balance for a comforting afternoon treat.
- Fresh Berries: The tartness of raspberries or strawberries cuts through the richness, providing a refreshing contrast that brightens every bite.
- Caramel Sauce Drizzle: For those who can’t get enough caramel, an extra drizzle elevates the experience, enhancing the gooey magic already present.
- Sea Salt Sprinkle: A pinch of sea salt on top brings out the flavors even more, providing a delightful sweet-salty contrast that will leave everyone wanting more.
Whether it’s a festive gathering or a simple family night, these pairings will elevate your Carmelitas to a whole new level of indulgence!
How to Store and Freeze Carmelitas
-
Room Temperature: Store the Carmelitas in an airtight container at room temperature for up to 1 week. This keeps them soft and chewy while preserving the delicious caramel flavor.
-
Fridge: If you prefer a firmer texture, refrigerate the Carmelitas in an airtight container for up to 2 weeks. Just remember to bring them to room temperature before enjoying for the best flavor.
-
Freezer: Freeze the Carmelitas in a sealed freezer bag or airtight container for up to 3 months. For added freshness, wrap them in plastic wrap before placing them in the container.
-
Reheating: To reclaim their gooey goodness, reheat frozen Carmelitas in the microwave for 20-30 seconds or warm them in the oven at 350°F (175°C) for about 10 minutes. Enjoy the melted chocolate and caramel just like fresh!
Expert Tips for Carmelitas
-
Cool Completely: Allow the cookies to cool in the pan before slicing. This ensures they set properly and maintain their gooey caramel center.
-
Use a Sharp Knife: For clean cuts, use a sharp knife to slice through the cooled Carmelitas. This will help you achieve a beautiful presentation.
-
Don’t Skip the Salt: Adding a pinch of sea salt on top before baking enhances the flavors, creating a delightful sweet and salty contrast in your Carmelitas.
-
Watch the Baking Time: Keep an eye on the ovens during the final bake; overbaking can lead to a drier texture. Aim for lightly browned edges for the best results.
-
Substitutions Matter: If you’re making adjustments, like using coconut oil instead of butter, remember it may alter the texture slightly but can still yield delicious Carmelitas!
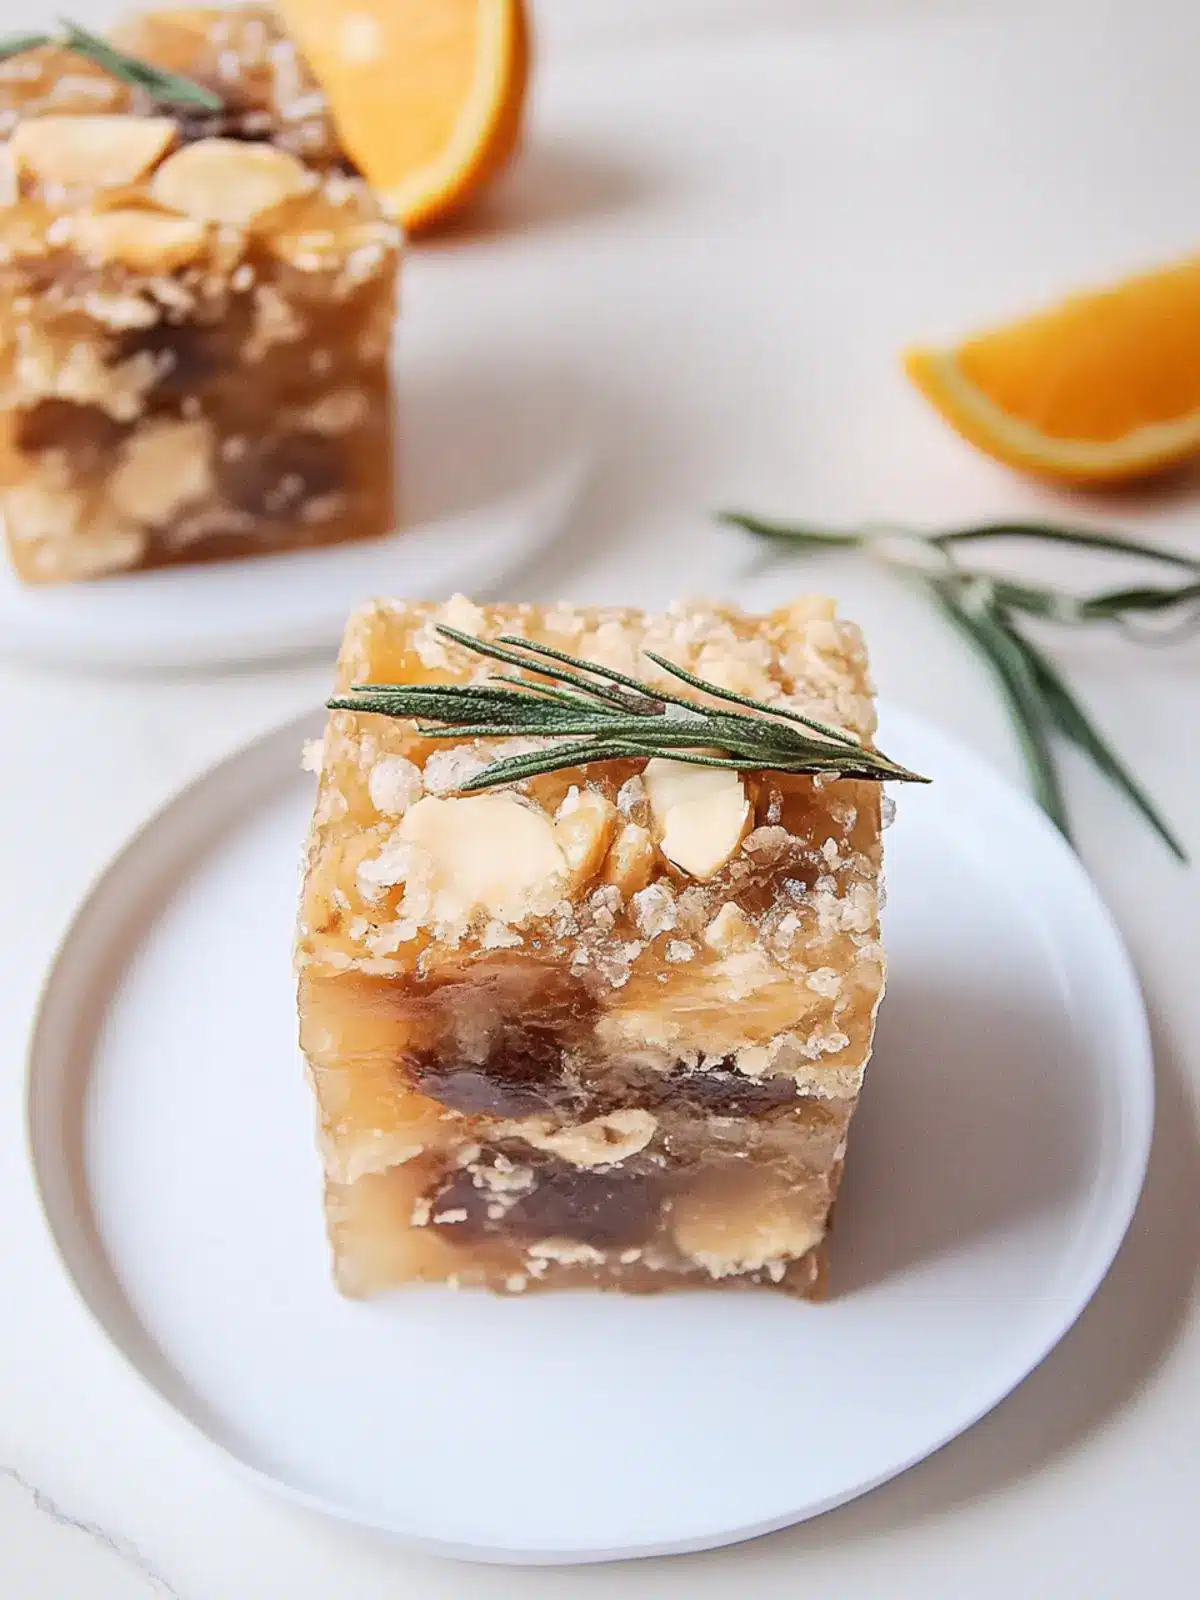
Carmelitas Recipe FAQs
What type of caramel should I use for Carmelitas?
I recommend using caramel squares or bits for an easy and sticky filling. If you’re feeling adventurous, homemade caramel can also add a delightful touch. Just ensure it’s smooth and not too runny to maintain the cookie’s structure.
How should I store leftovers?
Store your Carmelitas in an airtight container at room temperature for up to 1 week to keep their chewy texture. If you prefer them firmer, refrigerate them in a sealed container for up to 2 weeks. Just be sure to bring them back to room temperature before indulging!
Can I freeze Carmelitas?
Absolutely! You can freeze your Carmelitas for up to 3 months. Wrap each piece in plastic wrap, then place them in a sealed freezer bag or airtight container to protect against freezer burn. When you’re ready to enjoy them, simply reheat in the microwave for 20-30 seconds or warm them in the oven at 350°F (175°C) for about 10 minutes to regain their gooey goodness.
What if my Carmelitas are too gooey?
If you find your Carmelitas are excessively gooey, it may be due to underbaking. Ensure you bake them until the edges are lightly browned, and the top is set. If they still come out too soft, allow them to cool completely in the pan before slicing, as cooling helps them firm up!
Are Carmelitas safe for pets?
Carmelitas contain ingredients like chocolate and sugar, which can be harmful to pets, especially dogs. Keep these delightful treats out of their reach for a safe and happy home.
Can I make any substitutions in the recipe?
Certainly! If you’re looking for alternatives, you can replace butter with coconut oil for a dairy-free version or substitute oats with gluten-free options. You can also switch semisweet chocolate chips for dark or white chocolate, or even incorporate nuts like pecans for extra crunch. The more the merrier!
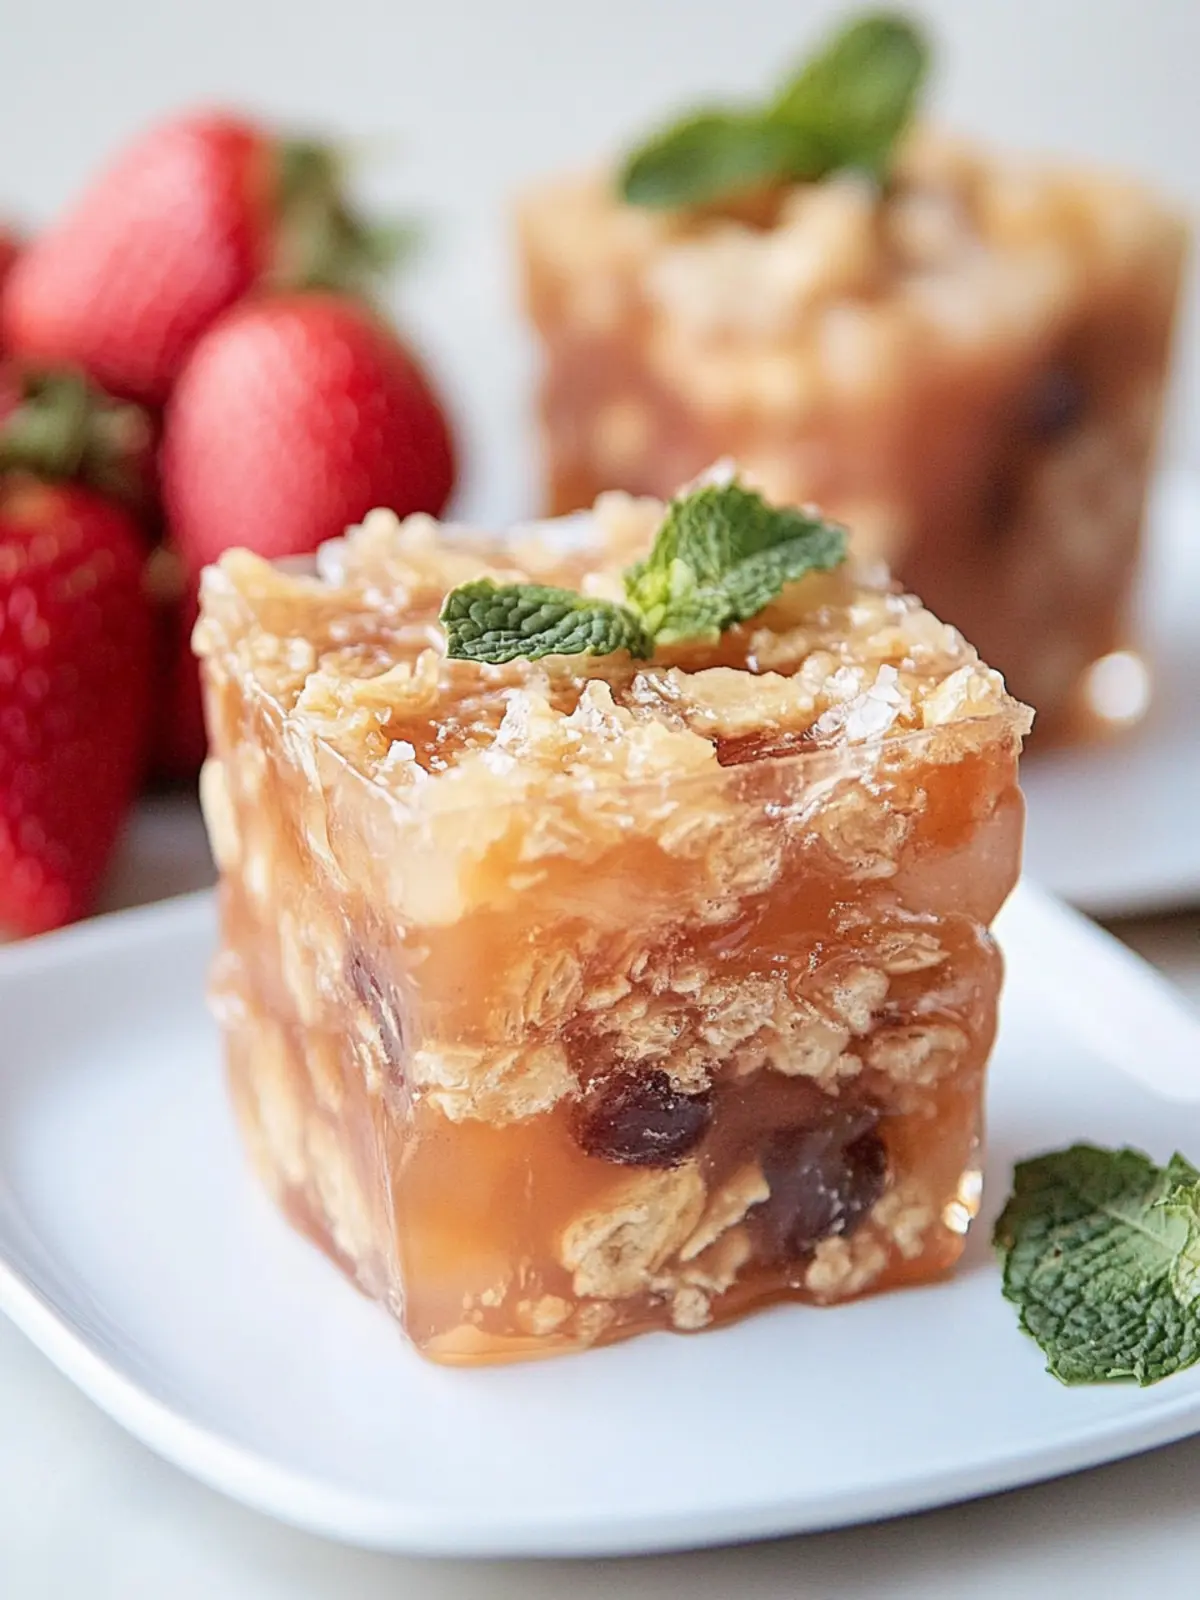
Gooey Carmelitas: The Ultimate Indulgent Cookie Delight
Ingredients
Equipment
Method
- Preheat the oven to 350°F (175°C). Prepare an 8 x 8 or 9 x 9 inch pan by lining it with foil or parchment paper to prevent sticking.
- Melt the caramel squares with the heavy cream in a saucepan over low heat. Stir constantly until the mixture is smooth and creamy, then set it aside to cool slightly.
- Combine in a separate bowl the melted butter, brown sugar, flour, oats, and baking soda. Mix until everything is well incorporated and forms a sticky dough.
- Press half of the oatmeal mixture into the bottom of the prepared pan, creating an even layer that serves as the base for your cookies.
- Bake for 10 minutes. Remove the pan from the oven and sprinkle chocolate chips evenly over the crust before pouring the warm caramel mixture on top.
- Crumble the remaining oatmeal mixture over the caramel layer to create a topping. Distribute it evenly for the best texture.
- Return the pan to the oven and bake for an additional 15-20 minutes until the edges are lightly browned and the top is set.
- Cool the Carmelitas completely in the pan before slicing into squares to ensure they’ll hold their shape.