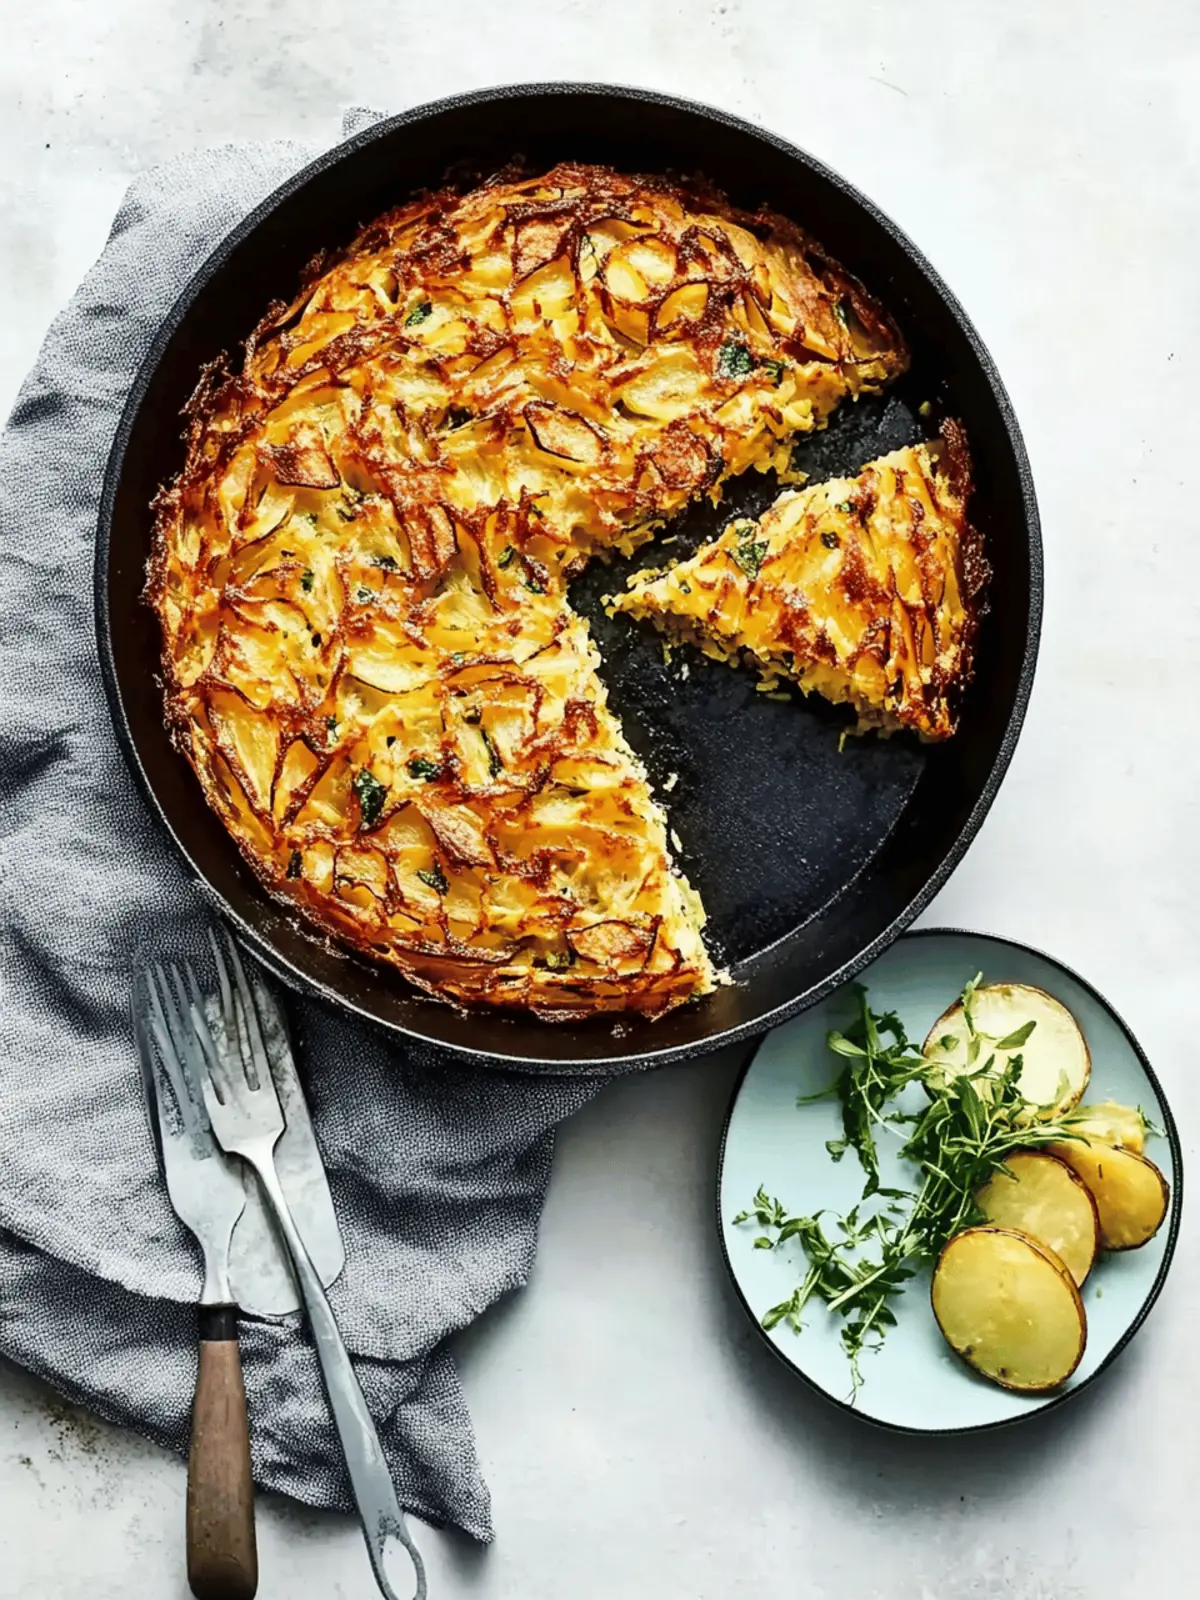
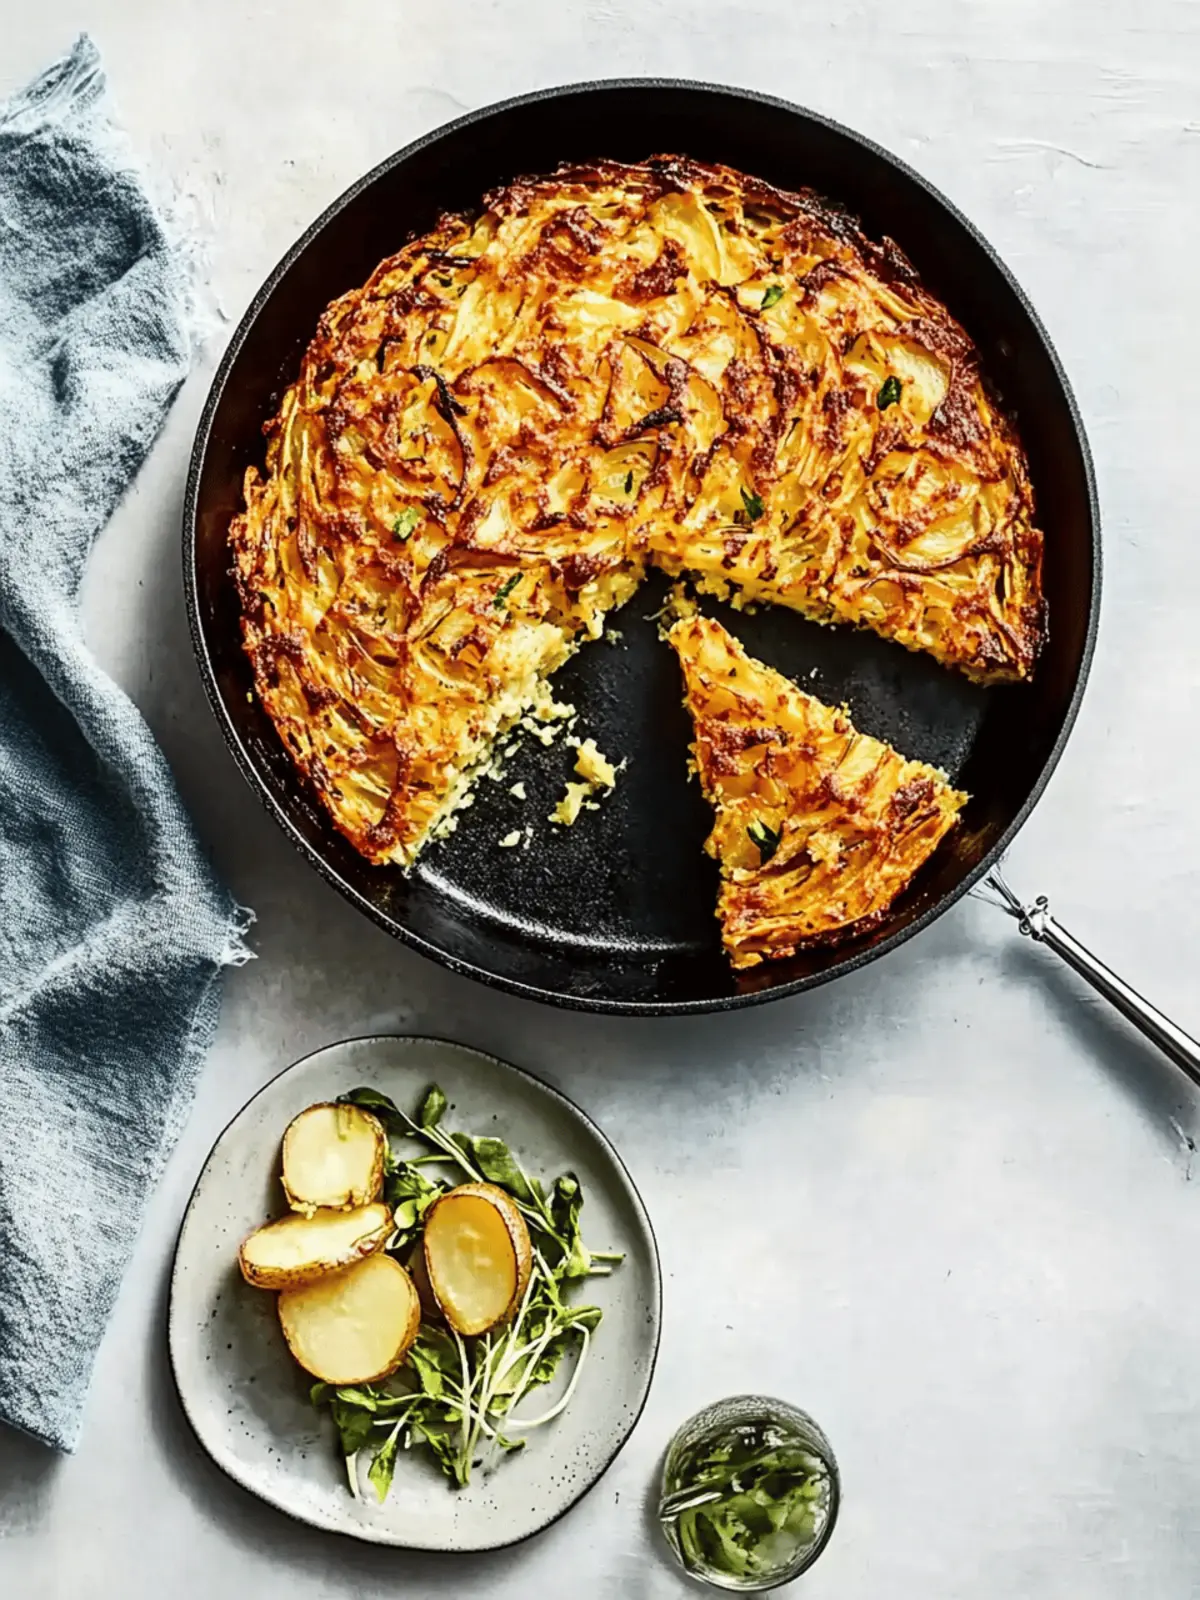
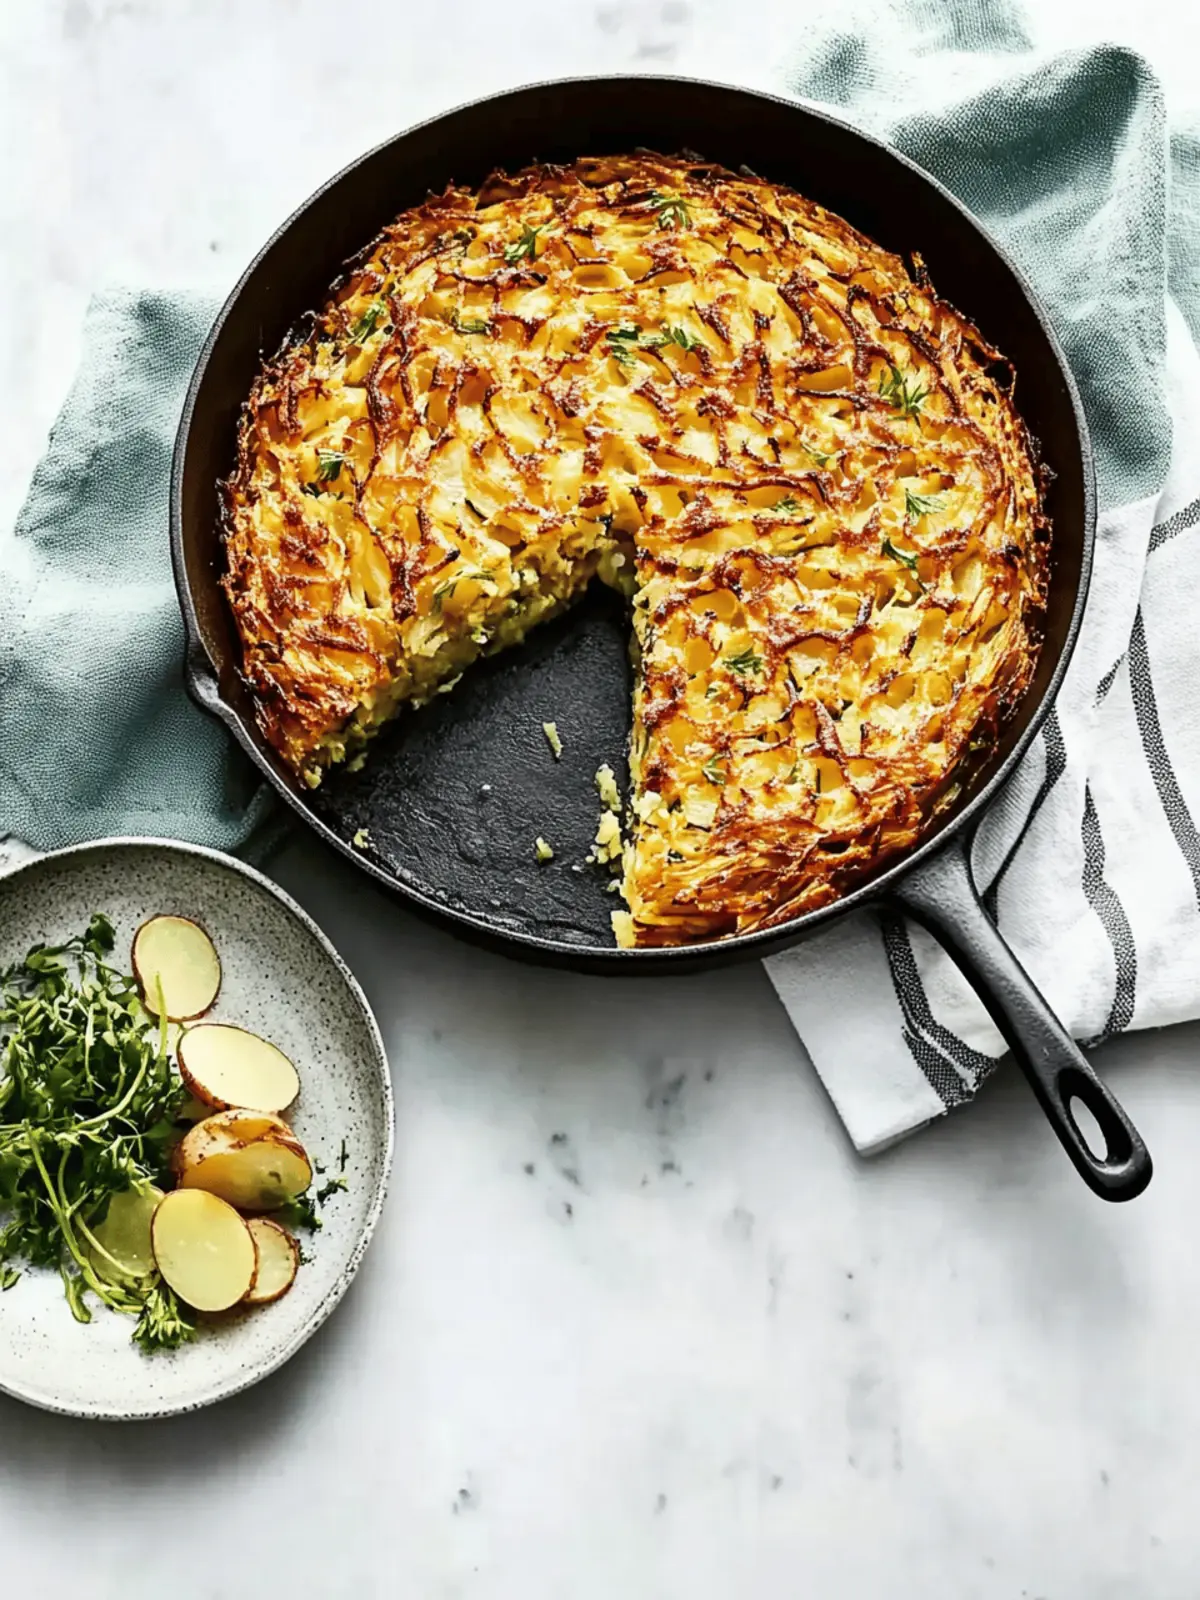
When the weather starts to turn crisp and the leaves begin to fall, there’s nothing quite like the warmth of a home-cooked dish to lift your spirits. Just last week, I found myself drawn to my kitchen, inspired by the comforting aroma of sizzling onions and potatoes. Enter the star of my culinary adventure: Cast-Iron Potato Kugel.
This dish, layered with flavors and a wonderfully crispy exterior, harks back to family gatherings where the joy of food brought us all together. I had a moment of serendipity as I pulled my trusty cast iron skillet from the cabinet, thinking about how its heat retention would create a perfectly golden crust. Not only is this kugel a feast for the eyes, but it also impresses the palate with its balance of savory onions, tender potatoes, and a touch of fresh chives.
Why settle for fast food when you can dive into this satisfying, homemade delight that promises to be a show-stopper at any table? Join me on this delicious journey to create a dish that’s as easy to prepare as it is memorable to share!
Why is Cast-Iron Potato Kugel a must-try?
Irresistible Taste: The combination of crispy edges and soft inner layers makes each bite an explosion of flavor.
Homemade Comfort: This kugel evokes nostalgia, perfect for cozy family dinners or holiday gatherings.
Easy Preparation: With minimal chopping and straightforward steps, this recipe is as enjoyable to make as it is to eat.
Versatile Side: It pairs wonderfully with meats or can stand alone as a vegetarian delight.
Crowd-Pleaser: Whether you’re feeding family or hosting friends, this dish will impress everyone at the table.
For more delicious recipes, check out my post on easy weeknight dinners that keep your busy schedule in mind!
Cast-Iron Potato Kugel Ingredients
For the Kugel
• Russet potatoes – 4 lbs., peeled and cut into medium-size chunks to create a fluffy base.
• Yellow onion – 1 large (12-oz.), peeled and cut into chunks, adds essential savory depth.
• Kosher salt – 1 Tbsp. plus 1 tsp., enhances flavor for a deliciously seasoned dish.
• Black pepper – 1 tsp., provides a subtle kick to balance the dish.
• Chicken schmaltz or olive oil – 1/2 cup, divided; schmaltz brings traditional flavor, while olive oil is a great substitute for a lighter option.
• Large eggs – 6, binding the ingredients and creating a tender texture.
• Chopped fresh chives – for garnishing, adds freshness and a pop of color right before serving.
Cooking this Cast-Iron Potato Kugel will transport you to the warmth of family gatherings, where every slice shares a story!
How to Make Cast-Iron Potato Kugel
-
Preheat your oven to 375°F. This will ensure that your kugel cooks evenly and develops a beautiful golden crust.
-
Mix the chopped potatoes, onion, kosher salt, and black pepper in a large bowl. Combine well to make sure every bite is seasoned perfectly.
-
Beat the eggs in a separate bowl. Then, add the chicken schmaltz or olive oil, mixing until fully blended for a rich, flavorful base.
-
Combine the egg mixture with the potato and onion blend. Stir gently to ensure all the ingredients are coated and evenly distributed.
-
Transfer the mixture into a greased cast iron skillet, spreading it out evenly. This step is crucial for achieving that crispy, golden edge.
-
Bake in the preheated oven for about 1 hour. Keep an eye on it until the top is golden brown and the center is set – the aroma will be irresistible!
-
Remove from the oven and let cool slightly before serving. This allows the flavors to settle, making it easier to slice and share.
-
Garnish with chopped fresh chives right before serving, adding a vibrant touch and fresh flavor!
Optional: Serve with a dollop of sour cream for extra creaminess.
Exact quantities are listed in the recipe card below.
What to Serve with Cast-Iron Potato Kugel?
Creating a memorable meal is all about pairing the right flavors and textures to delight your senses.
-
Savory Roasted Chicken: Juicy, herb-marinated chicken complements the kugel’s crispness, making it a hearty centerpiece for your table.
-
Sautéed Green Beans: Crisp-tender green beans bring a fresh crunch that balances the creamy potatoes, enhancing every bite delightfully.
-
Homestyle Meatloaf: The rich, savory profile of tender meatloaf pairs wonderfully, ensuring a classic comfort food experience everyone will love.
-
Creamy Beet Salad: This vibrant salad adds a touch of sweetness and freshness, beautifully contrasting the kugel’s warm, savory flavors.
-
Tangy Applesauce: A generous spoonful of applesauce can brighten the dish with its sweetness, creating a delightful play between flavors.
-
Chilled White Wine: A crisp Sauvignon Blanc or a light Pinot Grigio enhances the meal, cutting through the richness of the kugel.
-
Chocolate Chip Cookies: To wrap up your cozy dinner, serve these warm, gooey cookies for a nostalgic sweet treat everyone can cherish.
How to Store and Freeze Cast-Iron Potato Kugel
Fridge: Store leftover Cast-Iron Potato Kugel in an airtight container for up to 3 days. This ensures it retains its delicious flavors and doesn’t dry out.
Freezer: For longer storage, wrap the kugel tightly in plastic wrap and then aluminum foil. It will stay fresh in the freezer for up to 2 months.
Reheating: When ready to enjoy, thaw overnight in the fridge, then reheat in a 350°F oven for about 20-25 minutes until warmed through and crispy again.
Serving Tip: Garnish with fresh chives after reheating to brighten the flavors!
Make Ahead Options
These Cast-Iron Potato Kugel are perfect for meal prep enthusiasts! You can chop the potatoes and onions, then refrigerate them together in an airtight container up to 24 hours in advance; this not only saves time but also helps the flavors meld beautifully. Additionally, you can beat the eggs and mix in the chicken schmaltz or olive oil up to 3 days ahead of time, storing it in the fridge as well. When you’re ready to bake, combine the potato mix with the egg mixture and transfer it to your greased skillet. Simply bake as directed, and you’ll have a comforting, homemade dish that’s just as delicious, ready to impress your family or guests with minimal effort!
Tips for the Best Cast-Iron Potato Kugel
-
Choose the Right Potatoes: Using russet potatoes is key for fluffy texture. Avoid waxy potatoes, as they can lead to a gummy kugel.
-
Season Generously: Don’t skimp on kosher salt; it brings out the potatoes’ flavor and prevents blandness in your Cast-Iron Potato Kugel.
-
Preheat Properly: Make sure your oven reaches 375°F before baking. This helps achieve that perfect crispy crust everyone loves.
-
Mix Gently: When combining the ingredients, stir gently. This preserves the potatoes’ texture and prevents a mushy kugel.
-
Serve Warm: For the best taste and texture, serve your kugel warm. The flavors meld beautifully, making it even more delicious!
Cast-Iron Potato Kugel Variations
Feel free to explore these creative twists that can elevate your kugel experience and delight your taste buds.
-
Herb-Infused: Incorporate fresh herbs like rosemary or thyme for an aromatic twist that complements the potatoes beautifully.
-
Cheesy Delight: Add shredded cheese like cheddar or Gruyere to the mix for a creamy, indulgent layer that melts perfectly with each bite.
-
Vegetarian-Friendly: Swap chicken schmaltz for coconut oil or a vegan butter alternative to make a delightful vegetarian version.
-
Smoky Flavor: Stir in some smoked paprika or diced smoked sausage for a bold flavor kick that adds warmth and depth to the dish.
-
Add Vegetables: Mix in grated zucchini or carrots for added color and nutrition, bringing a fresh twist to the classic kugel.
Rich in texture and bursting with personality, these additions will transform your kugel into something special.
-
Spicy Kick: Toss in finely chopped jalapeños or a pinch of red pepper flakes to introduce a delightful heat that balances the dish’s richness.
-
Sweet & Savory: Incorporate caramelized apples or sweet potatoes for a surprisingly sweet contrast that pairs beautifully with the savory elements.
-
Nutty Crunch: Top the baked kugel with toasted breadcrumbs or crushed nuts before the final minutes of baking for an extra crunchy texture.
Cast-Iron Potato Kugel Recipe FAQs
How do I choose the right potatoes for my Cast-Iron Potato Kugel?
Selecting the right potatoes is vital for the perfect kugel! I recommend using russet potatoes, as they provide a fluffy and light texture. Stay away from waxy potatoes like red or new potatoes, which contain more moisture and can result in a gummy consistency.
What is the best way to store leftover Cast-Iron Potato Kugel?
To keep your leftovers fresh, place the kugel in an airtight container and store it in the refrigerator for up to 3 days. This method retains the lovely flavors, so you can enjoy it again! Simply reheat in the oven or microwave when you’re ready to indulge.
Can I freeze Cast-Iron Potato Kugel?
Absolutely! To freeze, wrap the cooled kugel tightly in plastic wrap and then in aluminum foil to prevent freezer burn. It will keep well in the freezer for up to 2 months. When you’re ready to eat it, thaw it in the fridge overnight, then reheat in a 350°F oven for about 20-25 minutes until heated through and crispy.
What should I do if my kugel doesn’t seem to set while baking?
If your kugel isn’t setting properly, it might need a little more time in the oven. Make sure to check at the 1-hour mark, and if the center is still jiggly, continue baking and check every 10-15 minutes. Sometimes, the oven temperature may fluctuate—using an oven thermometer can provide more accuracy in future baking endeavors.
Are there any dietary considerations I should be aware of for my Cast-Iron Potato Kugel?
It’s always good to be mindful! This recipe contains eggs, which are a common allergen. If you need an egg-free version, you can replace the eggs with a mixture of 1 tablespoon of ground flaxseed mixed with 2.5 tablespoons of water for each egg—let it sit for a few minutes until it thickens. Additionally, if serving to pets, keep in mind that onions are toxic to dogs, so avoid sharing this dish with them.
How long does Cast-Iron Potato Kugel last in the freezer?
Your homemade kugel will last in the freezer for up to 2 months without losing its flavor. It’s best to eat it within this timeframe to ensure optimal taste and texture! Enjoy your cooking adventure!
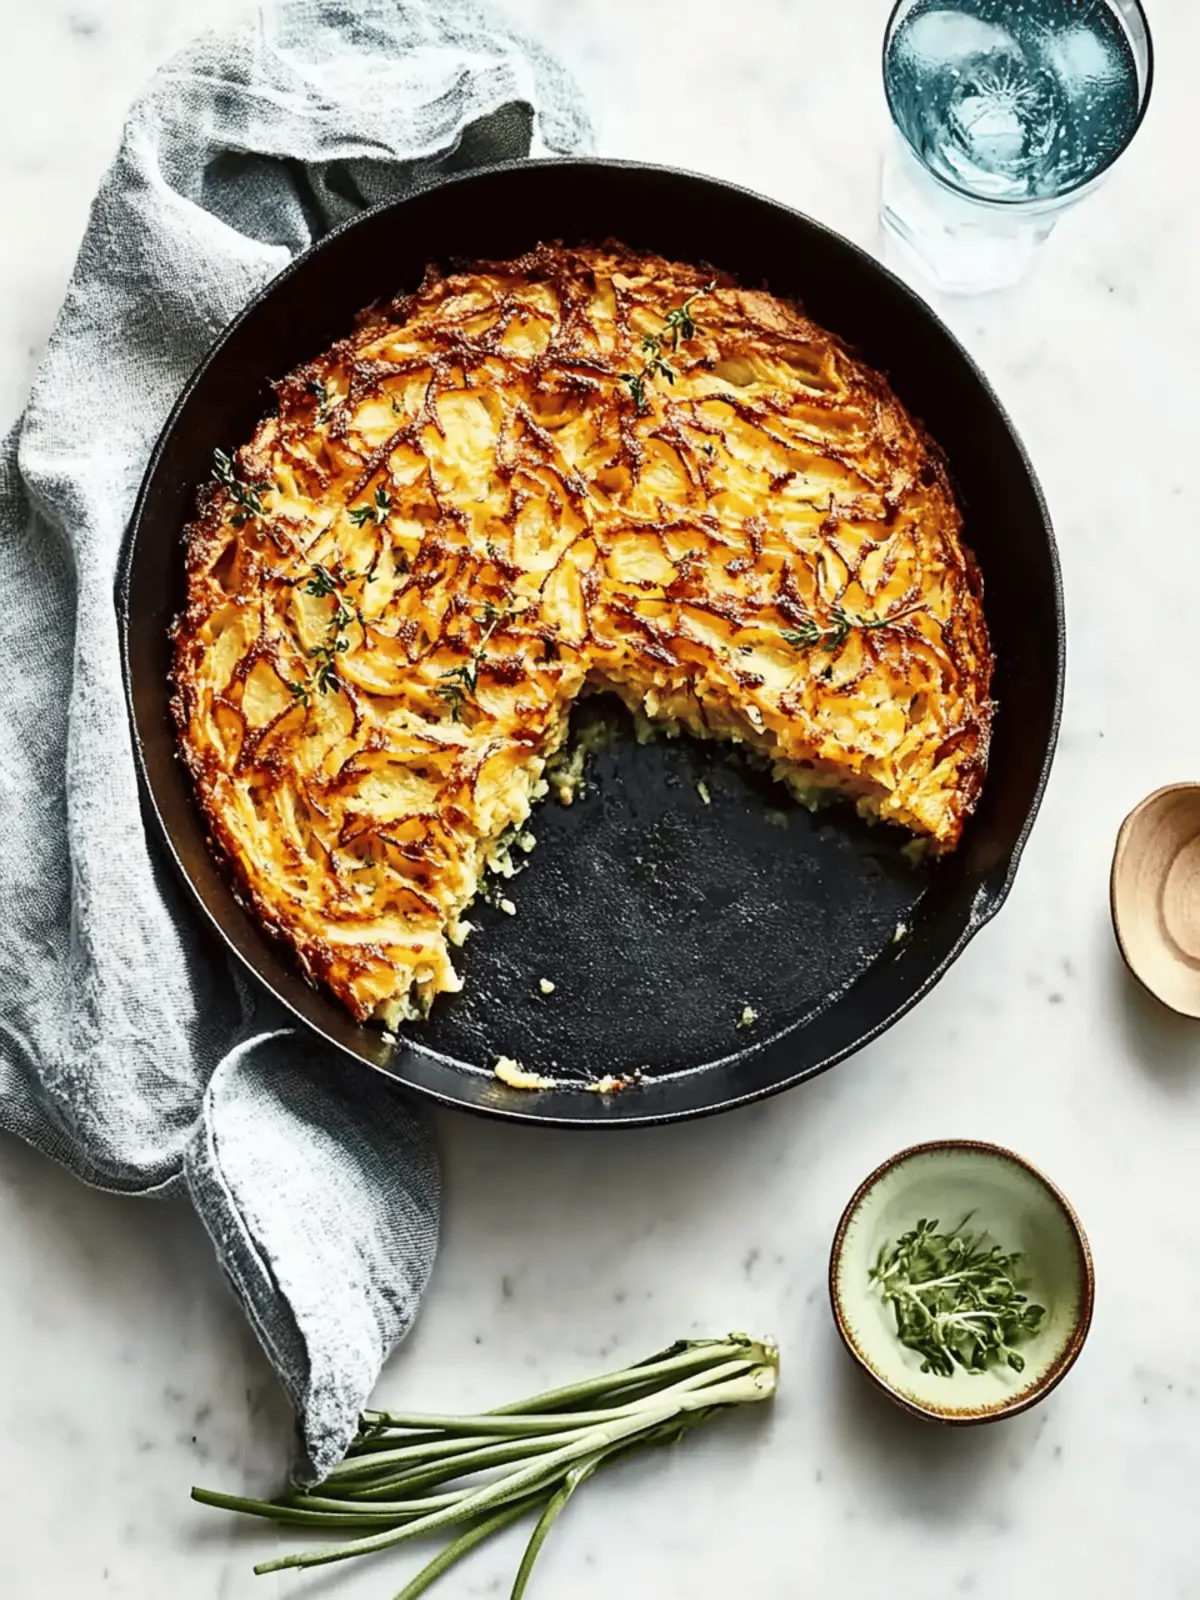
Savory Cast-Iron Potato Kugel: A Cozy Homemade Delight
Ingredients
Equipment
Method
- Preheat your oven to 375°F.
- Mix the chopped potatoes, onion, kosher salt, and black pepper in a large bowl.
- Beat the eggs in a separate bowl and add the chicken schmaltz or olive oil.
- Combine the egg mixture with the potato and onion blend.
- Transfer the mixture into a greased cast iron skillet.
- Bake in the preheated oven for about 1 hour.
- Remove from the oven and let cool slightly before serving.
- Garnish with chopped fresh chives right before serving.

