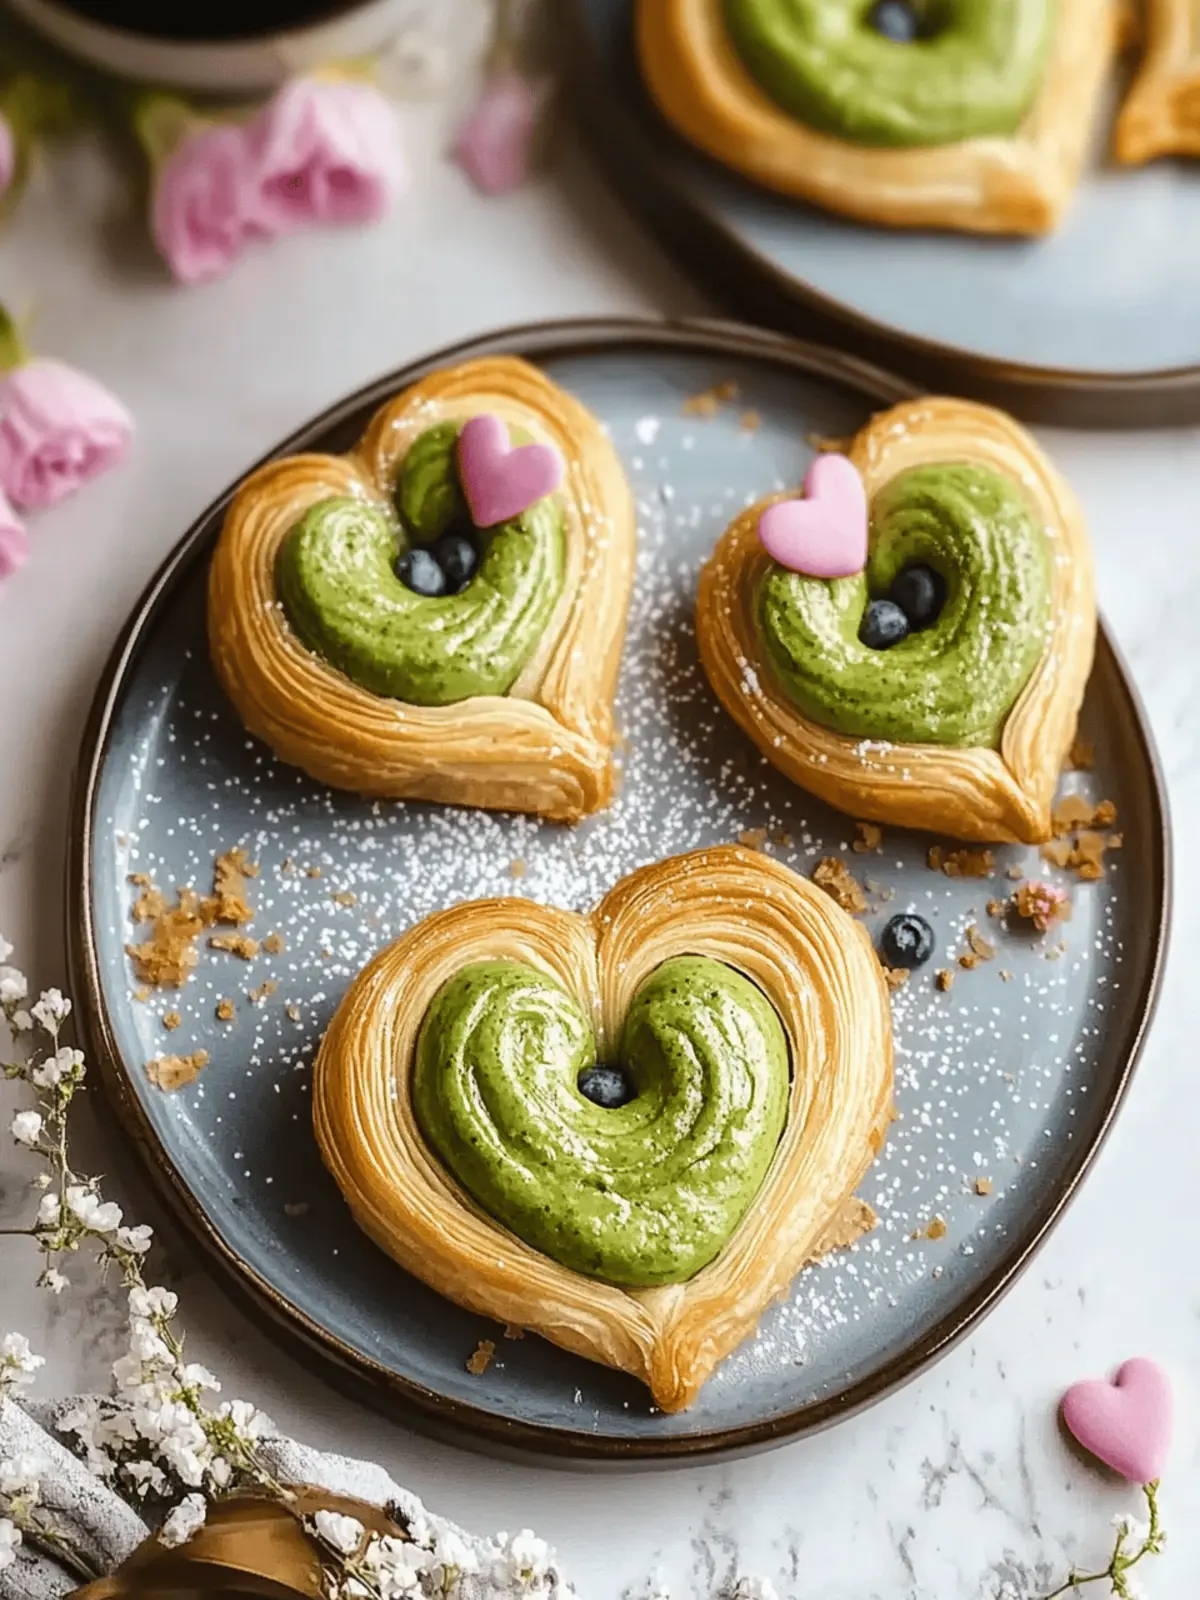
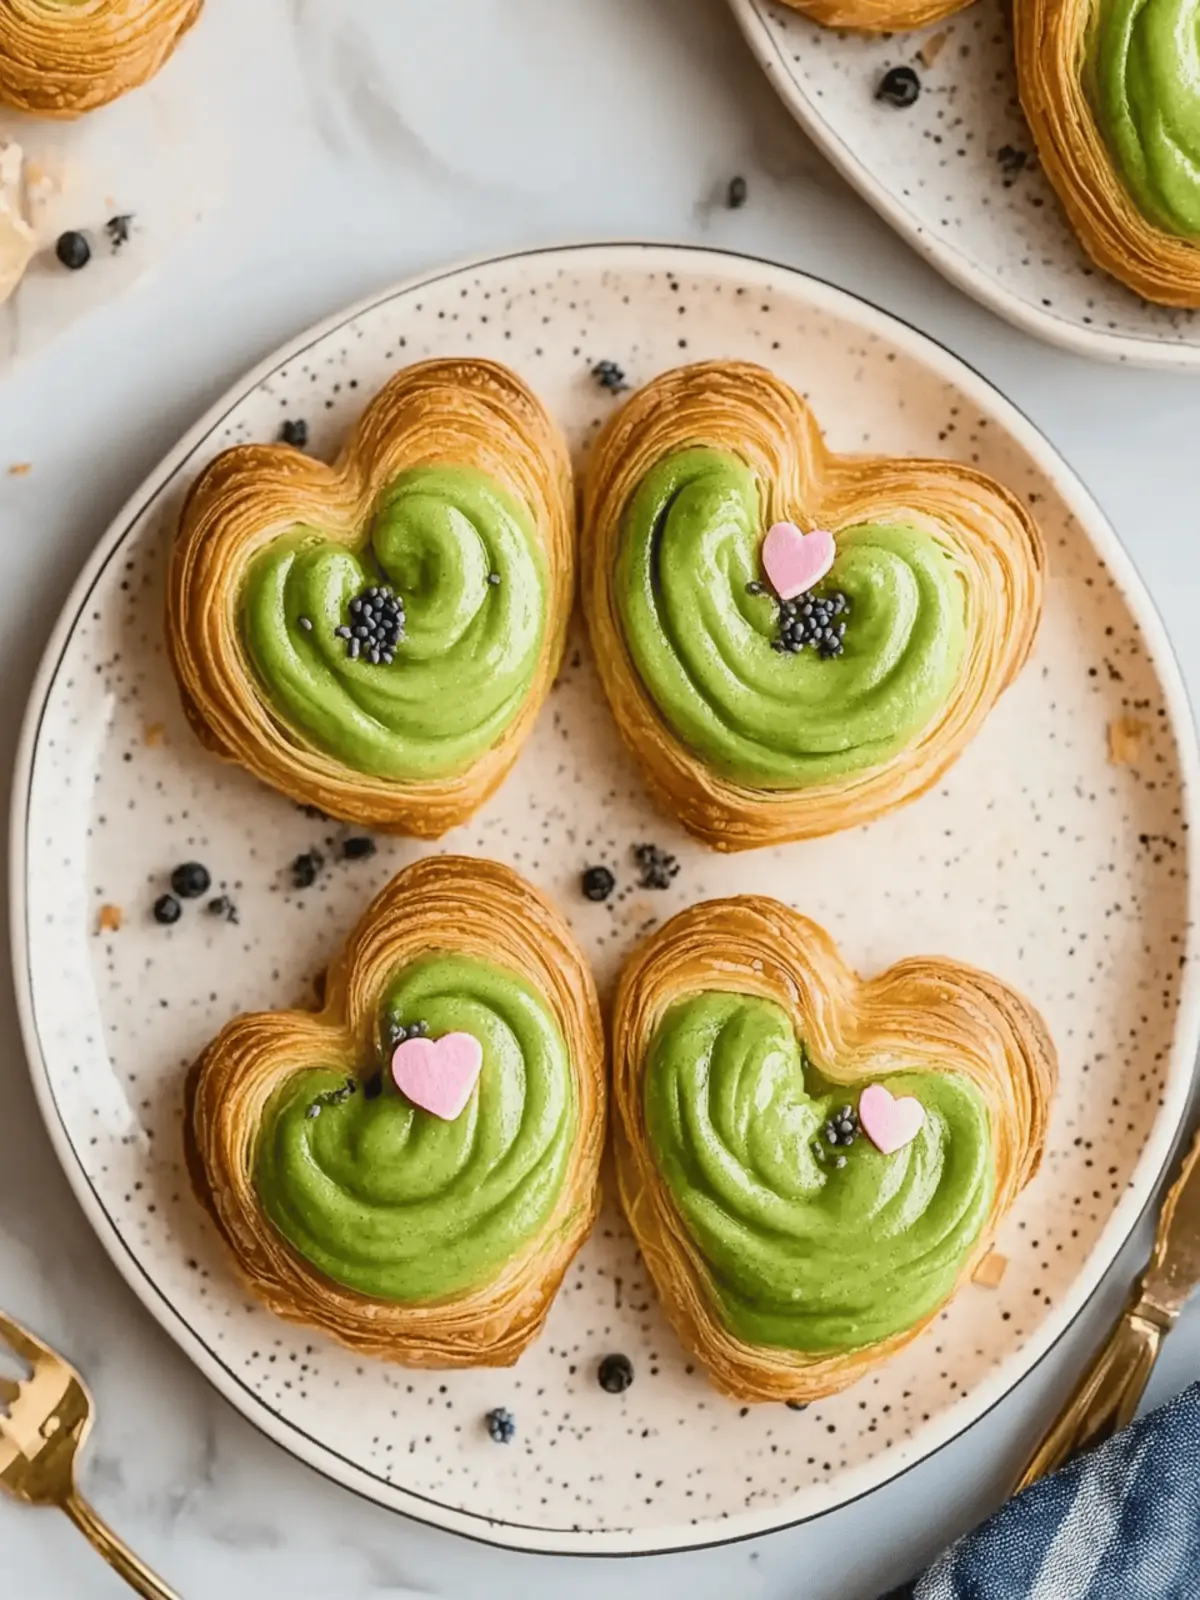
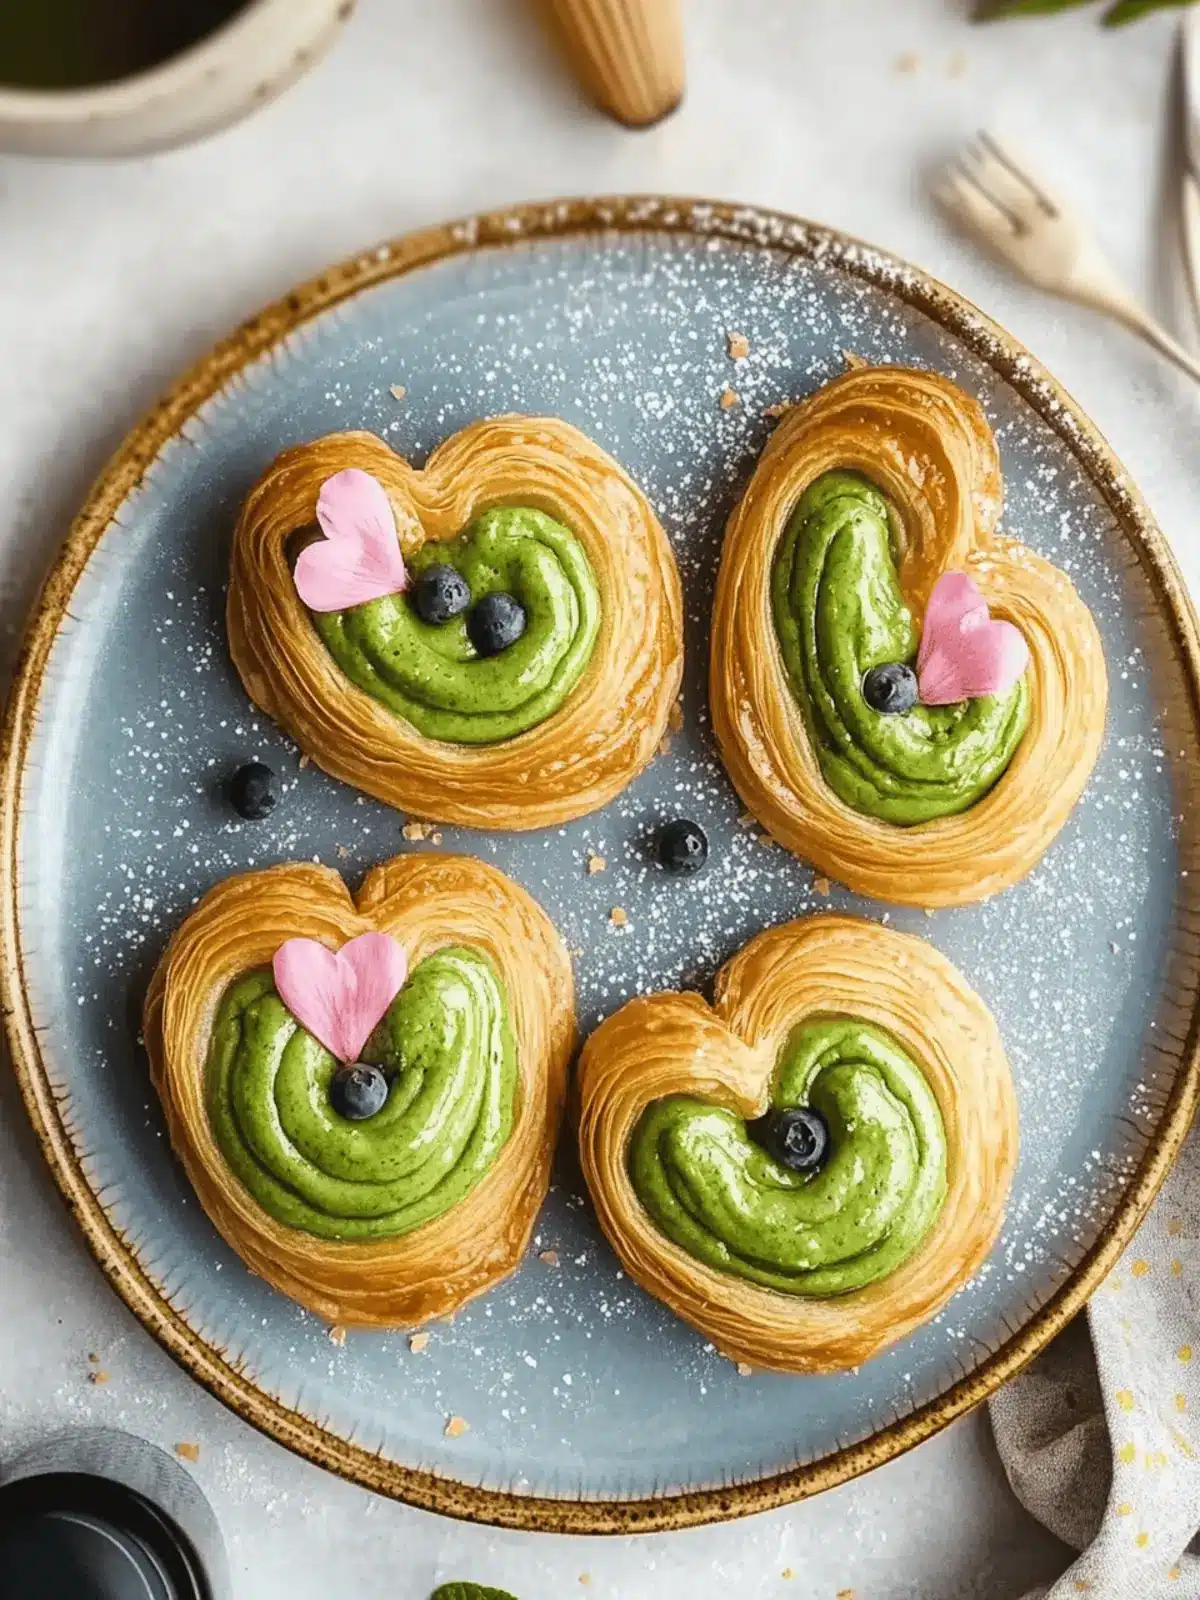
As the first hints of spring begin to grace the air, there’s something utterly soothing about the verdant hue of matcha. I discovered this vibrant green powder during a late-night baking session in search of a new twist on classic pastries. The delightful scent of warm, flaky puff pastry drifting from the oven coupled with the earthy aroma of matcha quickly became a favorite in my kitchen. Enter these Easy Matcha Danishes: each bite reveals a luscious cream cheese filling infused with matcha, creating a blissfully melt-in-your-mouth experience that elevates them beyond your everyday pastry.
Perfect for a weekend brunch or an afternoon treat, these danishes are not just beautiful to behold but also remarkably simple to prepare. With store-bought puff pastry as the hero of the story, you can whip up a batch that wows friends and family. Plus, the recipe is versatile and allows for exciting variations, whether you prefer fruity, nutty, or even indulgent chocolate-filled options. Trust me, your taste buds will thank you for this delightful adventure!
Why are Matcha Danishes a must-try?
Irresistible texture: The flaky puff pastry complements the creamy, dreamy matcha filling, creating a snack that is pure bliss.
Customizable delight: Fill them with your favorite fruits or create a savory version to keep things exciting!
Easy preparation: With store-bought pastry, these danishes come together effortlessly, making them perfect for any home baker.
Impressive presentation: The vibrant green hue of matcha makes these pastries a showstopper at brunch or gatherings.
Health-conscious options: Customize them to fit dietary needs; go dairy-free or gluten-free without missing a beat.
Crowd-pleaser: Bring joy to your table and impress everyone with these unique treats. If you need more inspiration, check out our variation ideas.
Matcha Danish Ingredients
• Discover the essential ingredients for a delightful batch of matcha danishes!
For the Pastry
- Puff Pastry Sheet – Use store-bought, thawed but kept cold for the best flaky texture.
- Egg – Serves as a binder and gives a golden finish when brushed on top; you can substitute with a flax egg for vegan versions.
For the Filling
- Cream Cheese – Ensures a rich, creamy filling; make sure it’s softened for easy mixing, or use vegan cream cheese for a dairy-free option.
- Granulated Sugar – Sweetens the filling to balance the earthy matcha flavor; adjust based on your sweetness preference.
- Matcha Powder – Provides the signature earthy flavor and beautiful green hue; opt for culinary-grade matcha for the best results.
- Heavy Cream – Adds a luscious creaminess; substitute with milk for a lighter essence.
- Powdered Sugar – Sweetens the cream cheese mixture; adjust as per your taste.
For Decorating
- Chocolate Chips (Milk/Dark) – An optional yet elegant decoration that enhances the pastries; melt them for drizzling or creating accents.
- White Chocolate Chips – Ideal for decorative touches; mix with food coloring to create imaginative designs.
- Pink Oil-Based Food Coloring – Use this optional ingredient for achieving vivid colors without altering the chocolate’s texture.
How to Make Matcha Danishes
-
Prepare Filling: In a mixing bowl, whip softened cream cheese until fluffy. Gradually fold in matcha powder, heavy cream, and powdered sugar for a smooth and creamy filling. Transfer this mixture into a piping bag for easy application.
-
Preheat Oven: Preheat your oven to 400°F (204°C). While waiting, line a baking tray with parchment paper to prevent sticking and for easy cleanup.
-
Roll and Cut Pastry: Unroll the cold puff pastry sheet on a lightly floured surface. Cut the pastry into rectangles, about 3×5 inches in size, and lightly carve a border around the edges to define the danishes.
-
Egg Wash and Sugar: Brush the edges of each pastry rectangle with the beaten egg for a beautiful golden color. Next, sprinkle granulated sugar over the edges to add a delightful crunch once baked.
-
Bake: Arrange the prepared pastries on the lined tray and place them in the oven. Bake for 12-15 minutes until they are golden brown and puffed up beautifully. After baking, let them cool for about 5 minutes on a wire rack.
-
Decorate: Melt chocolate chips in a microwave-safe bowl and drizzle them over the cooled pastries for a decorative touch. Optionally, mix melted white chocolate with food coloring for creative designs if desired.
Optional: Serve warm for the best texture and taste experience!
Exact quantities are listed in the recipe card below.
What to Serve with Easy Matcha Danishes?
Looking to create a delightful brunch or afternoon tea experience that perfectly complements your matcha treats?
- Fresh Berries: The tartness of berries like strawberries or raspberries brightens each bite, balancing the rich matcha filling beautifully.
- Café au Lait: A smooth, milky coffee provides a comforting contrast that complements the earthy flavor of the matcha while keeping your tastebuds warm.
- Honey Drizzle: A light drizzle of honey adds a touch of sweetness that harmonizes with the creamy filling, making every bite irresistibly delicious.
- Chocolate Ganache: Rich and decadent, drizzling dark chocolate ganache over the danishes enhances their gourmet appearance and taste, perfect for chocolate lovers.
- Chai Tea: Spiced chai offers a warm, aromatic experience that contrasts wonderfully with the flaky pastry, creating a cozy pairing for cooler days.
- Lemon Curd: The bright and zesty flavor of lemon curd adds a refreshing twist, balancing the creaminess of the danishes splendidly.
- Vanilla Ice Cream: Serve these warm danishes with a scoop of vanilla ice cream to create a delightful dessert experience of contrasts in temperature and richness.
- Savory Quiche: For a heartier brunch, a light vegetable quiche pairs nicely, adding a savory element that beautifully balances your sweet pastries.
- Minted Iced Tea: Crisp and refreshing, iced tea with a hint of mint offers a cool, revitalizing sip that complements the matcha’s earthiness.
Matcha Danishes Variations
Feel free to experiment and make these delightful pastries your own with these fun twists!
- Berry Bliss: Substitute matcha with mixed berry jam for a fruity filling that bursts with flavor.
- Savory Twist: Incorporate shredded cheese and fresh spinach into the filling for a deliciously savory option that’s perfect for brunch.
- Chocolate Indulgence: Add chocolate chips to the filling for a rich, sweet surprise in every bite!
- Citrus Zest: Mix in lemon or orange zest for a bright flavor that contrasts beautifully with the creamy filling.
- Nutty Addition: Toss in some finely chopped nuts like almonds or walnuts for an extra crunch that enhances the texture.
- Dairy-Free Delight: Use vegan cream cheese and heavy coconut cream to make this recipe fully dairy-free without sacrificing taste or texture.
- Spicy Kick: Add a pinch of cayenne or red pepper flakes to the filling for a surprising, spicy twist that elevates the flavor profile.
- Fruit Compote: Drizzle a warm fruit compote on top for a luscious finish that pairs perfectly with the earthy matcha.
Storage Tips for Matcha Danishes
Room Temperature: Enjoy matcha danishes fresh for the best taste, but they can be left out for up to 2 hours.
Fridge: Store uneaten danishes in an airtight container in the refrigerator for up to 3 days to keep them fresh and moist.
Freezer: To enjoy later, individually wrap baked danishes in plastic wrap and freeze for up to 2 months. Thaw in the fridge overnight before enjoying.
Reheating: For a delightful warm experience, reheat thawed danishes in a toaster oven for about 5-7 minutes at 350°F (175°C) until heated through.
Make Ahead Options
These Easy Matcha Danishes are perfect for busy home cooks looking to save time during meal prep! You can prepare the cream cheese filling and store it in the refrigerator for up to 3 days in an airtight container, which helps maintain its creamy texture. The puff pastry can also be cut and shaped into rectangles about 24 hours in advance; just be sure to refrigerate them until you’re ready to bake to prevent them from becoming soggy. When you’re ready to enjoy, simply assemble the danishes, brush with the egg wash, bake them until golden, and they’ll be just as delicious and flaky as if made fresh that day!
Helpful Tricks for Easy Matcha Danishes
- Keep It Cold: Ensure puff pastry is kept cold before using; warm dough will not puff up nicely during baking.
- Measure Wisely: Avoid overfilling with the cream cheese mixture; too much filling can cause the danishes to burst while baking.
- Puff Pastry Quality: Invest in high-quality, store-bought puff pastry to ensure the best flaky texture for your matcha danishes.
- Proper Cooling: Allow baked danishes to cool on a wire rack; this prevents sogginess and maintains their delightful crispiness.
- Creative Decor: Experiment with different toppings or fillings, like seasonal fruits or nutty additions, to personalize your matcha danishes further!
Easy Matcha Danishes Recipe FAQs
How do I choose the right matcha powder?
Absolutely! When selecting matcha powder for these danishes, I recommend using culinary-grade matcha, which provides a vibrant color and rich flavor. Look for a bright green color and a fine texture. Avoid any matcha that appears dull or grainy, as that indicates it may not be fresh.
What’s the best way to store leftover matcha danishes?
Very! To keep your matcha danishes fresh, store them in an airtight container in the refrigerator for up to 3 days. If you want to save them for later, you can freeze the baked danishes wrapped individually in plastic wrap for up to 2 months. Thaw them overnight in the fridge when you’re ready to enjoy.
Can I make these danishes dairy-free?
Of course! To make these matcha danishes dairy-free, simply substitute the cream cheese with a vegan cream cheese alternative. You can also replace the heavy cream with coconut cream or any dairy-free milk. These substitutions ensure that everyone can enjoy this delightful treat!
What if my puff pastry doesn’t rise properly?
Ah, that’s a common concern! If your puff pastry doesn’t rise well, it might be due to using warm dough. Always keep your puff pastry cold and handle it minimally to prevent it from warming up. If the filling is overstuffed, it can also impact puffing; make sure to fill it modestly to allow for proper rise.
Can I freeze unbaked matcha danishes?
Yes, indeed! To freeze unbaked matcha danishes, prepare the pastries and place them on a baking sheet lined with parchment paper. Flash freeze them until solid, then transfer to a freezer bag. They can be frozen for up to 2 months. When you’re ready to bake, you can put them directly in the oven without thawing, just add a couple of extra minutes to the baking time.
How can I make these pastries more visually appealing?
Absolutely! To elevate the presentation of your matcha danishes, consider adding decorative drizzles of melted chocolate or colored white chocolate. You can also sprinkle edible flowers or chopped nuts on top before serving. Small touches like these make your pastries dazzling and perfect for impressing guests!

Delicious Matcha Danishes: Easy, Customizable Treats to Love
Ingredients
Equipment
Method
- In a mixing bowl, whip softened cream cheese until fluffy. Gradually fold in matcha powder, heavy cream, and powdered sugar for a smooth and creamy filling. Transfer this mixture into a piping bag for easy application.
- Preheat your oven to 400°F (204°C). While waiting, line a baking tray with parchment paper to prevent sticking and for easy cleanup.
- Unroll the cold puff pastry sheet on a lightly floured surface. Cut the pastry into rectangles, about 3x5 inches in size, and lightly carve a border around the edges to define the danishes.
- Brush the edges of each pastry rectangle with the beaten egg for a beautiful golden color. Next, sprinkle granulated sugar over the edges to add a delightful crunch once baked.
- Arrange the prepared pastries on the lined tray and place them in the oven. Bake for 12-15 minutes until they are golden brown and puffed up beautifully. After baking, let them cool for about 5 minutes on a wire rack.
- Melt chocolate chips in a microwave-safe bowl and drizzle them over the cooled pastries for a decorative touch. Optionally, mix melted white chocolate with food coloring for creative designs if desired.


