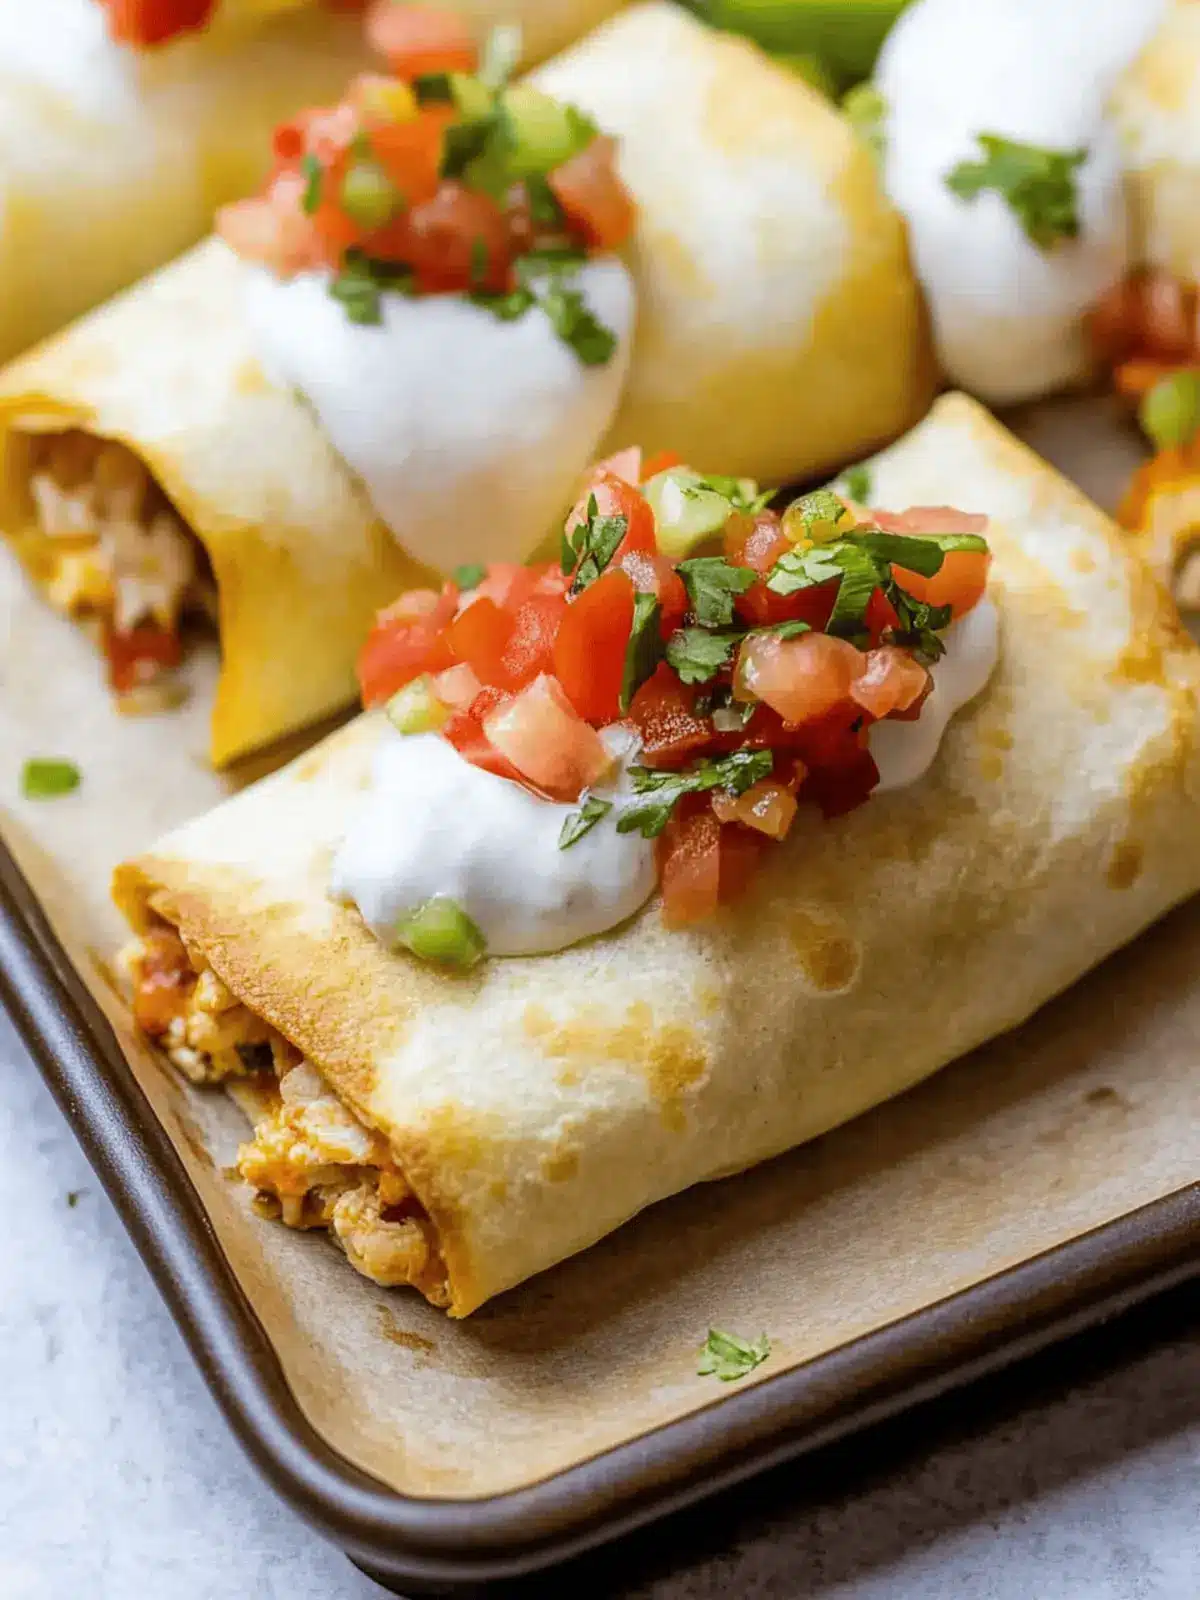
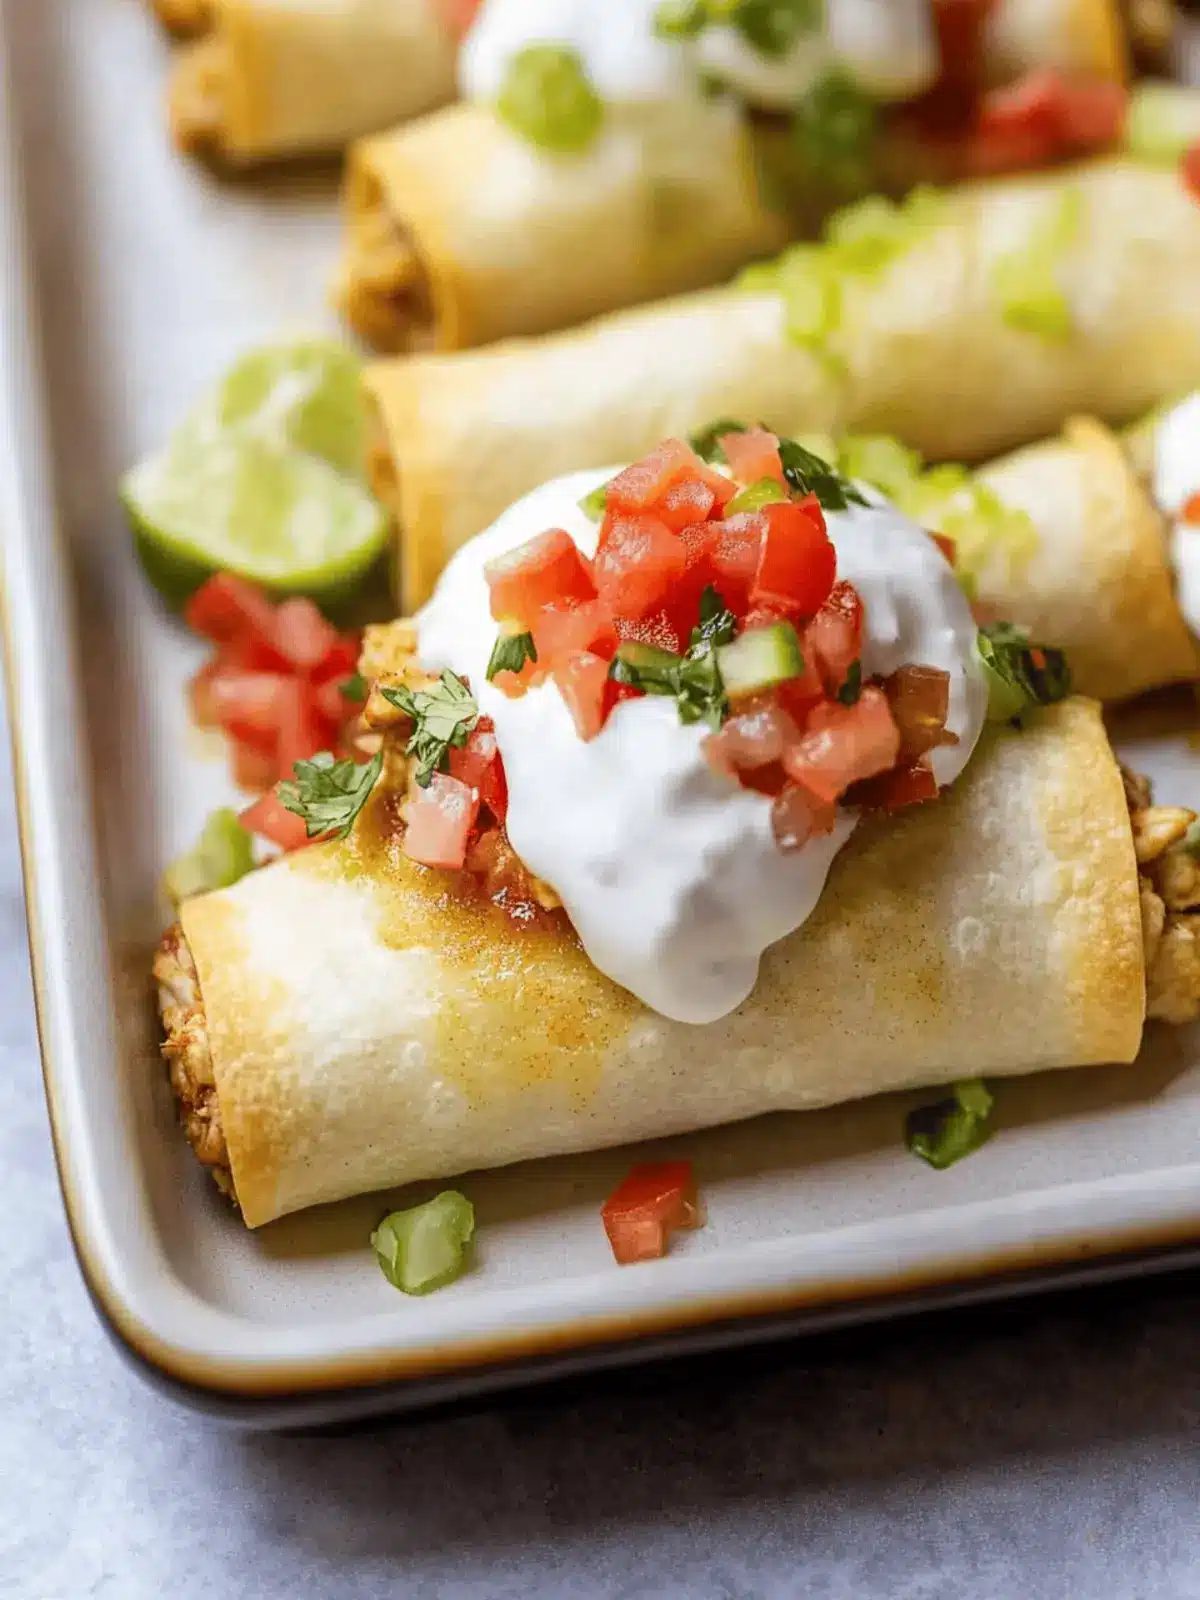
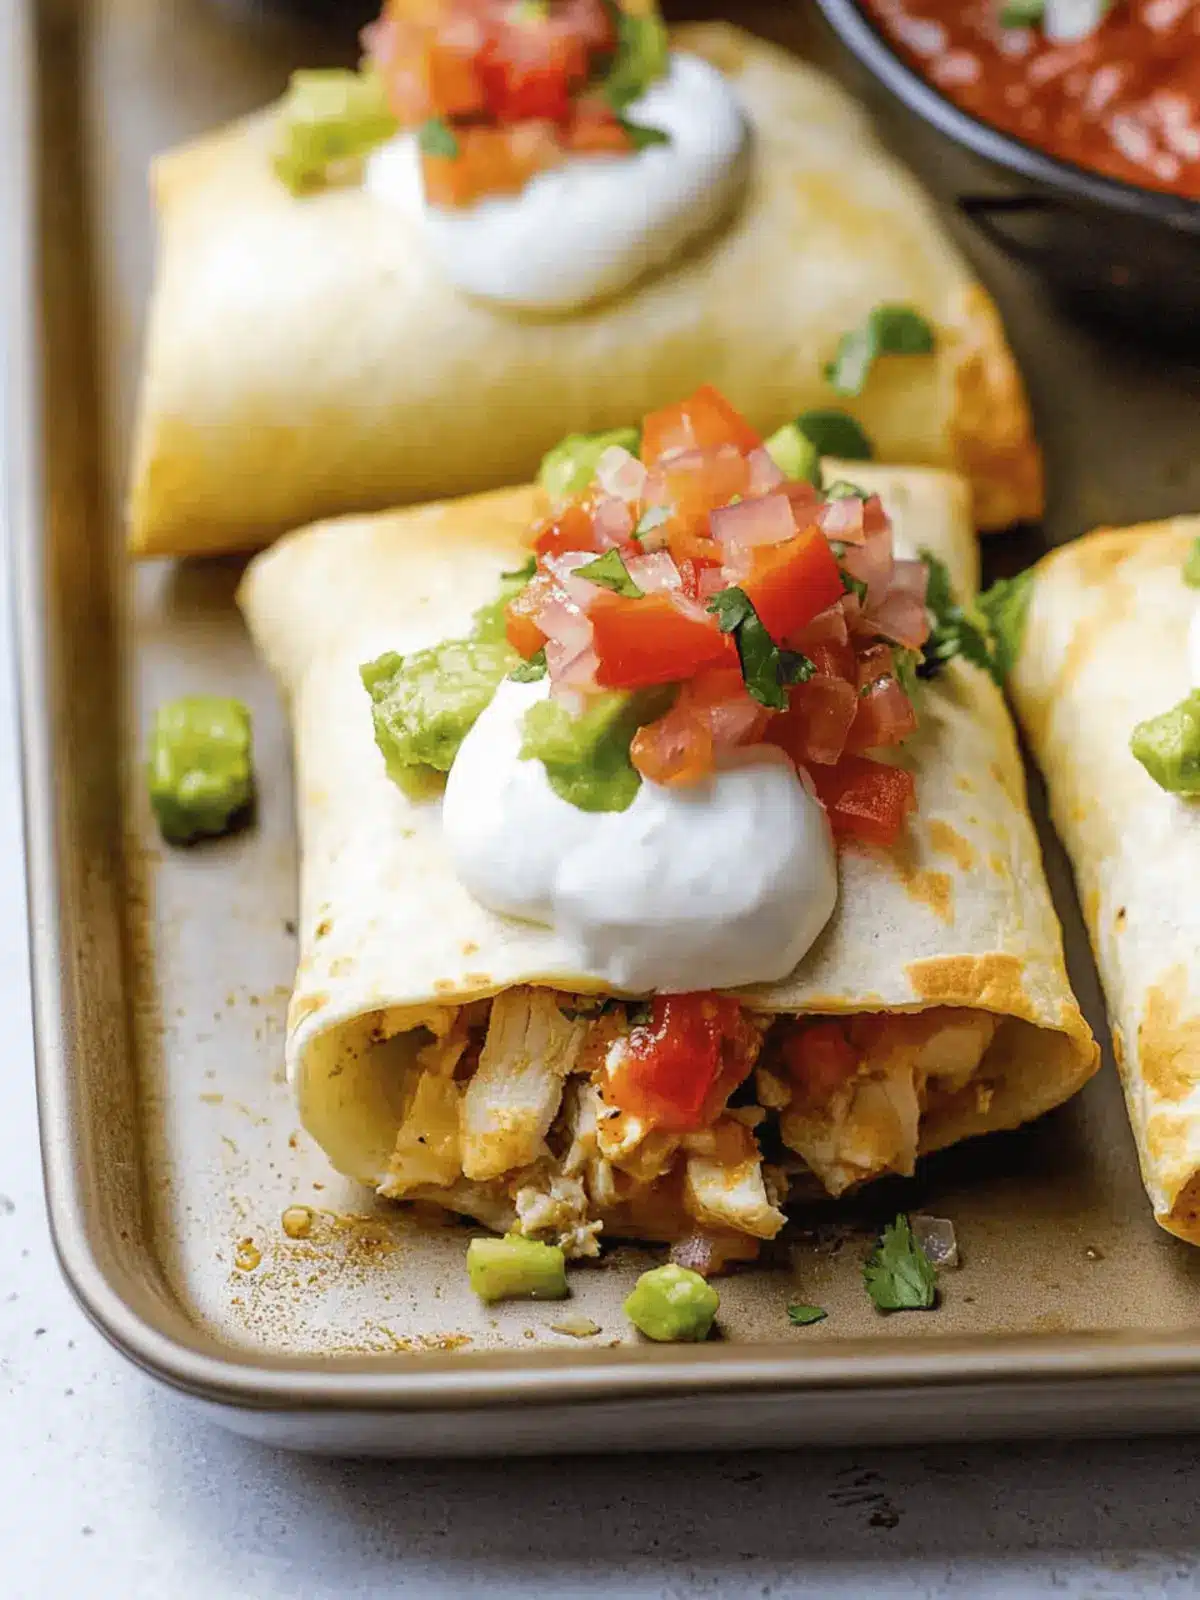
There’s something enchanting about the golden, crispy exterior of a chimichanga that brings a smile to my face. The moment I take a bite, the comforting blend of tender shredded chicken, mouthwatering cheese, and zesty salsa fills me with joy. However, as much as I love the traditional deep-fried version, I’ve found a healthier way to enjoy this classic Tex-Mex favorite without sacrificing flavor or crunch.
Introducing my Crispy Baked Chicken Chimichangas! This delightful recipe provides all the deliciousness we crave in a quick and easy dinner while staying on the lighter side. Perfect for busy weeknights, these baked beauties come together in just 45 minutes. Whether you’re hosting friends or indulging in a cozy family meal, these chimichangas are sure to become a go-to favorite, making it easy to say goodbye to fast food and hello to a homemade feast. So, roll up your sleeves, and let’s create something magical together!
Why Baked Chicken Chimichangas Are Irresistible?
Crispy texture: Enjoy the delightful crunch without frying, making it guilt-free.
Flavor-packed filling: A perfect blend of savory shredded chicken, creamy refried beans, and zesty salsa creates a mouthwatering experience.
Quick and easy: Ready in just 45 minutes, this recipe is a lifesaver for busy weeknights.
Versatile option: Swap ingredients to customize your chimichangas; try ground beef or sautéed veggies for fun variations.
Crowd-pleaser: These chimichangas bring smiles to everyone at the table, making them a hit for family dinners and gatherings. You won’t miss fast food!
Baked Chicken Chimichanga Ingredients
• Here’s everything you need for your delicious Baked Chicken Chimichangas!
For the Filling
- Shredded Chicken – Adds protein and flavor; use rotisserie chicken for ease or homemade for freshness.
- Refried Beans – Provides creaminess and texture; opt for your favorite brand or make your own for a healthier choice.
- Salsa – Adds moisture and flavor; any type of salsa will work, from fresh to jarred varieties.
- Coriander – Brings a warm, nutty flavor; optional, but can be substituted with cumin if needed.
- Chili Powder – Enhances the overall flavor profile; alternatively, use a packet of taco seasoning for convenience.
- Shredded Cheese – Provides richness and gooey texture; try a Mexican cheese blend, Pepper Jack, or Monterey Jack.
- Green Onions – Offer fresh flavor with a milder taste; regular onions can be used for a bolder flavor.
- Jalapeños – Adds spice; adjust quantity based on your spice tolerance, as the seeds intensify heat.
For the Assembly
- Large Flour Tortillas – The main structure for the chimichangas; use burrito-sized tortillas, avoiding corn for better durability.
- Butter – For brushing, it adds that golden, crispy finish; can be substituted with canola or olive oil for a lighter option.
How to Make Baked Chicken Chimichangas
-
Preheat the oven to 400°F (200°C). Begin your culinary adventure by warming up that oven, ensuring a perfectly crispy finish for your chimichangas.
-
Mix the filling ingredients together in a large mixing bowl. Combine the shredded chicken, refried beans, salsa, coriander (if using), chili powder, shredded cheese, green onions, and diced jalapeños until well-blended for a flavorful filling.
-
Assemble the chimichangas. Place a generous portion of the chicken filling onto a tortilla. Fold the bottom up, then tuck in the sides, rolling tightly to create a secure burrito. Avoid overfilling to prevent bursting!
-
Arrange the rolled chimichangas seam-side down on a baking sheet. Brush the tops with melted butter to achieve that irresistible golden crust as they bake.
-
Bake for 15 minutes, then carefully flip the chimichangas and bake for an additional 10 minutes. Watch for them to turn golden brown and crispy for that perfect texture.
-
Cool for a few moments before serving. Top with sour cream, guacamole, or salsa as desired to enhance your dining experience.
Optional: Garnish with fresh cilantro for an added burst of flavor.
Exact quantities are listed in the recipe card below.
Baked Chicken Chimichanga Variations
Feel free to make these chimichangas your own—there’s a world of flavor waiting to be explored.
- Ground Turkey: Swap shredded chicken for lean ground turkey for a lighter option that’s just as tasty.
- Sautéed Veggies: Add colorful bell peppers and zucchini to the filling for a sweet crunch and extra nutrition.
- Spicy Kick: Toss in diced jalapeños or chipotle peppers for a smokier heat that will wake up your taste buds.
- Herbed Cheese: Replace shredded cheese with herbed cream cheese for an indulgent, creamy twist.
- Quinoa: Mix in cooked quinoa instead of refried beans for a protein-packed version that’s gluten-free.
- Sweet Surprise: Add a touch of sweetness with diced pineapple or mango for a delightful contrast to the savory filling.
- Cauliflower Rice: Substituting traditional refried beans with cauliflower rice results in a lower-carb option loaded with veggies.
- Baked Avocado: Top the chimichangas with sliced baked avocados for a luxurious buttery addition, perfect for a Tex-Mex twist.
Explore these variations and show off your creativity in the kitchen!
Make Ahead Options
These Crispy Baked Chicken Chimichangas are perfect for meal prep enthusiasts! You can prepare the filling up to 24 hours in advance by mixing the shredded chicken, refried beans, salsa, and spices in a bowl, then refrigerating it in an airtight container (this helps meld the flavors). Assemble the chimichangas just before baking for the best texture, rolling them tightly to prevent bursting. If you’re looking to save even more time, you can fully assemble the chimichangas and freeze them unbaked for up to 3 months. When ready to enjoy, bake straight from the freezer—a delightful, stress-free meal awaits, just as delicious as fresh!
What to Serve with Baked Chicken Chimichangas?
Enhance your dining experience with delightful sides and complements that add layers of flavor to your meal.
-
Refried Beans: Creamy and hearty, they make the perfect pairing for the cheesy chimichangas and add a comforting texture.
-
Mexican Rice: This light, fluffy side dish complements the flavors beautifully, soaking up every bit of sauce and salsa, making each bite irresistible.
-
Guacamole: The freshness and creaminess of guacamole provide a refreshing contrast to the warm, crispy chimichangas, enhancing flavors with every scoop.
-
Salsa Verde: This zesty green salsa adds a tangy kick that brightens the dish and pairs well with the savory filling of the chimichangas.
-
Corn Salad: A colorful mix of corn, tomatoes, and cilantro, this salad adds a crisp, fresh element that balances the richness of the chimichangas.
-
Light Mexican Fruit Salad: Juicy fruits like mango and pineapple tossed with lime bring a sweet and refreshing contrast, making your meal feel well-rounded.
-
Chips and Salsa: A crunchy starter that always pleases. The crispiness of the chips enhances the overall texture experience and pairs perfectly with the chimichangas.
-
Margaritas: As a perfect beverage pairing, a refreshing margarita adds a lovely zest and helps cleanse the palate between bites of your delicious chimichangas.
-
Flan: For dessert, the creamy caramel flan offers a delightful sweet ending, balancing out the savory flavors of the chimichangas you’ve enjoyed.
Expert Tips for Crispy Baked Chicken Chimichangas
-
Roll Tightly: Make sure to roll your chimichangas tightly to prevent them from bursting while baking. Overfilling is a common mistake!
-
Even Baking: Bake on a lined baking sheet without overcrowding. This ensures even crispness and avoids steaming the chimichangas.
-
Reheat Wisely: For leftover Baked Chicken Chimichangas, reheat them in the oven rather than the microwave to maintain their delicious crispiness.
-
Ingredient Adjustments: Don’t hesitate to swap out the shredded chicken for ground beef or even veggies for unique flavor profiles that suit your taste.
-
Check for Doneness: Keep an eye on the chimichangas during baking; they should be golden brown and crispy before removing them from the oven.
Storage Tips for Baked Chicken Chimichangas
- Fridge: Store leftover baked chicken chimichangas in an airtight container for up to 3 days; this keeps them fresh and ready for a quick meal.
- Freezer: For longer storage, freeze unbaked chimichangas by wrapping them tightly. They can be kept for up to 2 months; bake straight from the freezer when ready to enjoy!
- Reheating: To maintain crispiness, reheat leftovers in the oven at 350°F (175°C) for about 15 minutes, avoiding the microwave, which can make them soggy.
- Wrapping: If you have extras, wrap them tightly in plastic wrap before placing in an airtight container to prevent freezer burn while storing your baked chicken chimichangas.
Baked Chicken Chimichangas Recipe FAQs
What type of chicken should I use for the filling?
Absolutely! You can use shredded rotisserie chicken for ease or opt for homemade shredded chicken for a fresher taste. If you prefer, cooking your chicken from scratch by boiling or baking it is a great way to ensure flavor and quality in your chimichangas.
How should I store leftovers?
Store your leftover baked chicken chimichangas in an airtight container in the fridge for up to 3 days. This keeps them well-preserved for a quick meal option, ready when you’re craving something delicious!
Can I freeze baked chicken chimichangas?
Yes, you can! For freezing, wrap the unbaked chimichangas tightly in plastic wrap, then place them in a freezer-safe bag or container. They will stay fresh for up to 2 months. When you’re ready to enjoy them, bake them straight from the freezer; just add an extra 5-10 minutes of baking time to ensure they’re heated through.
What should I do if my chimichangas burst while baking?
If your chimichangas burst, don’t fret! It often happens due to overfilling. Make sure to roll them tightly and not exceed the recommended filling amount. In case of bursting, simply use the filling as a topping along with sour cream or salsa for a deconstructed version!
Can these chimichangas be made gluten-free?
Very! You can easily adapt this recipe to be gluten-free by using gluten-free tortillas instead of regular flour tortillas. Just make sure to check the ingredients of your refried beans and any other pre-packaged items to ensure they are also gluten-free.
Are there any allergens in this recipe I should be aware of?
Yes, for those with allergies, be mindful of the ingredients. Common allergens include dairy in the cheese and possible gluten in the tortillas. If cooking for someone with food sensitivities, consider using dairy-free cheese or ensuring all components are gluten-free. Always double-check ingredient labels to ensure safety.
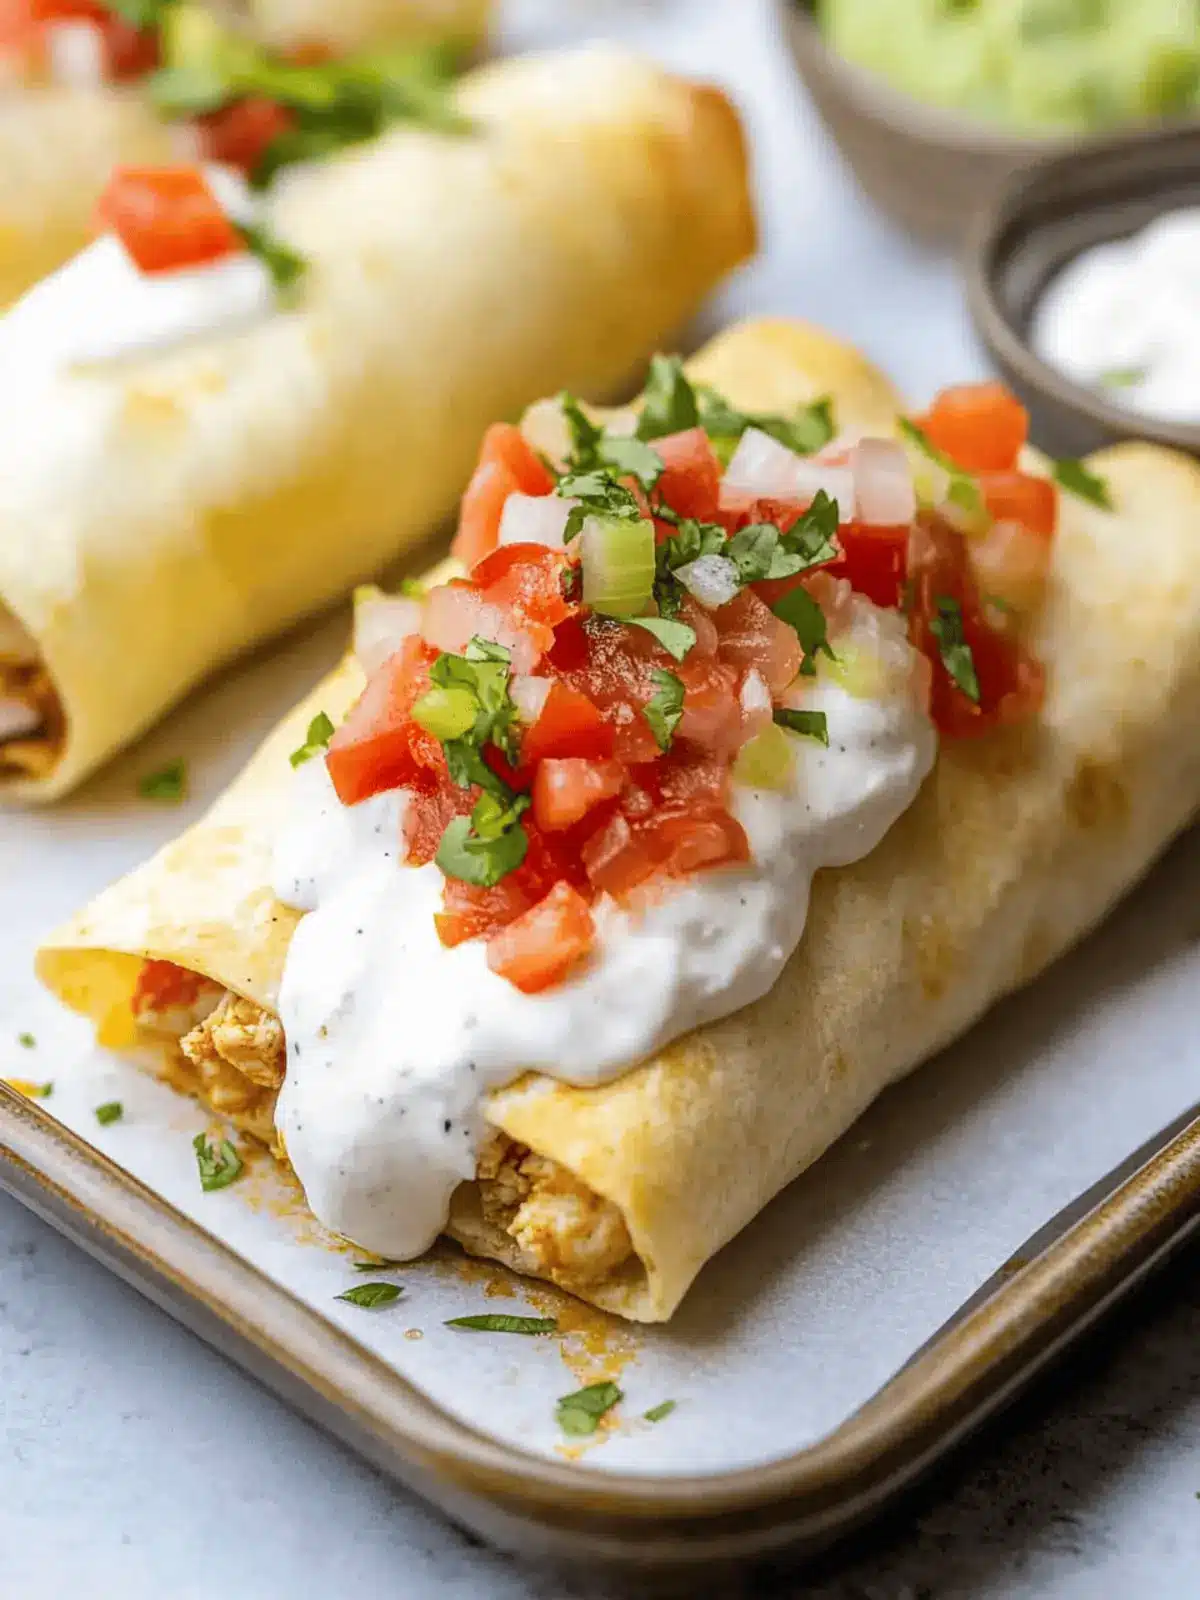
Crispy Baked Chicken Chimichangas For Healthier Weeknights
Ingredients
Equipment
Method
- Preheat the oven to 400°F (200°C).
- Mix the filling ingredients together in a large mixing bowl.
- Assemble the chimichangas with the chicken filling onto a tortilla, folding and rolling tightly.
- Arrange the rolled chimichangas seam-side down on a baking sheet and brush with melted butter.
- Bake for 15 minutes, then flip and bake for an additional 10 minutes.
- Cool for a few moments before serving, topping with sour cream, guacamole, or salsa as desired.

