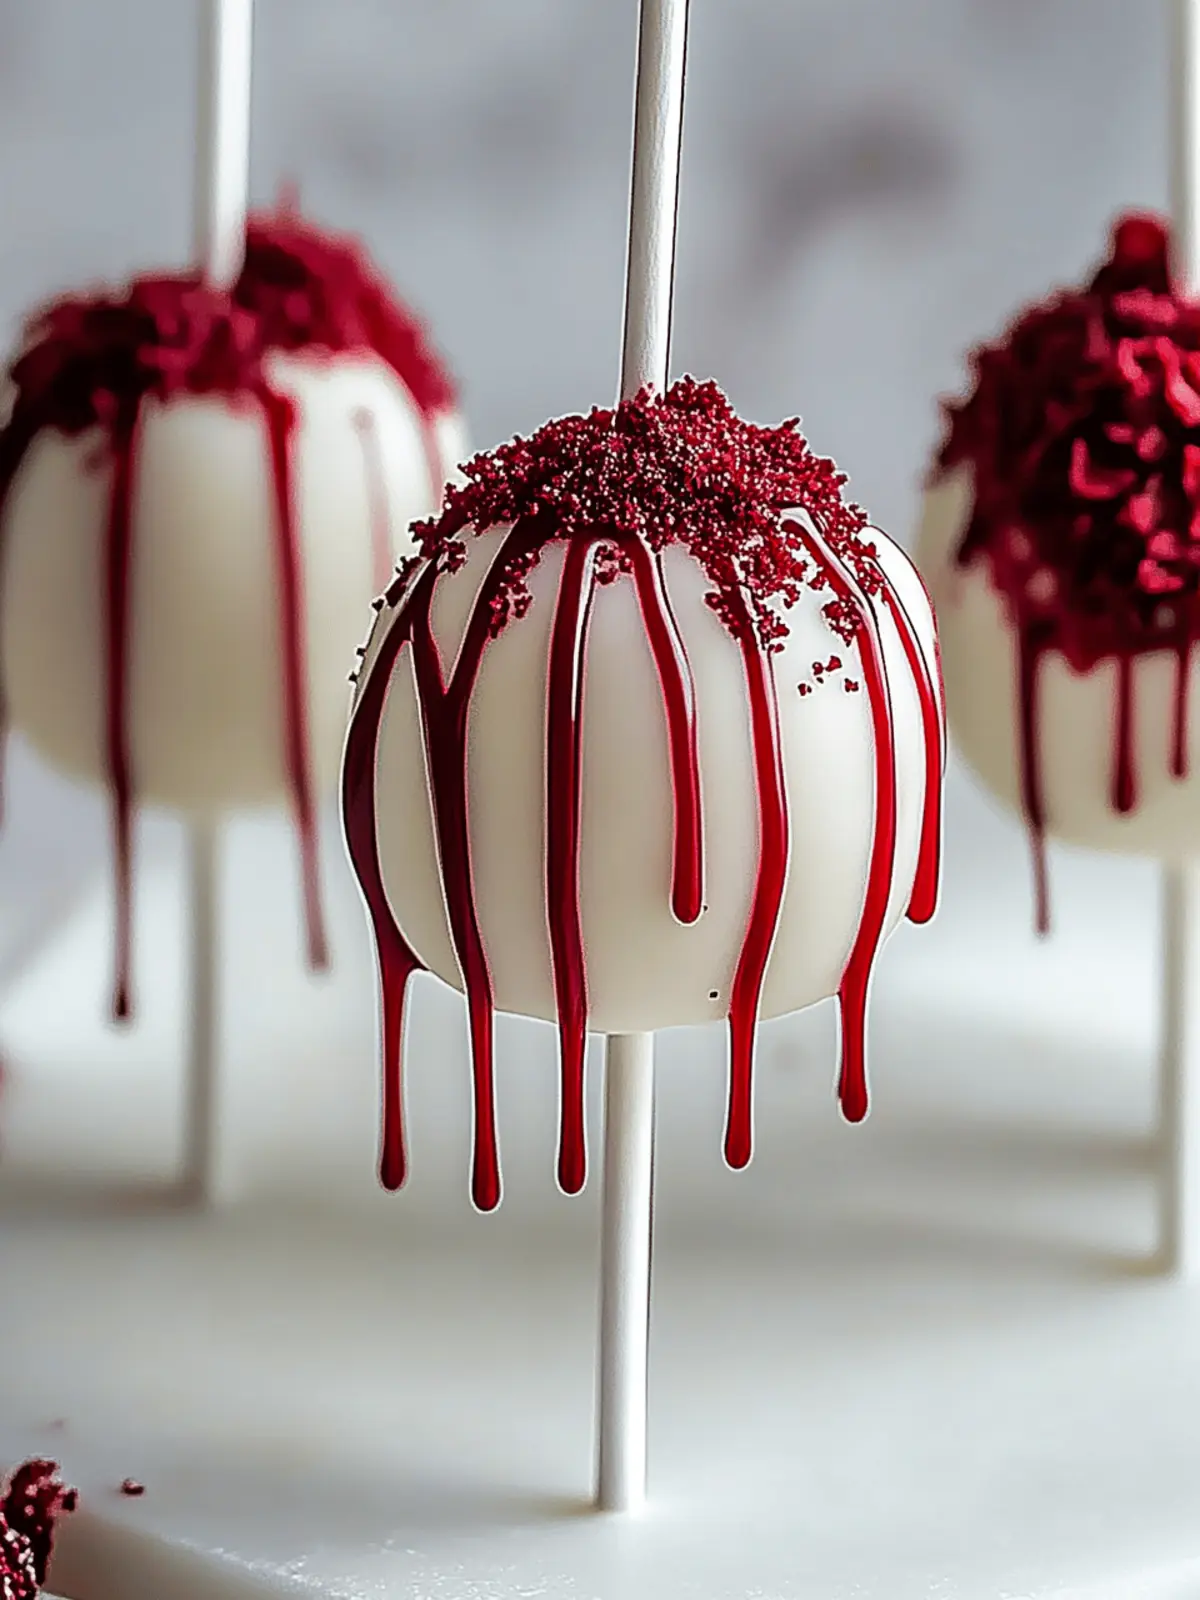
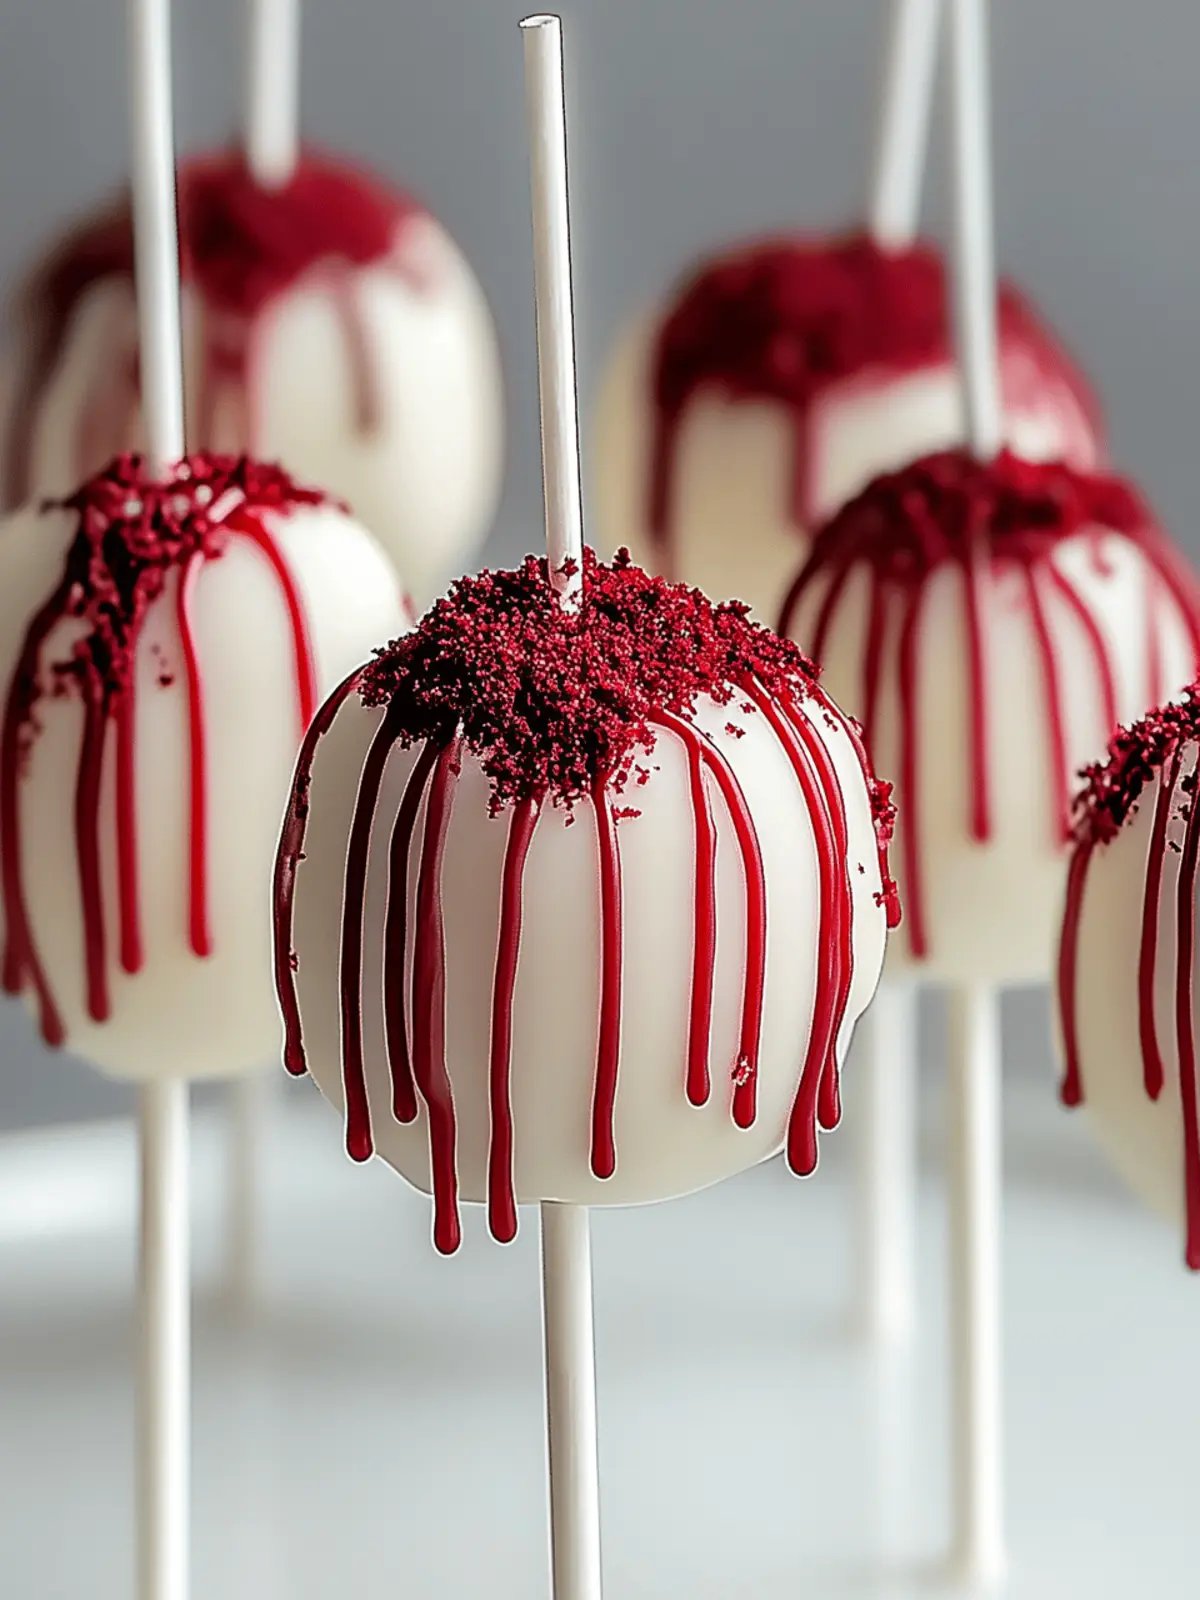
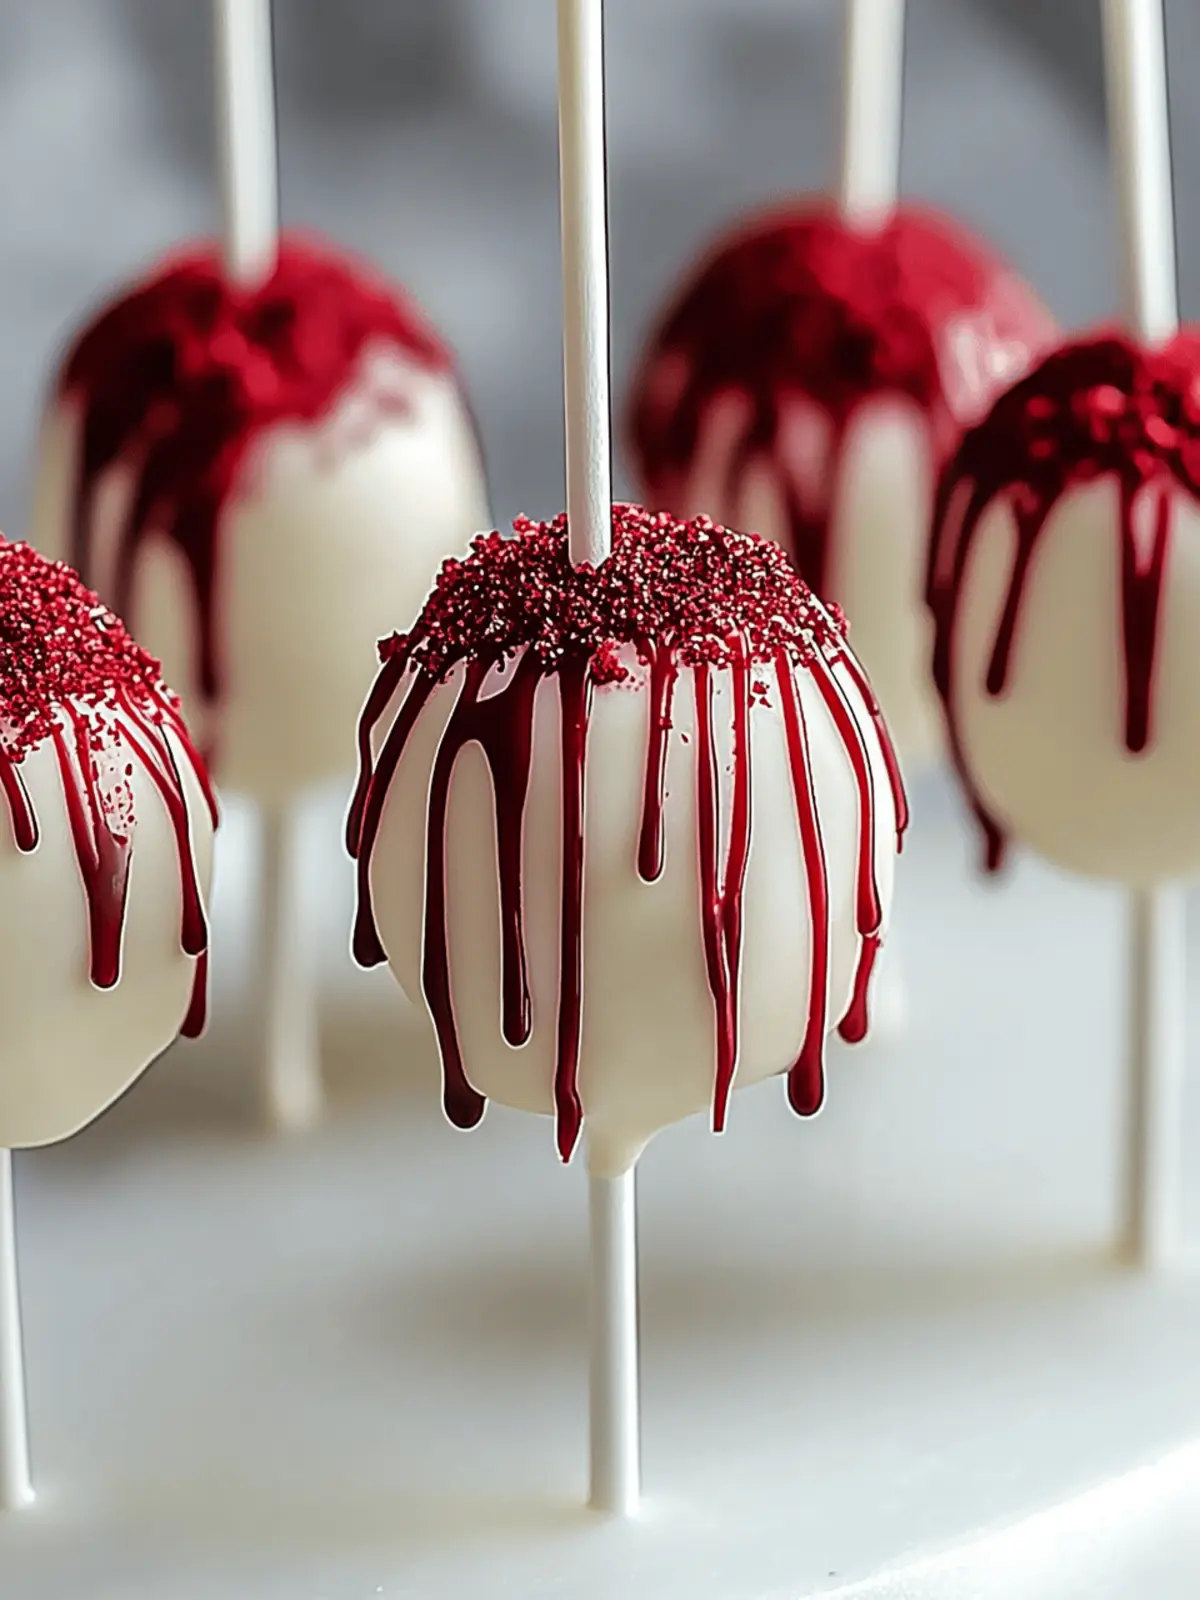
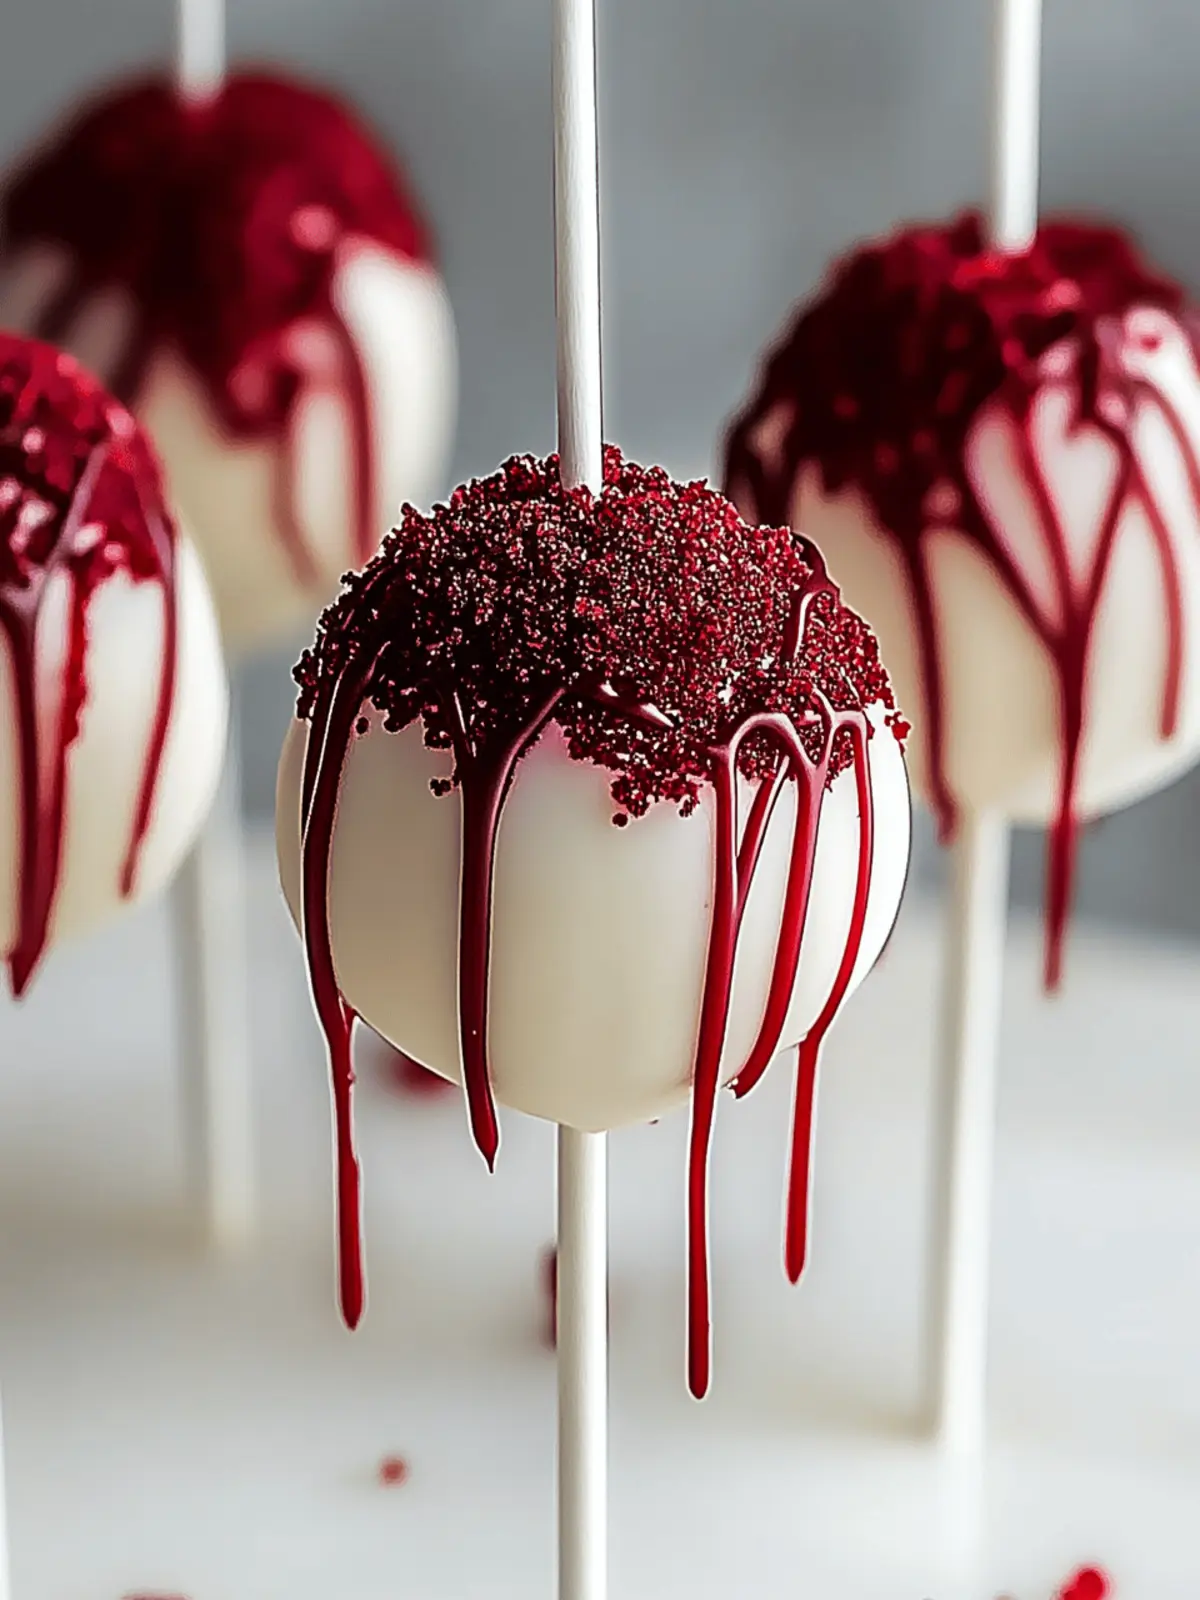
If you’re on the hunt for a show-stopping dessert that combines elegance with irresistible flavor, look no further! Picture this: the rich, velvety texture of a classic red velvet cake, elegantly transformed into bite-sized pops that are as fun to make as they are to eat. These Bloody Red Velvet Cake Pops bring a festive twist to any gathering, effortlessly stealing the spotlight with their vibrant red hue and luscious white chocolate coating.
I discovered this delightful recipe during a recent holiday party prep, realizing that it strikes the perfect balance between sophistication and simplicity. Not only are these pops incredibly easy to whip up, but they also pack a flavor punch that will have your guests swooning. Whether you’re celebrating a special occasion or simply looking to treat yourself (because you deserve it!), these cake pops are bound to impress. Let’s dive into the world of sweet indulgence and create a dessert that’s sure to be the talk of the table!
Why will you love Bloody Red Velvet Cake Pops?
Irresistible Flavor: Each bite offers the rich, decadent taste of red velvet paired with silky cream cheese frosting.
Festive Appeal: The vibrant red color makes these pops a showstopper at any gathering, charming both kids and adults alike.
Easy to Make: With just a few simple ingredients and steps, these pops come together quickly, perfect for busy cooks.
Versatile Options: Feel free to customize with different coatings or sprinkles for any occasion. You can even explore variations like adding flavored extracts for an exciting twist!
Perfect for Sharing: They’re an ideal treat to share at parties, ensuring everyone gets a taste of this delightful dessert.
Bloody Red Velvet Cake Pop Ingredients
For the Cake Balls
• Red Velvet Cake Mix – This is the star ingredient that gives your pops their signature flavor and moisture.
• Cream Cheese Frosting – It holds everything together and adds a luscious richness; switching to buttercream works too!
• Red Food Coloring – Optional, for intensifying the red hue of your cake pops; use just a drop to enhance the visual appeal.
For the Coating
• White Chocolate Chips – A sweet coating that creates a smooth finish; you can use dark or milk chocolate if preferred.
Add a cheerful touch to your dessert table with these delightful Bloody Red Velvet Cake Pops!
How to Make Bloody Red Velvet Cake Pops
-
Prepare the Cake: Begin by following the package instructions for your red velvet cake mix. Combine it with the required water, oil, and eggs until the batter is smooth and evenly mixed.
-
Crumble the Cake: After the cake has baked and cooled, crumble the warm cake into fine crumbs in a large bowl. Aim for a consistency resembling sand for easy mixing.
-
Mix the Frosting: Add the cream cheese frosting to your crumbled cake and mix until everything is well-combined and forms a cohesive dough-like ball.
-
Shape the Pops: Roll the mixture into 1-inch balls and gently place them on a parchment-lined baking sheet. Keep them evenly spaced for easier dipping.
-
Chill the Cake Balls: Pop the baking sheet with the cake balls into the refrigerator and chill for about 30 minutes. This helps them firm up for dipping.
-
Melt the Chocolate: In a microwave-safe bowl, melt the white chocolate chips in short intervals, stirring in between. Ensure you get a smooth consistency—don’t rush this step!
-
Coat the Pops: Dip each chilled cake ball in the melted white chocolate, covering it thoroughly. Allow any excess coating to drip off before placing it back on the baking sheet.
-
Set the Coating: Let the coated cake pops harden completely on the baking sheet. If you’re in a hurry, refrigerate them for quicker setting.
-
Optional Drizzle: If you’d like, drizzle extra melted chocolate on top of the pops for a decorative touch that enhances their stunning appearance.
Optional: Sprinkle with festive edible glitter for an extra pop of fun!
Exact quantities are listed in the recipe card below.
Expert Tips for Perfect Bloody Red Velvet Cake Pops
-
Cooling First: Ensure the cake is completely cooled before crumbling; warm cake can lead to a sticky mixture that’s hard to work with.
-
Dough Consistency: Aim for a dough-like consistency when mixing the cake crumbs and frosting; too much frosting can make the pops overly sweet and difficult to shape.
-
Chill Time: Don’t skip refrigeration! Chilling the cake balls helps them maintain shape during the chocolate dipping process for perfectly rounded pops.
-
Slow Melting: Melt white chocolate chips slowly and in intervals to avoid seizing; stirring often ensures a smooth coating for your Bloody Red Velvet Cake Pops.
-
Fun Toppings: Get creative with your toppings! Drizzling with colored chocolate or adding decorative sprinkles can elevate the presentation for any celebration.
Storage Tips for Bloody Red Velvet Cake Pops
-
Room Temperature: Your cake pops can last up to 5 hours at room temperature if displayed on a dessert table, but they’re best enjoyed chilled.
-
Fridge: Store your Bloody Red Velvet Cake Pops in an airtight container in the refrigerator for up to 1 week, ensuring they remain fresh and delicious.
-
Freezer: For longer storage, freeze the pops for up to 2 months. Place them in a single layer on a baking sheet first, then transfer to a freezer-safe container once firm.
-
Reheating: Cake pops do not typically require reheating; simply remove from the fridge or freezer and enjoy! If frozen, allow them to thaw in the refrigerator before serving.
Make Ahead Options
These Bloody Red Velvet Cake Pops are perfect for meal prep enthusiasts! You can prepare the cake balls up to 24 hours in advance by following your usual steps—just be sure to refrigerate them after shaping to maintain their firmness. If you’re short on time, you can also prepare the cake mix and crumble it up to 3 days ahead of time; simply cover and refrigerate the crumbled cake until you’re ready to mix with the frosting. When it’s time to finish the pops, just roll the mixture into balls, chill, and dip them in melted chocolate for delicious, stress-free treats that are just as delightful as when made fresh!
Bloody Red Velvet Cake Pop Variations
Get ready to personalize these delightful treats into something uniquely yours!
-
Chocolate Swap: Use chocolate cake mix instead of red velvet for a rich, chocolatey twist.
The combination of flavors creates a deliciously dark contrast to the creamy frosting. -
Frosting Options: Replace cream cheese frosting with vanilla or almond buttercream for a different experience.
This simple switch can introduce new flavors while retaining that delightful cake-pop quality. -
Flavor Extracts: Add a splash of flavored extracts like peppermint or orange to your frosting for fun flavor boosts.
These small adjustments can transform the pops and surprise your taste buds delightfully! -
Dipped Coatings: Coat your cake pops in milk or dark chocolate instead of white for a bolder taste.
Each chocolate coating brings its own distinct flavor, making the pops even more enticing! -
Spicy Kick: Mix in a pinch of cayenne pepper to the cake mix for a warm, spicy surprise!
It’s a unique twist that can awaken the senses, perfect for adventurous eaters. -
Decorative Toppings: Top with crushed cookies or nuts before the chocolate hardens for added texture and crunch.
This not only enhances the look but brings an enjoyable variety in every bite! -
Edible Glitter: Surprise your guests by sprinkling edible glitter or colorful sprinkles on the coating for extra flair.
These eye-catching finishes might just steal the spotlight at any celebration! -
Nutty Variation: Incorporate finely chopped nuts into the cake mixture for added crunch and flavor depth.
This simple addition adds a delightful surprise and enhances the overall experience with each pop!
What to Serve with Bloody Red Velvet Cake Pops?
These delightful bites are the perfect centerpiece for a festive dessert spread, igniting a sense of joy and celebration.
-
Creamy Vanilla Ice Cream: The smooth, rich texture pairs perfectly with the pops, balancing their sweetness. A classic combination that never disappoints!
-
Fresh Fruit Skewers: Juicy strawberries and pineapple chunks offer a refreshing contrast to the rich cake pops, adding a pop of color and a zing of flavor. They are a vibrant addition that enhances any dessert table.
-
Mint-Infused Whipped Cream: A dollop of fresh whipped cream with a hint of mint complements the flavors while providing a light and airy texture. It’s an elegant touch that elevates the dessert experience.
-
Chocolate-Dipped Strawberries: These fruity treats echo the chocolatey coating of the cake pops, creating a harmonious pairing that brings a touch of luxury to your dessert platter.
-
Hot Chocolate Bar: Set up a cozy hot chocolate station with toppings like whipped cream, marshmallows, and cinnamon. It’s an inviting twist that matches the festive spirit of the cake pops!
-
Sparkling Fruit Punch: For a light, refreshing drink option, a sparkling punch with citrus fruits pairs beautifully with the sweet flavors, keeping the atmosphere bubbly and festive.
-
Gourmet Cheesecake Bites: Creamy cheesecake bites offer another rich dessert option that complements the cake pops splendidly. A delightful mix of textures that your guests will love!
Each of these pairings enhances the rich flavors of your Bloody Red Velvet Cake Pops, creating an unforgettable dessert experience!
Bloody Red Velvet Cake Pops Recipe FAQs
How do I choose the best red velvet cake mix?
Absolutely! When selecting a red velvet cake mix, look for one that includes natural cocoa powder and doesn’t contain any artificial flavors. This helps ensure a rich, velvety taste that’s true to the classic red velvet flavor profile. Always check the ingredients for quality, as the cake mix is the heart of your delightful Bloody Red Velvet Cake Pops.
What’s the best way to store leftover cake pops?
Very! To keep your Bloody Red Velvet Cake Pops fresh, store them in an airtight container in the refrigerator for up to 1 week. For longer storage, you can freeze them for up to 2 months. To freeze, place the pops in a single layer on a baking sheet until firm, then transfer them to a freezer-safe container, separating layers with parchment paper to avoid sticking.
Can I freeze my cake pops after making them?
Yes! Freezing is a fantastic way to keep your delicious treats for later. To freeze your Bloody Red Velvet Cake Pops, first, chill them until set, then place them in a single layer on a baking sheet, ensuring they aren’t touching. Freeze until firm, about 2 hours, then transfer them to a freezer-safe container. They can be stored like this for up to 2 months. When you’re ready to enjoy, just thaw them in the refrigerator and savor the sweetness!
What if my cake pop mixture is too sticky?
No worries at all! If your cake pop mixture is too sticky, it could be due to excess frosting. This happens if too much is added during mixing. To fix it, try adding more crumbled cake in small increments until you reach a dough-like consistency. Chilling the mixture for about 15 to 20 minutes can also help make it easier to shape. Remember, a well-cooled cake is key to achieving the perfect texture!
Are there any allergy considerations with these cake pops?
Definitely! If you’re preparing these Bloody Red Velvet Cake Pops for guests, be aware of potential allergens. The primary ingredients include eggs and dairy (from the cake mix and frosting). If anyone has allergies, consider using egg replacers and vegan cream cheese frosting. Always communicate with your guests about ingredients used, especially if they’re sharing with children or individuals with known allergies.
How can I make these cake pops healthier?
Absolutely! To lighten up your Bloody Red Velvet Cake Pops, consider using a healthier cake mix option that may contain whole grains or is lower in sugar. You can also experiment with Greek yogurt instead of frosting, which adds creaminess and cuts down on sugar. Additionally, using dark chocolate instead of white chocolate for coating can give a richer flavor while containing less sugar. Don’t hesitate to explore and enjoy your baking adventure!

Bloody Red Velvet Cake Pops: Sweet Treats for Any Celebration
Ingredients
Equipment
Method
- Begin by following the package instructions for your red velvet cake mix. Combine it with the required water, oil, and eggs until the batter is smooth and evenly mixed.
- After the cake has baked and cooled, crumble the warm cake into fine crumbs in a large bowl.
- Add the cream cheese frosting to your crumbled cake and mix until everything is well-combined.
- Roll the mixture into 1-inch balls and gently place them on a parchment-lined baking sheet.
- Pop the baking sheet with the cake balls into the refrigerator and chill for about 30 minutes.
- In a microwave-safe bowl, melt the white chocolate chips in short intervals, stirring in between.
- Dip each chilled cake ball in the melted white chocolate, covering it thoroughly.
- Let the coated cake pops harden completely on the baking sheet.
- If you’d like, drizzle extra melted chocolate on top of the pops for a decorative touch.


